Step by Step Continuous Line Drawing Face
Continuous line drawing faces are a lot of fun to create. Especially if you do blind-contour drawings. You can do a self portrait, like in this lesson, or you can draw someone else’s face. Either way it’s a good drawing exercise to do if you want to improve your drawing skills.
Learning to draw faces can be incredibly intimidating. But drawing continuous line portraits is a great way to relax a little bit and have some fun with learning to draw faces. Your entire finished artwork can be just the continuous line drawing. Or you can add more details after doing your initial drawing.
How you make them is up to you. So have fun and experiment with some different ideas. Let’s gather up some supplies and get going.
* Some of the links in this post may be affiliate links. This means I receive small commissions for purchases made through these links at no extra cost to you.
Art Supplies
- Paper or cardstock
- Thin marker
- Graphite pencil for shading (optional)
- Mirror or selfie
- Markers or other medium for color
Continuous Line Drawing Face – Blind Contour
We are going to begin today’s lesson with a blind contour drawing self-portrait. When doing a blind contour drawing, you are forced to really look at what you are drawing. Because you are not looking at your drawing, you have no choice but to focus on what your subject matter. For this example we will be drawing our own faces.
Choose a marker to draw with and place it somewhere on your paper. Without looking at your paper begin drawing your own face. Pick a spot on your face to start and work your way around your entire face, one feature at a time.
Do not lift your marker off of the paper at any time. This will be a continuous line drawing. And don’t peek at your paper until you are completely finished. Let yourself relax and don’t worry about the end results. There will be areas were you will have to back-track over previous lines and you will need to guess at where you are at on your paper. Allow yourself to have fun with it though.
When you are finished, go ahead and look at your drawing. If you’re like me, your drawing made you giggle. Repeat this process a couple more times using a different marker each time. Allow yourself to experiment, have fun, and enjoy this process.
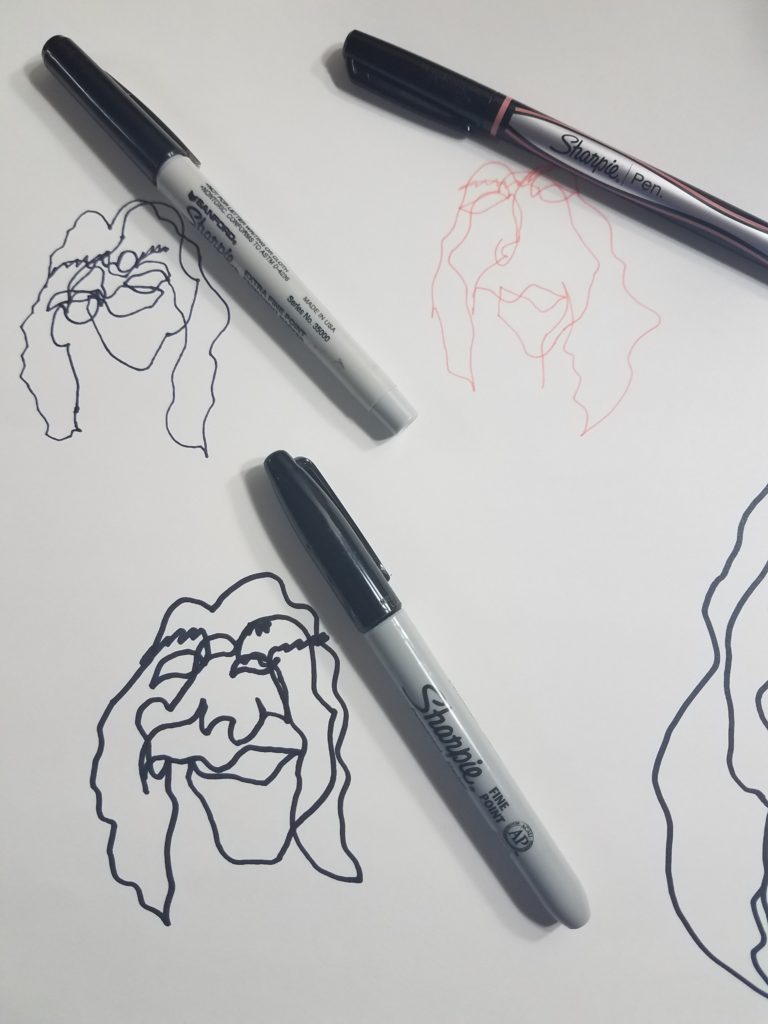
I did three different drawings with three different markers. Here is what I came up with. I think I liked the thicker marker best.
Continuous Line Contour Drawing Portrait
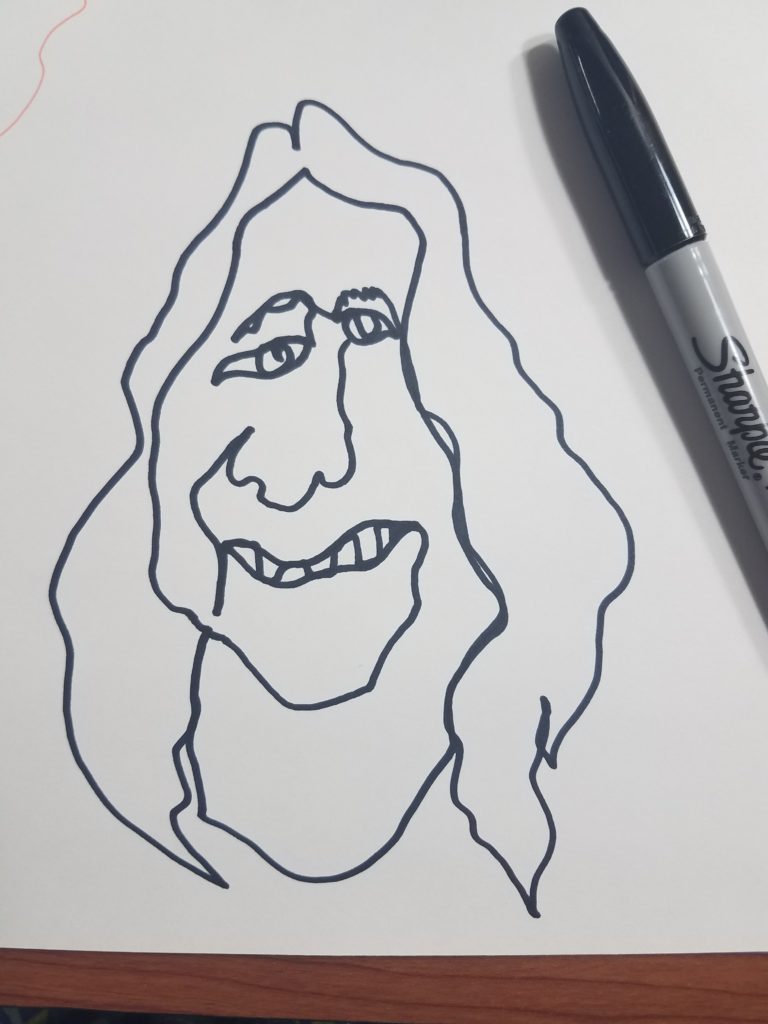
We are going to do a similar drawing, but this time you can peek at your paper from time to time to see where you are at. Again, do not lift your marker off of the paper. You can choose your favorite marker from the previous exercise, or choose a new one.
Decide on a where to start, and begin your drawing. Do not lift your marker off of the paper at any time. However, this time you may take quick peeks at your drawing. Continue to focus on your reflection or selfie though. You still want to pay more attention to your subject matter and not the drawing itself.
Coloring Your Face Drawing with Markers
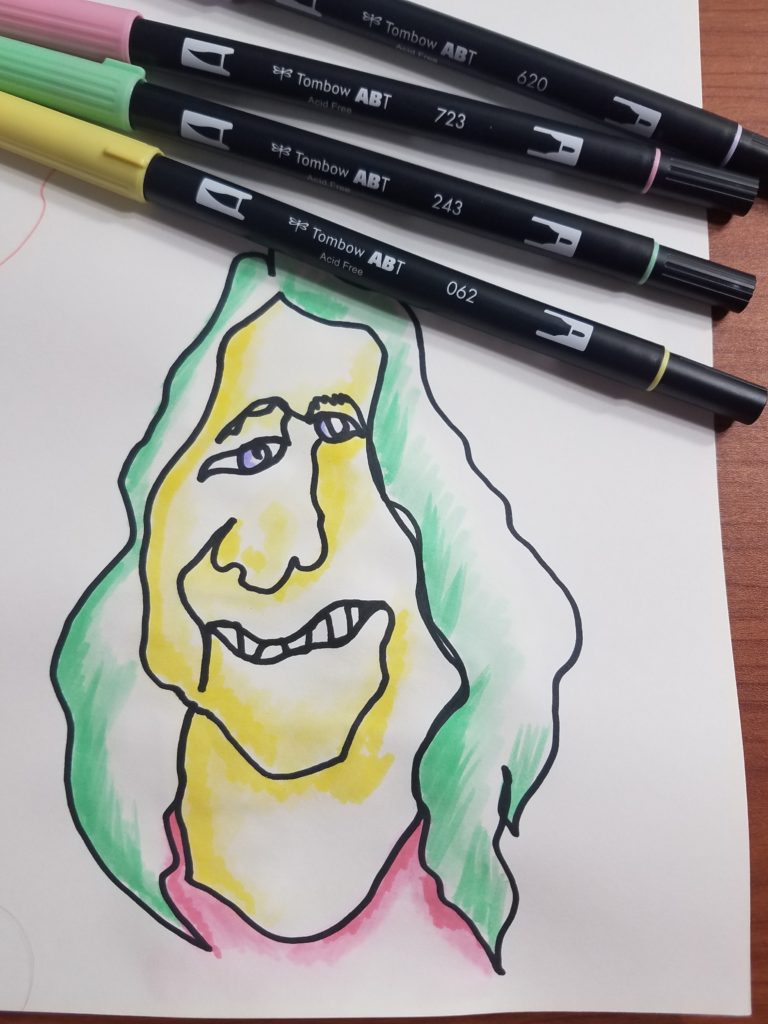
A few months ago I bought a Tombow Dual Brush pen set (pastel palette). They have been sitting in a drawer in my art closet since then. This felt like the perfect opportunity to give them a try. I began with Pink Red (723) for the shirt. This is not a color I would typically choose for a drawing, which is the exact reason I used it.
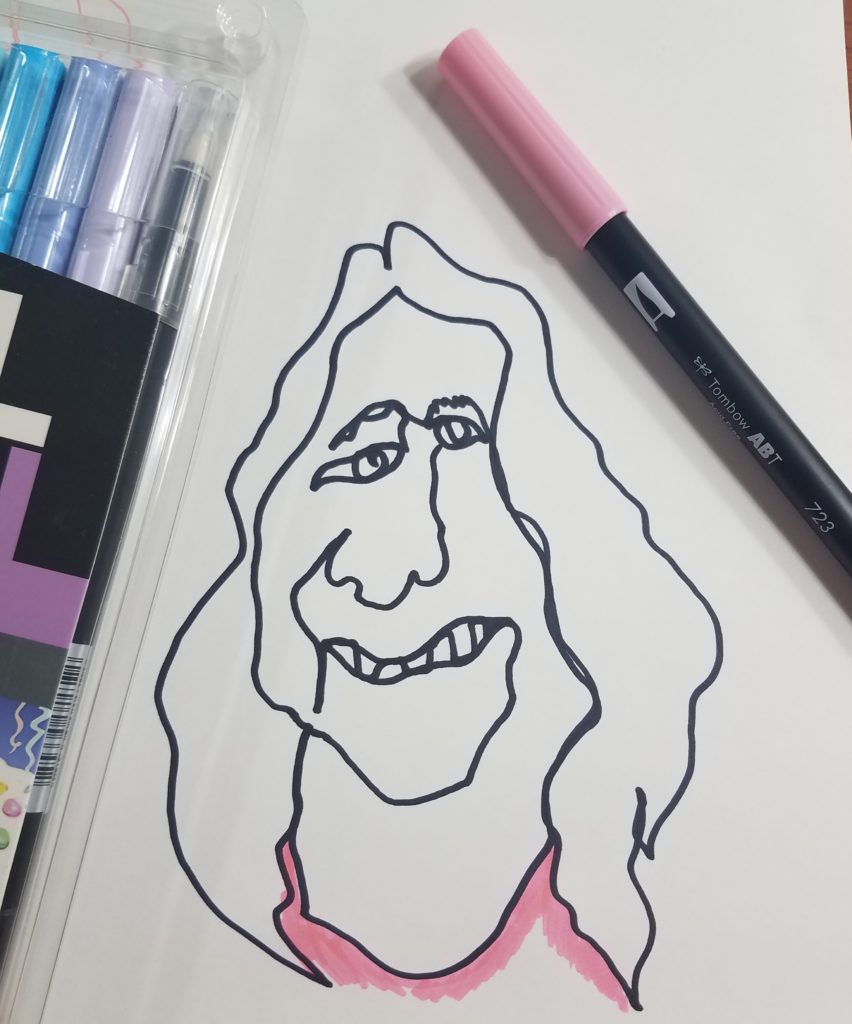
I continued adding color to my continuous line drawing face with the Tombow markers. For the face I used Pale Yellow (062). Once again because it’s a color I wouldn’t typically use for coloring a face. Mint Green (243) was used for my hair, and Lilac (620) for my eyes.
After adding in the color with the markers, I used my Pentel Arts Aqua brush to soften the colors.
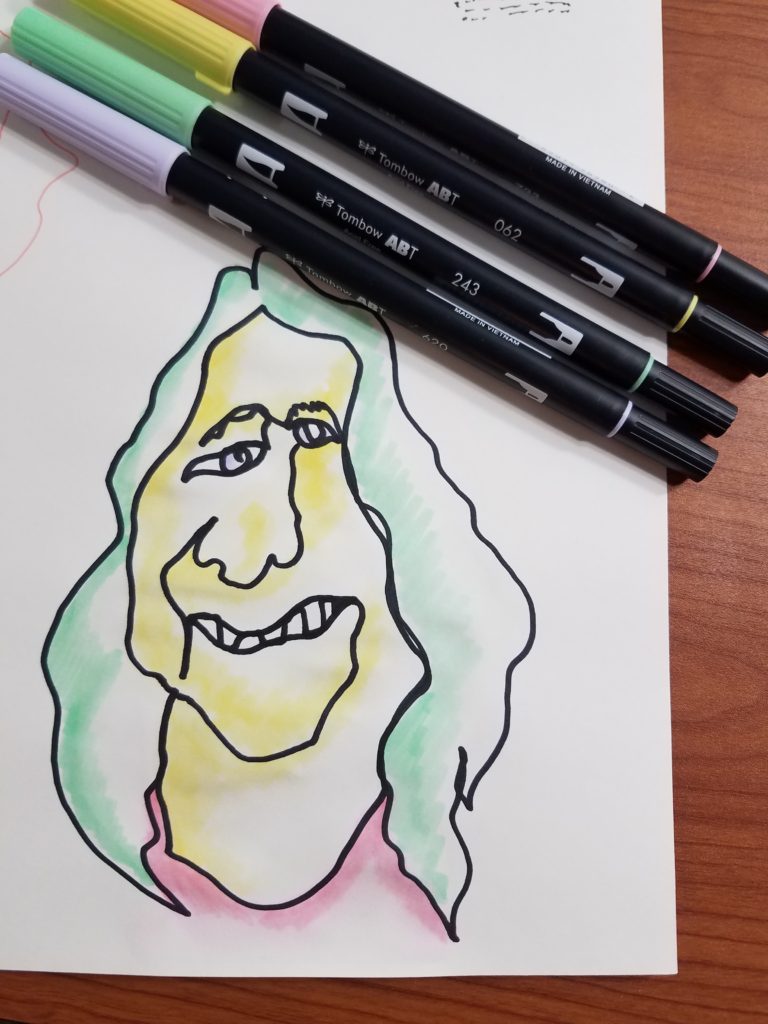
I finished the drawing up by going back in with the Tombow markers again and adding in some darker areas.
Why Should You Create Continuous Line Drawings
You may be wonder why you should create continuous line drawings. What’s the point of doing these anyway? Because your pencil stays on the paper for your entire drawing, it forces you to pay closer attention to what you are seeing, and what you are drawing. Thus, it enhances your observational skills.
You will naturally pay more attention to the small details, such as the size and shape of the features. And because it’s a slow process you will have greater focus while doing your drawings.
It’s a great way to improve your hand-eye coordination. While doing your continuous line drawings your hand and your eye will need to move at the same speed. They will begin to work together to transfer what you are seeing to your paper.
And believe it or not, this exercise can also be used for stress relief. Because it requires no artistic ability to do, anyone can complete this exercise. It’s a way to simplify a complex object, such as a face, and break it down into only the most important details. Or, the details you find to be important.
Continuous Line Drawing Face Art Tutorial
Making continuous line drawing faces is a lot of fun, and it really isn’t possible to mess it up. It was also a great way to experiment with colors and try new things. As artists, we need to find ways to let ourselves explore areas outside of our normal way of creating things. This is how we grow and develop as artists.
Repetition and practice is the best way to improve your art and drawing skills. And it will help you improve your creativity as well. Doing an art challenge is a great way to practice, and improve your art and drawing skills in a short amount of time.
Get Your FREE Art Challenge Guide
Posts Related to Continuous Line Drawing Faces

