
Zombie Bunny Drawing Tutorial
In this tutorial I’ll show you how to draw a zombie bunny. These are fun to draw and really easy. Which makes them great for beginners.
Art and drawing are learned skills. So the more you practice the better you will get.
Let’s grab some supplies and get started learning how to draw a zombie bunny.
* Some of the links in this post may be affiliate links. This means I receive small commissions for purchases made through these links at no extra cost to you.
Art Supplies
- Thin black marker
- Paper or cardstock
- Markers
- Pencil
- Click Eraser, Pink Pearl Eraser
- White Gelly Roll pen
About Zombie Bunnies
Zombie bunnies have become a niche but recognizable part of modern pop culture. They represent a playful subversion of horror and cuteness, often used to create a unique aesthetic in art, fashion, and media. The concept’s appeal lies in its ability to surprise and entertain by merging two seemingly incompatible ideas.
Zombie bunnies are a modern pop culture phenomenon, originating from the blending of horror and humor, primarily through internet culture, video games, and merchandise. Their ongoing popularity highlights the enduring appeal of combining the cute with the macabre.
Zombie Bunny Sketch Practice
Doing a sketch practice exercise is a great way to get warmed up before doing your zombie bunny drawing. Here’s how to do it.
- Get some paper and something to sketch with (pencil, pen, marker, etc.)
- Pull up some reference photos of zombie bunnies
- Set a timer for three or five minutes
Then simply sketch out as many zombie bunnies as you can before the timer goes off.
You could also sketch until your paper is filled. It really doesn’t matter which way you do the quick sketch exercise. Just be sure to keep your sketches quick and loose.
How to Draw a Zombie Bunny
I’m doing my zombie bunny drawing on an artist trading card (ATC), but you can use whatever size and type of paper you want. ATCs are fun to trade, but they’re also great for practicing your artwork.
Learn more about them in our tutorials, The Ultimate Guide to Artist Trading Cards.
Step 1: Basic Shapes
The best way to start any drawing is with some basic shapes. Doing this gives you a good reference for how your overall drawing will look.
It’s also a great way to start getting some marks put down on your paper.
Start by drawing a circle for the head and an oval for the body.
Then add some ovals for the ears and arms. You can add more ovals for the legs, or draw them as part of the body like I did with mine.
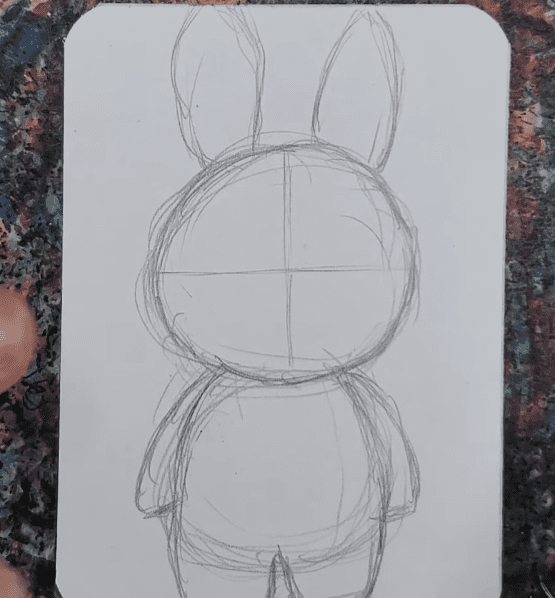
You can also divide the circle for the head into quarters to help with the placement of the eyes and nose.
Step 2: Rough Sketch
After you have your basic shapes and guides drawn out, you can start to add in some details to your zombie bunny. Start by adding a triangle for the nose. And draw the inside of the ears.

Next, draw the eyes and the mouth. You can also add more details to the arms and legs, as well as the belly of your zombie bunny.
Step 3: Add Details
Since this bunny is a zombie, we have to make it look like one. This is usually done with some areas that look like they are stitched together.
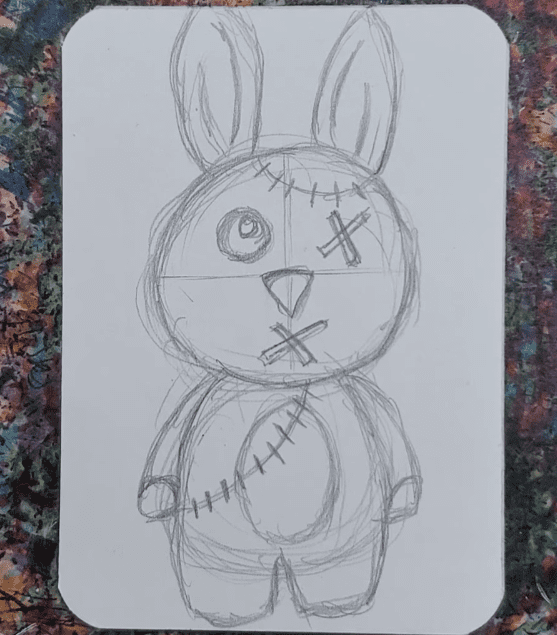
You can also remove the eyes, nose, or mouth, and replace that with some stitching. There’s no limit to what you can do with your zombie bunny drawing.
Zombie Bunny Outline
After you have your zombie bunny sketch finished you can add an outline to your drawing. This can be done using a black pen or marker.
Simply trace over the lines you want to keep. You can make your lines thick, thin, or a combination of line weights.
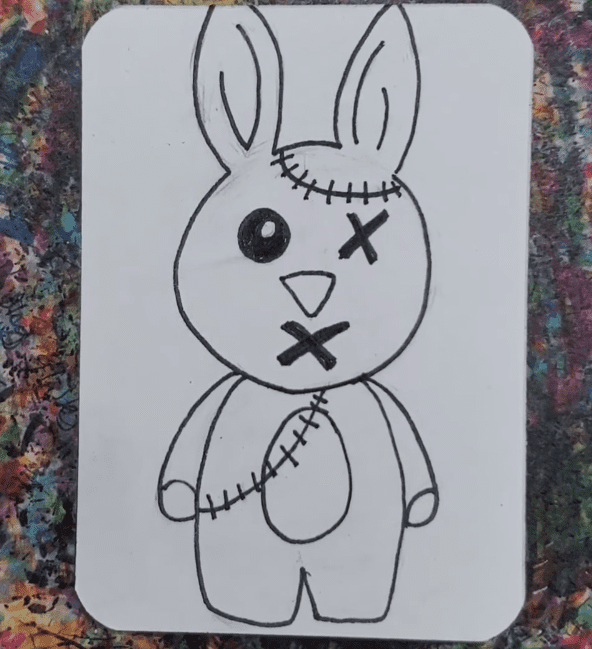
A brush pen is a nice option for creating outlines as well. You could also try using a color other than black.
When your outline is finished use a block eraser to clean up your drawing and remove any remaining pencil lines.
How to Draw Zombie Bunnies with Markers
If you want to blend your colors for a smooth transition you’ll need to use alcohol markers and work while they’re still wet.
I like to use two or three markers for each color. If you want them to blend smoothly you need to make sure they are similar enough in color. If they’re not, you’ll get a harsher edge where they meet.
Since I did my drawing on an artist trading card I’m using two markers for each color. If the drawing was bigger I’d probably use three. So for the body of my zombie bunny I used a bluish gray color, and a second marker that’s slightly darker.
Start by filling in one section of your drawing with the lighter color. Then add the darker color to the areas where you want there to be some shadows. Use the lighter color marker to blend the markers where the two overlap.
You can also use a colorless blender to blend the two markers together.
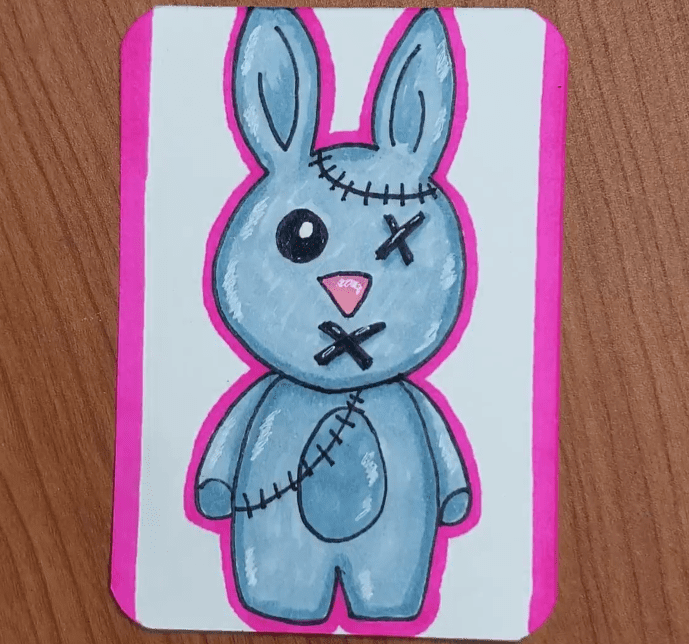
Continue using this method for the rest of your zombie bunny drawing. Then finish up by adding a background design, scene, or just some color.
A white Gelly Roll pen can be used to add highlights.
Final Thoughts and Next Steps
Now that you know how to draw a zombie bunny, what’s the next step? If you want to get good at drawing and creating art you need to practice.
The more you practice the better you will get. You don’t have to practice for hours and hours. But if you can spend a few minutes each day consistently creating art you’ll see improvements over time.
Doing a series of drawings is a great way to improve your art and drawing skills, as well as your creativity and style.
Grab your FREE Guide to Better Art in 7 Days
