Step by Step Mouse Drawing Tutorial
In this cartoon mouse drawing tutorial you’ll learn how to sketch, outline, and color your mouse drawing with markers.
There are many different ways to draw things. I’ll be showing you one way to draw a mouse. My hope is that you’ll start here and continue with what you learn today with inspiration to try new things.
Let’s grab some supplies and get started.
* Some of the links in this post may be affiliate links. This means I receive small commissions for purchases made through these links at no extra cost to you.
Art Supplies
- Thin black marker
- Paper or cardstock
- Markers
- Pencil
- Click Eraser, Pink Pearl Eraser
- White Gelly Roll pen
About Mice in Art
From religious symbolism in medieval art to playful characters in children’s books and surrealistic dreamscapes, mice have scurried through the canvas of art history, symbolizing everything from humility and vulnerability to curiosity and mischief.
They’ve appeared in religious scenes, still life paintings, allegorical works, and even contemporary pieces, adapting to each era’s artistic movements and cultural narratives.
Mouse Sketch Practice
Doing a quick sketch practice is a good way to get warmed up and work through some ideas for your drawing. And it’s quick and easy to do. Here’s how…
- Get some paper and something to sketch with (pencil, pen, marker, etc.)
- Pull up some reference photos of Mice
- Set a timer for three or five minutes
Then just start sketching as many mice as you can until the timer runs out.
Another option is to sketch until you run out of room on your paper. Either way is fine. Of course this step is optional, but well worth the time.
Mouse Drawing Tutorial (step by step)
For this mouse drawing tutorial I used an artist trading card. But you can use any size and type of paper that you choose. Let’s get started with some basic shapes.
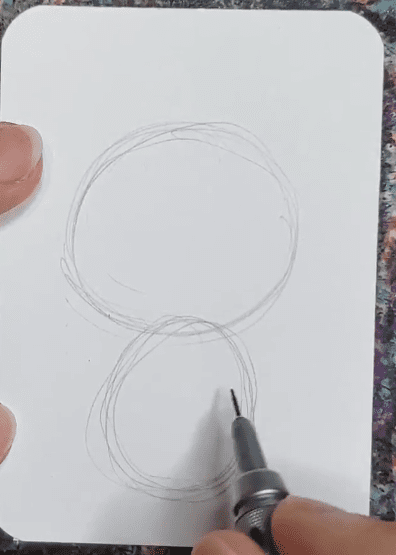
Step 1: Basic Shapes
It’s always best to begin your drawings with basic shapes, so that’s how we’re going to start our mouse drawing.
Start with a circle for the head, and another circle, or oval, for the body.
Then add two more circles for the ears. And ovals for the arms and legs. You can also draw a line for the tail.
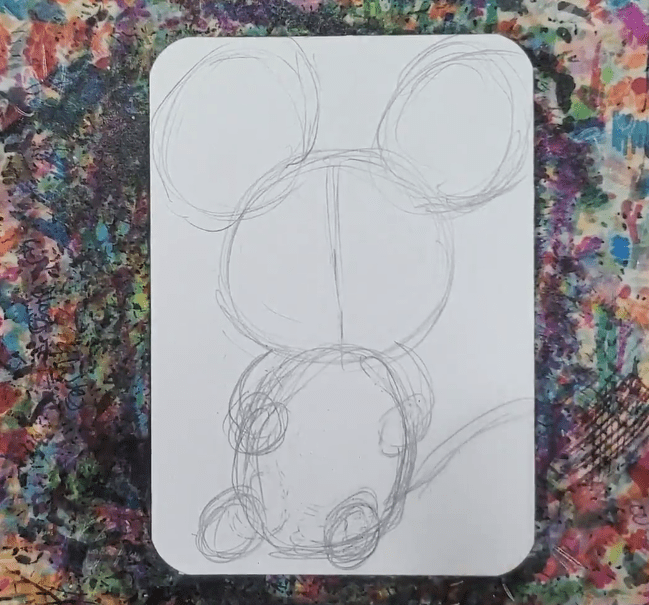
Make sure you like the overall size of your mouse drawing before moving onto the next step.
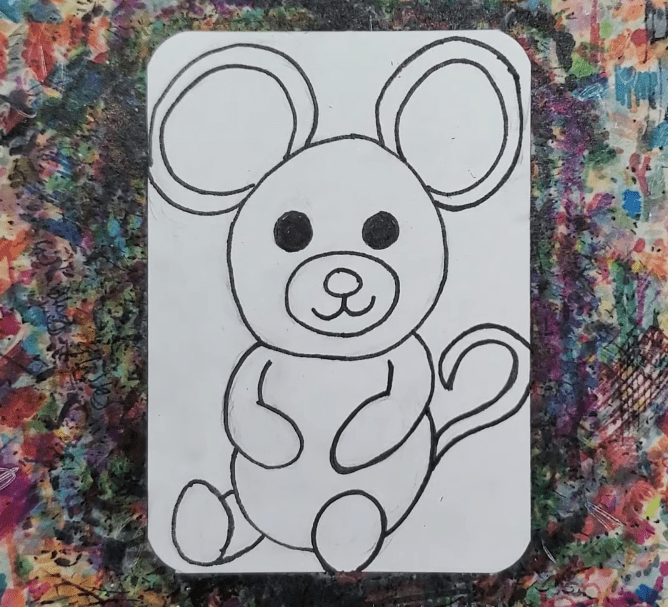
Step 2: Rough Sketch
After you have everything drawn out with simple shapes and you’re happy with how things look, you’ll need to start working on a more refined sketch.
Start by drawing a line down the center of the circle for the head. This will help you keep your drawing symmetrical.
Draw a small circle towards the bottom of the head for the nose and mouth to go inside of.
Then draw the nose, mouth, and eyes of your mouse.
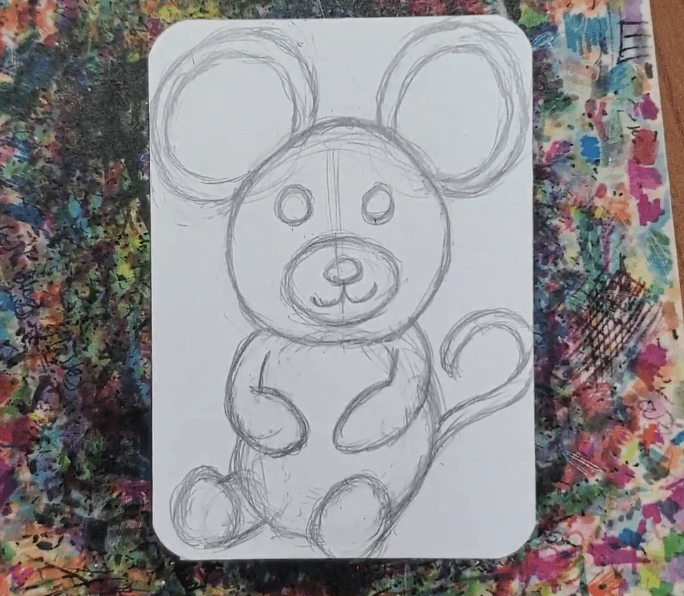
Now clean up the ears by drawing them the shape you want them to be. And add another line for the inside of the ears.
Finish up by refining the shape of the body, arms, and legs. And don’t forget about the tail.
Step 3: Add Details
After you have your mouse drawing sketched out, you can add any extra details. You might want to add a shirt to your mouse. Or, maybe you want to add a bow to make your mouse look like a girl.
There’s a lot of different things you could add to your mouse drawing. Just sketch them out lightly and see what it looks like.
Mouse Outline
After you have your mouse drawn out you can add an outline using a thin black pen or markers. This could be done using thin lines, thick lines, or a combination of line weights.
A brush pen would be a good option for adding your outline. You could also try using a color other than black.
How to Draw a Cartoon Mouse with Markers
After you have your mouse drawing outlined it’s time to add some color. Any medium will work, but I like using markers. So that’s what I’ll be showing you today.
If you want to blend your colors you need to use alcohol based markers. Sharpie, Bic, Copic, and many other brands will work.
Start by choosing two or three markers for each color. Since I did my mouse drawing on artist trading cards I’m only using two because the areas are small.
You’ll also want to work while the markers are still wet if you want to blend them. It takes several minutes for the alcohol to evaporate so you have plenty of time. But it’s best to work in small sections.
Start by filling in a small section with the lighter color marker. Then add the darker color on the places you want to be darker. To blend the colors use the lighter marker where the two meet. Or, use a colorless blender.
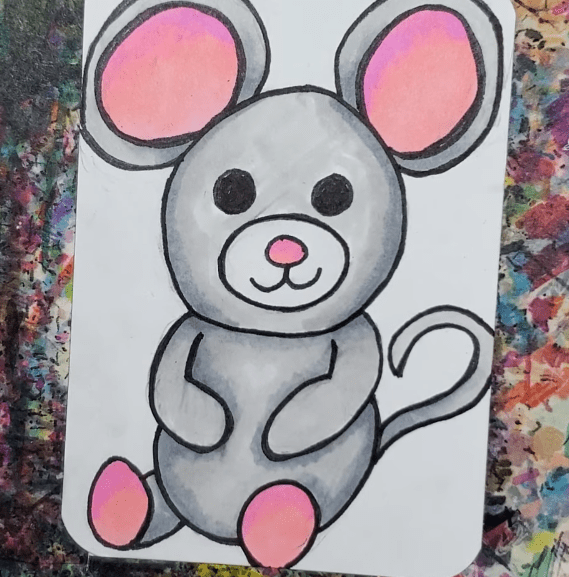
Do this for each section of your mouse drawing. Finish by adding a background.

A white Gelly Roll pen can be used to add highlights.
Cartoon Mouse Drawing Tutorial – Conclusion
That’s it for this mouse drawing tutorial. If you want to get good at art and drawing you’ll need to practice.
The more you practice the better you will get. Being consistent with your art sessions will take you far. Even if it’s only for a few minutes each day.
Doing a series of drawings is a great way to improve your art and drawing skills, as well as your creativity.
Grab your FREE Guide to Better Art in 7 Days
