Sun Drawing Easy Beginner Drawing Lesson
Today we are going to learn how to draw a sun. We haven’t seen the sun around here for what seems like forever. But I’m ready for some sunshine in my life.
Even though doing sun drawings is pretty straightforward and not too complicated as far as drawing them goes, there is still a lot of opportunity to make some really cool drawings. They are a good subject matter to practice different techniques or to work on improving your creativity.
When doing your sun drawings think about what a real sun looks like and what we are used to seeing surrounding it. Then brainstorm ideas about how you can make that more stylized or artistic looking.
You can draw your sun in a cartoon style, or you can make it look more realistic. Make sure you have fun and try out some new ideas and techniques. Don’t be afraid to experiment.
So let’s get started by looking at the supplies we are going to use to draw a sun.
* Some of the links in this post may be affiliate links. This means I receive small commissions for purchases made through these links at no extra cost to you.
Art Supplies
- Thin black marker
- Paper or cardstock
- Markers
- Pencil
- Click Eraser, Pink Pearl Eraser
- White Gelly Roll pen
How to Draw a Sun Step by Step (Easy)
So, the basic shape of the sun is a circle. But there are so many other things we can do to enhance that circle and make it look more interesting.
We’ll start by drawing our circle. You could actually leave your shape as just a plain circle if you wanted to.
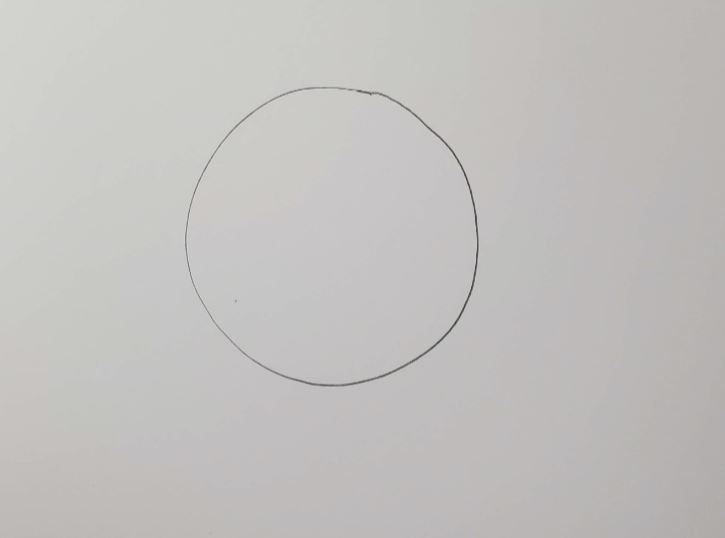
But that seems pretty boring. So let’s look at some ways to improve on it. To do this we need to add some rays to our sun. This can be done in a very simplistic way by using straight lines. But again, not very interesting to look at.
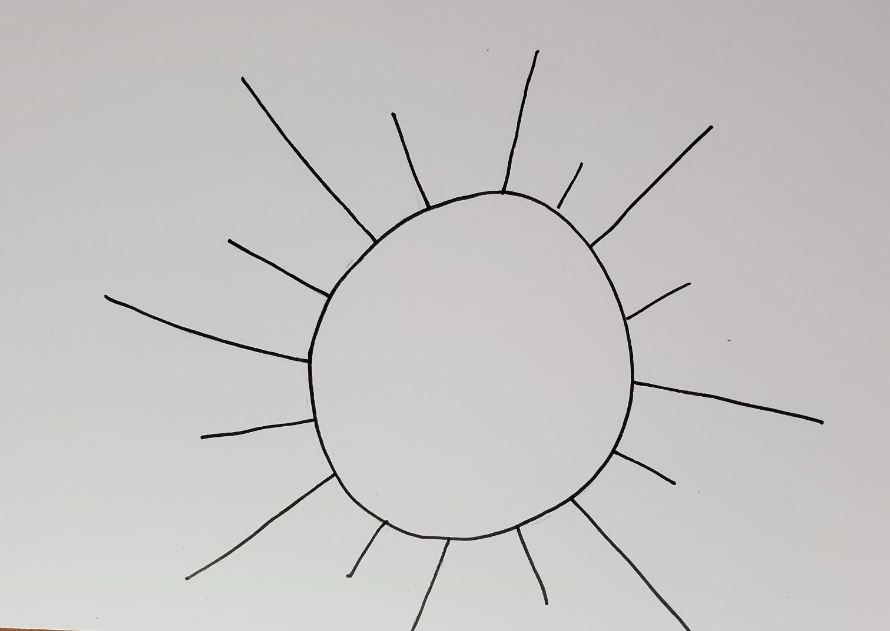
How to Draw Sun Rays
Or we can make it much more interesting by drawing our rays a bit more fancy. So let’s make your rays with some curves and a bit of thickness to them.
When drawing your sun rays make them have waves and curves with points at the end. Of course these are just suggestions. You can try drawing them any way you like.
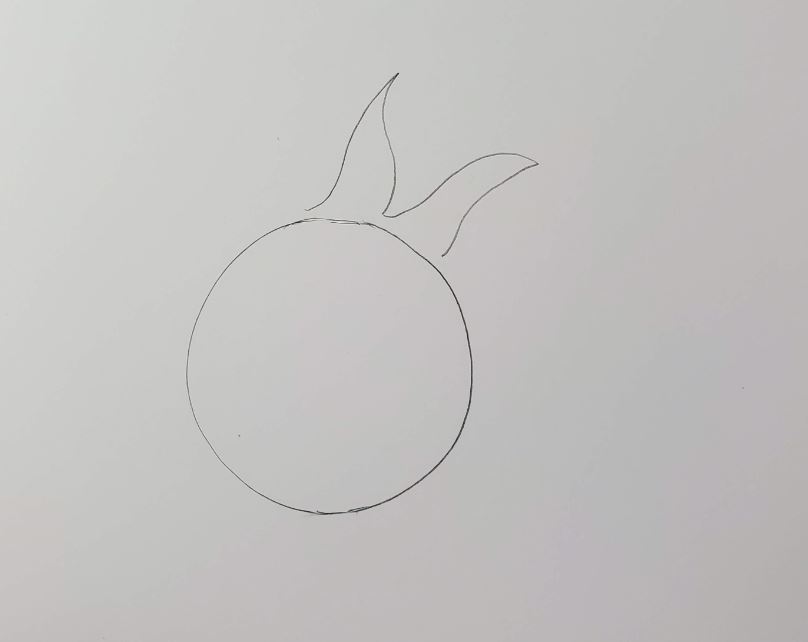
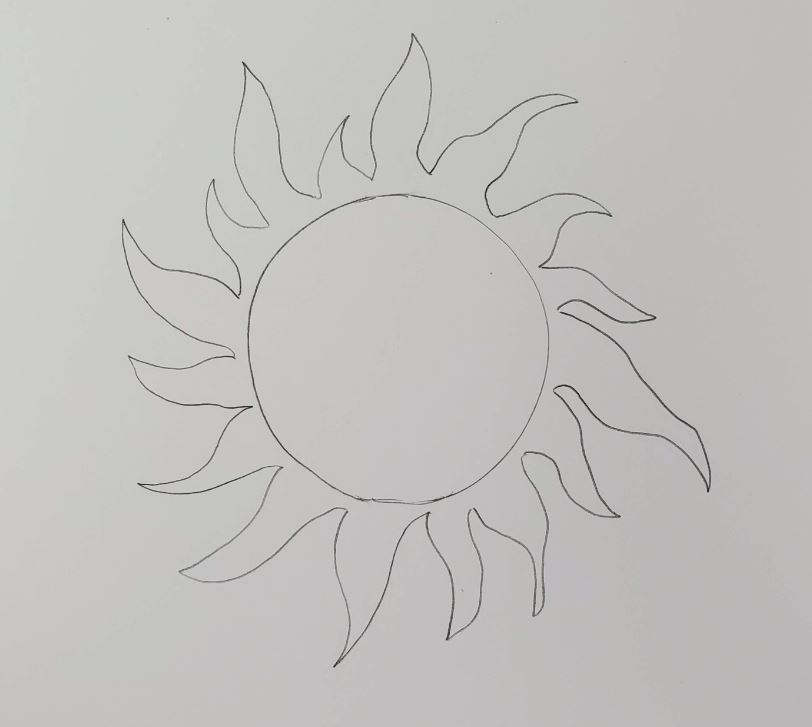
Work your way around the circle of your sun drawing similar shapes. It looks better if you vary the size of your rays in a pattern. Don’t worry about the shape of your rays being exactly the same. But do try to make them somewhat similar so they look natural.
Sun Drawing with Face
You don’t have to draw a face on your sun. But for this lesson we are going to add in some cute smiley faces to our sun drawing.
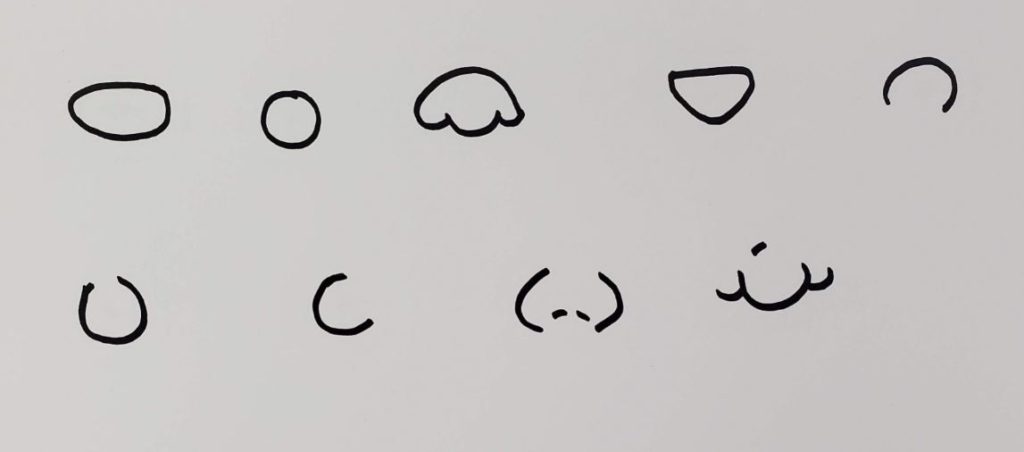
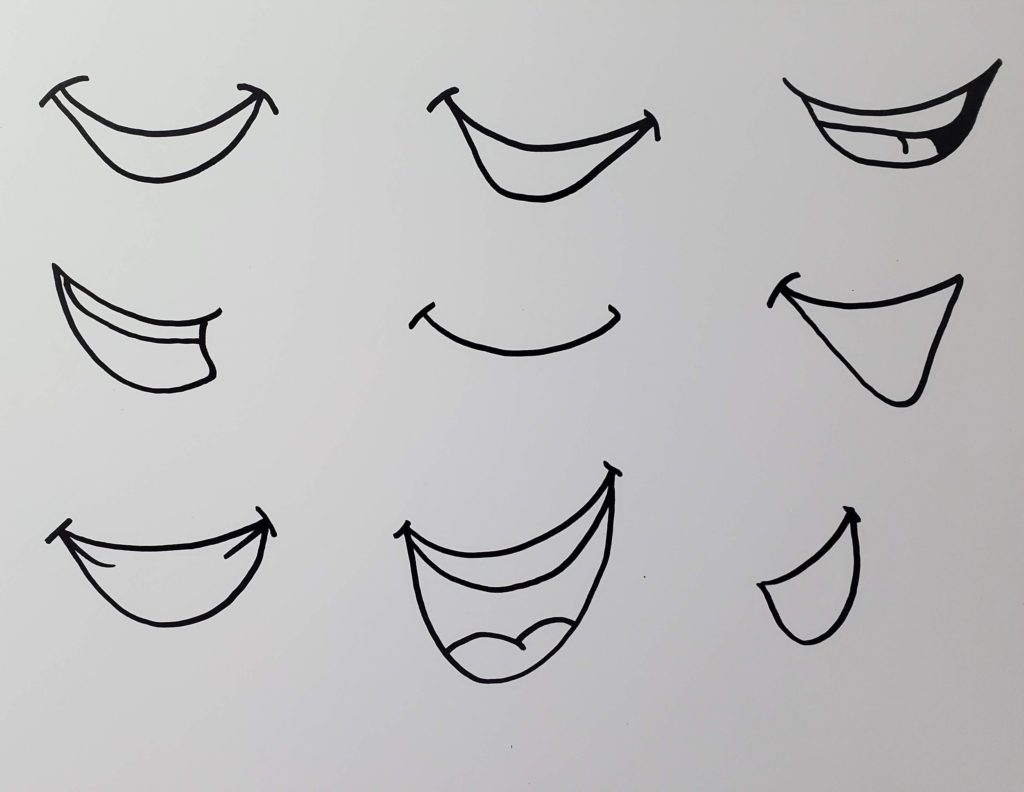
You can change the way your sun looks by drawing the parts of the face different. For example, there are many different ways to draw the eyes. Let’s take a look at some examples of what I mean.
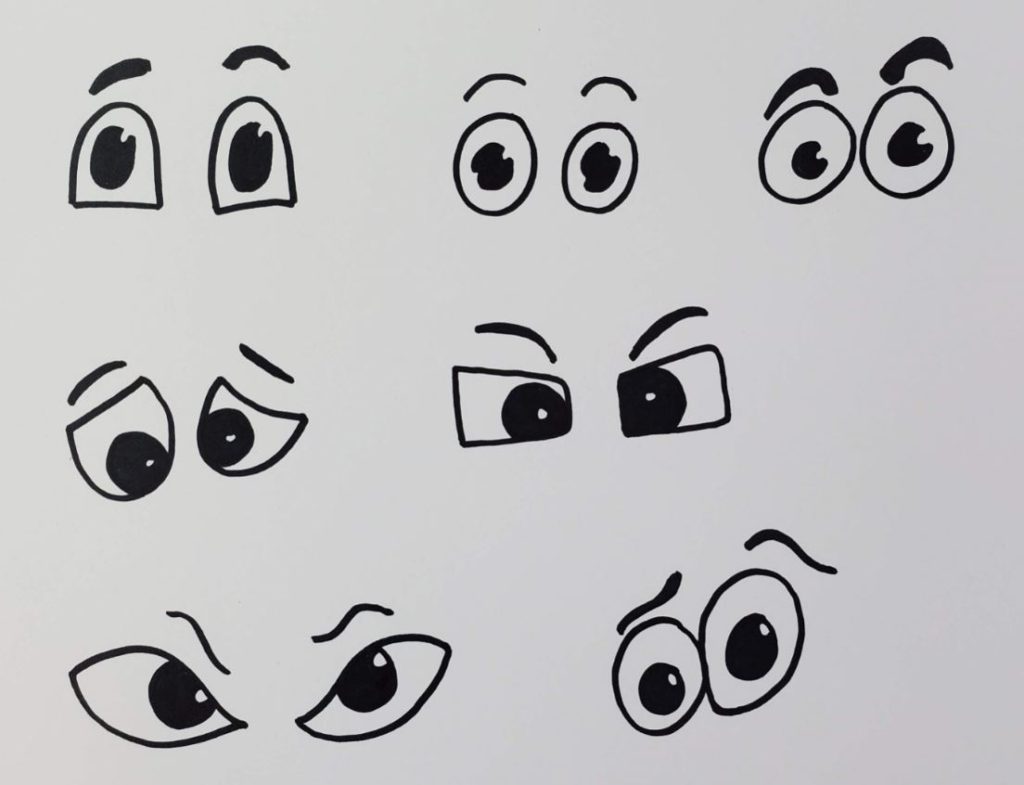
The same goes for the nose.
As well as the mouth.
By changing the way you combine the different elements of the face, you can change how your sun looks.
Group that together with how you draw the shape of your sun, and you have an endless number of ways to complete your drawing. When you are finished with your drawing, go over your lines with a black marker.
Sun Outline
Making a sun outline is really easy. Just trace over your pencil lines with a black pen or marker. You can make your lines thin, thick, or a combination of line weights.
Another option is to use a color other than black for your sun outline. Orange, yellow, or red would be good options as well as black.
Create your artwork in whatever way fits your style. If you don’t know what that is, keep practicing. Your artistic style will develop with practice over time.
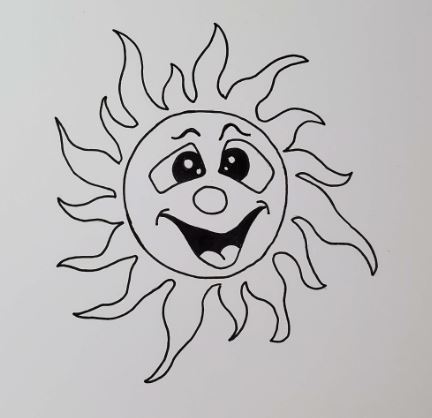
How to Draw a Sun with Markers
Learning how to draw a sun with markers is easier than you might think. And there’s only a few things you need to know about them to get started.
First, if you want to be able to blend your colors together you need to use alcohol based markers. Bic, Sharpie, and Copic for example. As well as many others.
Second, you need to work while the colors are still wet or they won’t mix together. This isn’t a big deal. Just make sure you work on a section at a time.
Third, you need to use colors that are similar to each other if you want to create a smooth transition of color. If your markers are too different they will leave a harder edge.
When using markers for your sun drawings you’ll probably want to avoid hard edges. For this example yellow and yellow-orange were used for the sun. And light pink and medium pink were used for the tongue.
If you want to create some depth in your drawings avoid using solid areas of color. Instead, use two or three colors for each section of your drawing.
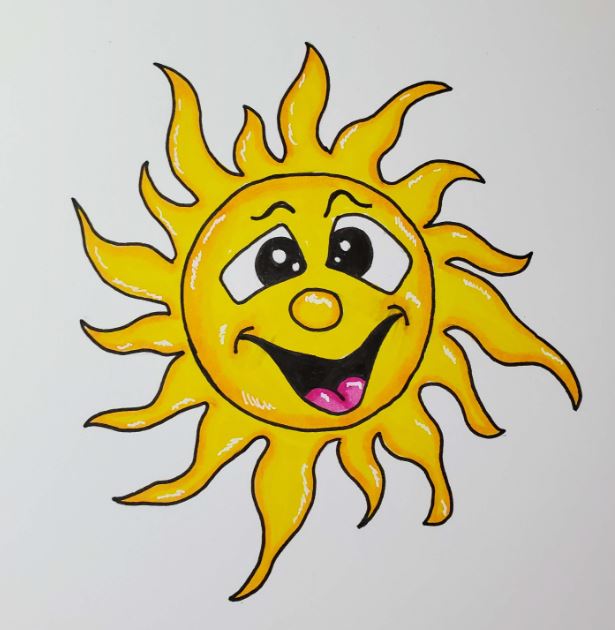
A white Gelly Roll pen can be used to add highlights.
Sun Drawing Ideas & Examples
There are a lot of different things you can do with your sun drawings. The more of them you draw, the more creative your designs will become. Experiment and try new things. And don’t forget to have fun doing it.
Here are some sun drawing ideas and examples that will hopefully inspire you to try some of your own.
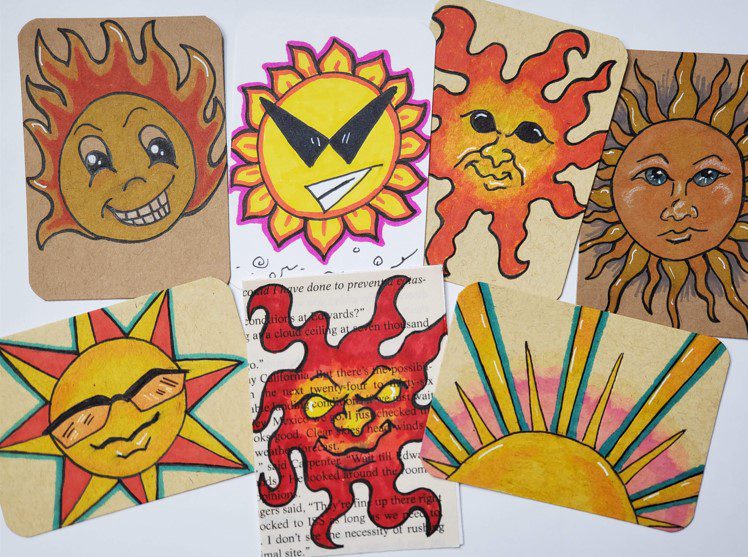
As you can see, each drawing has a different style and look to it. Trying out different ideas can be a lot of fun if you don’t let yourself get stressed out over the finished artwork.
Final Thoughts and Next Steps
Now that you know how to draw a sun, what’s the next step? If you want to improve your art and drawing skills you need to practice. The more you practice the better you will get.
This doesn’t mean you have to drawing for hours everyday. A few minutes consistently each day, over time, will give you good results and you’ll see improvements.
Try scheduling your creative time into your daily routine. Make it a priority. And do whatever you can to keep it enjoyable and relaxing. The more you look forward to it, the more likely you’ll be to create more artwork.
If you want to get really good at drawing a sun, challenge yourself to do a series of drawings this week. You’ll creativity will improve with your art skills.
Grab your FREE Guide to Better Art in 7 Days


Good One
Thank you