How to Draw a Daisy for Beginners
Today we are going to learn how to draw a daisy, in this easy step by step tutorial. These flowers are something beginners will be able to draw. And if you’re more advanced, you can add your own twist to your drawing. They’re pretty simple flowers, but that doesn’t mean you can’t do something interesting and different with them.
Let’s look at at the materials we’ll be using to draw a daisy.
* Some of the links in this post may be affiliate links. This means I receive small commissions for purchases made through these links at no extra cost to you.
Art Supplies
FREE Guide to Better Art in 7 Days
How to Draw a Daisy
The process for drawing a daisy is pretty similar to how we drew our sunflowers. There are only a few differences in the two flowers.
Let’s take a look at a photo of an actual daisy.

What we notice about the daisy is that there is a circle in the center, that has quite a bit of texture to it.
The petals are fairly thin, and they overlap as the go around the center of the daisy. And there are some additional petals behind that first row, but not all the way around the flower.
There are quite a few individual petals.
We always want to use basic shapes as much as possible for your drawings, as discussed in Using Shapes to Draw.
So let’s start our daisy drawing with a circle. I’m using a Pentel mechanical pencil, which I absolutely love. But you can use whatever type of pencil you’re comfortable using.
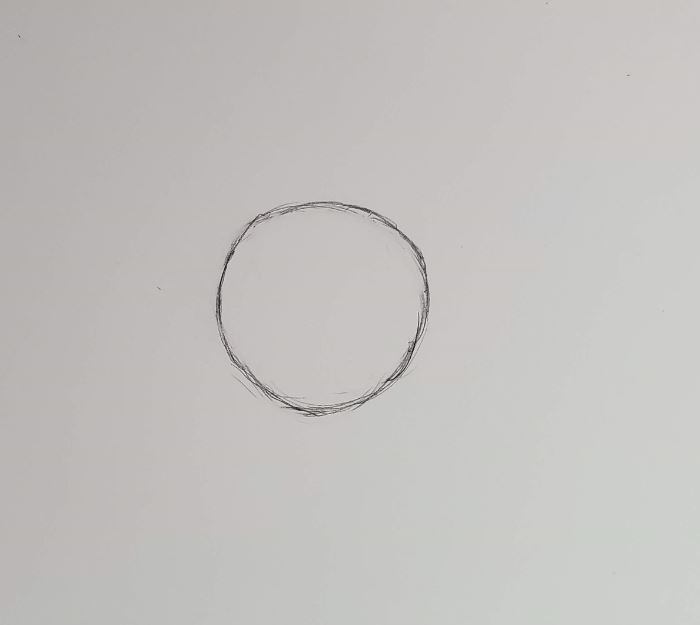
Next, choose a spot to start drawing in your petals. I usually start at the top but it really doesn’t matter where you start at.
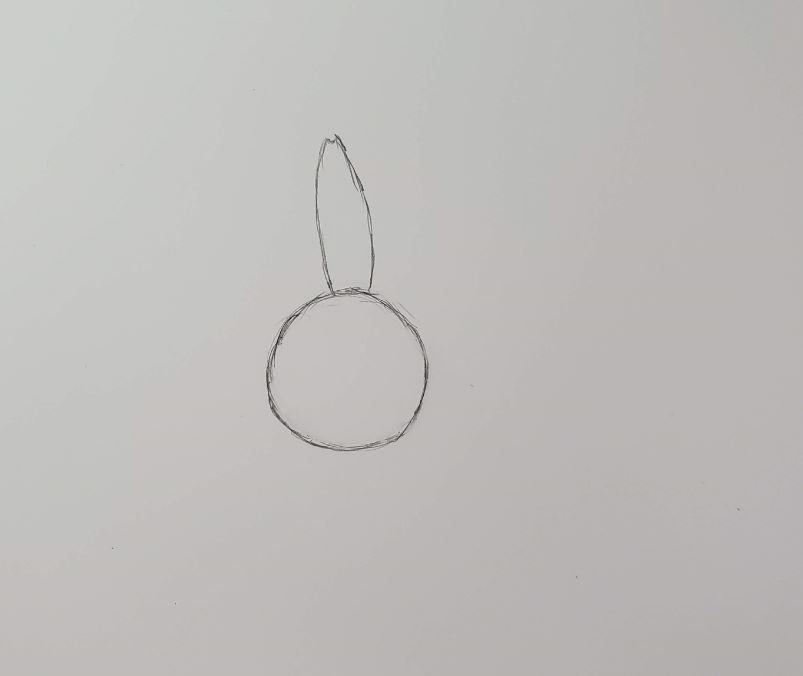
For the next petal, we’re going to draw it slightly behind the first one. This is called overlapping, and we can use it to show depth in our drawings.
Optionally, you can start by drawing your petals in a cross pattern by draw the first one and then drawing the next one directly across from it. Then draw the next set at the center points between those. From there you would just fill in the spots in between those four petals.
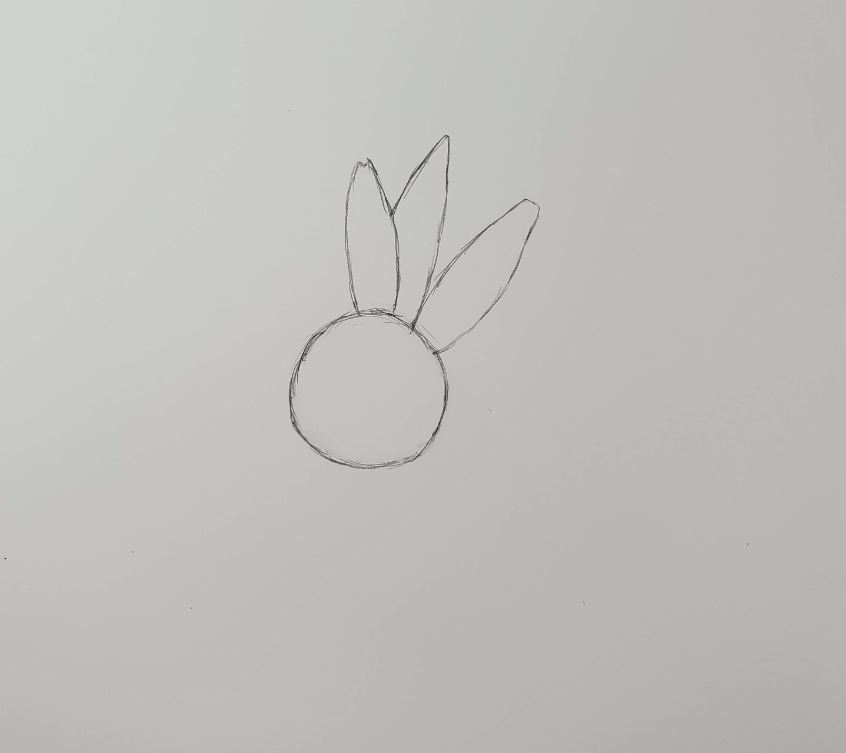
Draw all of your petals with a similar shape. They should be fairly thin, and slightly longer than the length across the center of your flower. Keep working your way around the center of your daisy until you get back to where you started.
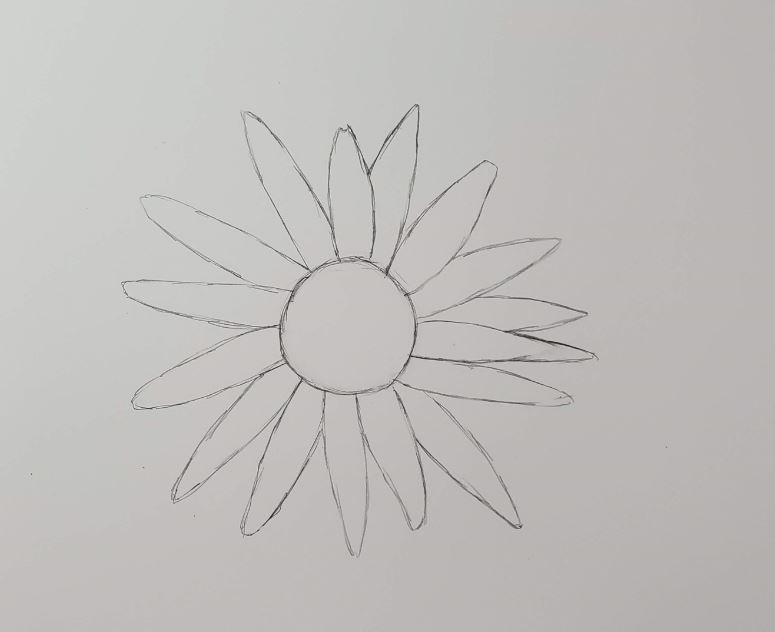
Daisy Drawing Petals and Stem
Next, work on your second row of petals. You don’t need to draw an entire second row. Just add in a few petals randomly between some of the petals in your first row.
The stem of a daisy flower is mostly straight, with only a slight curve. And is pretty thin. You can add a stem or leave it off. That’s up to you.
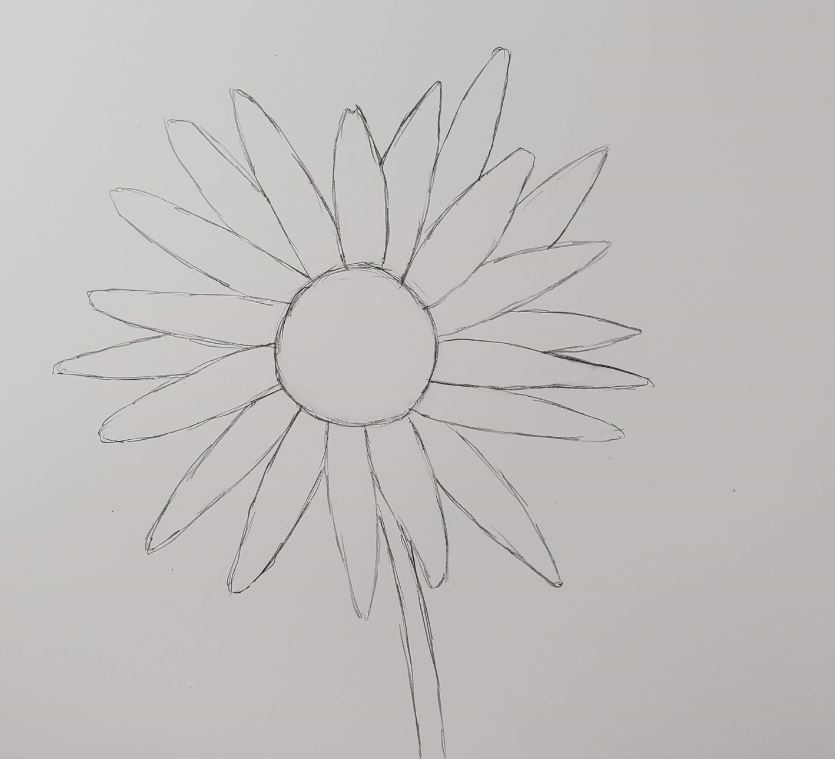
Daisy Drawing Outline
You’ll need to decide how you want to finish your daisy drawing. This is up to you and will depend mostly on your artist style. But I’ll show you one way to finish up your drawing.
Start by tracing over your pencil lines with a black marker. I’m using a Pitt Artist pen today. Since I’ll be using markers to color my daisy drawing, adding a black outline works really well for me. It goes good with my style.
If you have a different idea for your outline, go ahead and follow that idea.
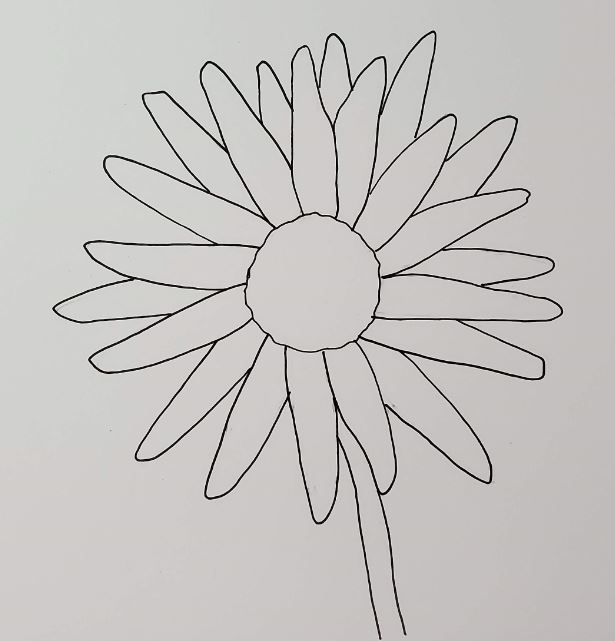
And then add in some extra details on the petals.
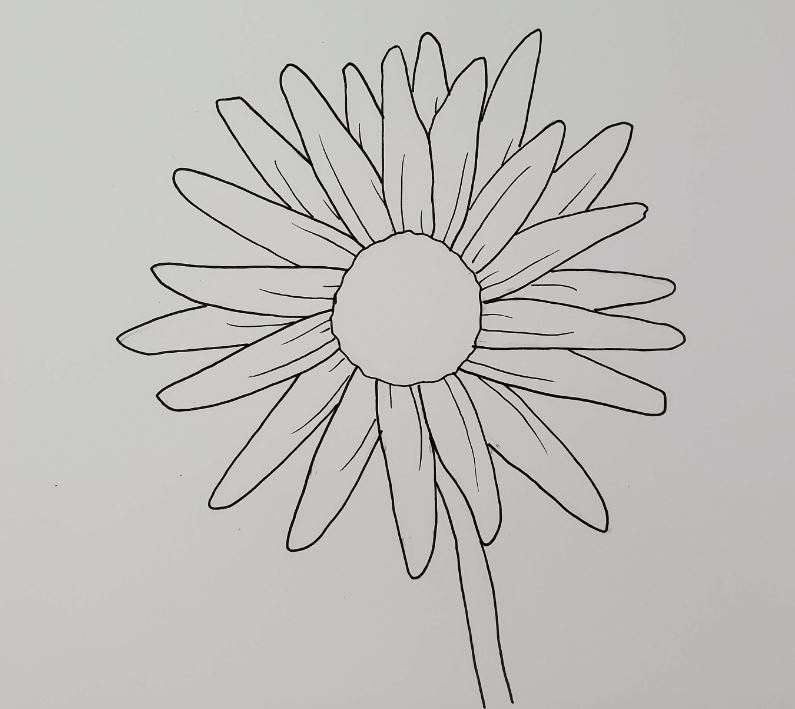
How to Draw a Daisy with Color
Next, add some color to your daisy and draw or color a background. I’m using Bic Intensity markers for my drawing. Since daisies are mostly white, you’ll have to use color in the other areas of your daisy drawing. However, since white objects reflect the colors around them, you can add some color to your petals as well.
You could also draw something completely from a fantasy world. There’s not rule that says your drawings need to look realistic. Have some fun and experiment a bit with your colors. Maybe try turning your daisy into a color wheel. That could be fun.
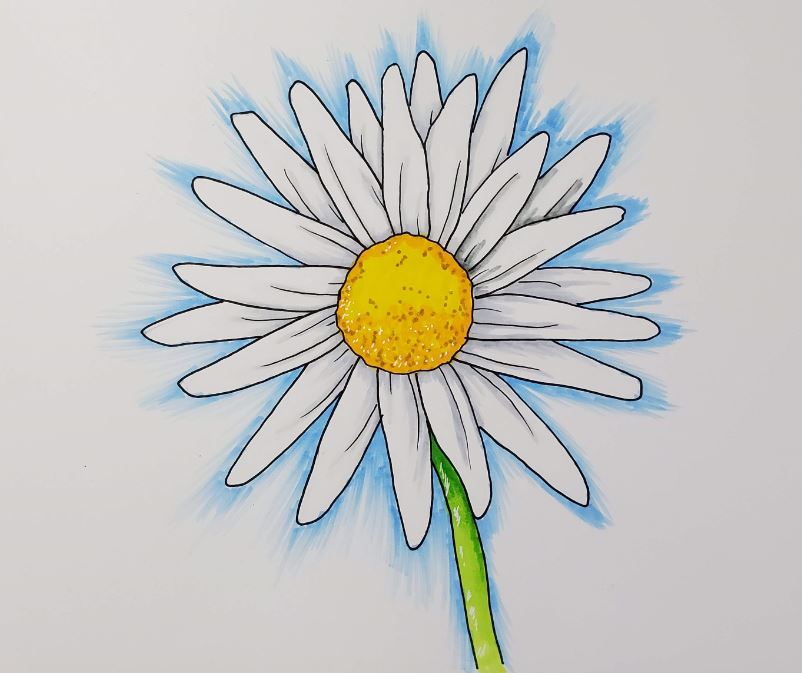
If you want to be able to blend your markers together for a smooth transition, you need to use alcohol based markers. I prefer using Bic, but any brand will work. Use whatever you feel comfortable with.
And if you need some help using markers, take a look at How to Blend Markers for Beginners.
Daisy Drawing Challenge
The only way to improve your drawings is with practice and repetition. The hard part about practicing is coming up with ideas and not getting bored.
So here are some ideas to get you started.
- Funky colors – use something other than the normal colors you’d see in a daisy.
- Play with the composition – draw your daisy super zoomed in. Or let it go off the edge of the paper. You could draw several flowers in one drawing.
- Try doing some painted rocks featuring a daisy drawing. We have a beginner tutorial at, Rock Painting for Beginners.
Get Your FREE Guide to Better Art in 7 Days
Conclusion
Now that you know how to draw a daisy, think about what the next steps are. If you want to get really good at drawing you’ll need to practice. The more you practice the better you will get. Daisies are really easy to draw. Overall they are a pretty simple flower. However, that doesn’t mean you can’t do something really cool with your drawings.
If you do a bunch of daisy drawings your creativity will start to evolve and your drawings will become more interesting. And they’ll get even easier to draw. Experiment and try new ideas and see what happens.
More Flower Drawing Tutorials
- Marker Blending for Beginners
- Learn to Draw a Rose Bud
- Abstract Flowers – Step by Step
- Sunflower Drawings
- How to Draw a Rose


