Shading with Pencil
One of the most needed skills required to create aesthetically pleasing art is shading. Mastering this skill means learning to control your pencil and the marks made on your paper. How to shade with pencil is a good starting point in learning these skills.
There are more ways to shade using a pencil than just filling in areas with pencil marks and blending it together. This method works well too, but you need to be familiar with other shading techniques as well.
What is Shading in Art
Shading is used to show a range of lightness or darkness, called value. These values are one of the seven elements of art and are used to create the illusion of depth.
There are a variety of shading techniques that are used to create value in a drawing. By placing our pencil lines closer together we create a darker value. And placing them further apart creates a lighter value.
We will discuss different shading techniques more in depth a little later.
* Some of the links in this post may be affiliate links. This means I receive small commissions for purchases made through these links at no extra cost to you.
Art Supplies
Choosing the Right Pencil
All pencils are not created equally and choosing the right one for the job isn’t always easy. Unless you learn the qualities and characteristics of each pencil.
You may think that the pencil you use isn’t all that important. But it actually is, and can make a huge difference is the results you get.
I use a Pentel mechanical pencil for most of my work. It’s a good quality pencil and I like how it feels.
However, this type of pencil doesn’t work well for shading. It’s great for drawing, but doesn’t work as well for shading.
Regular wood pencils are much better for shading and line work. But even those will vary quite a bit. You need to have some good quality pencils first of all. Derwent pencils are a good quality pencil that we highly recommend.
A poor quality pencil will not be smooth when you’re using it. It may even scratch your paper and leave marks on it.
There are also different types of pencil lead. A good set of pencils will range from 9B (softest) to a 9H (hardest), and everything in between. HB is right in the middle, and is what your standard #2 pencil is.
The sharpness of your pencil will also impact how your lines and drawings will look.
Creating Value with Pencil
To create a range of value with pencil you could use just one pencil, or you can use the full set. And of course, anything in between the two.
You can create different values by changing the amount of pressure you apply to your pencil strokes. More pressure will result in a darker line.
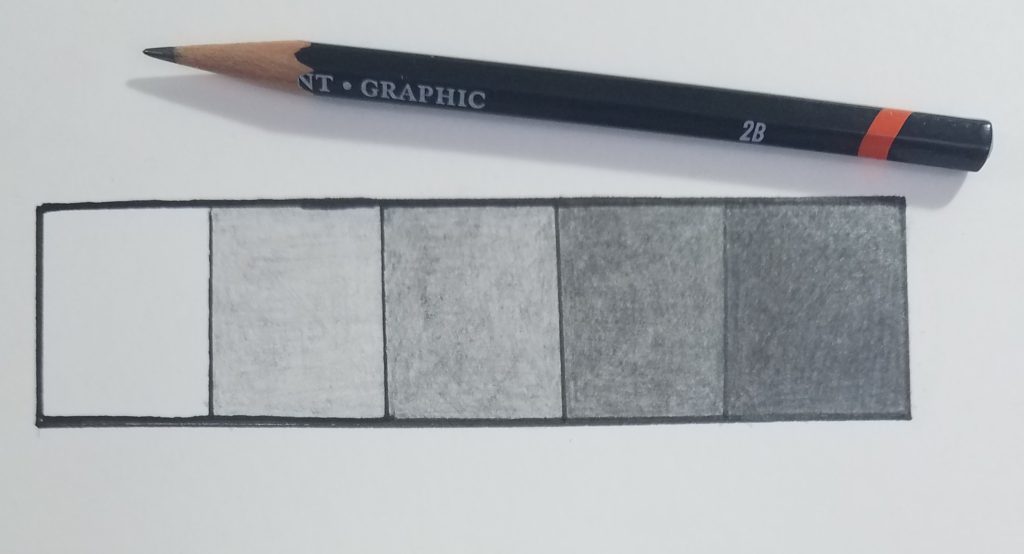
Or you can use density to produce a darker area of a drawing. Several marks closer together will be darker than fewer marks that are spread apart.
These pencil marks can then be blended to make a smooth finished product using a blending stump, or they could be left as they are.
The following shading techniques are used to control the value of your lines. You would benefit by learning and using them all. But you will most likely discover one or two that are your favorite.
Shading Techniques
Below are some common shading techniques that can be applied with a pencil. They are also commonly used with pen and ink.
You should practice each one and get familiar with them all.
Hatching
The most common, and most basic, shading technique is hatching. This is the process of making pencil strokes that go in the same direction.
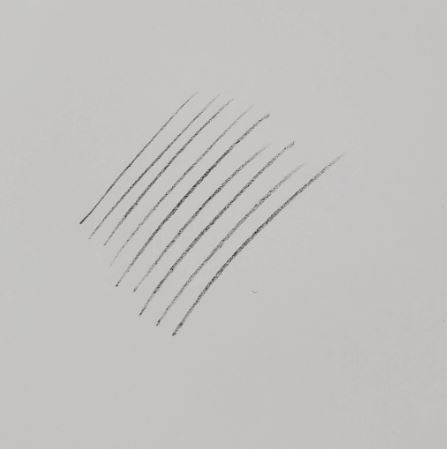
This is a fairly natural approach since our brains tend to like things that are uniform.
However, true hatching requires all your pencil strokes to be perfectly parallel, which seldom happens effortlessly.
Cross Hatching
Next we have cross hatching, which is similar to hatching in that parallel lines are made. However, with cross hatching the lines will vary in direction.
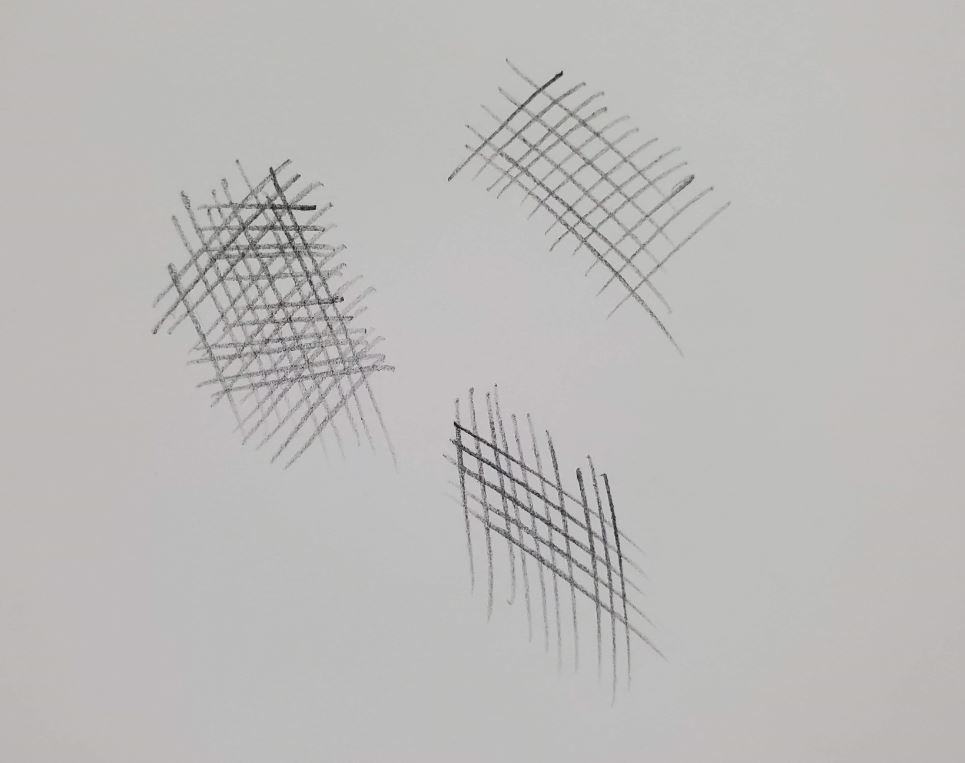
This technique requires at least two sets of lines that go in two different directions. You can have many more than that. But two is the minimum required to create cross hatching.
Stippling
This is the process of using a cluster of dots to shade your drawing. Stippling can be very tedious, but many also find it to be relaxing.
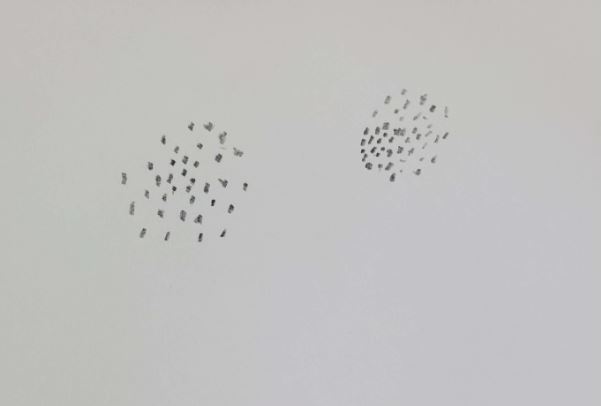
When making your dots, you can vary the size and placement to control your values. The closer together and more concentrated your dots are, the darker the area will be.
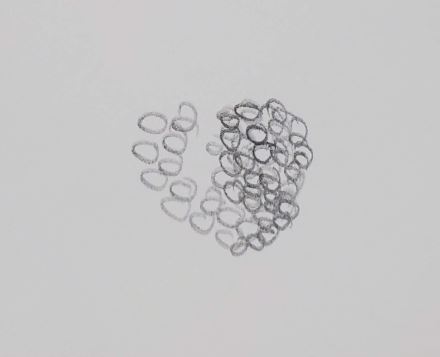
Circles/Scribble Shading with Pencil
These two techniques are pretty similar to each other. The main difference is that circles are more controlled, where scribbles are kinda all over the place.
Circle shading is exactly what it sounds like. Your pencil marks are made using a circular motion. This can create an interesting texture.
Scribble drawing is a little looser and is made with a somewhat random scribble motion. Typically this is done with one continuous line.
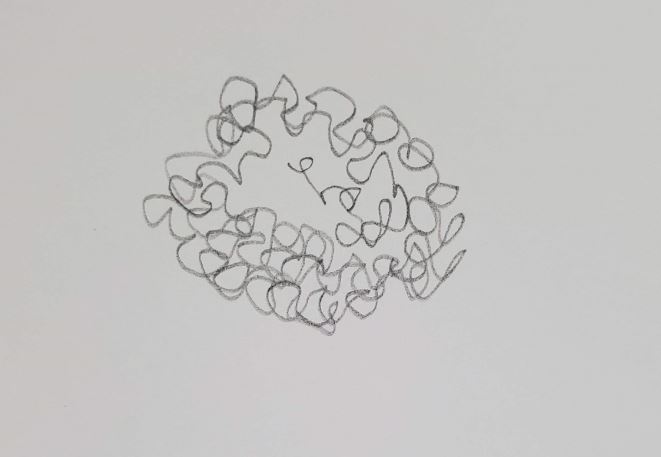
We have a full tutorial on the Scribble Drawing Technique.
Contour Shading
Somewhat similar to hatching, contour shading are groups of parallel lines. But this time they follow the contour, or shape, of the object.
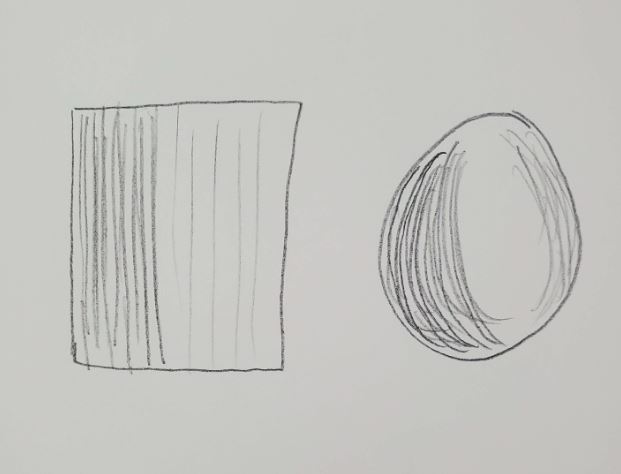
This is a more deliberate technique than the rest since you have to pay very close attention to the contour of your object while you are working.
How to Improve Your Shading with Pencil
The big question everyone wants the answer to is how to get better at shading. The only way to improve is by practicing as much as you possibly can.
The more you practice, the better you will get. And the quicker you will improve. Drawing from life is a really good way to practice. If you can’t do that, then drawing from reference photos is another option that will work too.
How to Shade with Pencil
I’m curious about which shading technique you prefer to use in your drawings. I personally am not a fan of contour shading, but have used the rest from time to time.
Which is your favorite?
More Posts Related to Pencil Shading

