How to Draw a Haunted House | Art Tutorial
Learning how to draw a haunted house is easy and fun. We’ll show you step by step how to draw, outline, and color your haunted house drawings with markers.
Drawing and creating art is a skill that everyone can learn. And it should be fun and relaxing. The more you enjoy your creative time, the more you’ll want to work on your artwork. And the more your draw and create art, the better you will get.
Let’s gather up some supplies and get ready to have some fun.
* Some of the links in this post may be affiliate links. This means I receive small commissions for purchases made through these links at no extra cost to you.
Art Supplies
- Thin black marker
- Paper or cardstock
- Markers
- Pencil
- Click Eraser, Pink Pearl Eraser
- White Gelly Roll pen
Free Guide – How to Improve Your Drawing Skills
How to Draw a Haunted House
Learning how to draw a haunted house is really easy if you break things down into simple shapes and steps. And we like to keep things as easy as possible.
There are lots of different haunted houses to look at for inspiration or to use as a reference. The one we’ll be drawing today shouldn’t be too difficult for a beginner. But you can make your haunted house as complicated as you want to make it.
Step 1: Basic Shapes
We’ll start by drawing out some basic shapes. Begin by drawing a rectangle. This will be the center section of your haunted house.
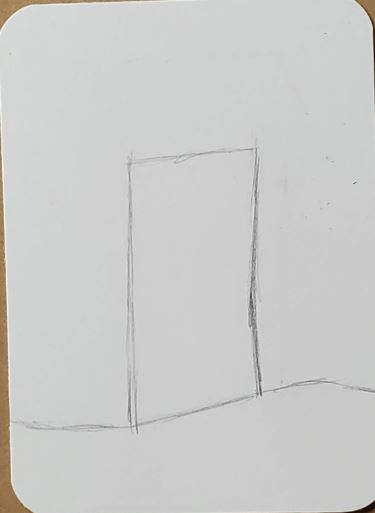
You can add a hill or some ground at the bottom.
Next you’ll want to draw the roof for that section. Notice how the bottom edge of the roof is wider than the rectangle shape. And that it gets more narrow at the top of the roof.
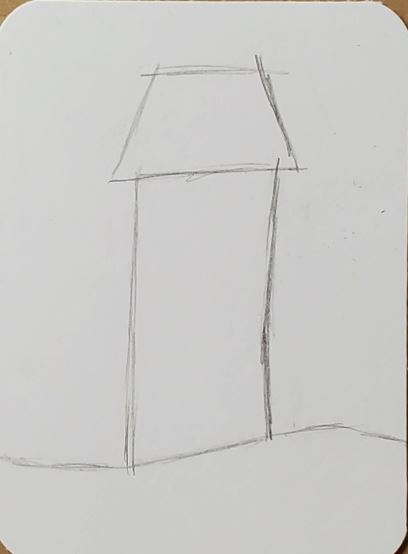
Now draw a triangle shape for the porch roof. You can draw your porch the same width as the main section of your house. Or you can make is slightly wider.
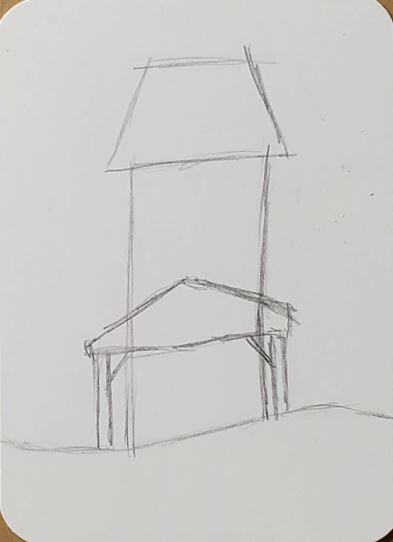
Add a couple of posts to hold the roof up.
Step 2: Add Details
You can start adding in some windows now. Or add them in later. It’s up to you. There are many different ways to draw your windows. You can make them round, rectangular, or arched. And I’m sure there’s other ways as well.
Next, add another section to the left side of your haunted house.
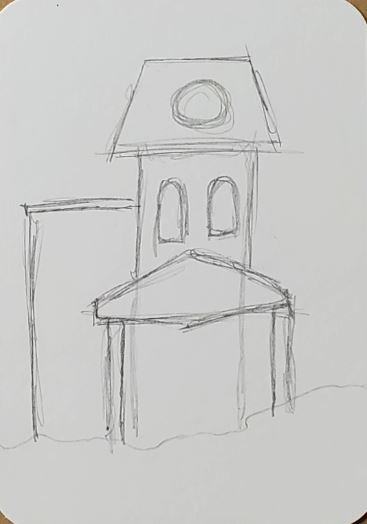
Draw a roof that is similar in shape to the main roof you drew earlier. And again, add in some windows.
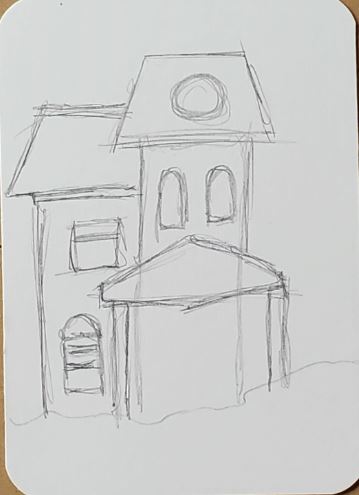
Do the same thing for the other side of the house.
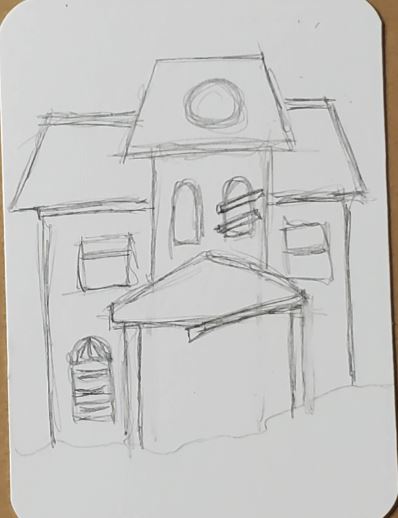
Start adding in more details like boards for the windows, frames, shingles, lightning rods, and whatever else you think will look good on your haunted house.
When drawing the different parts of your haunted house you can make things a bit crooked. It will help your house look older and a bit more haunted.
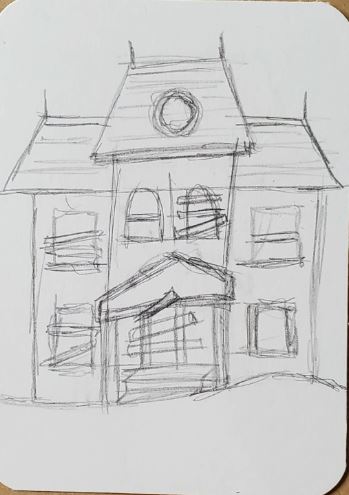
Haunted House Outline
Making a haunted house outline is really easy. Simply trace over the pencil lines you want to keep with a black pen or marker. I’m using a PITT Artist Pen for my drawings today. But there are other pens that work just as well.
You can make your lines thick or thin. Or you could use a variety of line weights for you outline. Just do whatever fits with your artistic style.
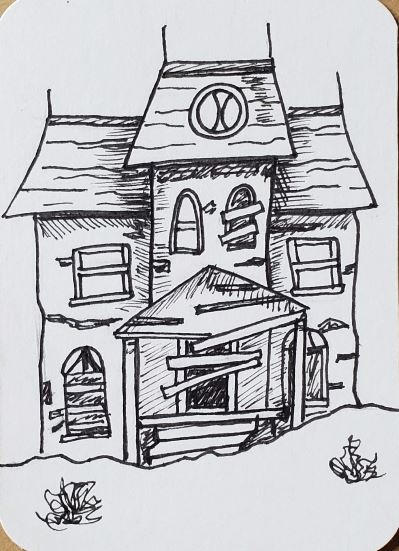
You can add in some shading and texture as well. Adding some blemishes to your haunted house will give it more character and make it look more interesting.
Now is also a good time to drawing anything you want to add to your background. When you’re finished making your haunted house outline you can use an eraser to clean up your drawing and remove and pencil lines.
How to Draw a Haunted House with Markers
Learning how to draw a haunted house with markers is easier than what you might think. And there’s only a few things you need to keep in mind.
First, if you want to be able to blend your colors together you need to use alcohol based markers. Bic, Sharpie, and Copic for example. As well as many others.
Second, you need to work while the colors are still wet or they won’t mix together. This isn’t a big deal. Just make sure you work on a section at a time.
Third, you need to use colors that are similar to each other if you want to create a smooth transition of color. If your markers are too different they will leave a harder edge.
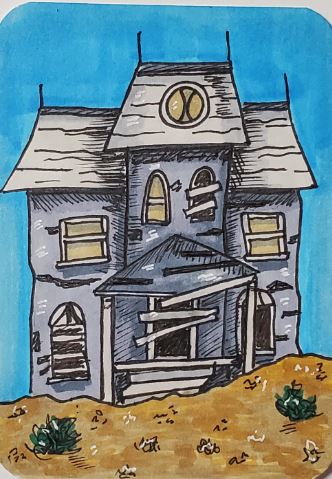
Regardless of what medium you use, be sure to layer your colors to keep them from looking flat.
I used grays, browns, and blue for my artwork today. You can make the areas under the roofs darker to show the shadow from the overhang. And add some darker areas in the windows between the boards.
Use a white Gelly Roll pen for the highlights.
And don’t be afraid to experiment with the colors you’re using.
Haunted House Silhouette Drawing
You can use the same process to make a haunted house silhouette drawing. Just begin with some basic shapes. Then draw out all of your details. Then outline your drawing.
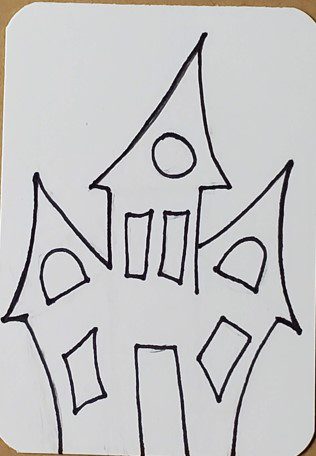
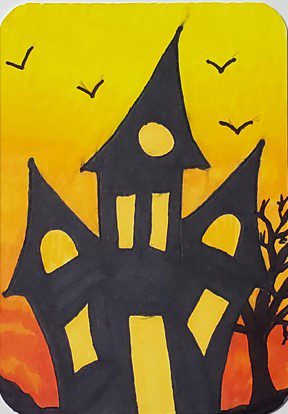
Fill in your haunted house shape with solid black using a marker. Finish up your haunted house silhouette drawing by adding a background.
Add some bats and trees to the background to make it a bit more interesting.
Final Thoughts & Next Steps
Now that you’ve learned how to draw a haunted house, what should you do next? The answer to this is easy… draw more.
Do as many haunted house drawings as you can without getting bored. A good way to do this is by using Artist Trading Cards for your drawings. Give yourself a week to do 7 drawings and see what you come up with.
If you need help on what to do to improve your drawings and artwork, download our FREE Guide.

