
Spooky Tree Drawings for Beginners
Drawing creepy, spooky, or scary drawings can be a lot of fun no matter what time of year it is. But learning how to draw spooky trees is especially fun in the fall.
These trees make great themes for artist trading cards, and they look good as a creepy tree silhouette too. Most of all, they are fun and easy to draw. So let’s get right into it with some basic supplies needed for your drawings.
* Some of the links in this post may be affiliate links. This means I receive small commissions for purchases made through these links at no extra cost to you.
Art Supplies
Fall Tree Silhouette
Let’s begin by looking at how a normal fall tree would look. The tree below is just a simple, normal looking tree without any leaves on it. There is nothing spooky about it. This tree would be perfectly fine if you were drawing come kind of peaceful winter or late fall scene.
However, it is not how you want to draw your trees if you are drawing something for Halloween or a scary, spooky drawing.
How to Draw Spooky Trees Step by Step
Now let’s take a look at drawing a tree that is much less peaceful and calm. We’ll go step by step through drawing a spooky tree more suitable for a Halloween scene.
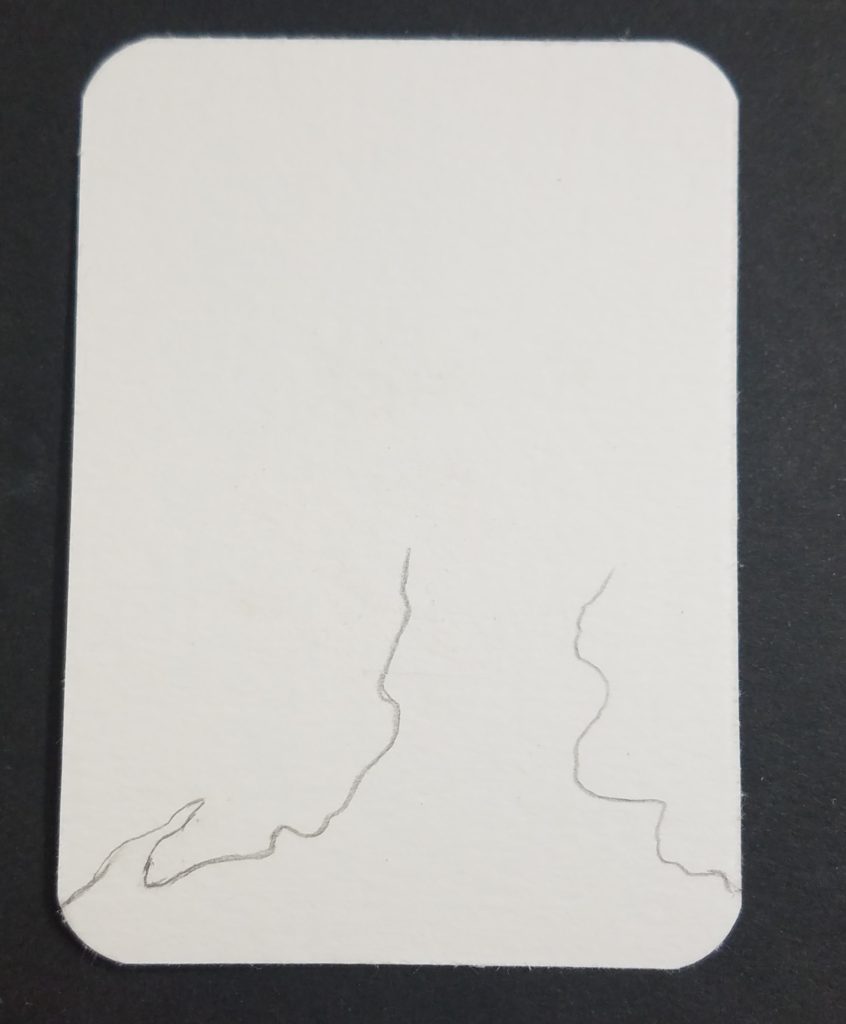
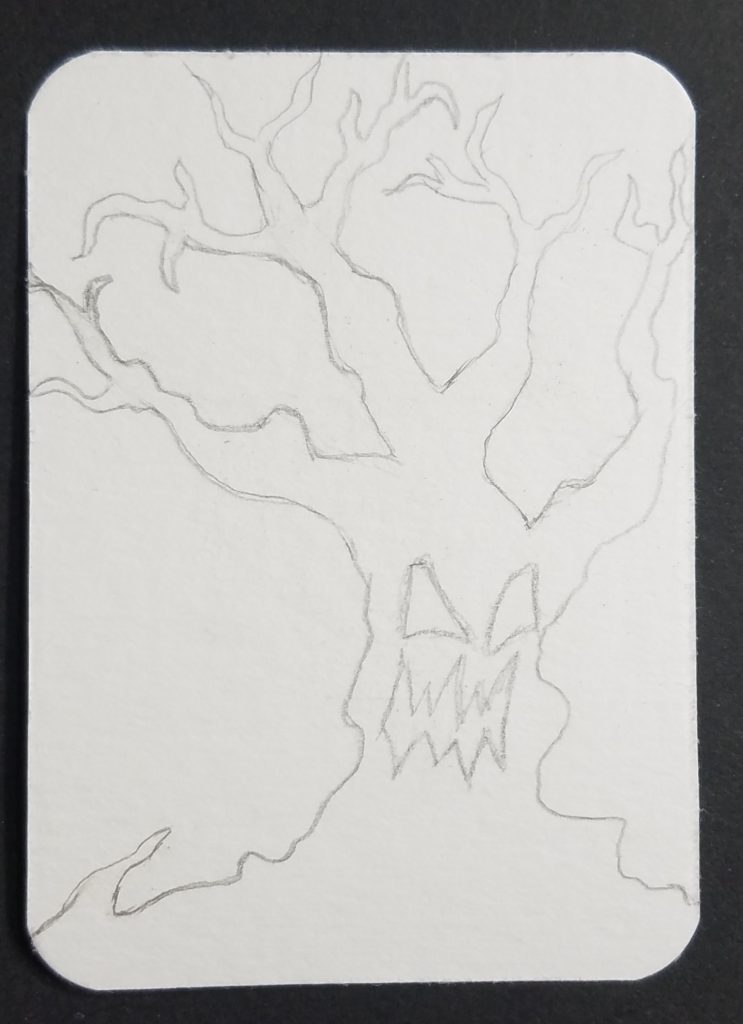
Start by lightly sketching out the shape of the trunk. Draw your pencil lines very lightly so you can go back over and refine them later. I prefer to use a mechanical pencil for most of my drawings.
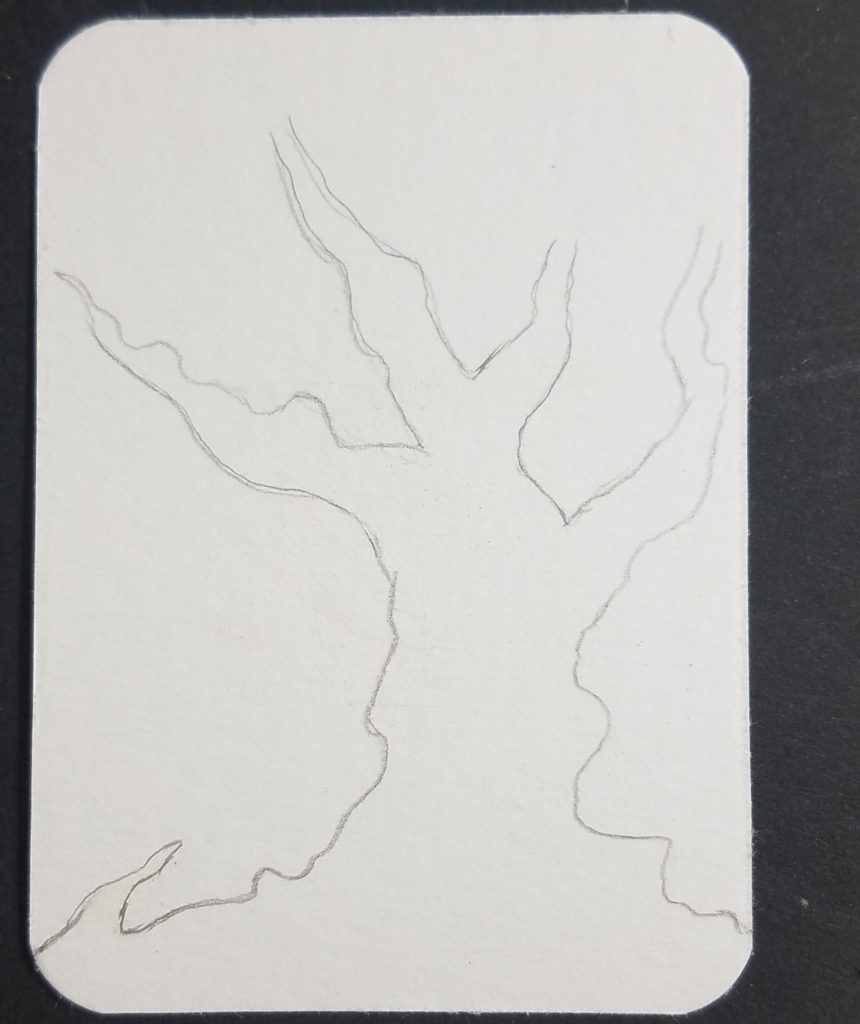
Next, add in some branches that will be the main structure of your tree. When drawing your branches, avoid making the line too straight. Draw in some bumps and curves as they reach out on the page.
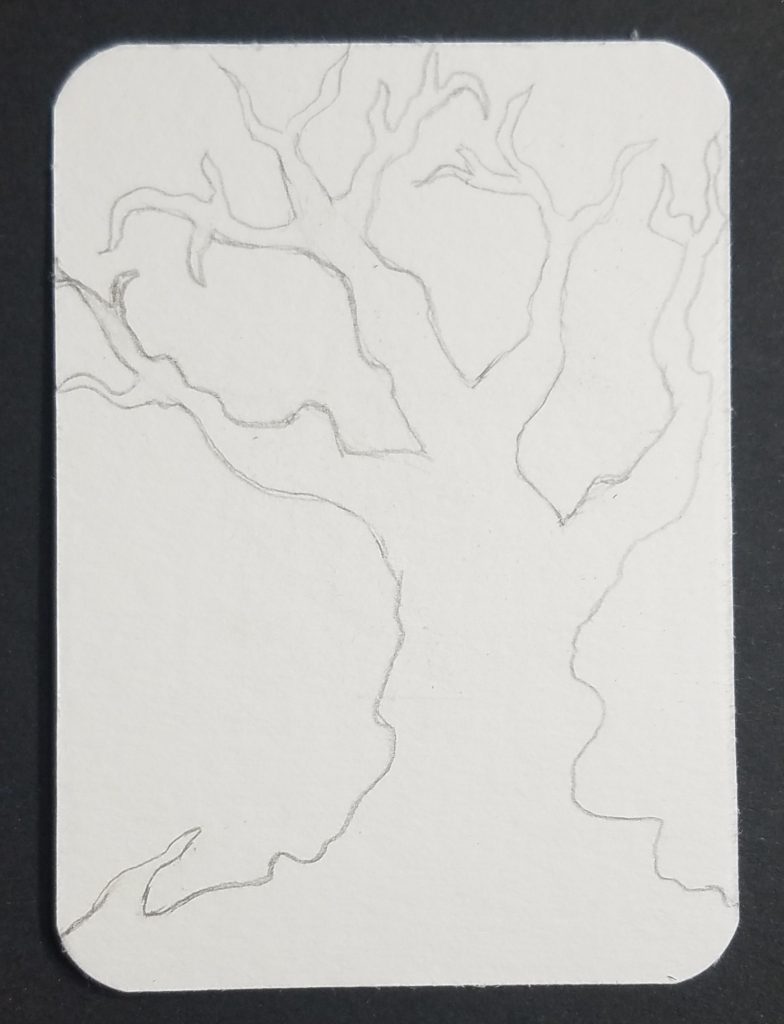
Continue working on your branches, adding in curved areas. Vary the size, shape, and direction of your branches to make your tree look more interesting.
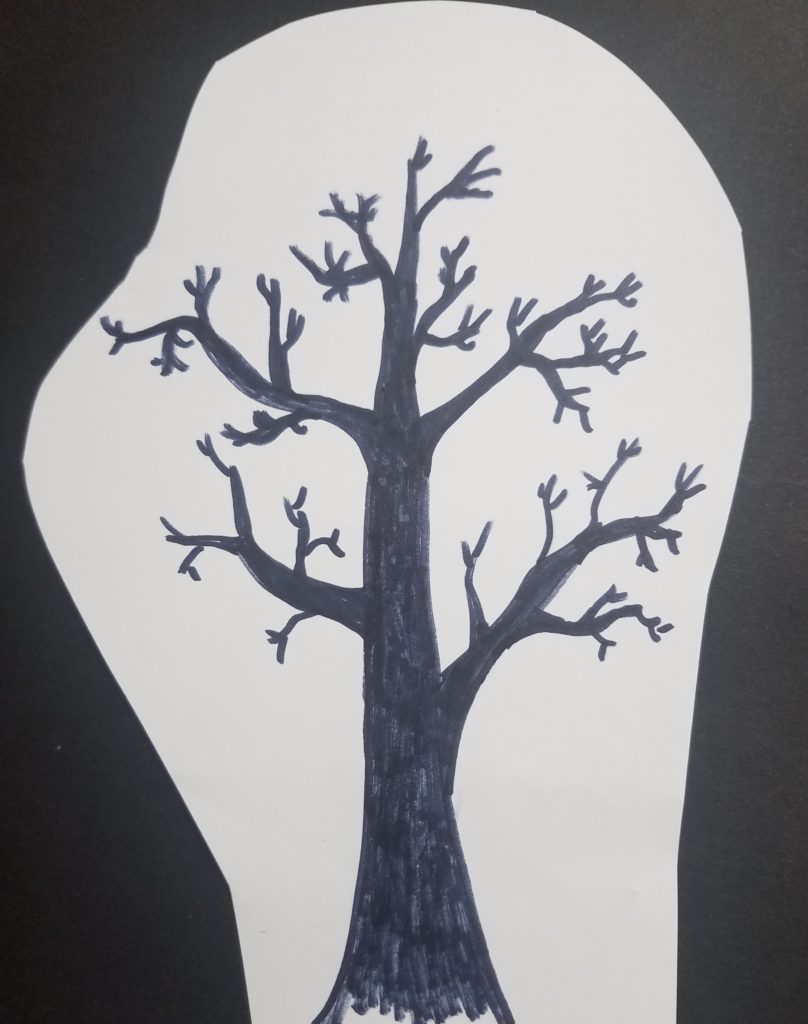
Spooky Faces
Finally, add a face to your spooky tree. This step is completely optional. I like drawing my trees both with and without faces. If you choose to add a face to your drawing, you can draw it out like a jack-o-lantern face.
This style of a spooky face goes really well with these types of drawings. And there’s a ton of different ways to draw your faces. You can add even more variation to your drawings by changing how big, or small, you draw the faces compared to the size of your tree.
Keep in mind that if you want your faces to look scary you’ll want to draw your lines with pointed corners. If you draw your faces with rounded edges, they’ll have a cuter feel to them.
Continue working on your sketch until you’re satisfied with how it looks. This is where you want to work through the size and shape of your spooky tree. Don’t be afraid to let the branches go off the edge of your paper.
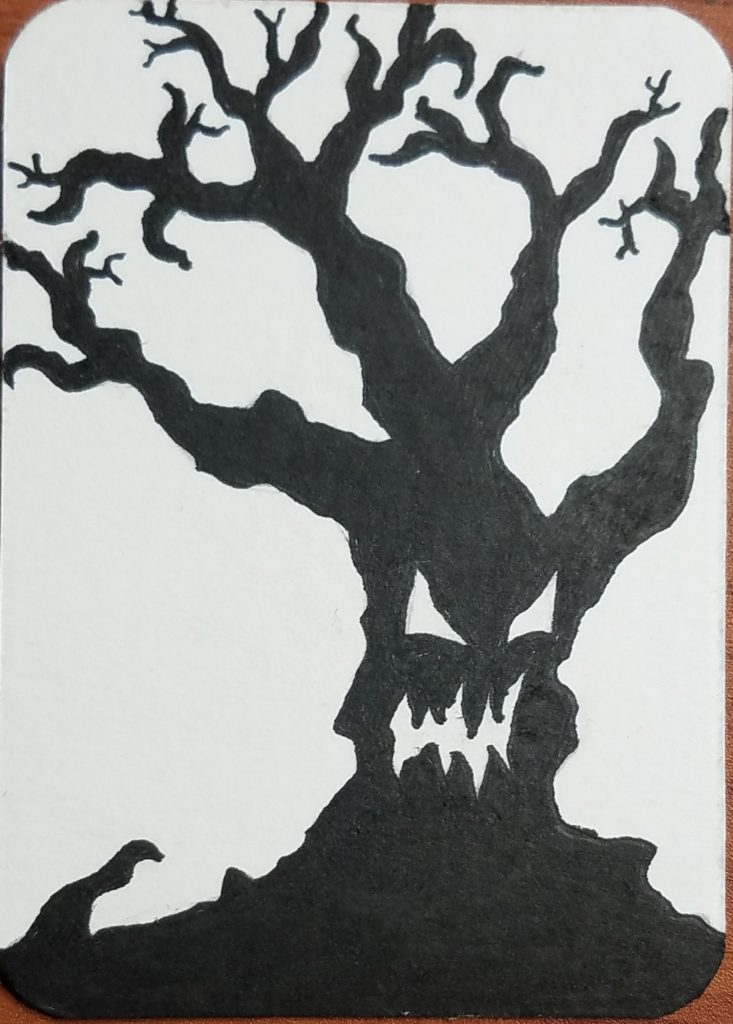
When you’re finished with your sketch, move onto filling in your tree with black.
Use a black outlining marker to trace over your pencil lines and to fill in your tree. For larger areas, you can use a brush pen. Spooky tree silhouettes are creepier than if you were to add bark or other colors to the tree. However, if that’s something you’d like to try then go for it. Especially if you’re making your drawings small.
The great thing about creating art is the freedom to experiment and do whatever you feel like doing. Art should be fun, so have fun with these.
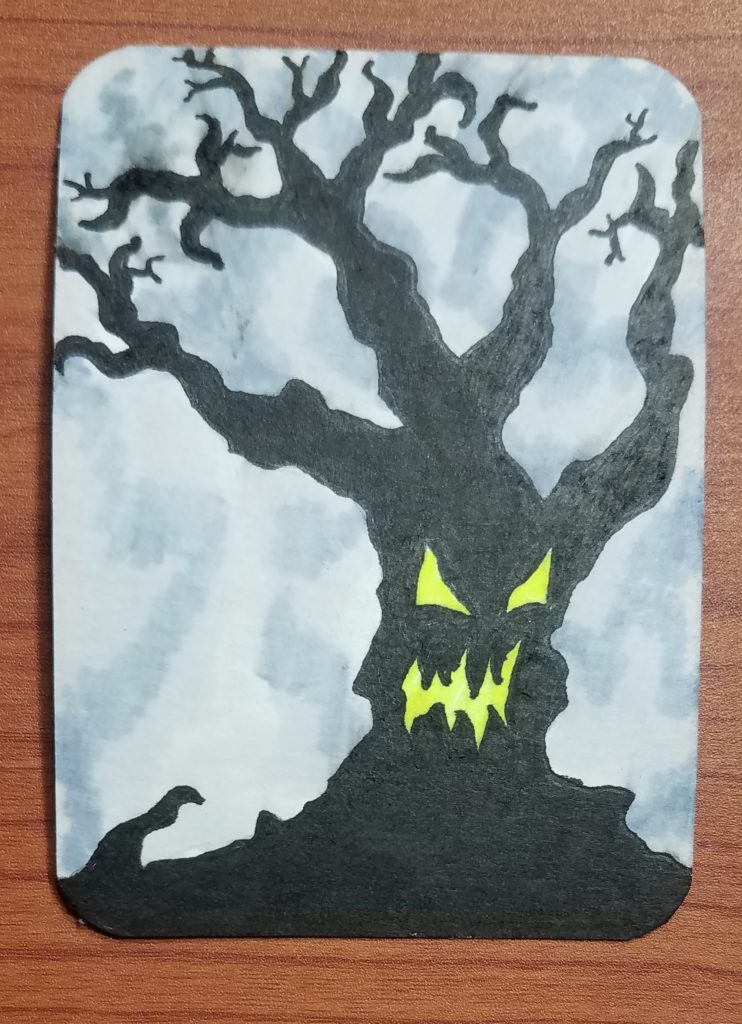
Spooky Tree Silhouette with Background
The final step is to add in a background. You can also add some color to the face if you’d like. I used a Sharpie highlighter to color in my face. They are really bright and I use them quite a bit in my work.
For the background, I used several different gray markers. There are too many options for your background to mention them all here. You could also add bats or owls to your drawings.
Spooky Tree Drawing Ideas
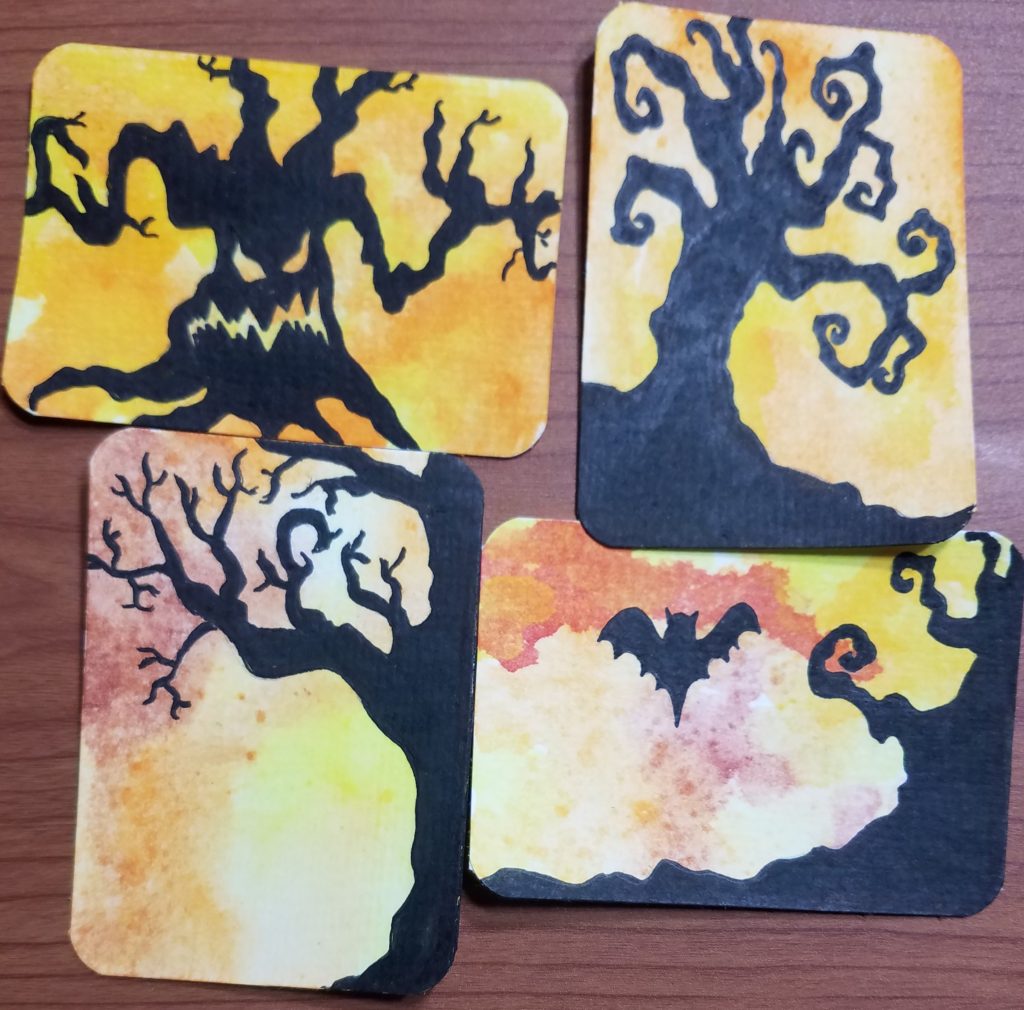
The whole point of this lesson is to draw spooky trees. What makes a tree look really scary is when you can imagine it coming to life and grabbing you. Your tree needs to be animated as if it is living in a human like way. The branches could look like arms or can twist and bend, as if it’s reaching for something.
The more gnarly looking your tree is, the better. This will make your final drawing look spookier and far more interesting. Below are several different types of spooky trees drawn on artist trading cards.
For more information on this type of mail art, take a look at How to Make Artist Trading Cards (ATCs).
How to Draw Spooky Trees – Step by Step with Pictures
Thank you for stopping by and reading how to draw spooky trees. There are so many different ways to make your scary tree drawings. You can make a wide range of faces. Or leave the faces off and just draw the trees.
What about drawing in some extra critters on some of the branches. You could add in a cat, owl, hanging bat, or anything else you could think of. Maybe add a hole to the tree with just some glowing eyes and your observers can decide for themselves what’s inside.
You’re only limitation is your imagination. But if you do several drawings you’ll find that your creativity will start to explode and the ideas will begin coming to you.
Give them a try. Make it a 7 day spooky tree drawing challenge and see what you can come up with.
Download our FREE guide to Improving Your Art in 7 Days.
