Marker Blending Basics
Learning to do smooth marker blending is a skill that most artist want to master. It will make your artwork look better and more advanced. Today we’ll take you step by step through the process of making even color transitions. And we’ll give you some tips on how to avoid streaks with your markers.
There are so many different types of drawings you can do with markers. The colors are bright and vibrant.
The example used in this art tutorial is a jack o lantern, but you can apply the same techniques to any drawing. And it will work on any type of paper. However, a heavier weight paper with smooth finish will work best (heavy cardstock works great).
Let’s grab some supplies and get started with learning how to do good marker blending for smooth colors.
* Some of the links in this post may be affiliate links. This means I receive small commissions for purchases made through these links at no extra cost to you.
Art Supplies
- Thin black marker
- Paper or cardstock
- Markers
- Pencil
- Click Eraser, Pink Pearl Eraser
- White Gelly Roll pen
Get Your FREE Marker Blending Guide
Coloring with Markers
There are a lot of different brands of markers and choosing the right ones for you will be an individual process. I have several types of markers and they all have their pros and cons. If you are just starting out Bic or Sharpie markers should work out just fine, and are much cheaper than some of the other brands.
My personal preference and recommendation for beginners are the Bic markers. They are lower in cost and have a good selection of colors. You’ll want to make sure you use alcohol based markers if you’re trying to blend your colors.
Below are several options to choose from.
- Sharpie
- Bic
- Prismacolor
- ShinHan Touch
- Copic
- Ohuhu (my new favorite as of 2026)
Price will most likely be a huge factor when choosing the right markers for you. When I was starting out, I bought a few multi-packs of Bic and Sharpie markers to get me started. I’ve since added somewhere around a hundred more to that collection.
For this art tutorial, I’ll be using the Bic Intensity pack of markers.
Marker Blending for Smooth Colors
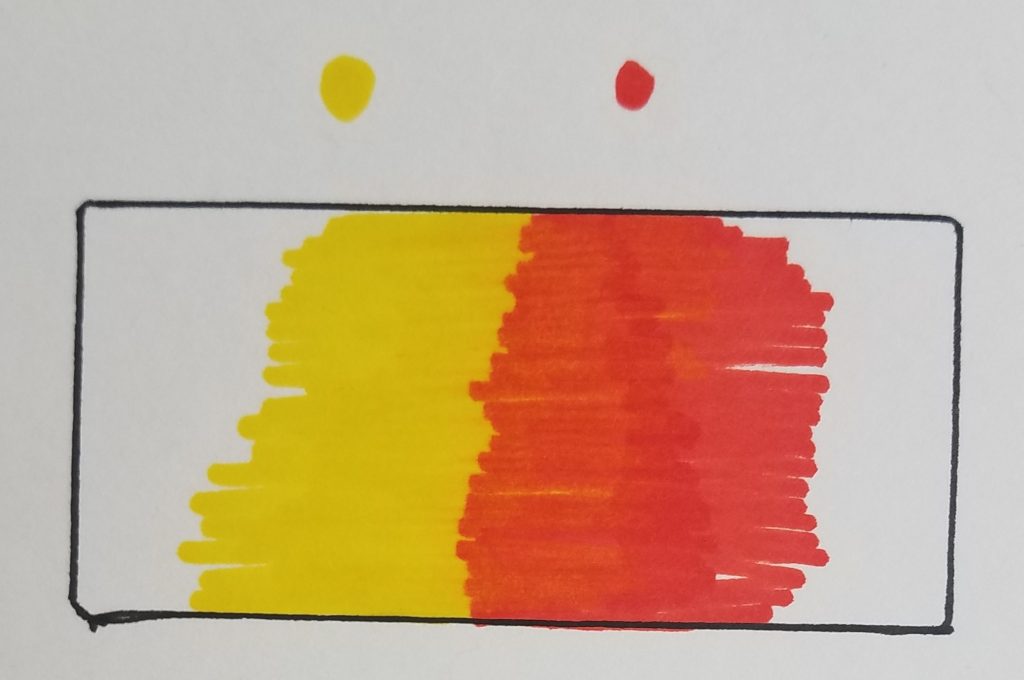
One of the biggest mistakes when using markers is to use too few and not getting a smooth transition. You will need a few different shades of the same color to get a good gradation to your artwork. In this example, only 2 different markers were used. And as you can see, there isn’t a smooth transition.
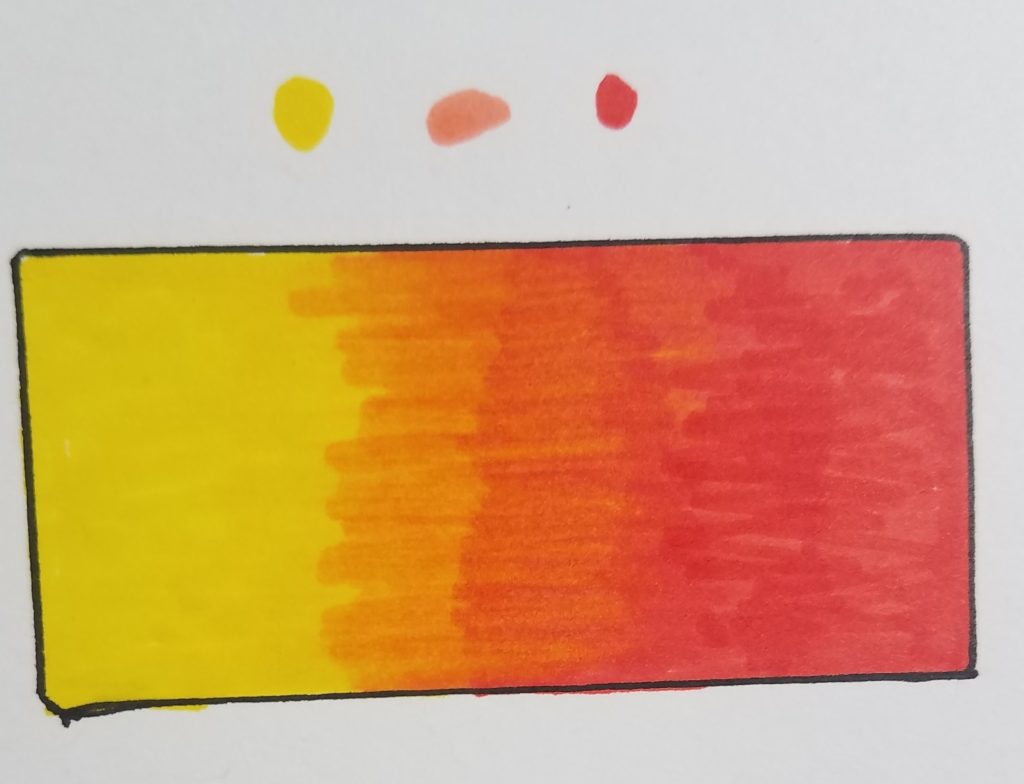
In this next example, a third color of marker was added. There is a much better transition with the addition of the third marker. If you were using these three markers to color a work of art, you would end up with acceptable results.
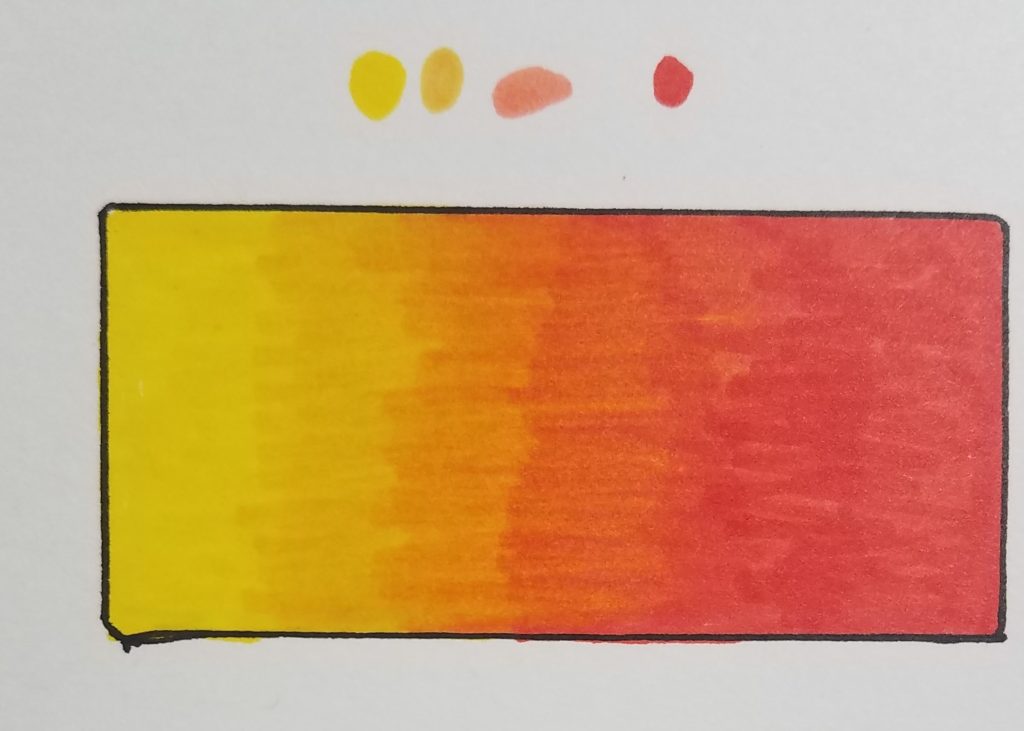
The addition of a fourth color makes an even smoother transition, and the best results of the examples. You could use even more colors and make the transition smoother yet.
Using a Colorless Blender
If you don’t want to change the value of your colors, using a colorless blender is the way to go. It allows you to blend your colors together without adding more pigment to your artwork.
A word of caution… colorless blenders can remove some of the marker, or dilute the colors. So be careful not to get your paper too wet when using one.
They can also be used to remove markers from an area, almost like an eraser. But depending on how dark the color is, you may only be able to lighten it up a bit. Which can still be really helpful though.
Marker Blending Techniques
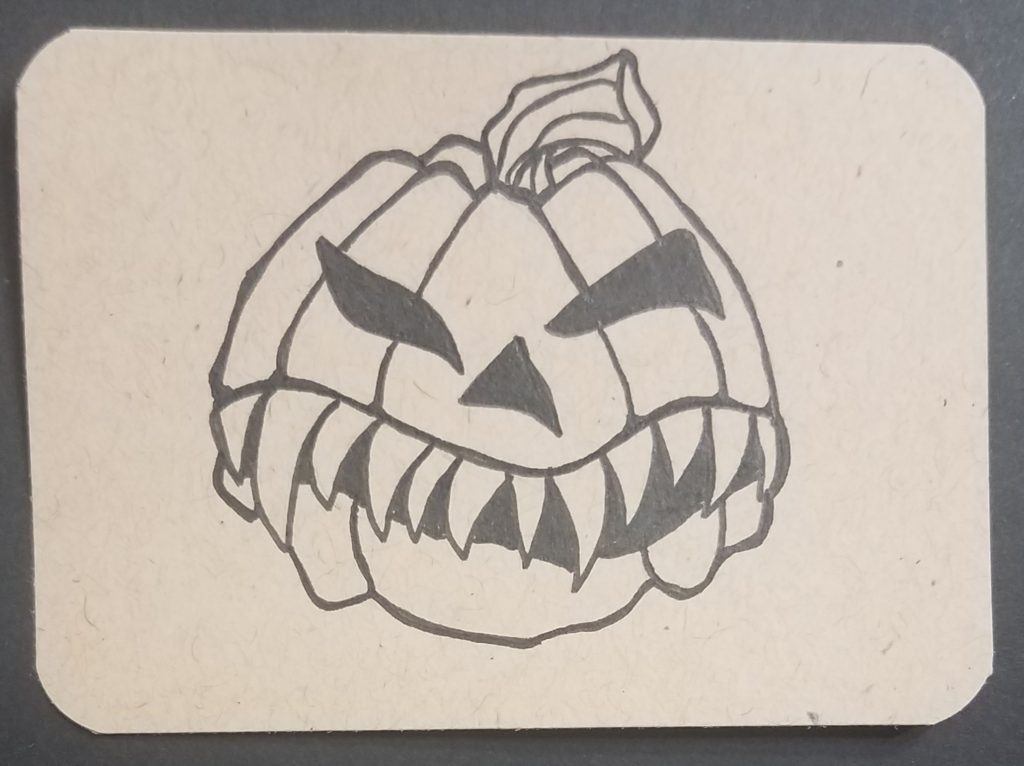
The first thing you need to do draw out your jack-o-lantern, or whatever you decided to draw. I did my drawing on an artist trading card using toned paper, which I love using for markers. My outline drawing was done using a Pitt Artist pen.
Learn more about artist trading cards in How to Make Artist Trading Cards (ATCs).
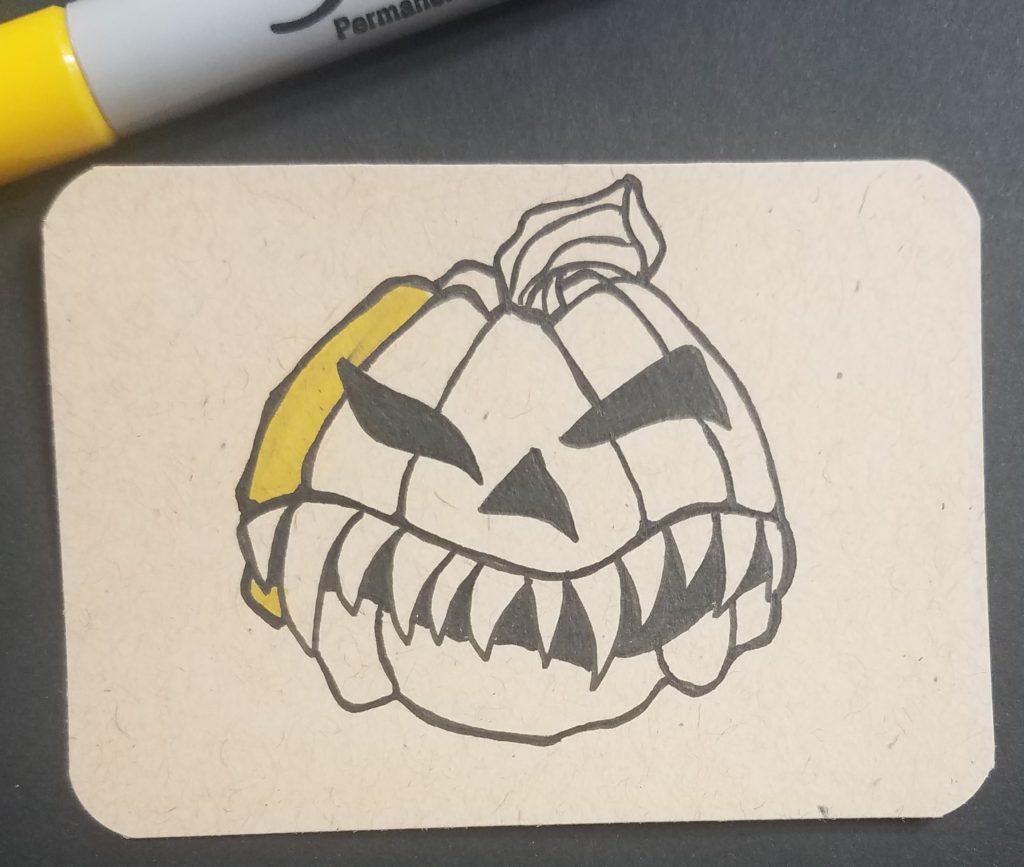
Step 1: Lightest Colors First
When laying down your colors, you want to work light to dark. So, for this example, we are going to start with a Yellow Blaze marker. You also want to work with your markers while they are still wet. Therefore, it’s best to work on one section at a time.
Next, add Summer Melon over the yellow but leave some of the yellow showing through. You can go back in with the yellow and soften the area where the two colors come together.
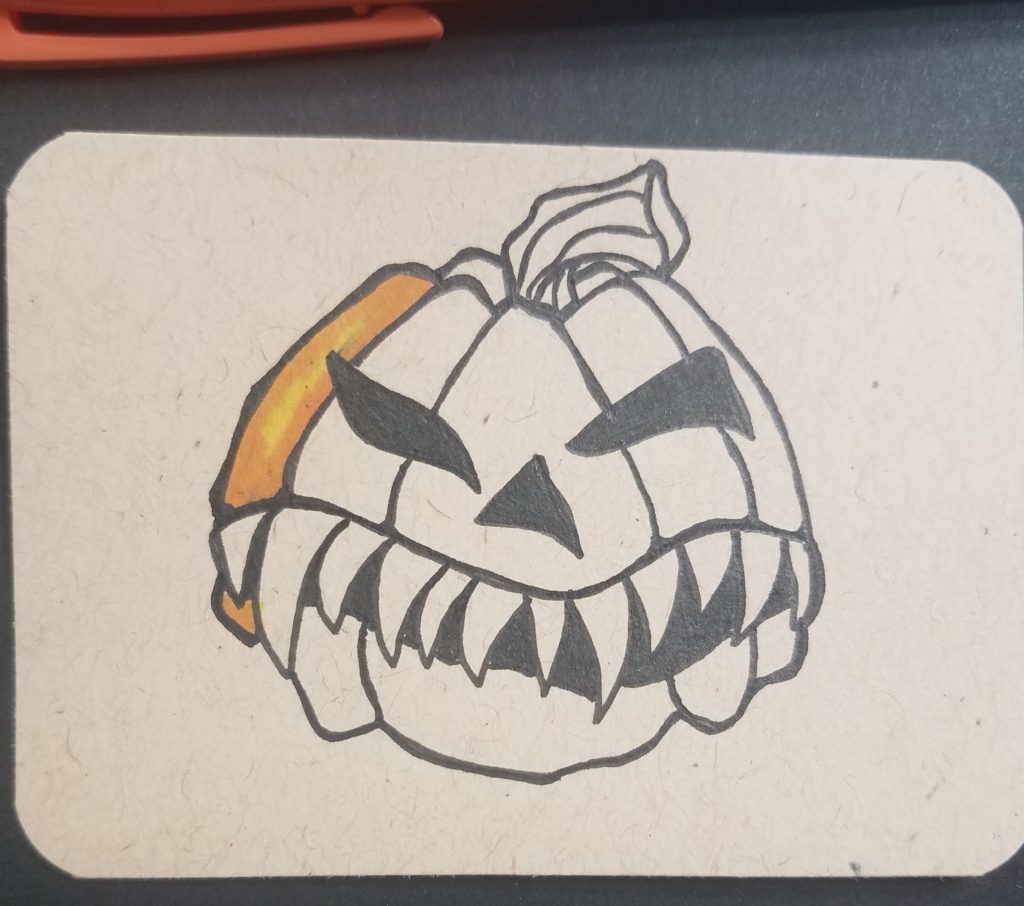
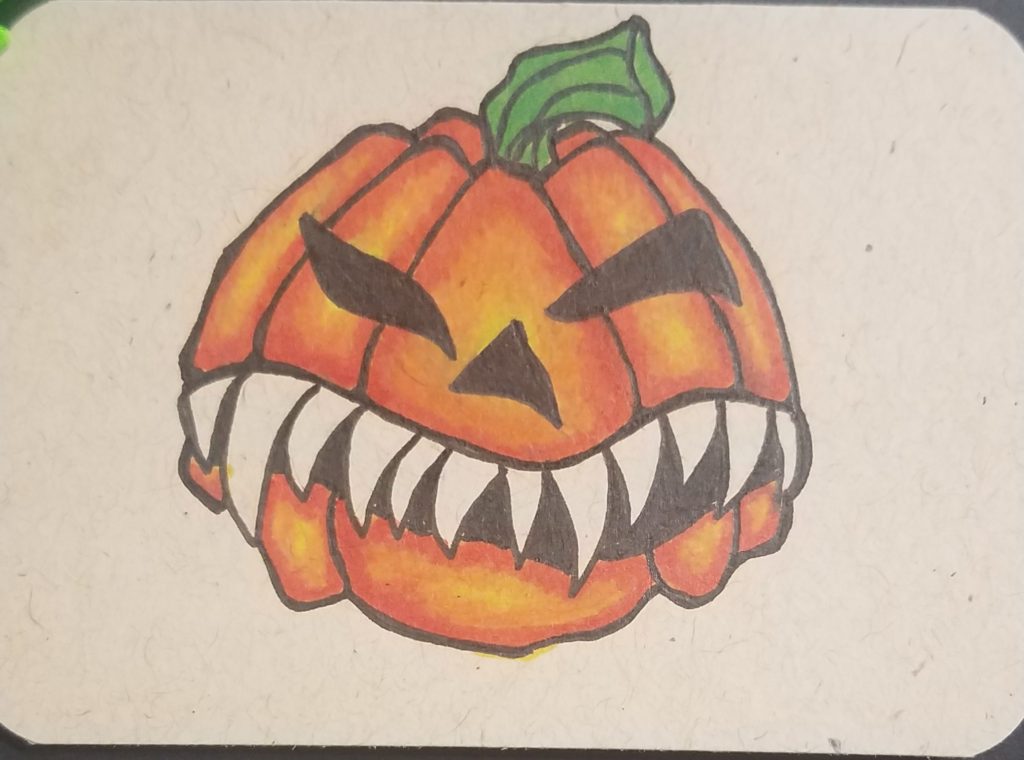
Step 2: Darker Colors
Now add Sunset Orange over the top of that color, again leaving some of the lighter colors showing through.

Work your way through each section of your pumpkin. To blend markers smoothly, you’ll need to work back and forth between colors. This will give you a smoother transition.
Again, remember to work while the markers are still wet.
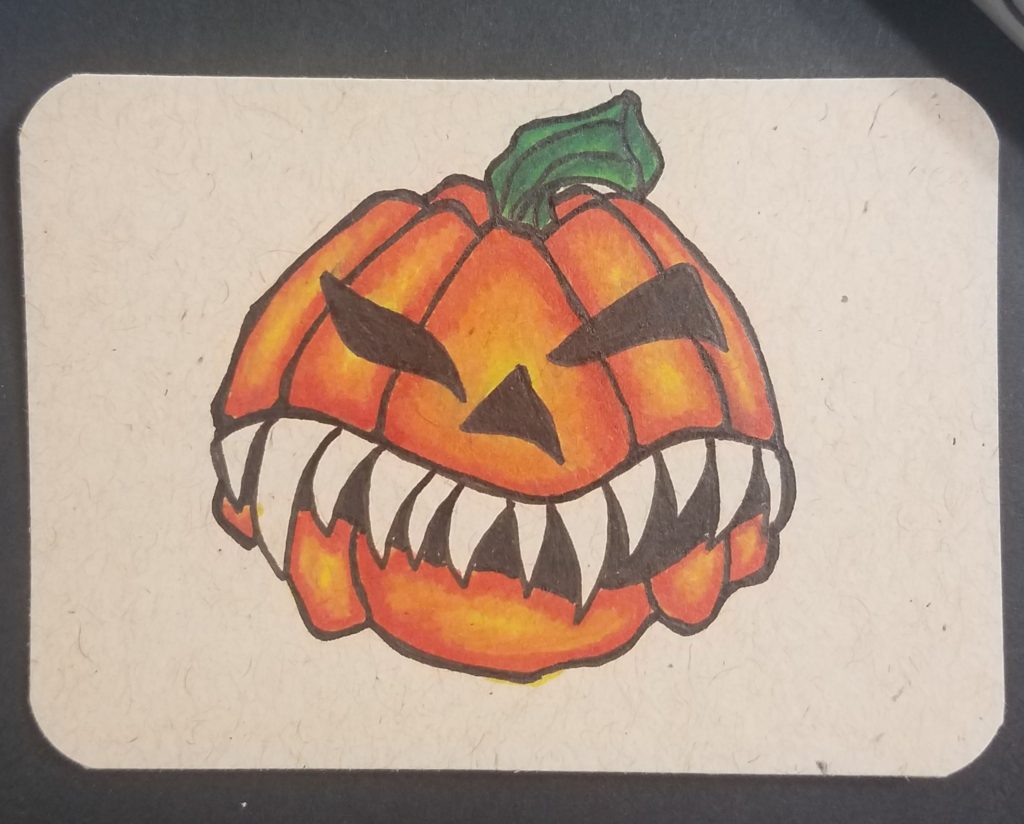
Color the Stem
Now, start working on your stem using the same method as you used for your pumpkin. When adding color to your artwork, regardless of the medium you are using, you want to use more than one color. By using more colors, your artwork will look more interesting and less flat.
For this drawing I used three different shades of green (Margarita, Key Lime, and Forest Green) for the stem. Even though the stem is fairly small in this drawing, I was still able to blend three colors together.
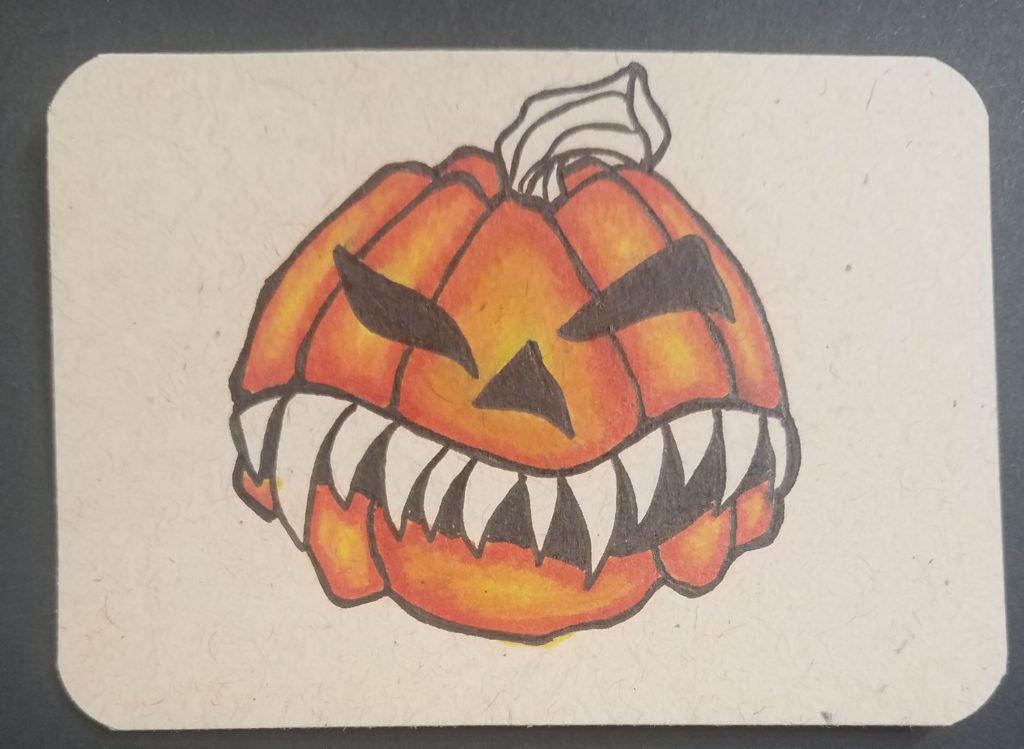
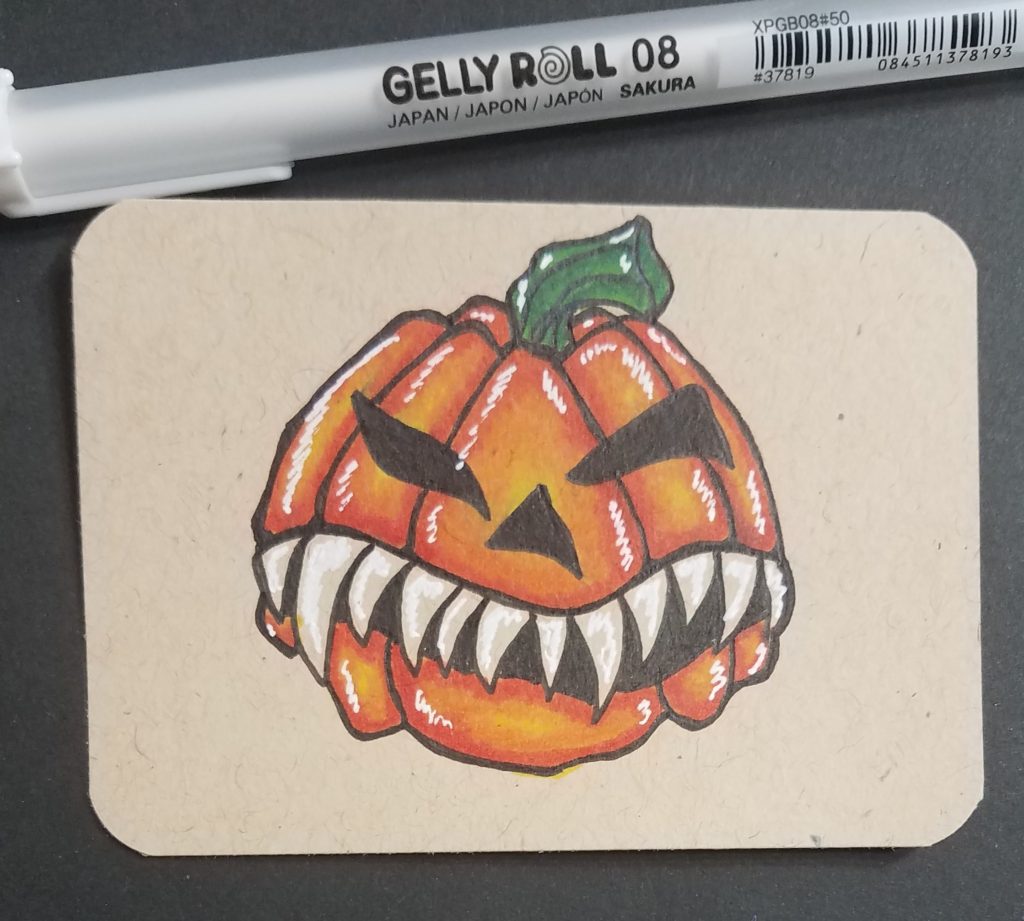
Step 3: Adding Highlights to Marker Drawings
The final step is to add in some white using a Gelly Roll pen. These pens are by far the best way to add in your highlights. Colored pencils and paint markers are other options for adding highlights. But the Gelly Roll pens work really well.
You could also use the paper for your highlight by avoiding that area when adding your colors. But most beginner artists find this very difficult to control.
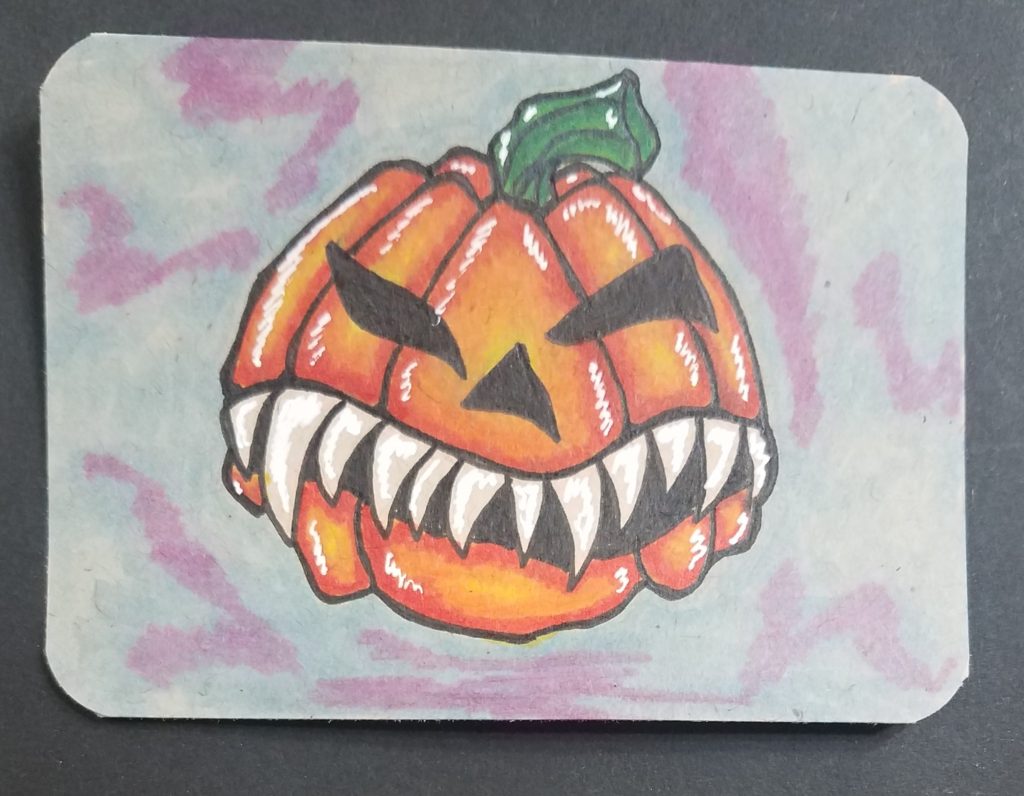
Drawing Your Background
The only thing left to do is to add in a background. Several months ago, while doing a robot themed group ATC swap at atcsforall.com, I realized just how bad I am at doing at adding in backgrounds. Definitely need to work on this some more.
Leave a Gap
Markers will bleed a little bit so it’s a good idea to leave some space around the edge of the area you’re coloring in. This will give the markers some room to bleed without going over the lines.
Over time you’ll get a feel for how much room you need to leave. But for now, just leave a bit more than you think you need and work in the colors a bit at a time.
Use Colored Pencils on Top for Finishing Touch
Markers are perfect for mixed media applications. Whether you’re using colored pencils or paint, they’ll work really well together.
For years I’ve been using colored pencils on top of markers for my graffiti art. They work so well for adding shadows and highlights.
If you’ve never tried this technique, I strongly recommend giving it a try.
How to Blend Markers for Beginners
Now that you know how to blend markers, you can start using them with more confidence. The best way to improve your art skills is with practice. If you practice for a few minutes each day you’ll see and increase in your skill level in several areas. It will help you develop an artistic style. You’ll get better at drawing and adding color more smoothly. And you’ll experience improved creativity.
Keep your creative time fun and relaxing. And remember, art and drawing are skills that anyone can learn. It’s not something someone is born with. These skills are developed over time with practice and repetition. And if you are having fun you’ll be more likely to spend more time doing it and it will be something you look forward to.
Don’t forget to Grab your FREE Marker Blending Guide

I stumbled onto this marker blending page and can’t wait to check out the rest of your site. The breakdown you gave was really helpful and I can’t wait to try out what I learned. Thank you!
I’m so glad you liked the tutorial. Good luck with your artistic journey!
This will help me so much in making not only my ATCs but a lot of things. Thank you.
I’m so glad you found it useful Lelia. There will many more lessons coming up in the near future.