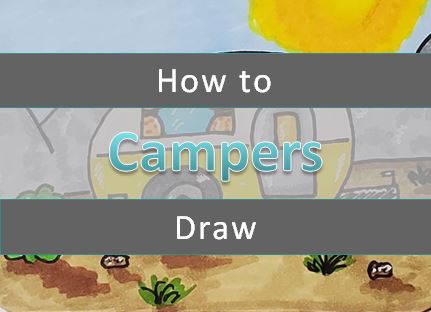
Camper Drawing Tutorial
We’ll show you how to draw, outline, and color your camper drawings with markers.
Whether you want to use them as the subject for your next painting, or include them as part of a bigger work of art, campers add a nice calming touch to any artwork.
Get ready to have some fun drawing campers and adding your own style and decorations to them.
Let’s grab our supplies and get ready to have some fun learning how to draw a camper.
* Some of the links in this post may be affiliate links. This means I receive small commissions for purchases made through these links at no extra cost to you.
Art Supplies
Camper Sketch Practice
Doing a camper sketch practice exercise is a great way to warm up and practice some rough ideas for your drawings. And it only takes a few minutes to complete.
Here’s how it’s done…
- Get some paper and something to sketch with (pencil, pen, marker, etc)
- Pull up some reference photos of campers
- Set a timer for three or five minutes
Then just do as many quick camper sketches as you can before you run out of time. Keep your lines quick and loose. Focus on the shapes and proportions of the campers. Don’t worry about specific details.
Another option is to do as many camper sketches as you can before you run out of room on your paper.
How to Draw a Camper Step by Step
Learning how to draw a camper is really easy if you break things down into easy to follow steps.
Like with most of our drawings, we’ll begin by laying out some basic shapes to use as guidelines.
Campers are really just big rectangular boxes. So that’s where we’ll begin.
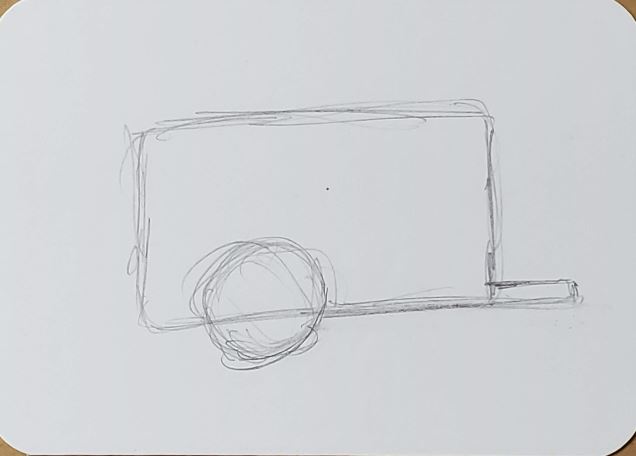
Add a circle where you want the tire to go. And draw a small rectangle for the towing hitch.
Now round off the corners of your camper. You can make them as square or as round as you’d like. This is one of the ways you can change how your camper drawing will look when finished.
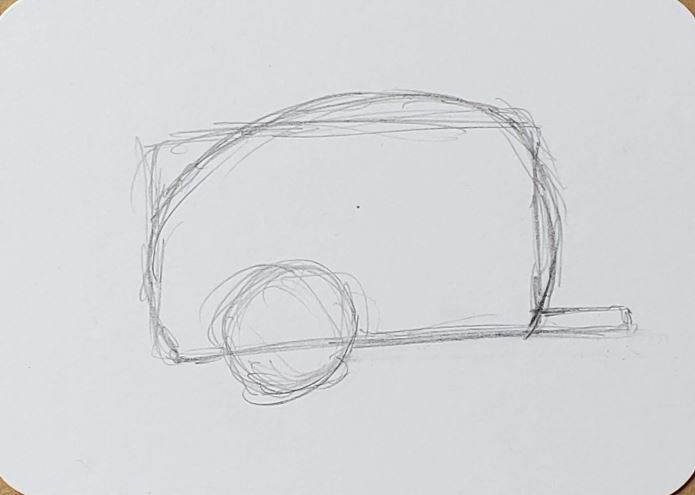
Another way you can change how your camper looks is by varying the level of symmetry your camper’s shape has. You could make it perfectly symmetrical or any level of asymmetry that you decide to have.
Either way is fine. Play around with the shape of your camper and have some fun with it.
Next, add in a door and more details to your tire.
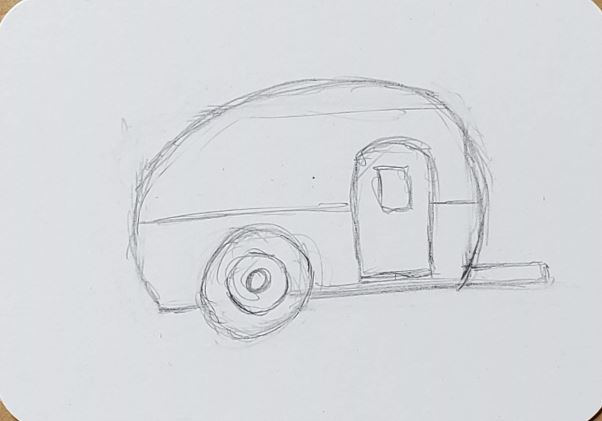
Now draw a window and add any curtains or other details you want your camper to have.
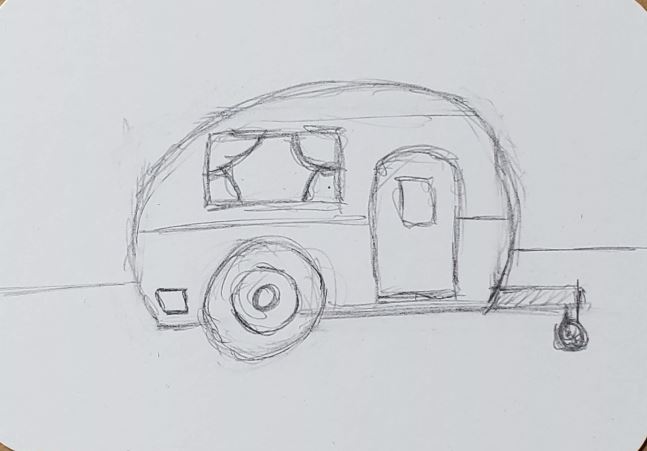
Finish up your camper drawing by adding any additional details and a background.
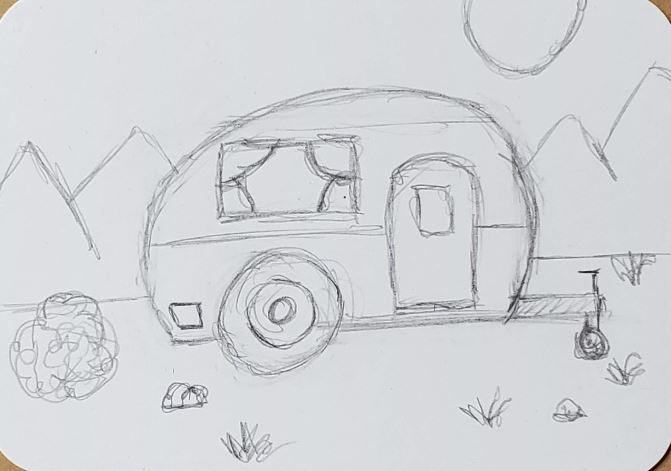
You could draw mountains, woods, a camp fire, or anything else you can think of to show where your camper is sitting.
Camper Outline
Making a camper outline is really easy to do. Just use a black pen or marker, to trace over all of your pencil lines. This is a good opportunity to make any slight changes as well.
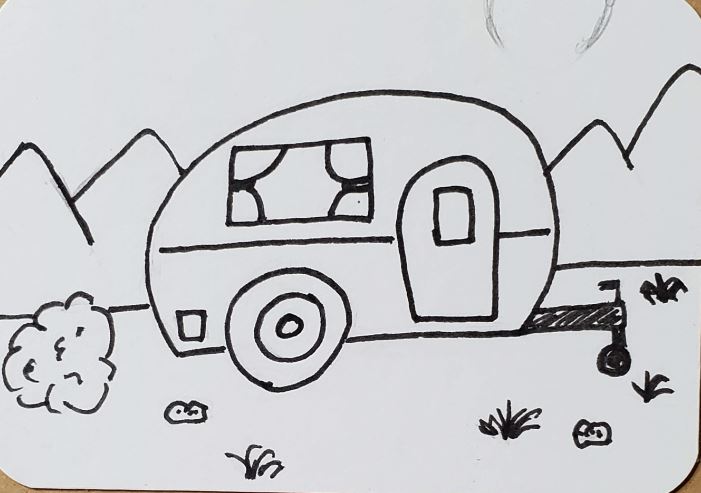
You can make your lines thick or thin. Or you can use a variety of both. This decision should be based off of your artistic style and what you think looks good.
Of course there are many other options as well. This is just one way to finish your camper drawing.
You could trying using a color other than black for your camper outline. Or maybe try different colors for the scenery so it’s less of a focal point.
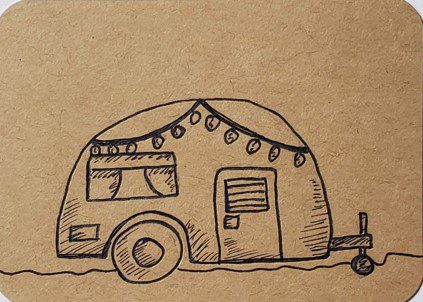
A black pen can be used to add some shading to your camper drawing as well. This can be done using basic shading techniques like hatching or cross hatching.
How to Draw a Camper with Markers
Learning how to draw a camper with markers is probably easier than you think. And there’s only a few things you should keep in mind.
First, if you want to be able to blend your colors together you need to use alcohol based markers. Bic, Sharpie, and Copic for example. As well as many others.
Second, you need to work while the colors are still wet or they won’t mix together. This isn’t a big deal. Just make sure you work on a section at a time.
Third, you need to use colors that are similar to each other if you want to create a smooth transition of color. If your markers are too different they will leave a harder edge.
When using markers for your artwork, it usually looks better if you use two or three colors that are similar and can be blended together.
For example, for the camper colors you can use yellow and a yellow-orange. And then blend those two markers together. When choosing your colors you can go with something that is modern, or have some fun with it and use some nostalgic colors for your camper.
Pinks, yellows, and greens are a good choice when adding color to your camper drawings.
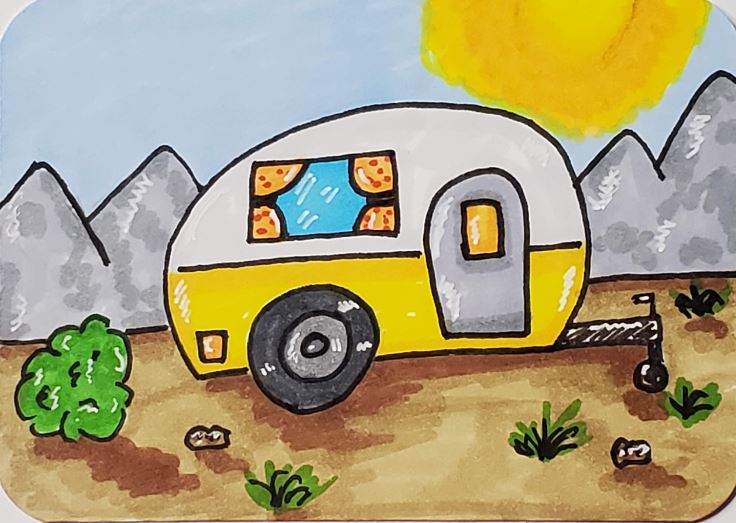
Continue using this method for the rest of your camper drawing.
White highlights can be added with a Gelly Roll pen.
If you need some help with getting started using markers you can download our Free Guide. Or if you want something more in depth we have a Beginner’s Guide to Using Markers.
Camper Drawing Tutorial for Beginners
Now that you know how to draw a camper, what’s the next step? If you want to get good at drawing and art you need to practice.
The best way to improve at anything is through practice and repetition. So practice often. Even if it’s only for five or ten minutes a day. That time will add up quickly if you’re consistent.
If you want to get really good at making camper drawings, challenge yourself to do a series of them. Not only will your art and drawings skills improve, but your creativity will as well.
Grab your FREE Guide to Better Art in 7 Days

