Drawing Letters in 3D
Today you’re going to learn how to draw 3D letters. The technique is the same regardless of what lettering style you like to draw. You can use this technique for your bubble letter drawings, block lettering, or graffiti drawings.
However, it’s much more difficult when working with letters that are rounded, such as with bubble letters. It works much better with block or graffiti style letters.
Let’s begin by gathering up some supplies that we’ll be using in today’s drawing lesson.
* Some of the links in this post may be affiliate links. This means I receive small commissions for purchases made through these links at no extra cost to you.
Art Supplies
- Cardstock or sketchbook
- Pencil
- Click eraser
- Pink pearl eraser
- Pitt Artist pen
- Bic Intensity markers
- White Gelly Roll pen
FREE Graffiti Drawing Guide
3D Letters Drawing
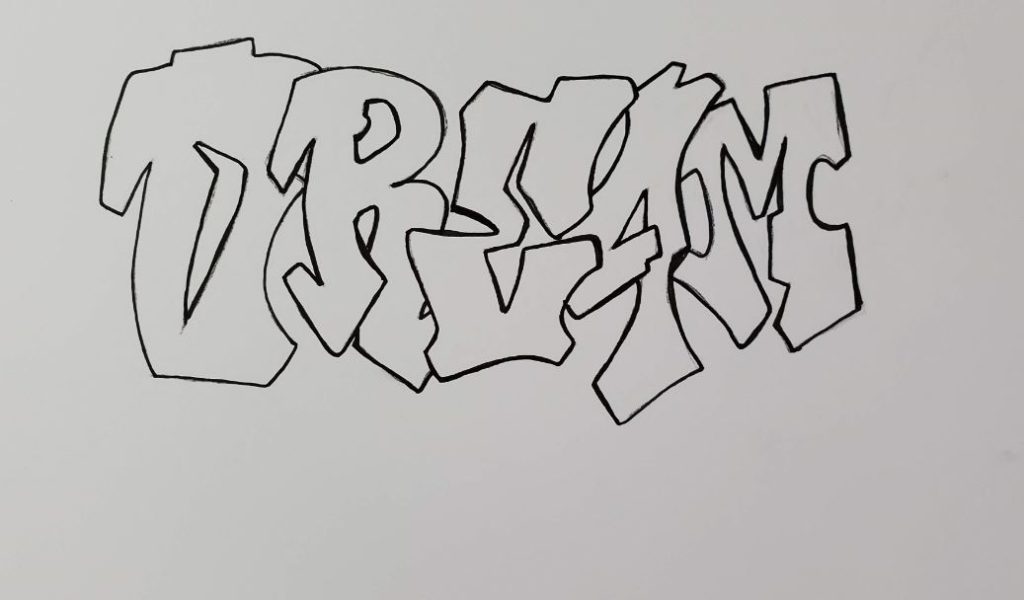
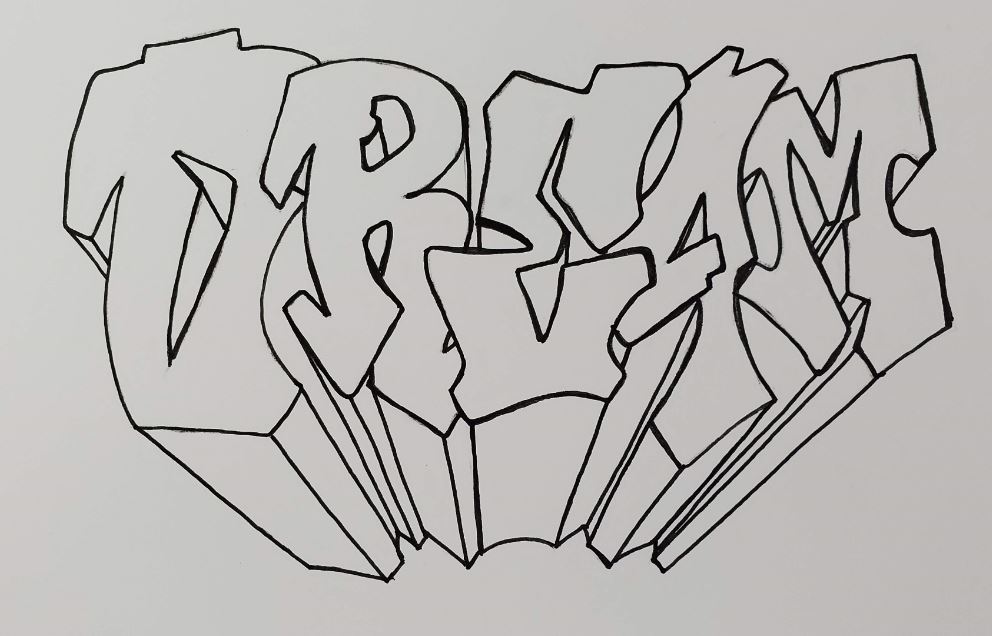
The first thing you need to do is to draw your lettering. To do this you need to decide on a word or name, what style letters you want to use, and how you want your layout.
We have a lesson that helps with those things at, How to Draw Graffiti Style Letters for Beginners.
I’ve been using the word “Dream” in my letter art for many years now. So that’s the word I’ll be using in this example. However, you can use whatever word you want. The technique is the same for each letter and can be applied to any word.
Go ahead and get your word sketched out. If you need help with drawing your own lettering, take a look at How to Draw Stylized Letters.
Or, if you want a more basic lettering style, take a look at How to Draw Block Letters.
Draw Letters in 3D
Now let’s look at how we can make our letters look 3 dimensional. There is a technical drawing method called one-point perspective.
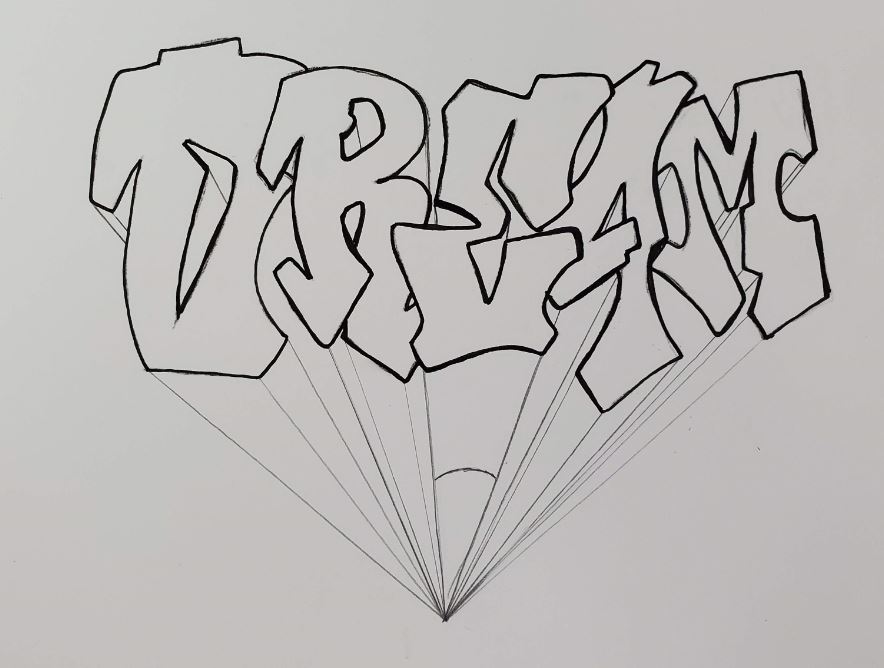
This is the method we are going to be using today. One point perspective means your drawing has one vanishing point where all of your lines meet.
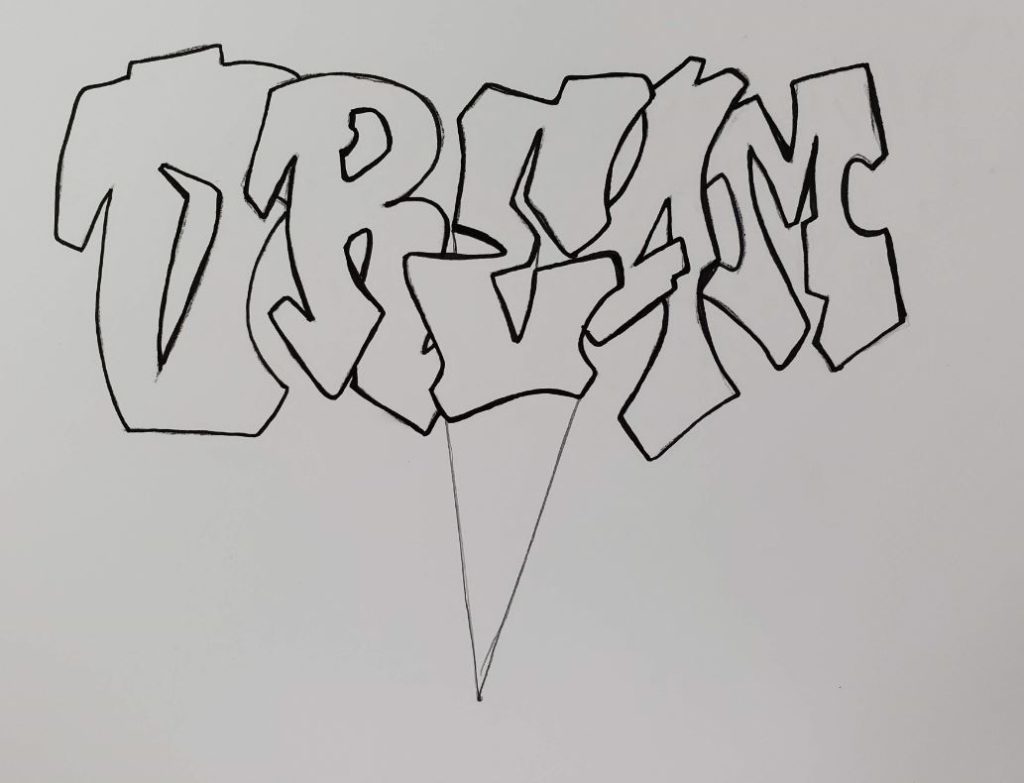
Choose a spot on your paper either above or below your letters. For this example we’ll be drawing below our letters. Make a small dot on your paper.
It can be anywhere on your paper, it doesn’t have to be directly in the center. Don’t make it too close to your letters though. You need a little bit of room to work. And you can always make your 3D effect shorter after it’s drawn.
When drawing the 3D part of your letters, you can start on the left, right, or somewhere in the middle. It’s best to avoid jumping around though.
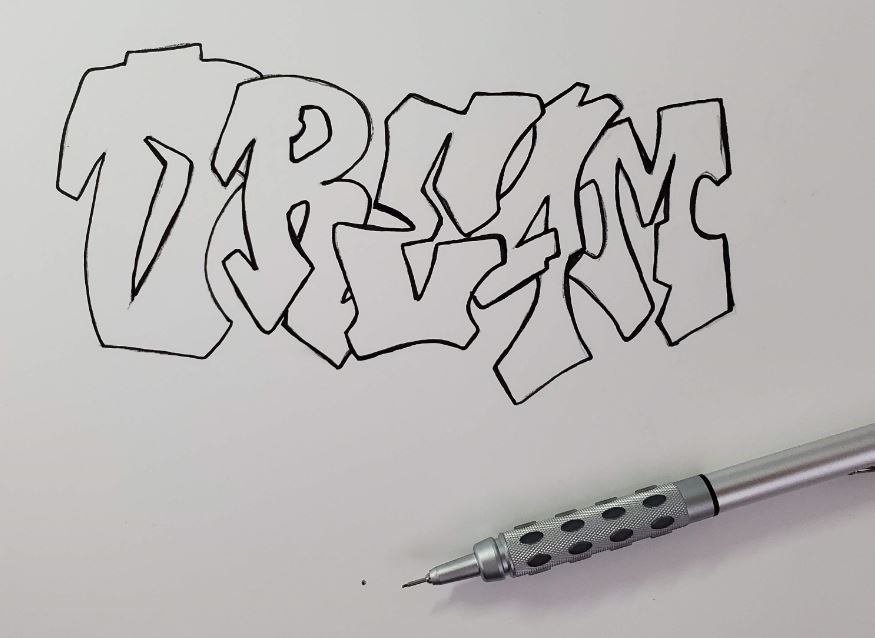
You can use a ruler to make your lines, or you can draw them free hand. This is a personal preference and each method will have a slightly different final look to your drawing.
But it’s probably best if you use a ruler or a straight edge. I’m using a piece of cardstock that I cut using a paper trimmer. It’s less bulky than a ruler and I find it easier to use.
How to Draw 3D Letters in One Point Perspective
Draw your lines from each corner of your letter, down to your vanishing point. I like to start with my middle letter and work my way out. But you can start wherever you’d like.
Draw a straight line from each corner of your letter. Mine is the letter E, so I’ll need to make two lines on the bottom of the letter.
You’ll also need to draw lines for the rest of the corners as well.
Next, I’ll do the letter A. This letter is a bit more complex to draw because there are more corners. But don’t let that intimidate you. Just follow the same process.
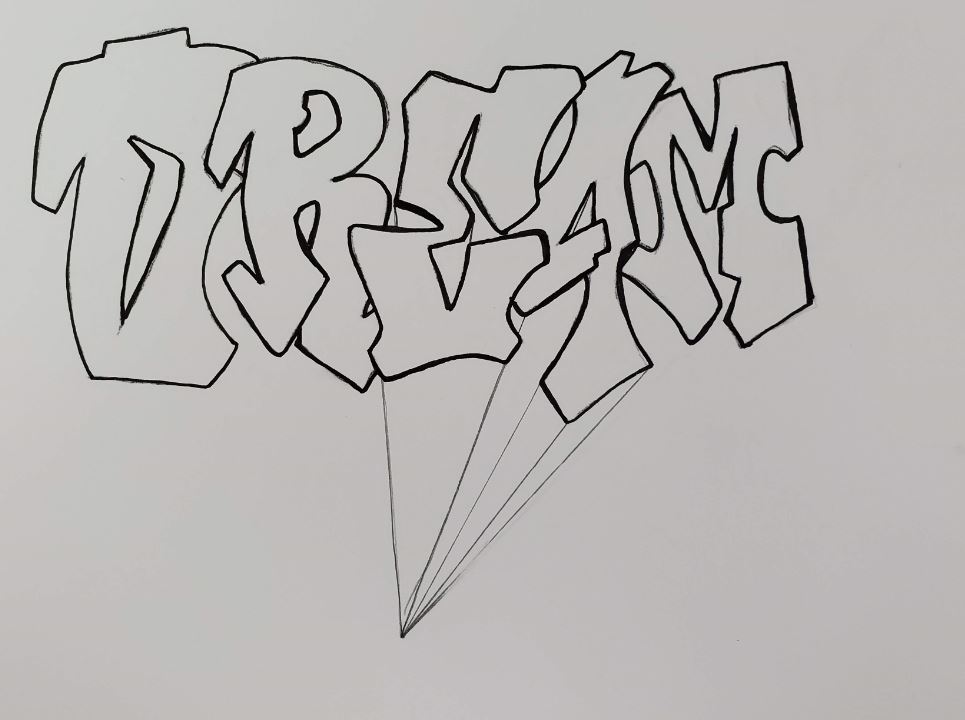
Don’t forget to do the insides of your letters too.
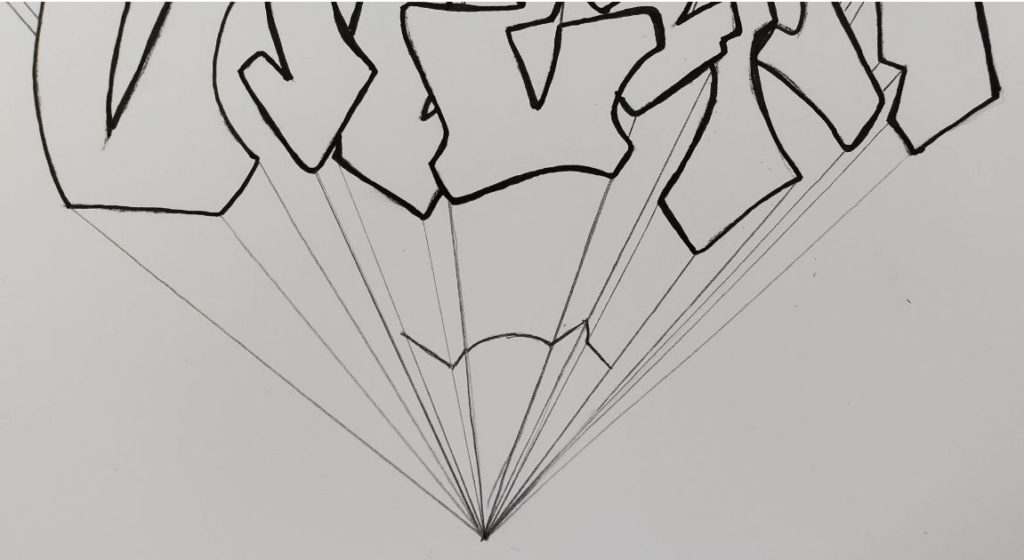
Now we’ll move onto the M. Again follow the same process. When drawing your lines for the top or the insides of your letters, stop your line when it reaches the body of the letter.
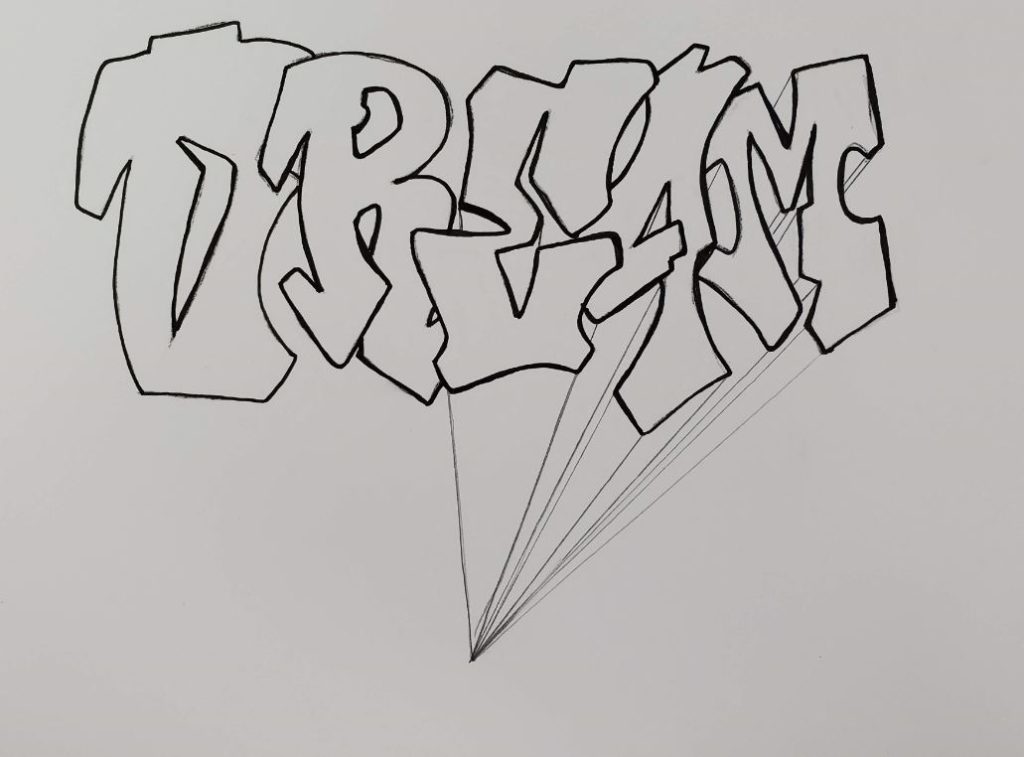
Next, we’ll work on the letters to the left if the E. So let’s draw our 3D lines for the letter R.
When adding depth to rounded areas of letters, it can get a little tricky. You have to get the right spot to bring your line down from for it to look right.
It might take you a couple of tries to get something that you like. And most of the time it still doesn’t look exactly right.
Finish up your 3D lines by working on the letter D.
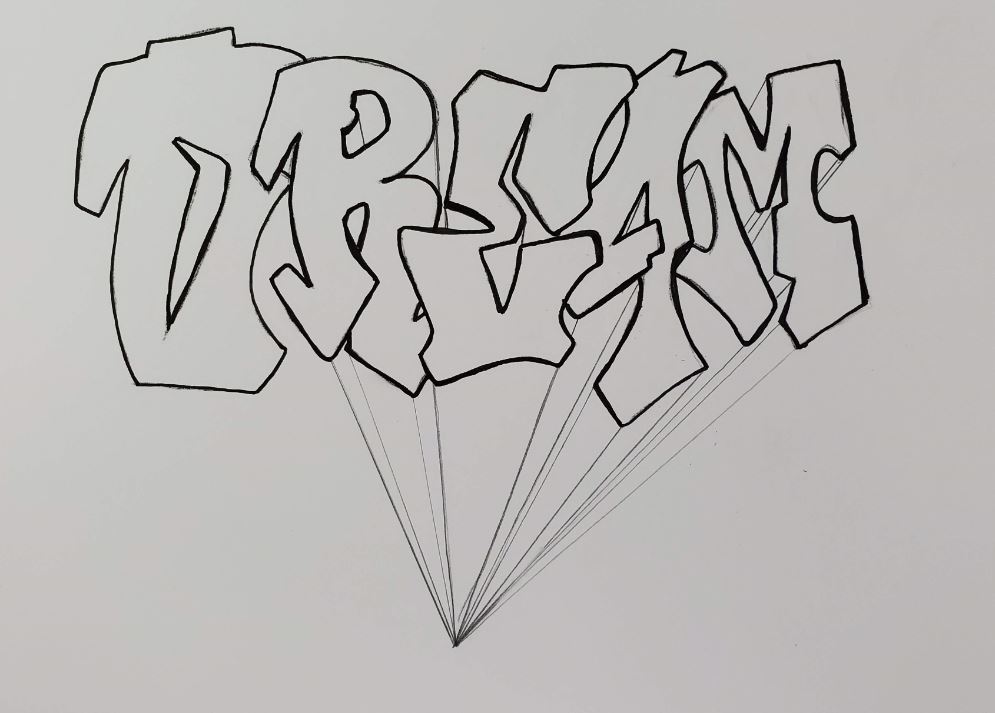
Depth of Letters
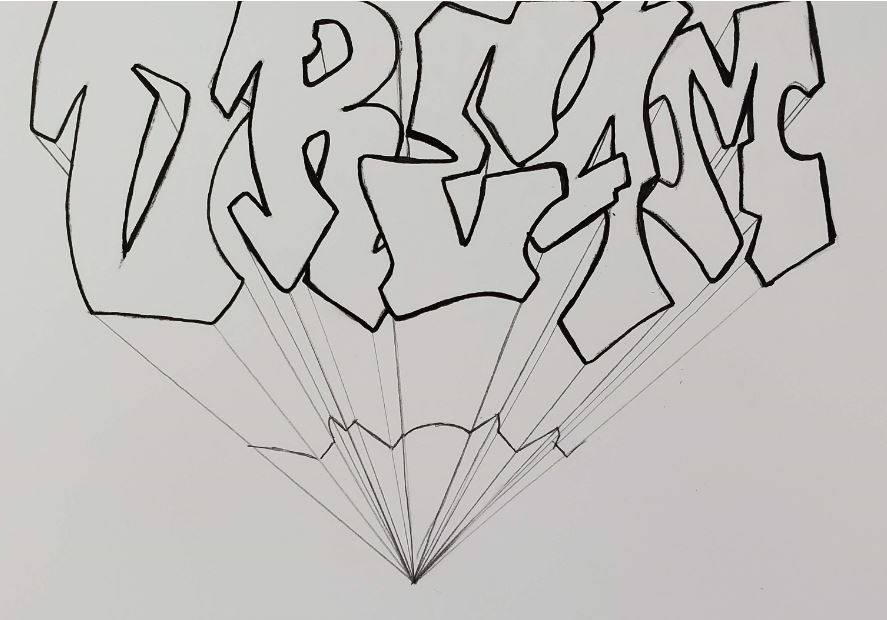
So now you have to decide how much depth you want your letters to have. You can make them very shallow or very deep. Or something in between. It all depends on the look you’re going for.
To do this, draw lines that are parallel with the bottom of your letters. If you want more depth, draw those lines further from your letters. Again, let’s start with the middle letter.
If you want less depth, draw them closer to your letters.
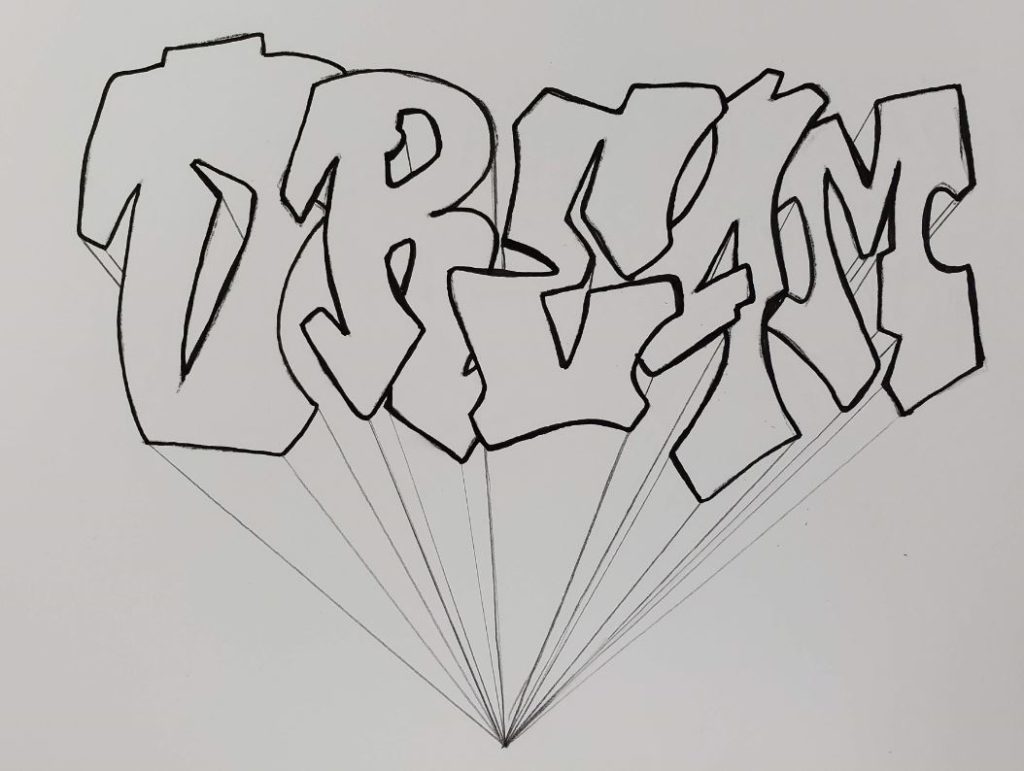
Continue working your way through each letter. Notice how they are all connected and follow the same shape as the bottom of the letters.
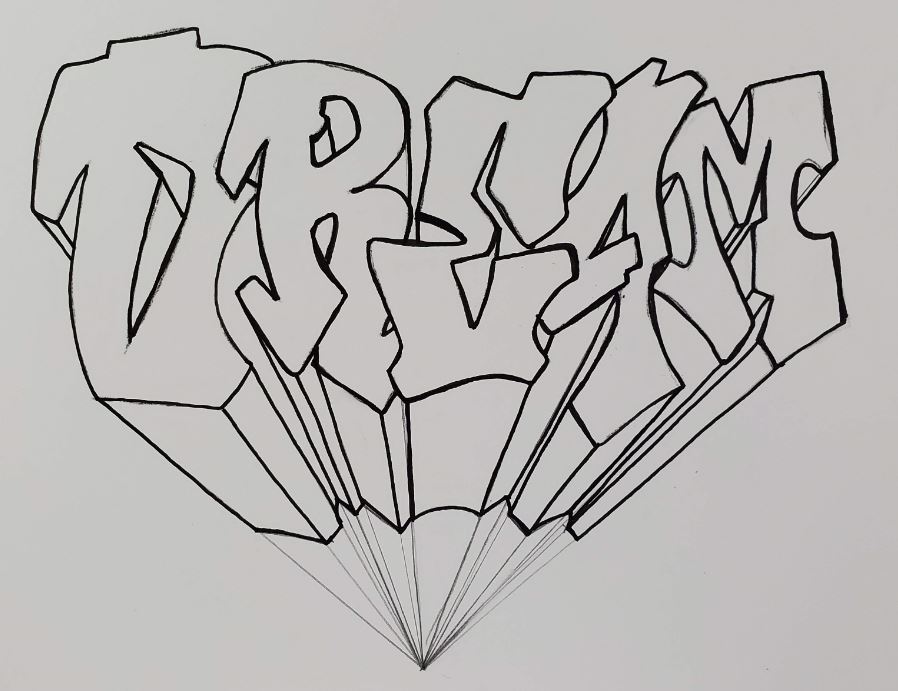
When you’re done with the bottom part of your 3D lettering, move onto the next step.
Finishing your 3D Lettering Drawing
When you are happy with your drawing you need to clean it up and add some color. How you do this will depend on your artistic style.
When I do my graffiti drawings, I use a Pitt Artist pen for the outline. I’ll typically make the outline fairly thick.
After you have outlined all of the lines you are keeping, go in with a Pink Pearl eraser and remove all the remaining pencil lines.
Add Color to Your 3D Letter Drawing
Then I use Bic Intensity markers for the color. There are lots of different brands and types of markers you can use. And a lot of different media as well.
But for the money I prefer the Bic markers.
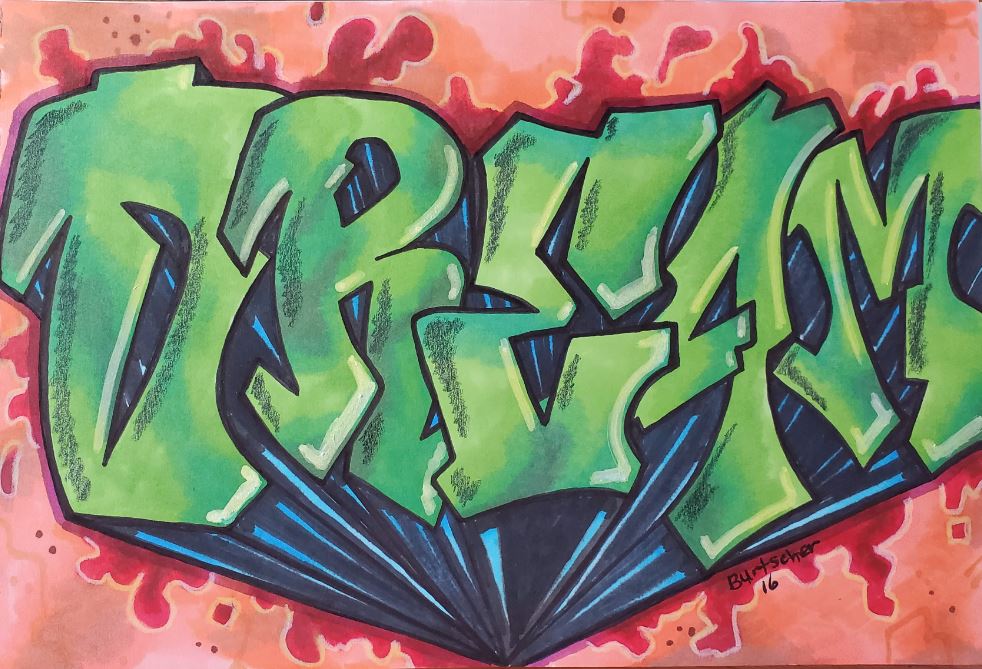
When adding color be sure to follow a color scheme. Learning color theory will help you with this so you’ll know which color go together. The drawing below uses complimentary colors (red and green).
After I’ve gotten my drawing all colored in, I’ll sometimes go in with black and white colored pencils to add in some shadows and highlights.
Prismacolor colored pencils are my preferred pencil to use in my artwork. But again there are lots of options out there.
If you want to get some really bright white highlights, then you will love the Gelly Roll pens. And they go over the marker very nicely.
This finished drawing is one I did a few year ago, and it shows what the letters look like with a little more depth to them. It really just depends on the look you are going for in your finished piece of art.
How to Draw 3D Letters Step by Step Art Tutorial
That’s it for our lesson on how to draw 3D letters. The only thing you have left to do is to practice. The more you practice, the better you will get. When drawing your letters you can change the direction of the vanishing point, as well as the placement of it.
Placing your vanishing point in the center of the letters will give you a pretty interesting result. Give it a try and draw out some 3D letters.
Let us know how your artistic journey is going in the comments. We’d love to hear from you.

i love it
So glad you liked it
helped lots
That’s great! I’m glad you found it helpful.