
How to Draw a Galaxy Background
Learning how to draw a galaxy background is really easy, and a lot of fun as well. We’ll show you step by step how to make your own galaxy drawings with markers.
There’s a lot of different ways to make your galaxy drawings. And a lot of different color combinations you could use.
We’ll show you a technique you can use for any color combination.
Let’s get some supplies together and get ready to have some fun learning how to draw a galaxy.
* Some of the links in this post may be affiliate links. This means I receive small commissions for purchases made through these links at no extra cost to you.
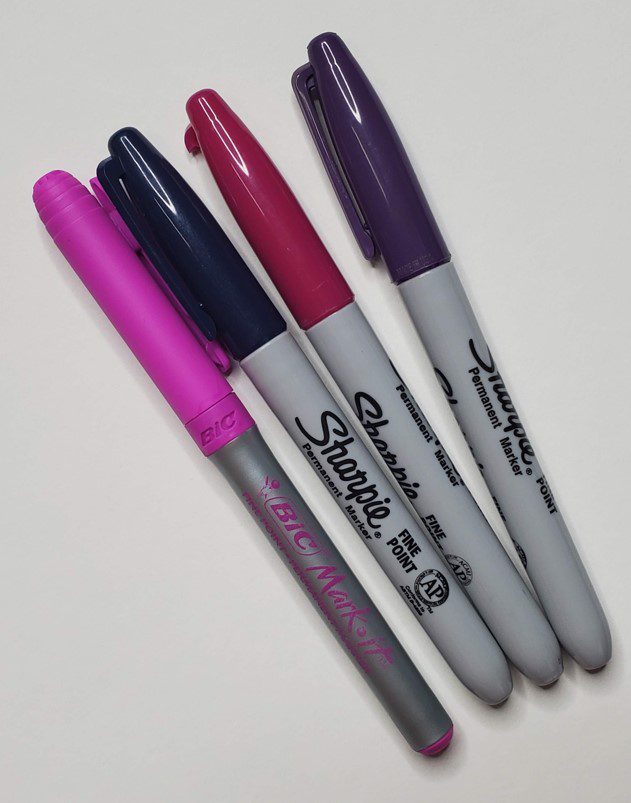
Art Supplies
- Thin black marker
- Paper or cardstock
- Markers
- Pencil
- Click Eraser, Pink Pearl Eraser
- White Gelly Roll pen
What Is a Galaxy?
A galaxy is a collection of stars and their solar systems, along with interstellar gas and dust.All of this is held together by gravity.
The color of the galaxy will be determined by the color of the majority of the stars. If most of the stars are red, the galaxy will appear red. If most are blue, the galaxy will appear blue.
The appearance of these colors can be altered by how the interstellar dust absorbs the light. And how fast the galaxy is moving.
How to Draw a Galaxy Background with Markers Step by Step
Learning how to draw a galaxy background with markers is really easy. I love adding them to my drawings to finish them up.
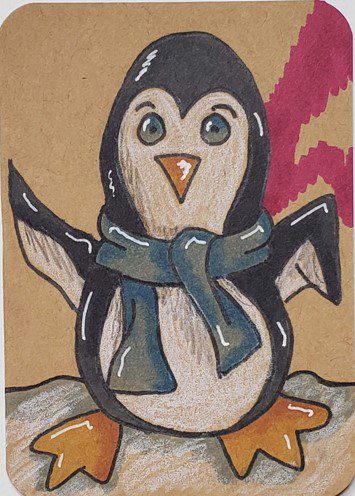
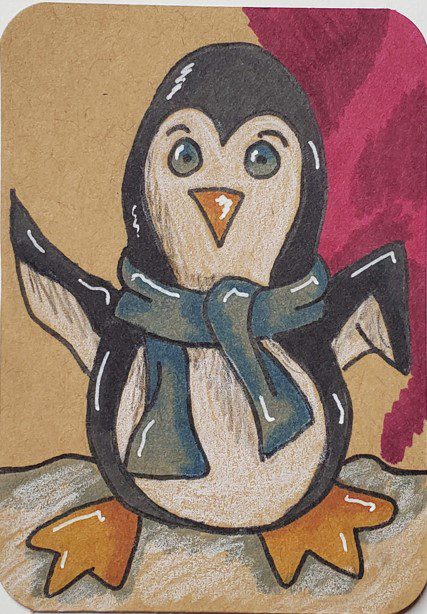
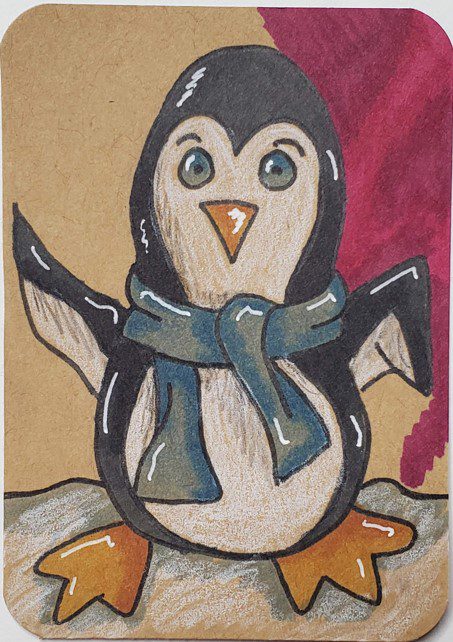
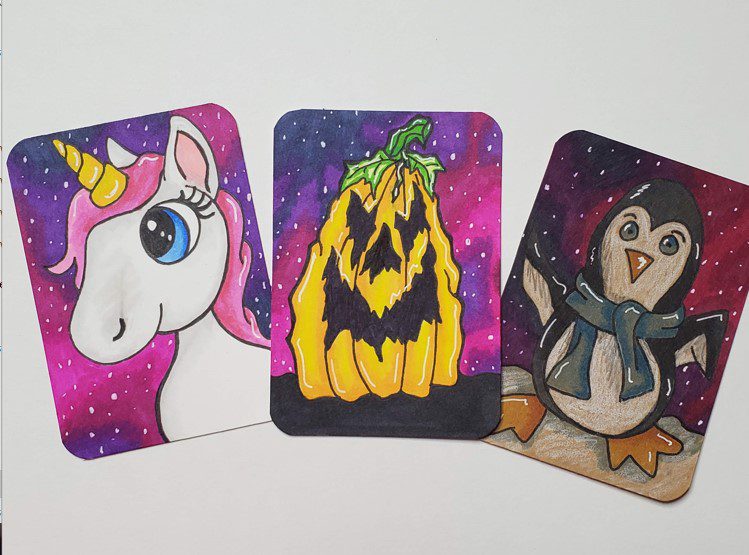
Most of my artwork is done on Artist Trading Cards, and the galaxy backgrounds look great.
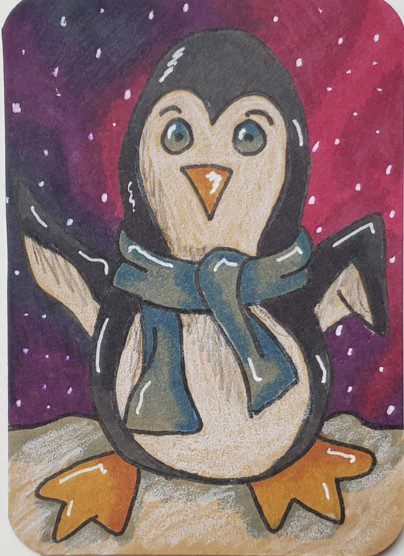
So for this example I’ll be showing you how to add one to an existing drawing. I’ll be using a penguin today. You can learn more in our How to Draw a Penguin Art Tutorial.

There are a few things you need to consider when using markers.
First, if you want to be able to blend your colors together you’ll need to use alcohol markers. There’s a lot of different brands out there like Bic or Sharpie.
Second, you need to use colors that are similar to each other if you want to create smooth transitions of colors. If they’re not similar you’ll end up with a hard edge.
You can use a scrap piece of paper to test out how your colors will blend together.
Third, you need to work while the markers are still wet. This shouldn’t be too much of a problem if you work in smaller areas at a time.
Step 1: Choose Your Colors
With keeping the above in mind, choose a handful of colors for your galaxy background. I’m using bright pink, magenta, purple, and dark blue. You can use more colors if you prefer, but you should use at least four for this type of galaxy background.
You can use any combination you want. Just make sure the colors are similar to each other. Look at some photos if you need some ideas for your colors.
For this galaxy drawing I’m using alcohol markers, which is important if you want to blend your colors together for smooth transitions. You can use a variety of brands. Just make sure they are all alcohol markers.
The brand, or brands, you use will be determined by your own personal preference. This will include budget and availability.
Step 2: Draw Your Galaxy Background
I like starting with my lightest color, which is the bright pink. You can start with whichever color you choose though. It really doesn’t matter.
Start laying down some bright pink in a small section of your galaxy. You want to make sure your markers are wet when you blend them together.
So even if you know you want to use the pink in other areas of your sky, you don’t want to lay them all down at one time.
Now use whatever your next lightest color is and color in the areas next to the bright pink. For the markers I’m using this will be magenta.
Then use the pink to blend the two colors together. You could also use a colorless blender to blend your colors together. These will typically be included with sets of alcohol markers.
Next add some of the purple next to the magenta. And then blend them together using the magenta marker. When making these galaxy backgrounds, I like to vary how I connect the colors and the spaces between. This allows me to add more variation to my galaxies.

Finally, fill in the darkest areas using dark blue and blending that using the purple marker. You can continue blending your colors together as long as the paper is still wet with the alcohol.
Be careful not to over-blend your markers. You could remove some of the pigment by over saturating the paper.
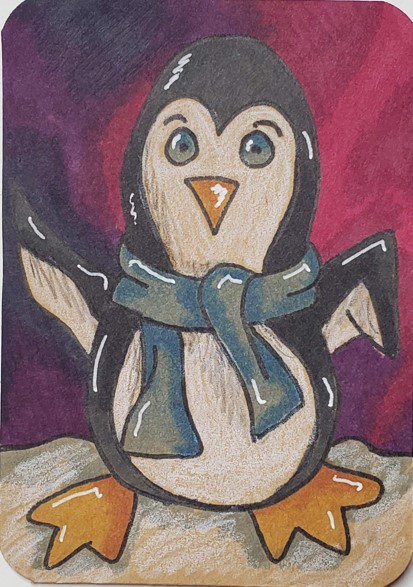
Finish up your galaxy drawing by adding some stars with a white Gelly Roll pen.
Final Thoughts and Next Steps
Now that you know how to draw a galaxy background with markers, what’s next? From here you need to practice. The more you practice the better you will get.
Even if it’s only for a few minutes each day. Those minutes will add up in no time. If you’re consistent.
Try doing a challenge for the week and see how many galaxy drawings you can do. Have fun, and enjoy your creative time. See how many different images you could add a galaxy background to.
Grab your FREE Guide to Better Art in 7 Days
