How to Draw a Mushroom (Easy)
Learning how to draw a mushroom is easy and fun. We’ll show you step by step how to draw, outline, and color your mushroom drawings with markers.
From there you can explore other options and ideas. Art and drawing are skills that anyone can learn and get better at. It just takes consistent practice over time.
And the more fun your creative time is, the more you’ll want to do it.
So let’s grab some supplies and get ready to have fun learning how to draw a mushroom, the easy way.
* Some of the links in this post may be affiliate links. This means I receive small commissions for purchases made through these links at no extra cost to you.
Art Supplies
- Thin black marker
- Paper or cardstock
- Markers
- Pencil
- Click Eraser, Pink Pearl Eraser
- White Gelly Roll pen
Mushroom Sketch Practice
Doing some quick sketches prior to your drawing is a great way to warm up and work through your designs.
And the great thing is it only takes a few minutes to complete a session.
My drawing professor told us “I can’t teach you to draw. But I can teach you to see”. And he was right. Learning to draw is really learning to see.
And by doing a quick sketch session you’ll see things you didn’t notice before.
Here’s how you do it:
- Get some paper and something to sketch with
- Pull up some reference photos
- Set a timer for three or five minutes
- Sketch until you run out of time
Doing a mushroom sketch practice exercise will make you much more familiar with the shape and proportions of mushrooms. You’ll notice things you never paid much attention to before.
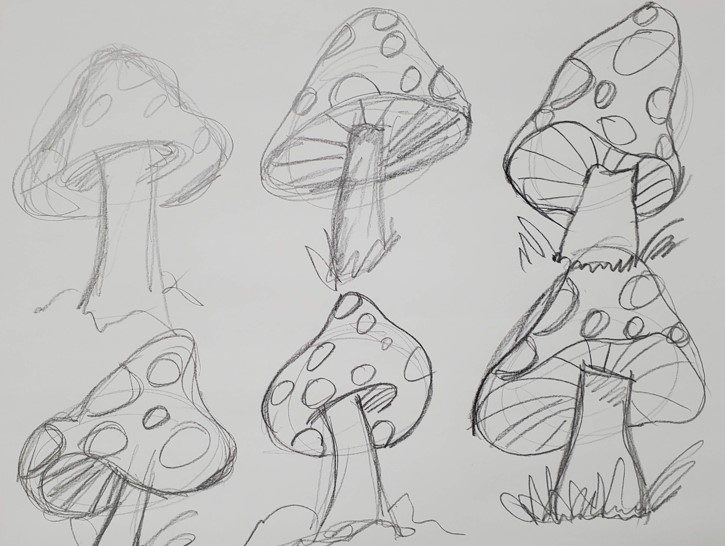
Another option is to simply sketch quickly until you run out of space on your paper. Just make sure you’re sketching and not drawing.
How to Draw a Mushroom Step by Step
The easiest approach to drawing anything is to break it down into simple shapes. Even Though drawing a mushroom is pretty easy, we’re still going to use this method.
By laying out some basic shapes to use as guides, you’ll also get over the blank page syndrome. You know, where to stare at the blank sheet of paper and can’t seem to get started.
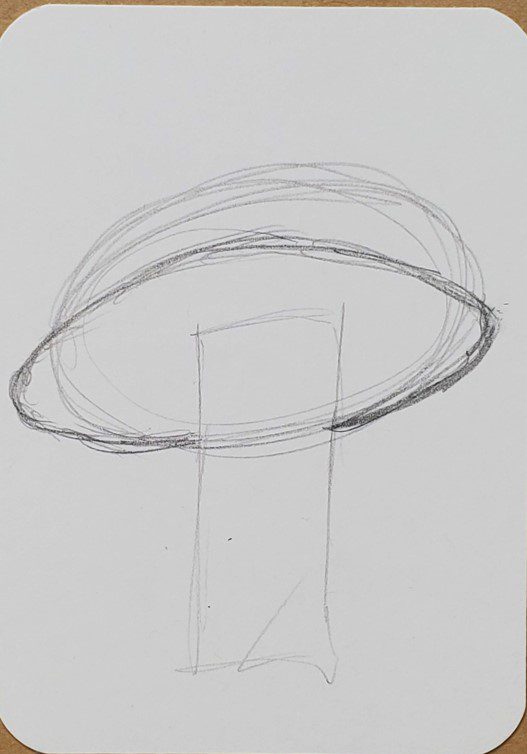
Let’s go ahead and get started. Begin by drawing a circle or oval shape where you want the top of your mushroom to be.
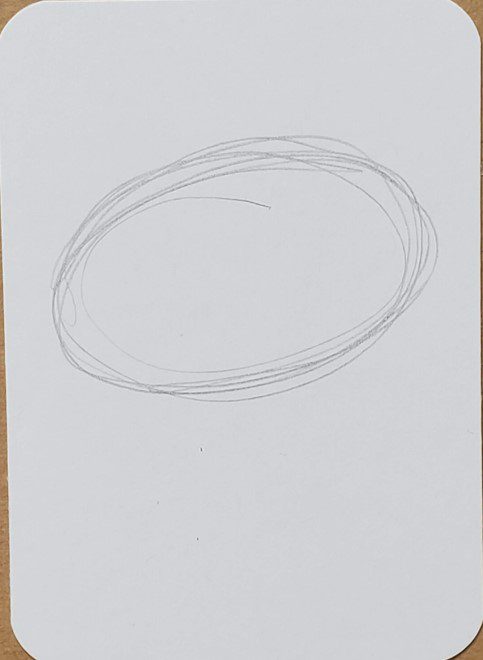
It doesn’t need to be the final shape of your mushroom drawing. But it does need to be roughly the size and placement of where you want it to be.
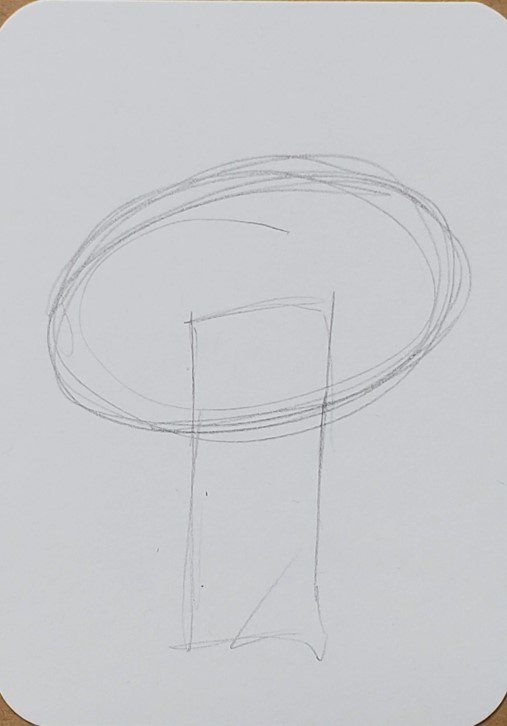
Next, draw a rectangle for the stem. Again, this is just a guide and we can change it in whatever way we want in the upcoming steps.
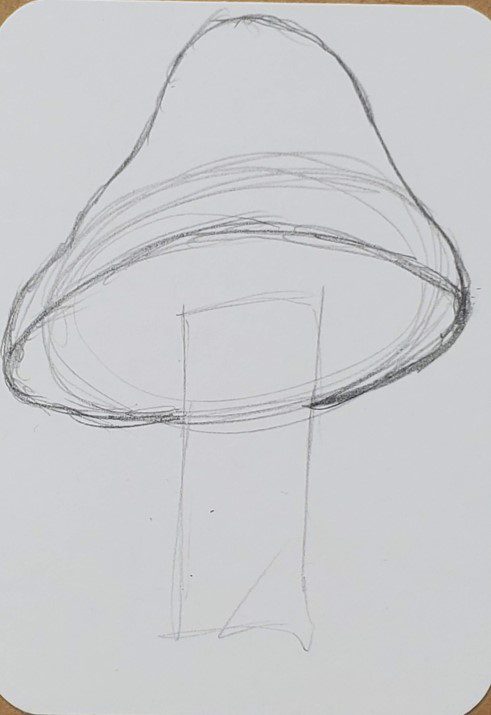
Now draw out the shape for the underneath area of your mushroom where the gills are. This is where we start adding in some detail to our mushroom drawings.
Notice where the stem is in relationship to the lines you’re drawing. It should be somewhere towards the center.
Also notice how I drew through the stem to make sure my lines matched up and connected.
Now draw the shape for the top of your mushroom. There are a lot of options for this and is where the quick sketch exercise can come in handy.
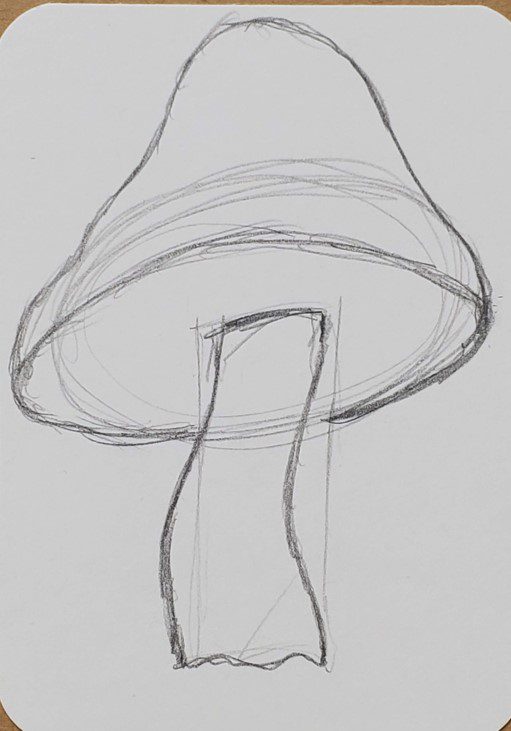
Next, draw the shape of the stem. You can draw it straight, curved, thin, wide, or anything else you can come up with.
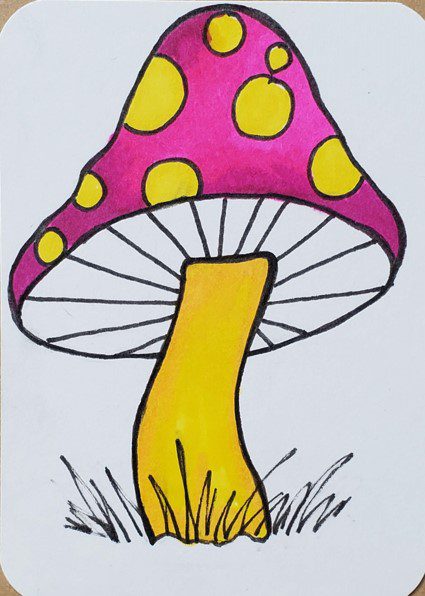
Then you can add some grass at the bottom and some spots on your mushroom.
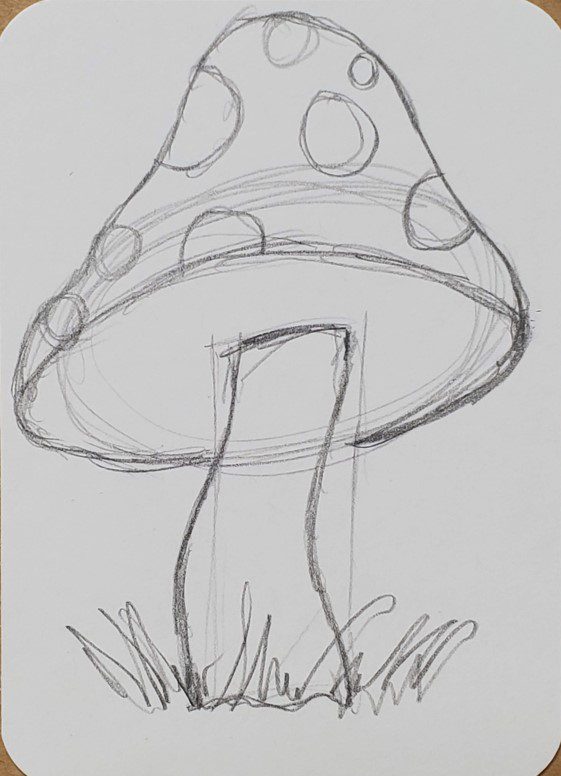
Finish your mushroom drawing by adding the gills to the underside. I find it easiest to do this by adding a small dot on the stem and drawing the lines from there.
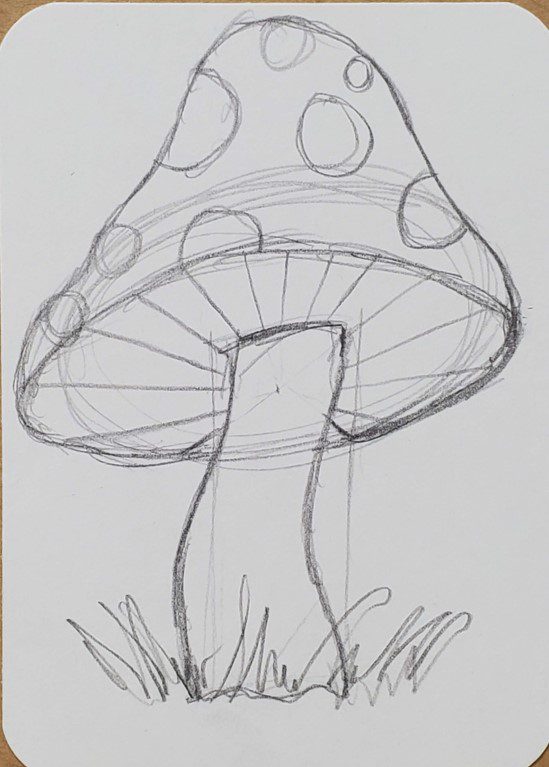
Add in any other details you want to include in your drawing.
Mushroom Outline
The next step is to outline your drawing. This can be done with a black pen or marker. Or, a color other than black if you prefer.
To make your mushroom outline simply trace over your pencil lines. Just make sure you’re only going over the ones you want to keep.
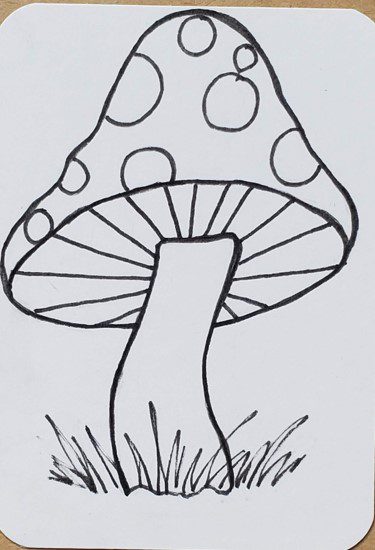
You can make your lines thick or thin. Or you can do a combination of line weights. Have fun and don’t be afraid to experiment a bit.
When you’re done making your mushroom outline, use an eraser to get rid of all the pencil lines and clean your drawing up.
How to Draw a Mushroom with Markers
Learning how to draw a mushroom with markers is easy. And there’s only a few things you need to do.
First, if you want to be able to blend your colors together you need to use alcohol based markers. Bic, Sharpie, and Copic for example. As well as many others.
Second, you need to work while the colors are still wet or they won’t mix together. This isn’t a big deal. Just make sure you work on a section at a time.
Third, you need to use colors that are similar to each other if you want to create a smooth transition of color. If your markers are too different they will leave a harder edge.
A good habit is to keep a piece of scrap paper nearby and use it to test your colors. This allows you to see whether or not the blending is acceptable to you.
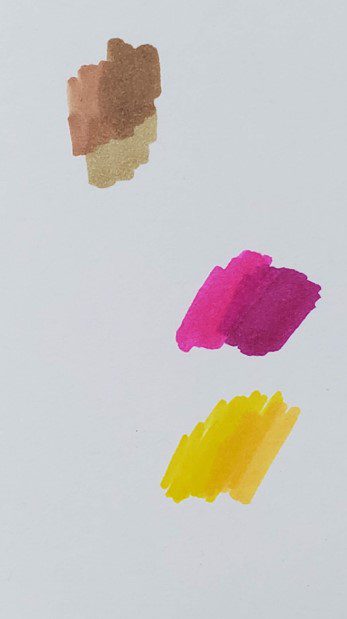
I started with the stem and used yellow and a yellow-orange. Yellow was also added to the spots.
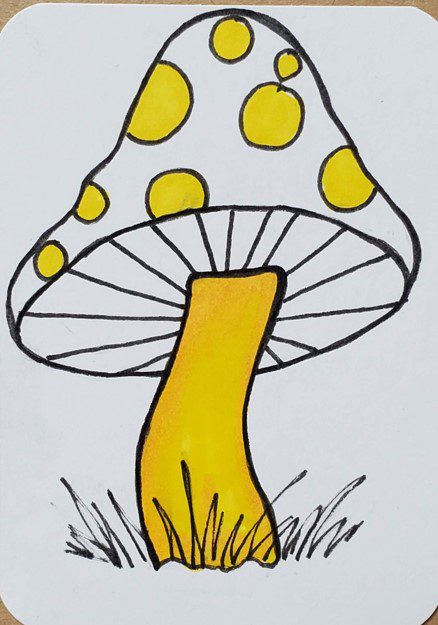
Then I used a couple of pinks to color in the top part of the mushroom. One was a bright pink, and the other was a magenta color.
For the underneath area I used a light pink and a medium pink. And then a couple of greens were used for the grass.
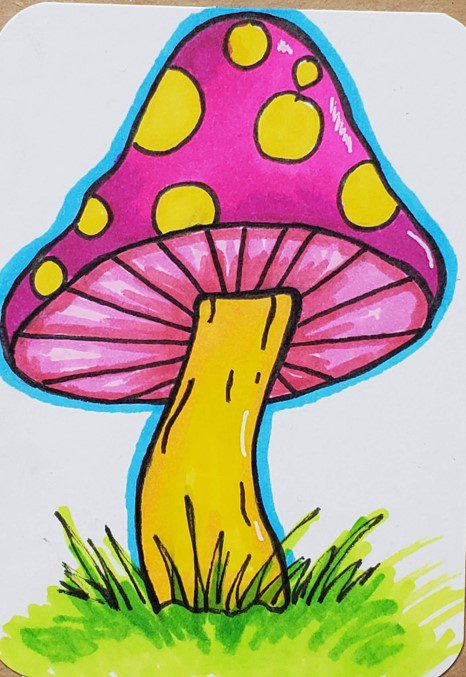
If you want to add some highlights a white Gelly Roll pen works really well.
So as you can see, learning how to draw a mushroom with markers is really pretty easy.
Final Thoughts and Next Steps
Now that you know how to draw a mushroom, what’s next? Well, as I mentioned earlier, art and drawing are skills that anyone can learn.
So the next step would be to practice. The more consistently you practice the quicker you will improve. Even if it’s only for a few minutes each day.
Of course longer amounts of time would be better. But that’s not required to see results.
Keep things fun and relaxing. You should enjoy your creative time.
Doing a series of drawings will help you get better in a short amount of time. Challenge yourself to see how many mushrooms you can draw. It will help your creativity as well as your art and drawing skills.
Grab your FREE Guide to Better Art in 7 Days
