Present Drawing with Bow
Today we are going to learn how to draw a present with a bow. These present drawings could be modified for birthdays or Christmas gifts. Or any other occasion you may want to draw a present for.
Several months ago, we showed you How to Draw a 3D Cube in 6 Easy Steps since then I’ve been wanting to put together some additional lessons that will teach you how to take what you have already learned to the next level.
This lesson is going to do exactly that. So let’s dig in and get some practice drawing presents.
* Some of the links in this post may be affiliate links. This means I receive small commissions for purchases made through these links at no extra cost to you.
Art Supplies
- Paper or cardstock
- Pencil
- Eraser
- Pen or marker
- Bic Intensity markers
- White Gelly Roll pen
FREE Guide to Better Art in 7 Days
In today’s lesson we are going to focus on drawing a three-dimensional present. Because to be honest, two-dimensional presents are just plain boring.
How to Draw a Present in 3D
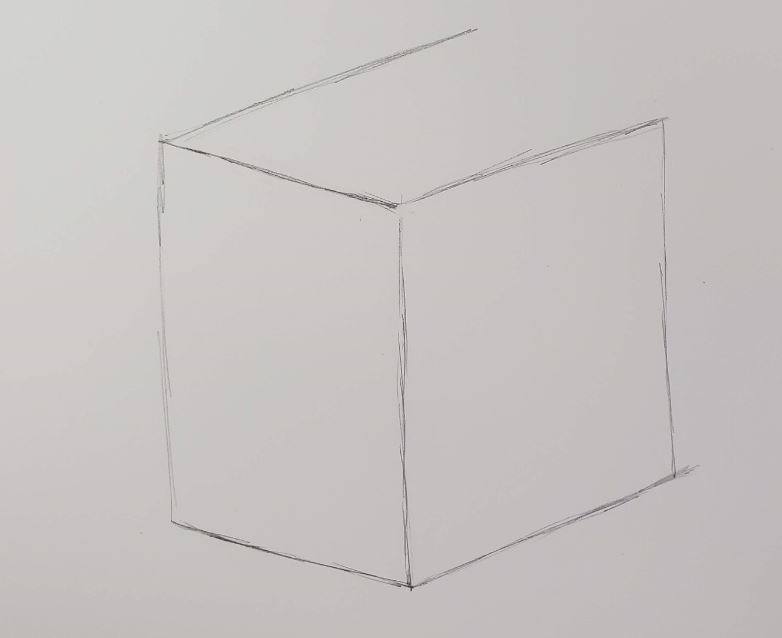
The first step to drawing a present is to first draw a cube. When drawing your lines think about how you want the shape of your present to be. Will it be a perfect square, or do you want it to be longer than it is tall?
Begin by drawing the vertical line of the corner nearest to the viewer. Followed by your two lines for both sides at the bottom.
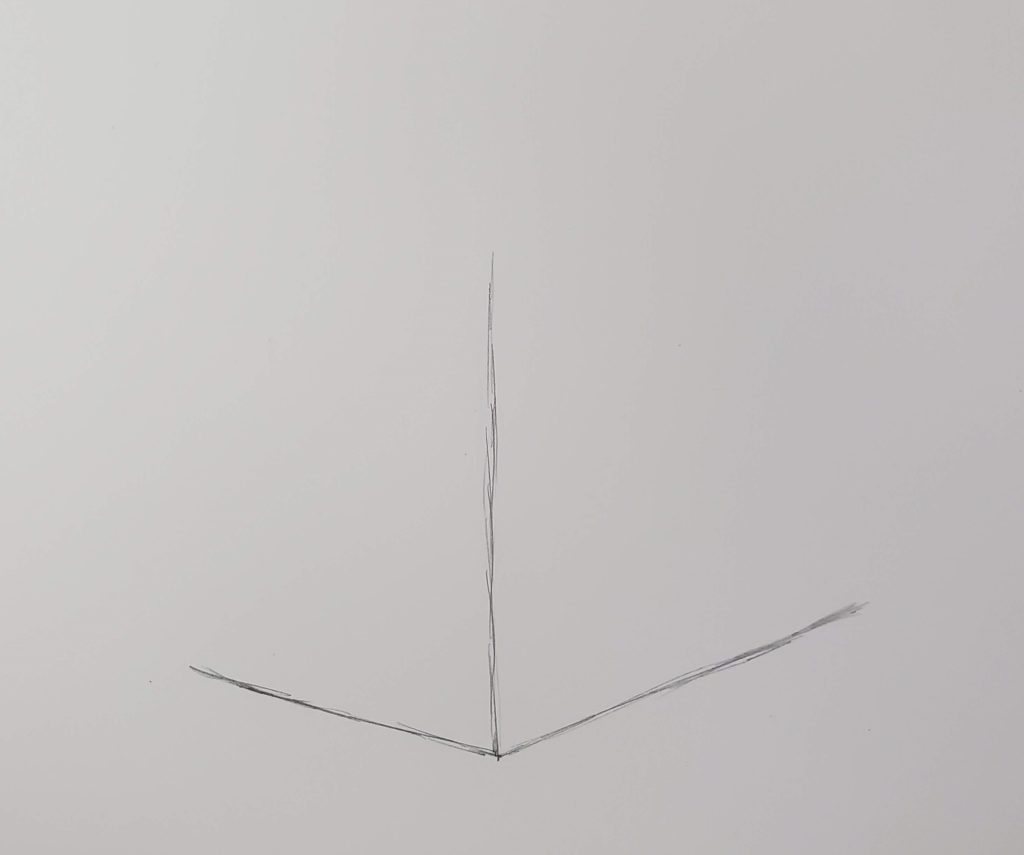
Notice how you end up with a “V” shape at the bottom.
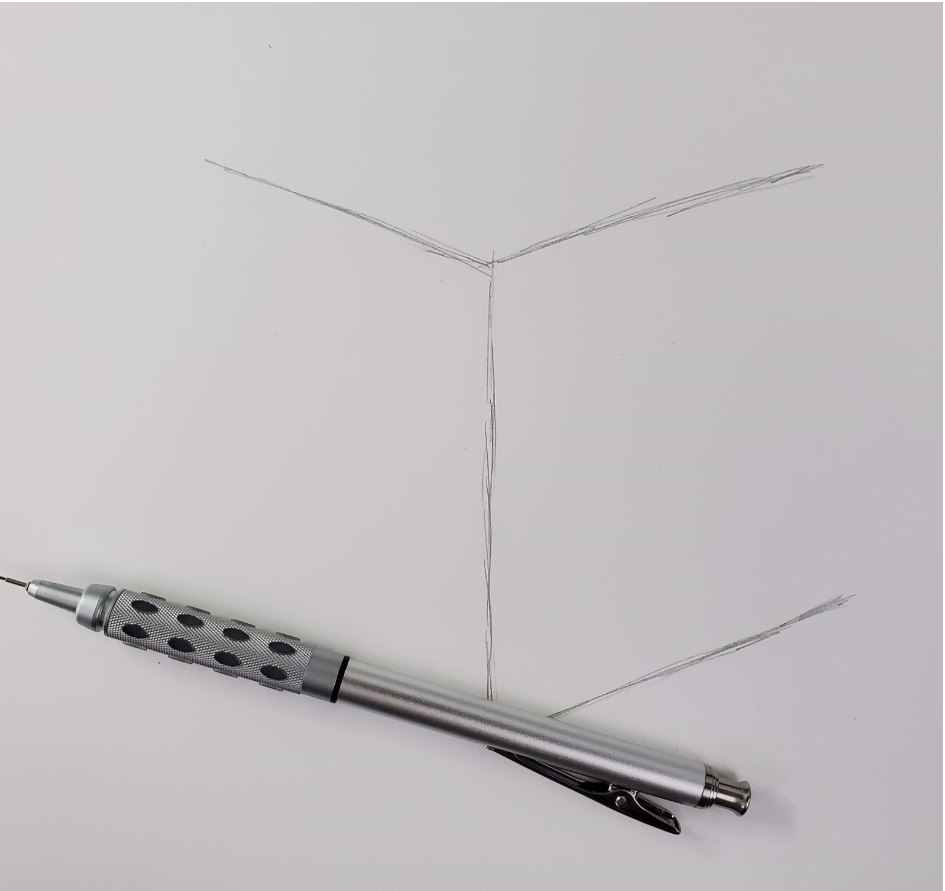
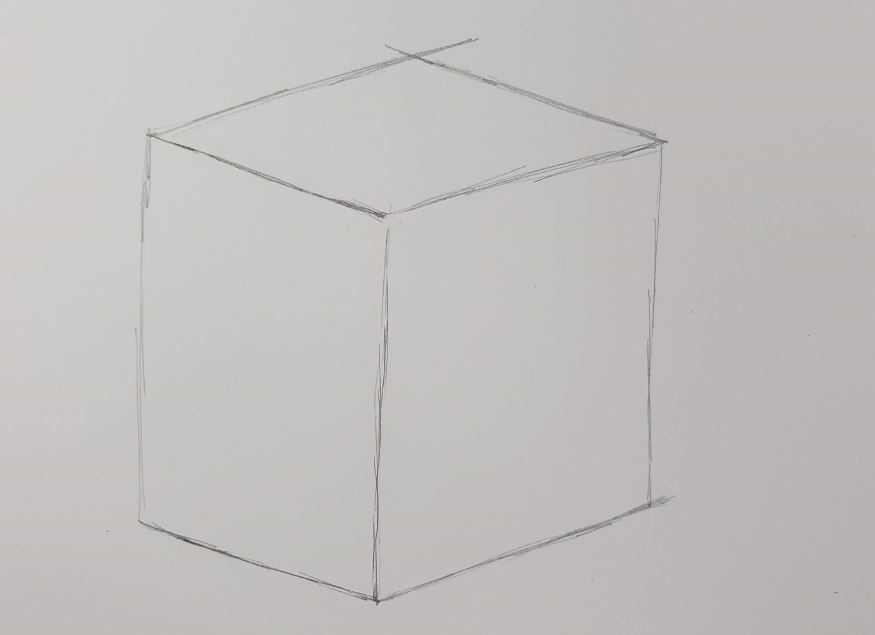
The next step is to draw the top of your box. These lines need to be parallel with the bottom lines.

*** Tip – if you’re having trouble seeing the angle of your lines, use your pencil to help you. Lay it on top of one of the lines, and then slide it up to its parallel counterpart line.
Start with one of the sides, then do the other side the same way.
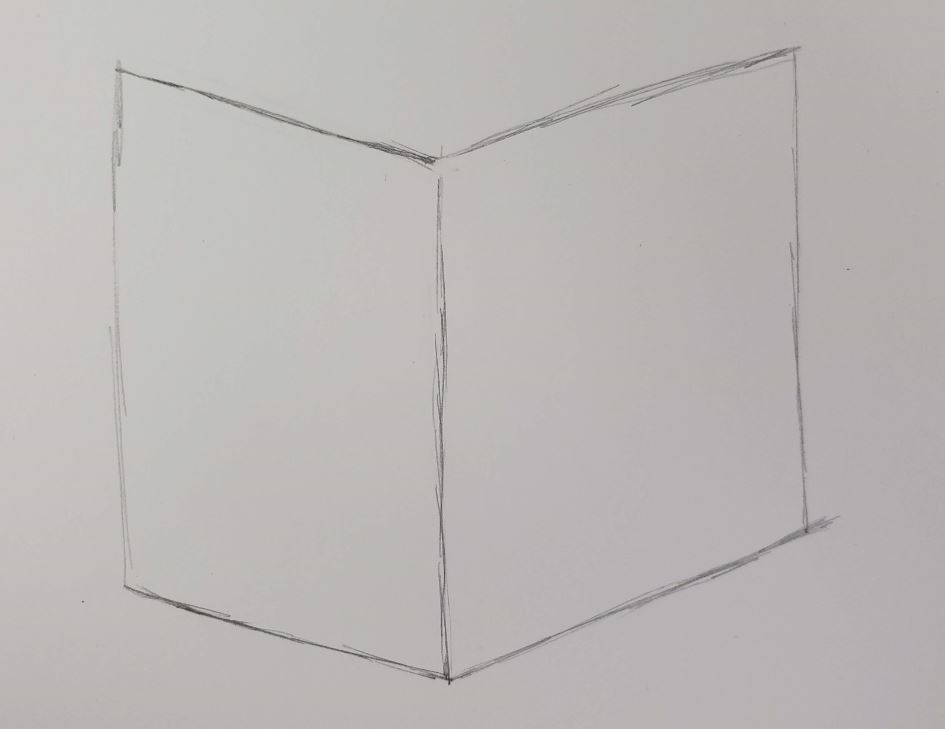
Now draw the two vertical lines on either side of the box. Make sure these lines are drawn straight up and down.
Present Drawing – Top
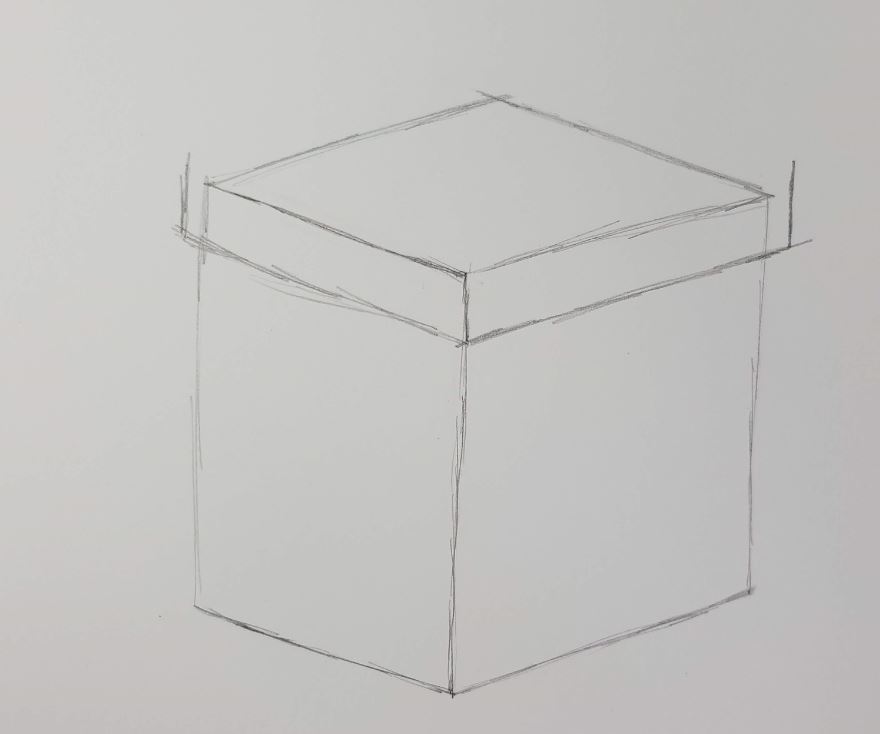
We’re going to keep working on our basic cube shape by drawing the top of the box.
Draw one of your top edges for your cube. It doesn’t matter which one you draw first. Make sure you draw it parallel with the line on the opposite side of the box.
Now, draw the edge of the other side of the box. Again, keeping the two lines parallel with each other.
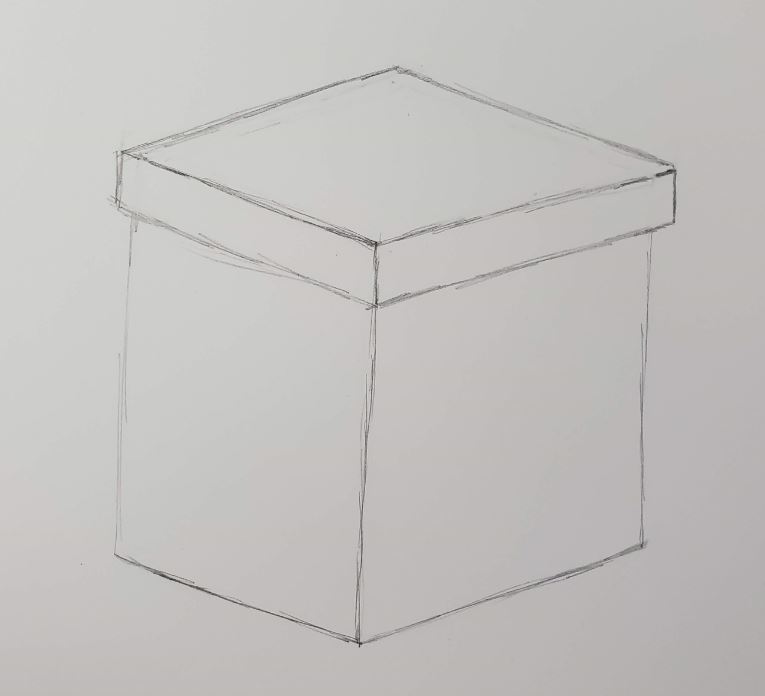
Drawing a Present With a Lid
The next thing we are going to do is draw a lid for our present. You can skip this step if you don’t want your present to have a lid. Your lid needs to be slightly larger than your box is. The steps are basically the same as drawing a cube.
The only difference is you have to draw it in relationship to the box so it looks like its covering it, instead of just sitting on top. Think about how you drew the bottom part of the box, and repeat those same steps for the lid.
Decide how thick you want your lid to be, and draw your two lines for the bottom edges.
You can draw them right from the closest corner of your box.
When drawing the bottom edges, make sure you extend them past the back edges of your box. This will make the lid look like it’s larger than what the box is.
Finish up your lid by drawing in the two lines for your back edges. They will be slightly different from where your previous lines were draw for the box.
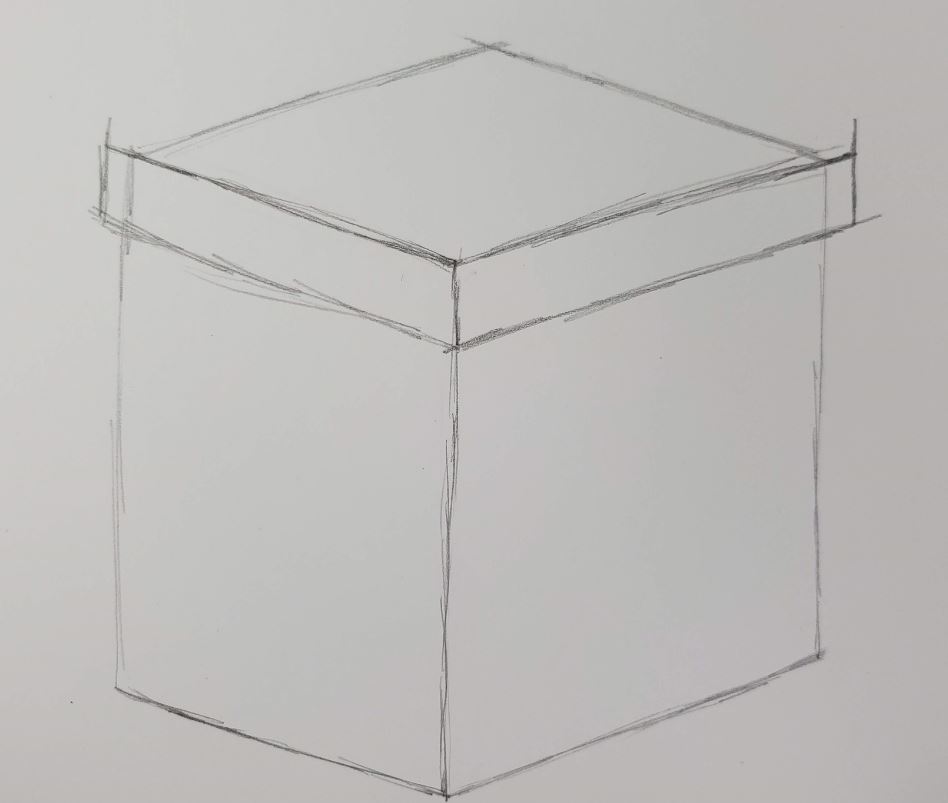
Use an eraser to clean up your lines as you go to make sure you keep your drawing clean.
How to Draw a Bow
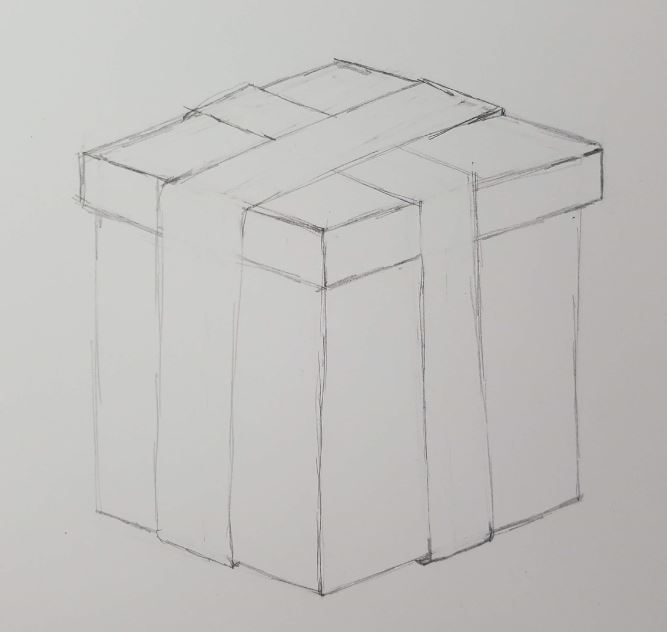
To finish up our present drawing, we need to draw a bow. We’ll start by drawing some ribbon. Choose one side of your box and draw a line down the center. Try to get your line as close to the center as possible.
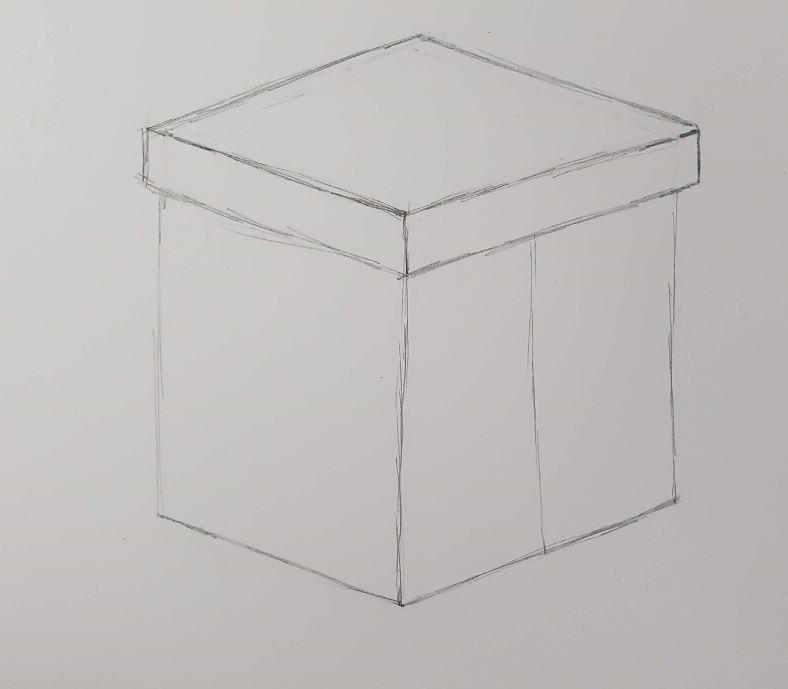
Next, draw another line on both sides of that line. Make sure you keep your lines parallel with the lines for that side of the box.
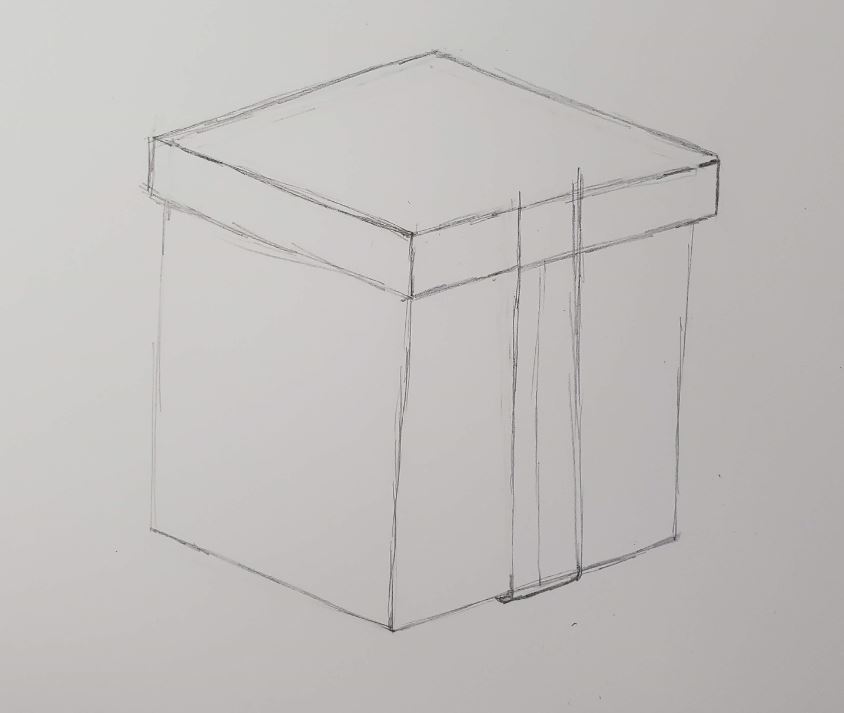
Follow the same process for the other sides of your box, including the top. If your lines are not drawn straight, it will be much more noticeable when you add more detail.
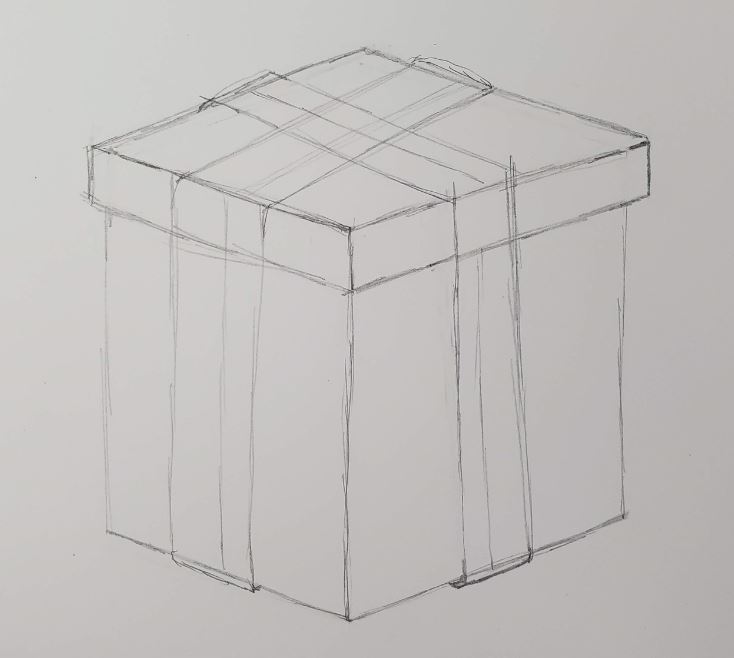
Look at how the top part of the ribbon looks very crooked. You could leave it crooked, or erase the lines and straighten it out. I’m sure there have been plenty of presents that were wrapped with uneven ribbons.
Now we’re going to move onto drawing the bow. Draw the center, or knot, of the bow where the two ribbons intersect. We have a full tutorial on how to draw a bow if you want to check it out.
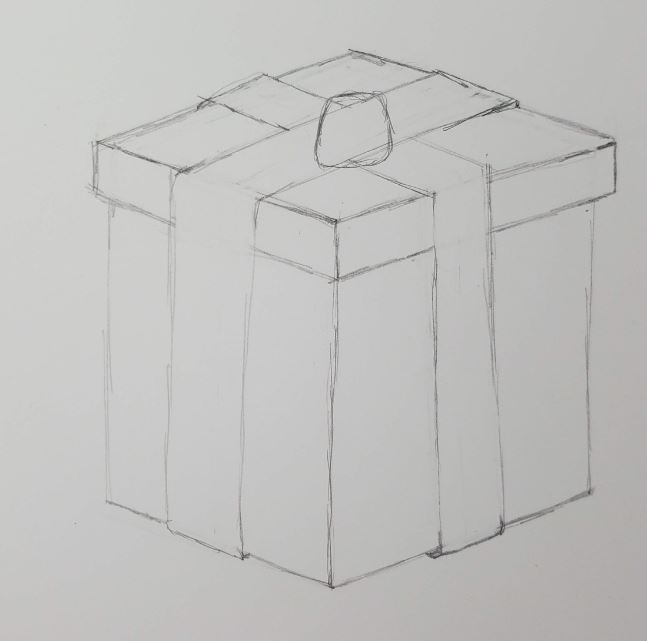
Draw one side of the bow. Notice the shape of the bow and how the lines are drawn from the edges of the knot.
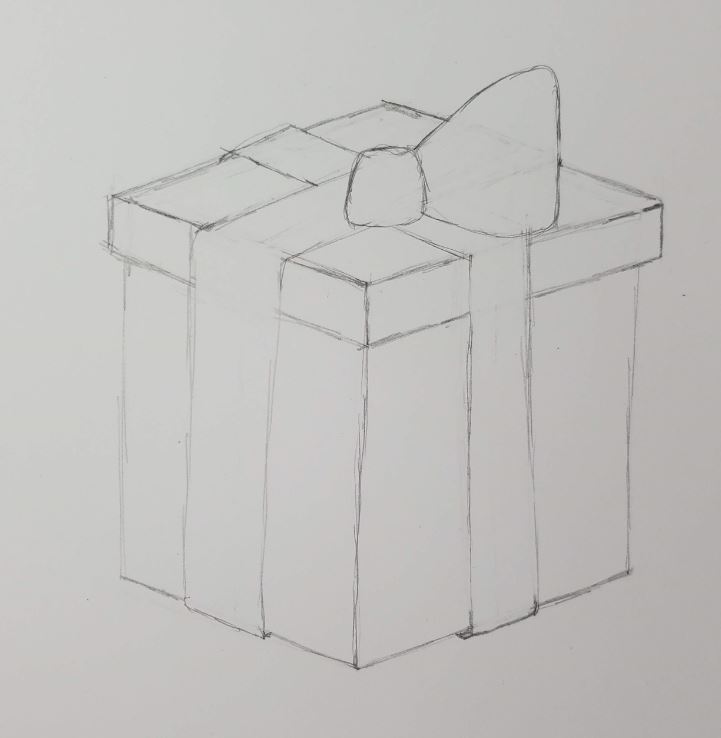
Then draw the other side of the bow. Erase your extra lines as you work to make it easier to see what you’re drawing looks like.
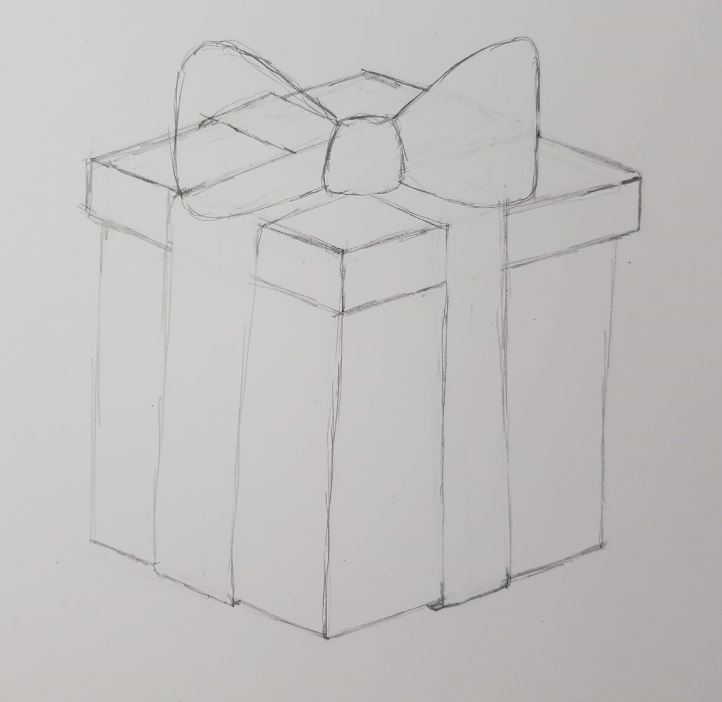
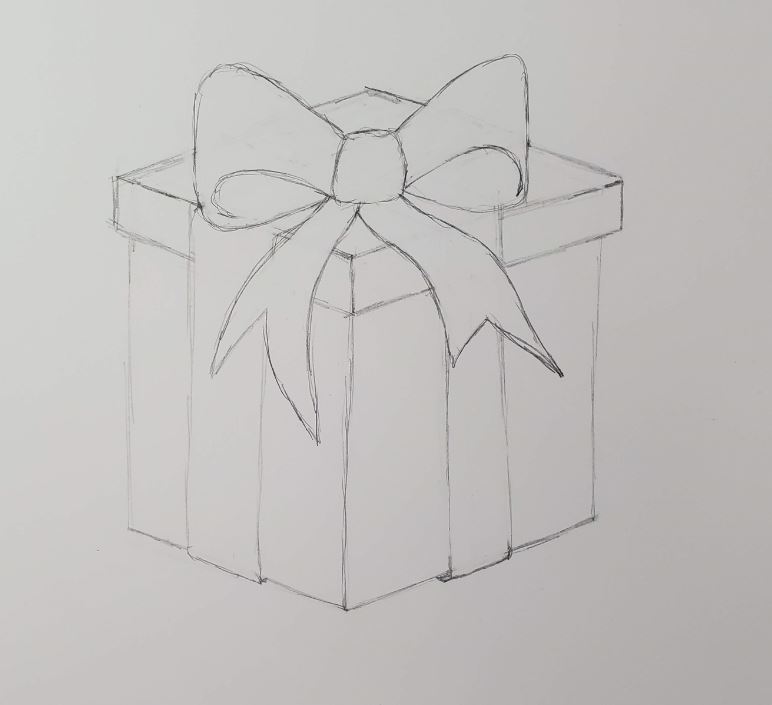
Now, draw the lines for the inside folds of the bow.
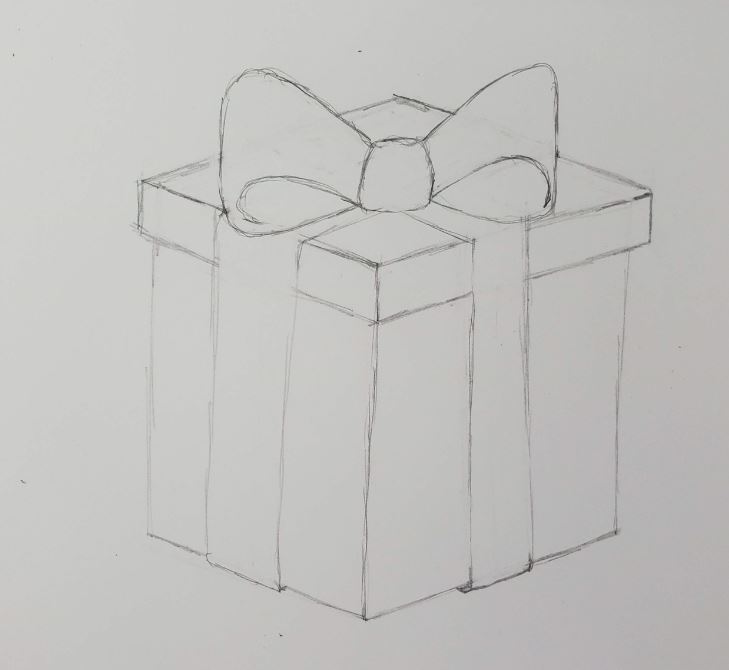
And then finish your present drawing by adding in a couple of ends for your bow.
Shading a Cube
Now you have to decide how you want to finish your present drawing. Do you want to leave it as a pencil drawing and do some shading? Or maybe you want to color it in with some nice, bright colors.

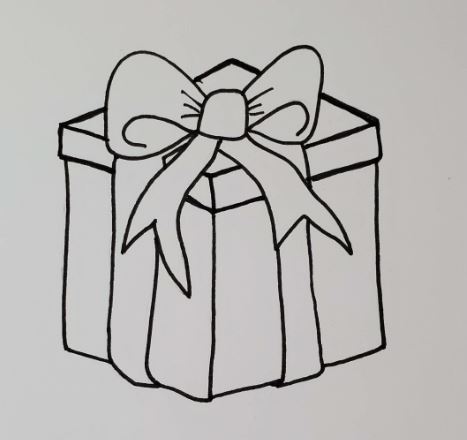
Let’s add some color to this example. But before we add our color, let’s ink our drawing first. Using a black marker, trace over your pencil lines. I’m using Pitt Artist pens today.
Next, decide on what medium you want to use and which colors you want your present to be. I’ll be using Bic Intensity markers for this drawing. These markers are great for the price.
You can read our full product review at, Bic Intensity Marker Review – Fine Point.
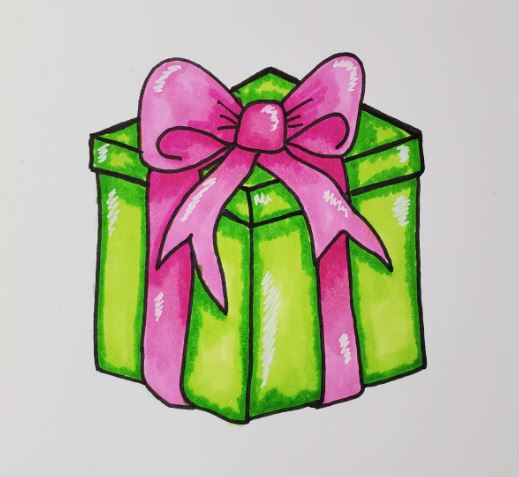
When adding color to your artwork it’s best to use more than one value of each color. Or to mix colors together. This keeps your drawings from looking flat, like a coloring book picture. We have a beginner marker tutorial at, How to Blend Markers for Beginners.
A white Gelly Roll pen was used to add the highlights. These pens are amazing for adding white on top of marker or colored pencils. You could add some patterns or designs to your present too. Use your imagination and have fun.
Download Your FREE Guide to Better Art
How to Draw a Present – Easy Step by Step for Beginners
Thank you for joining us today to learn how to draw a present. If you have some interesting ideas for patterns and designs for your presents, let us know in the comments.

i loved it
I’m so glad you liked it.
Great lesson – thank you!
So glad you like it!