Learn How to Draw an Owl Step by Step
Learning how to draw an owl is easy and fun. We’ll show you step by step how to draw, outline, and color your owl drawings with markers.
This is going to be an easy step by step art tutorial for beginners. Artist trading cards are a great way to safe time when making your art. That’s what I’ll be drawing on today. However, you can use any size paper you want.
Take a look at some of these owl pictures for inspiration, if you need some. Or just try drawing from your imagination. But either way is fine, but don’t ever feel like using a reference is cheating.
Let’s get started by taking a look at the supplies used for this lesson.
* Some of the links in this post may be affiliate links. This means I receive small commissions for purchases made through these links at no extra cost to you.
Art Supplies
- Thin black marker
- Paper or cardstock
- Markers
- Pencil
- Click Eraser, Pink Pearl Eraser
- White Gelly Roll pen
Get Your FREE Marker Blending Guide
Making Artist Trading Cards
The first thing I did before starting my owl drawing was to cut some artist trading card blanks. This can be done with cardstock and a paper trimmer. You can usually get 10 cards out of one piece of paper. I’ll be using toned paper today.
If you are brand new to ATCs, check out How to Make Artist Trading Cards (ATCs)
How to Draw an Owl Step by Step Using Shapes
Now let’s look at the steps involved in drawing an owl. We will begin by roughing out some basic shapes. You can learn more about why in How to Use Shapes to Draw.
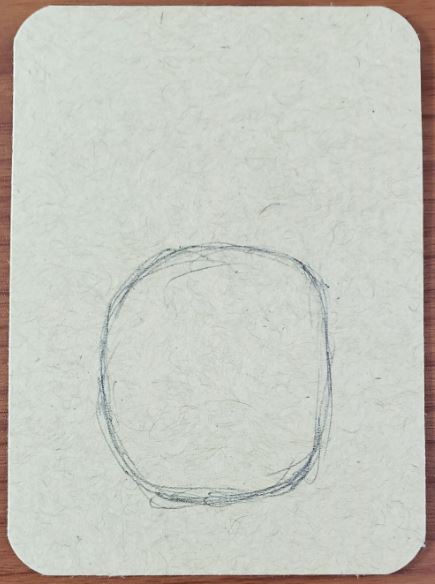
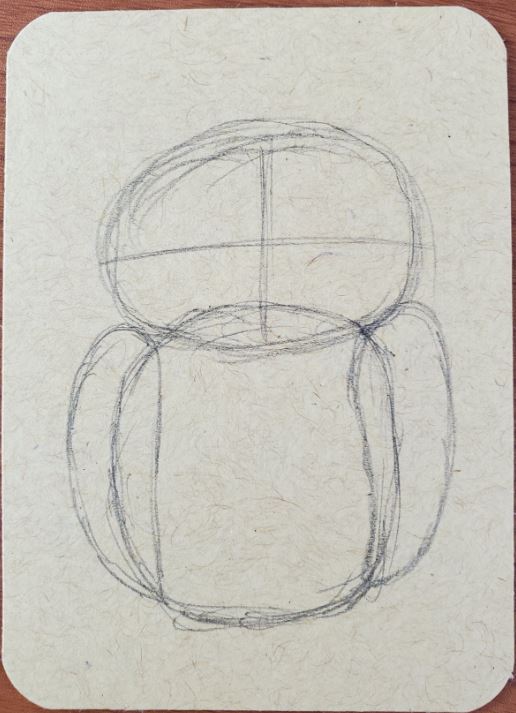
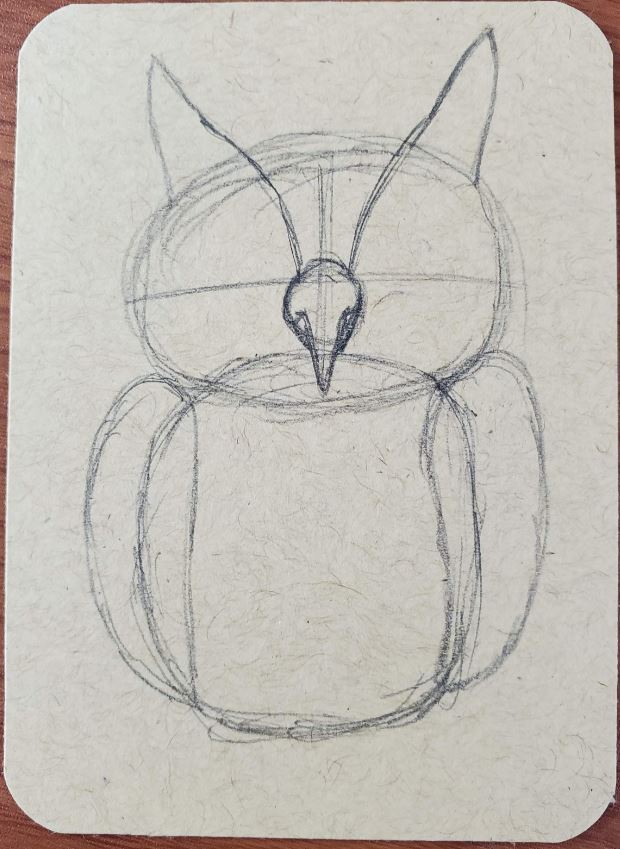
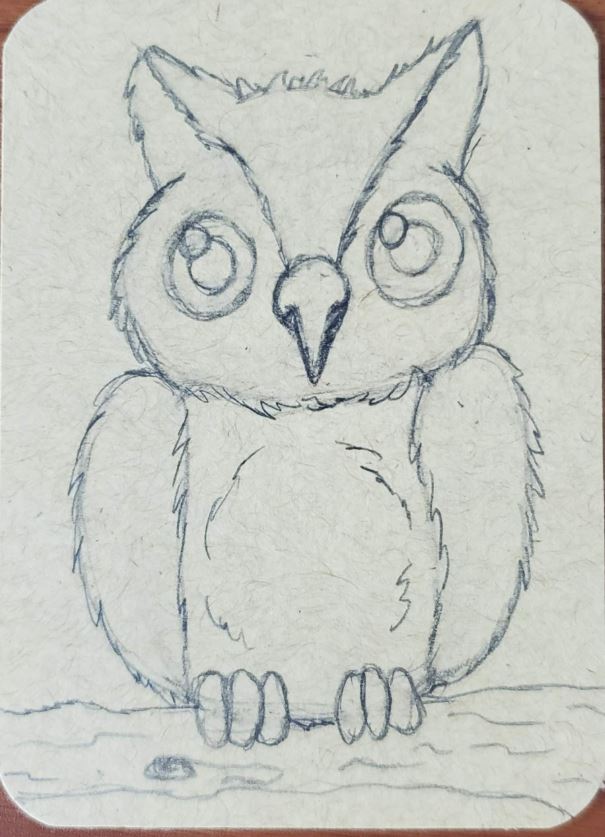
Step 1: Basic Shapes
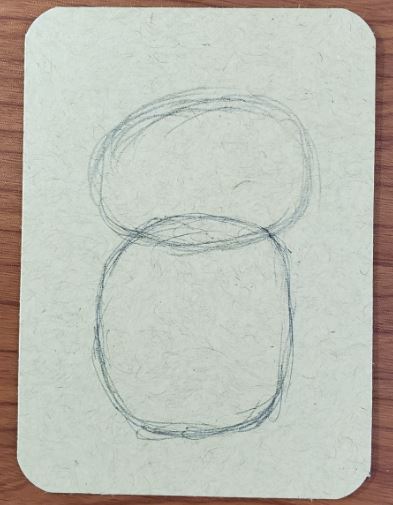
For the body, draw a rounded square shape.
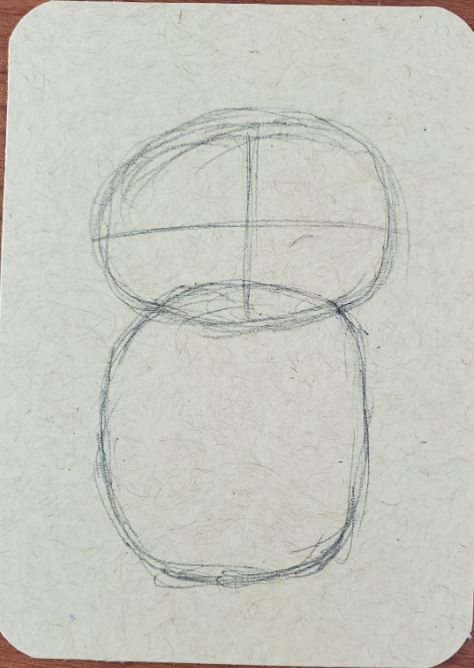
For the head, draw a sideways oval. Draw the head so it overlaps the body a little bit.
Next, divide the head into quarters by drawing a horizontal and a vertical line through the center in each direction.
Rough in the wings with a couple of teardrop shapes. Notice how they are larger at the top, and then taper off to a point at the bottom. Again, overlapping the body.
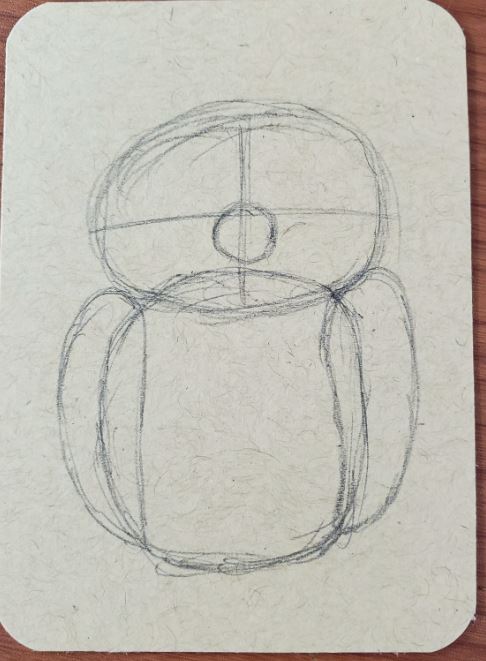
Draw a small circle for the beak, right beneath where the lines intersect on the head.
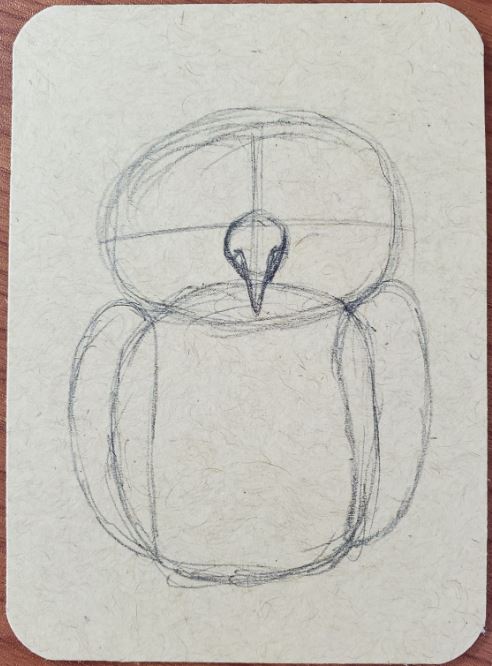
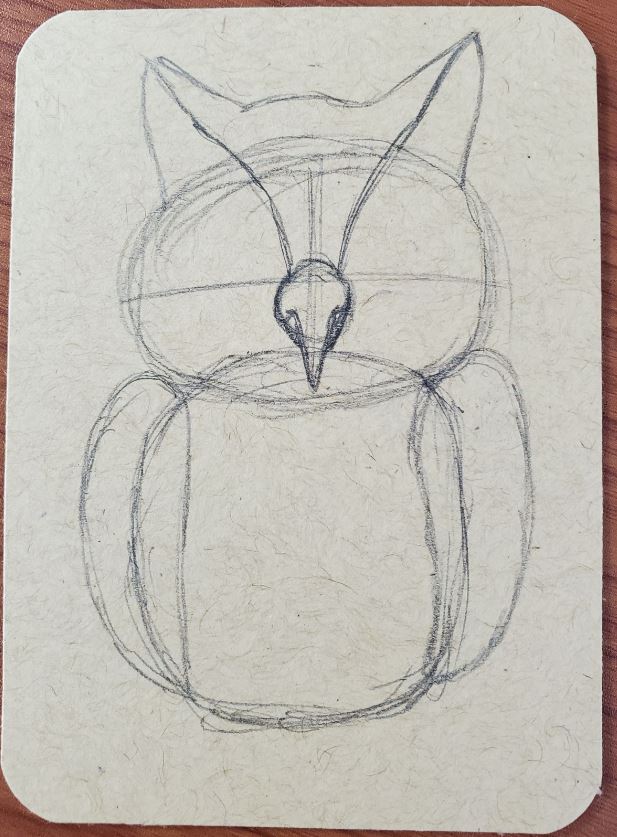
Step 2: Add Details
Draw an upside down triangle that starts at the middle of the circle, and ends at the bottom of the head shape.
Next, we’ll draw the ears. Draw two curved lines that start at the beak and extend past the top of the head.
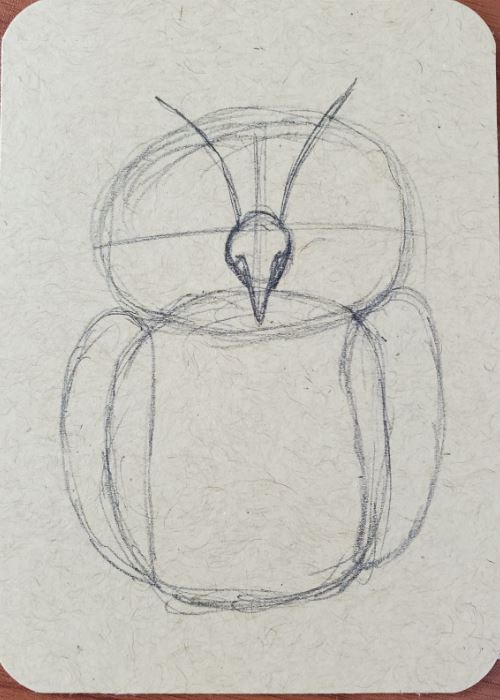
Use the guidelines on the head to make your lines symmetrical.
Draw the ears coming back down to the top of the head. They should look a little like triangles.
Now draw the top of the head, and connect the ears. Notice how the top of the head follows the curve of your head shape you drew at the beginning of the lesson.
Owl Drawing – Eyes
When drawing the eyes, keep in mind that owls have pretty big ones. They should be drawn close to the guideline, and take up most of the area left on the top part of the head.
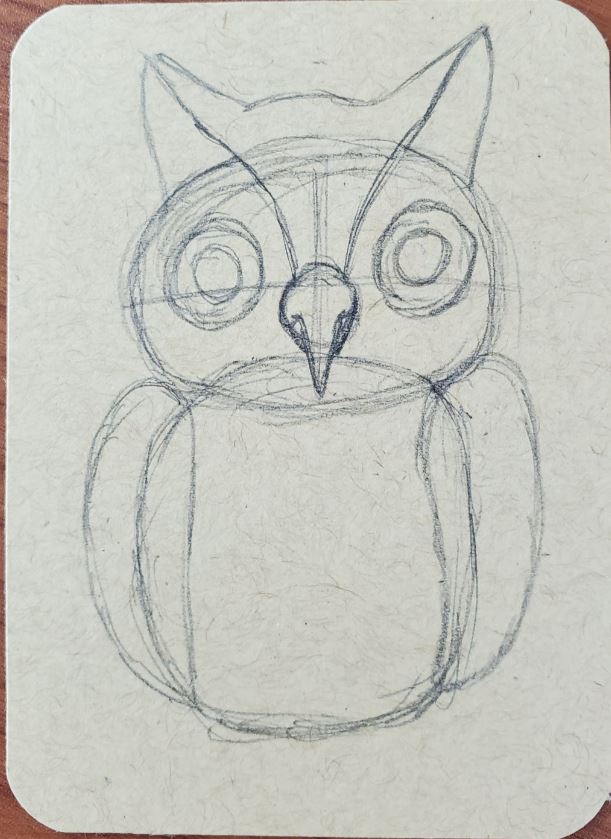
Draw a larger circle for the overall shape of the eye. And then draw a smaller circle for the pupil.
Draw the feet with three ovals for each side. They should be drawn overlapping the bottom of the body.
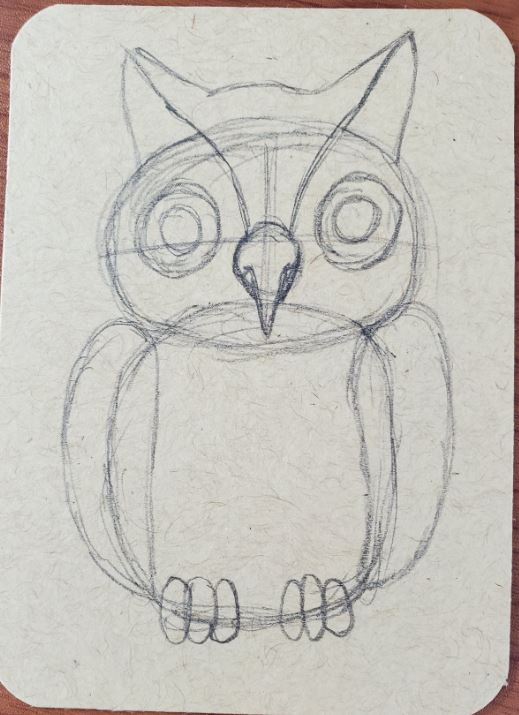
Add in the highlights for the eyes. Notice how they are drawn between the pupil and the iris.

How to Draw an Owl Step by Step with Fur Texture
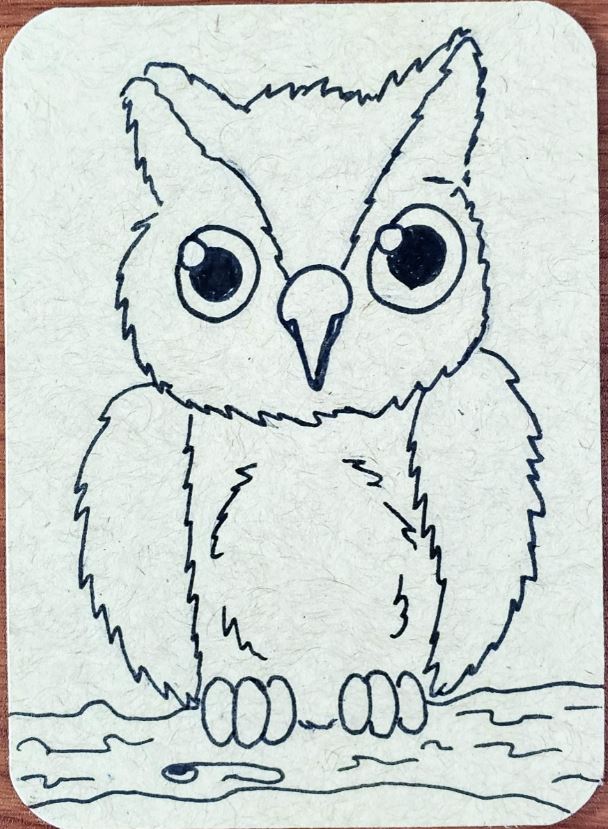
Step 3: Texture
Now we need to draw in the little extra details. One of The 7 Elements of Art is texture, and we want our owl to have texture so it looks more like fur.
To draw the fur, make your line less smooth. Draw them like little waves along the lines you drew for the rough sketch of your owl drawing.
Add in a tree branch along the bottom so your owl isn’t floating in mid air. His feet should overlap the branch.
Don’t forget to add in some texture to the tree branch as well.
Step 4: Owl Outline
Making an owl outline is easy to do. Simply trace over your pencil lines with a black pen or marker. You can make your lines thin, thick, or a combination of the two.
Just do whatever looks good to you and don’t overthink it. Have fun and try new things.
You could also try using a color other than black. Maybe try using brown or a different color.
How to Draw an Owl with Markers
Learning how to draw an owl with markers is really easy. They’re bright and the colors are bold. And you can get used to suing them with just a little bit of practice.
When using markers, or any medium really, you want to blend different colors together to make your drawing look more interesting. If you want to try using markers and need some help, take a look at How to Blend Markers for Beginners.
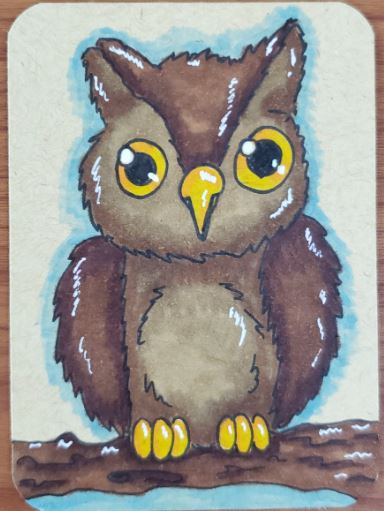
Tiki Hut Tan, Honey Brown, and Woodsy Brown were used for the fur and the tree branch. Summer Melon and Yellow Blaze were used for the eyes, beak, and feet.
Oceanview Blue was used for the background. And a white Gelly Roll pen was used for the white highlights.
Learn to Improve Your Owl Drawings
The best way to improve your drawings is with repetition. Try doing an owl drawing challenge where you draw 7 owls in 7 days. You can do them on artist trading cards (ATCs) to save time. Even if you don’t want to trade your work with other artists, ATCs are a great way to save time.
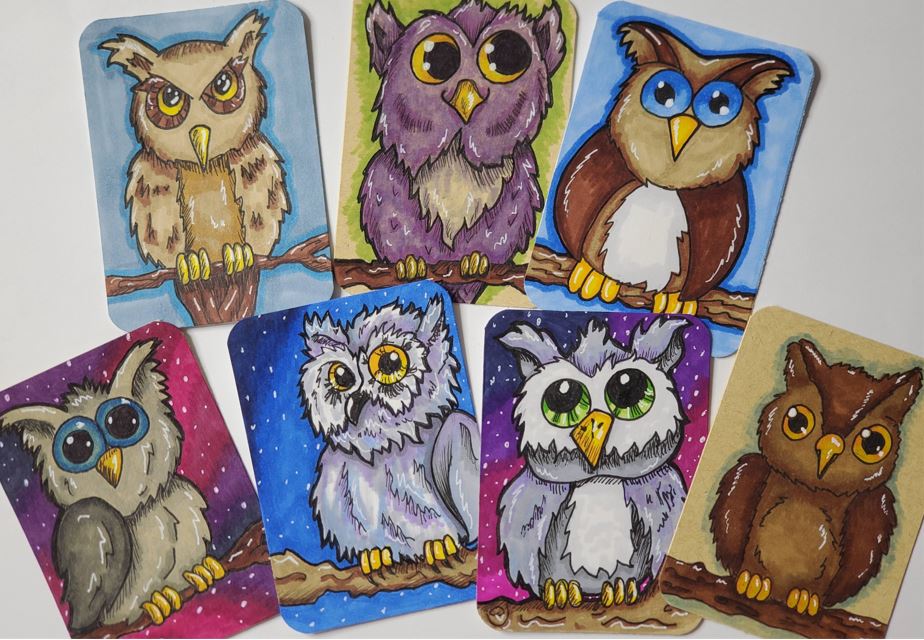
By doing several drawings you’ll improve your art skills, improve your creativity, and develop your artistic style. Experiment and have fun.
How to Draw an Owl Step by Step with Pictures
That’s it. You’ve successfully learned how to draw an owl step by step. The only thing left to do is to decide what to do with your drawing. Or maybe try doing a few more drawings and try some new things with it.
You can try doing a 7 day challenge and see how many owls you can draw in a week. You’d be surprised by how much your drawings can improved in only a week.
Grab your FREE Guide to Better Art in 7 Days
