Patriotic Op Art Drawing Lesson
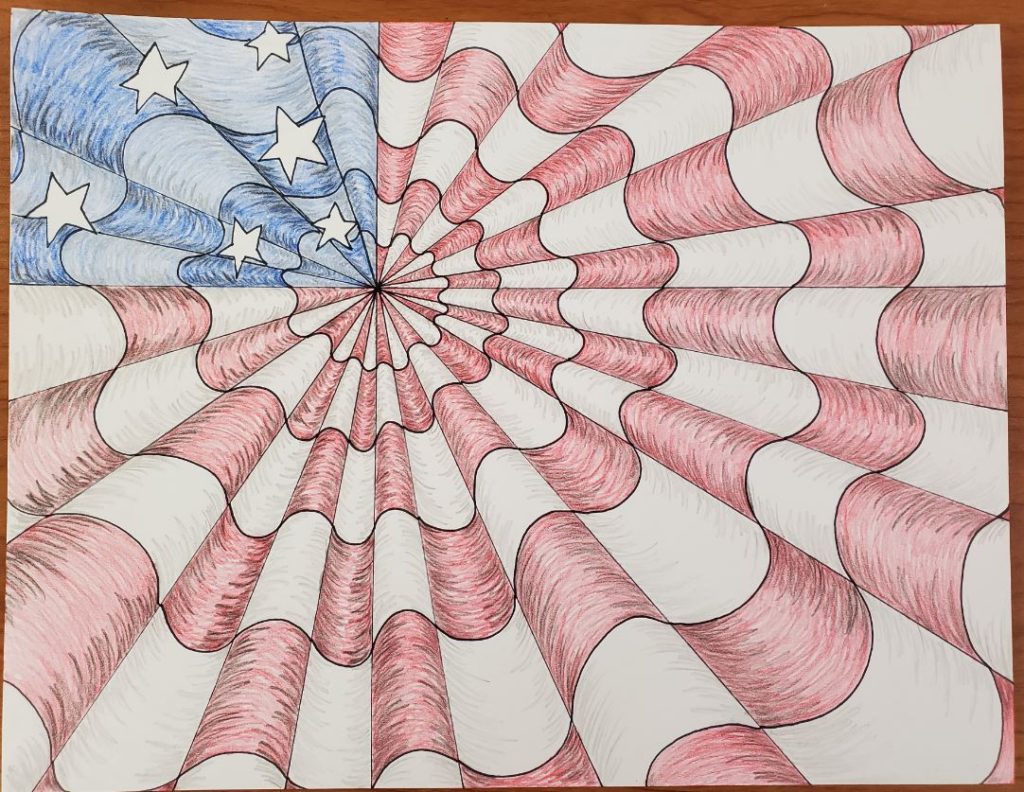
Today we are going to look at how to make an American flag op art drawing. This op art project is really easy to do, and looks so cool when it’s done. The great thing about optical art drawings is that they are much easier to draw than people think.
This makes them the perfect drawings for beginners of all ages. They are fun to make. And drawing anything should be fun.
This is very similar to How to Draw an Op Art Bullseye, with a few small changes. With July 4th quickly approaching, I thought this would be a good lesson to show you. And they look amazing when finished.
What is Op Art?
Op art is short for optical art, and is a type of optical illusion. Artist use pattern, color, and shapes in a way that creates these illusions. When viewing op art, it appears to be moving or blurring together.
By focusing your eyes to different areas of the artwork, you might even see the work completely differently.
Op art is a form of abstract art that originated in the 1960’s. Victor Vasarely and Bridget Riley are most commonly credited for the development of this artistic style.
These abstract works were mostly seen in print graphics, and was never really seen as a serious art form. The op art movement quickly faded out by the end of the 1960’s.
Let’s get started by looking at the materials that were used to create the patriotic op art drawing.
* Some of the links in this post may be affiliate links. This means I receive small commissions for purchases made through these links at no extra cost to you.
Art Supplies
Pencil
Get Your Free Op Art Drawing Guide
Op Art Drawing – Guidelines
Let’s get started on our drawing by laying out some basic guidelines. We first talked about this technique in How to Use Shapes to Draw. Placing some guides down first makes more advanced drawings much easier to complete successfully.
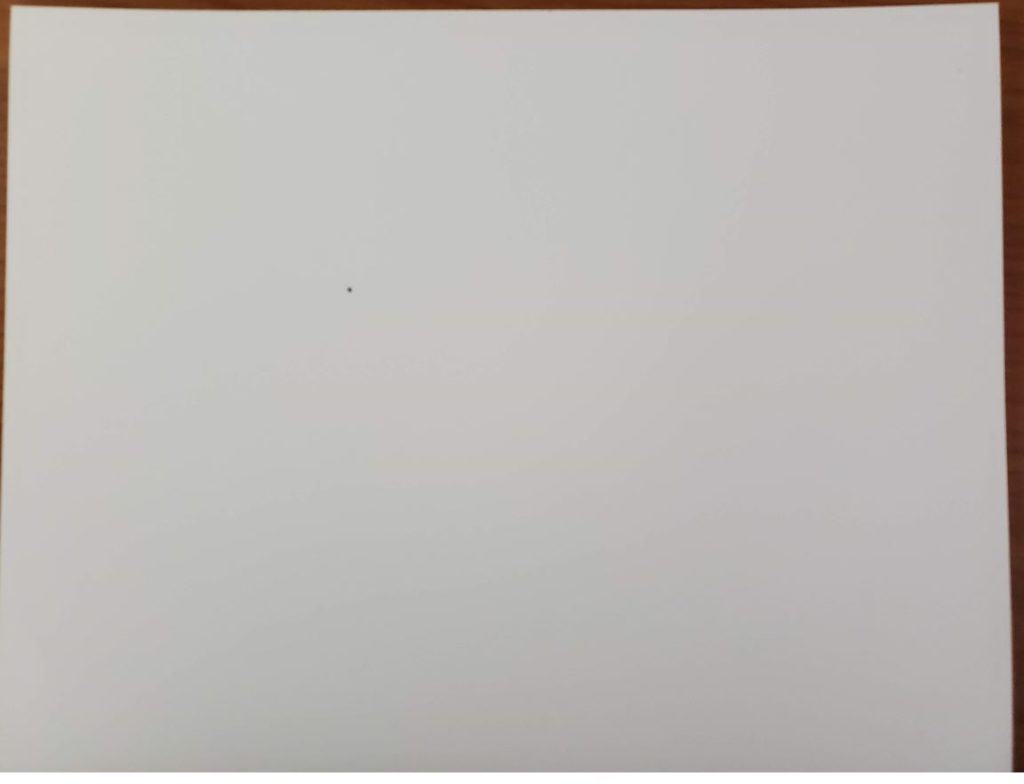
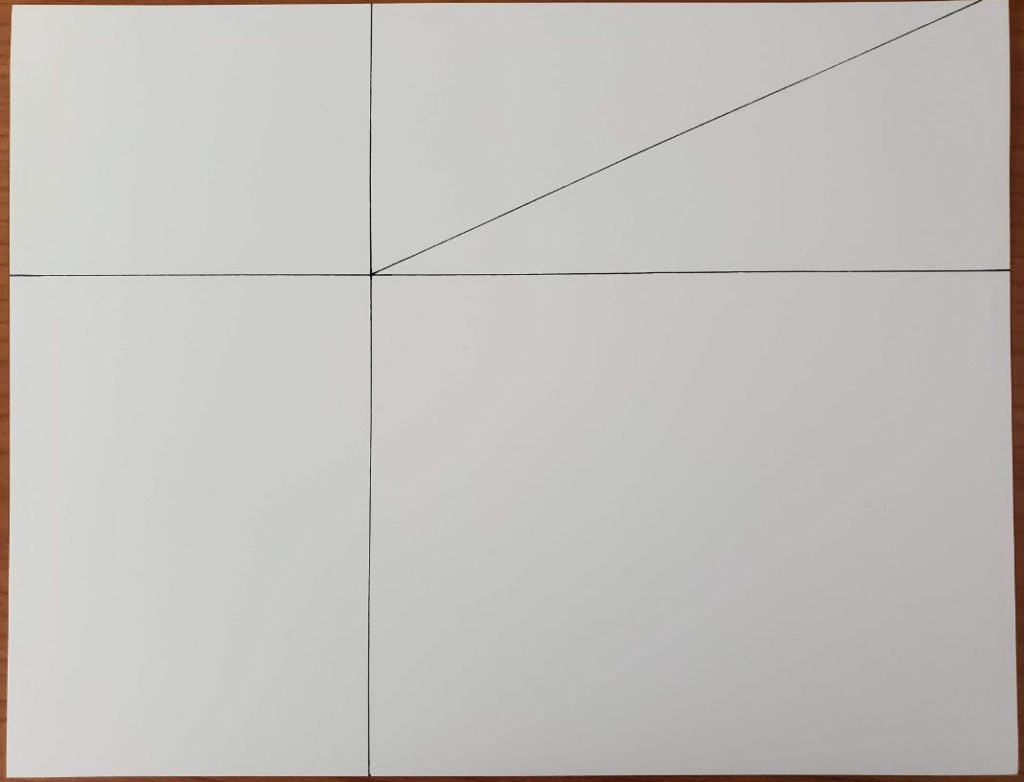
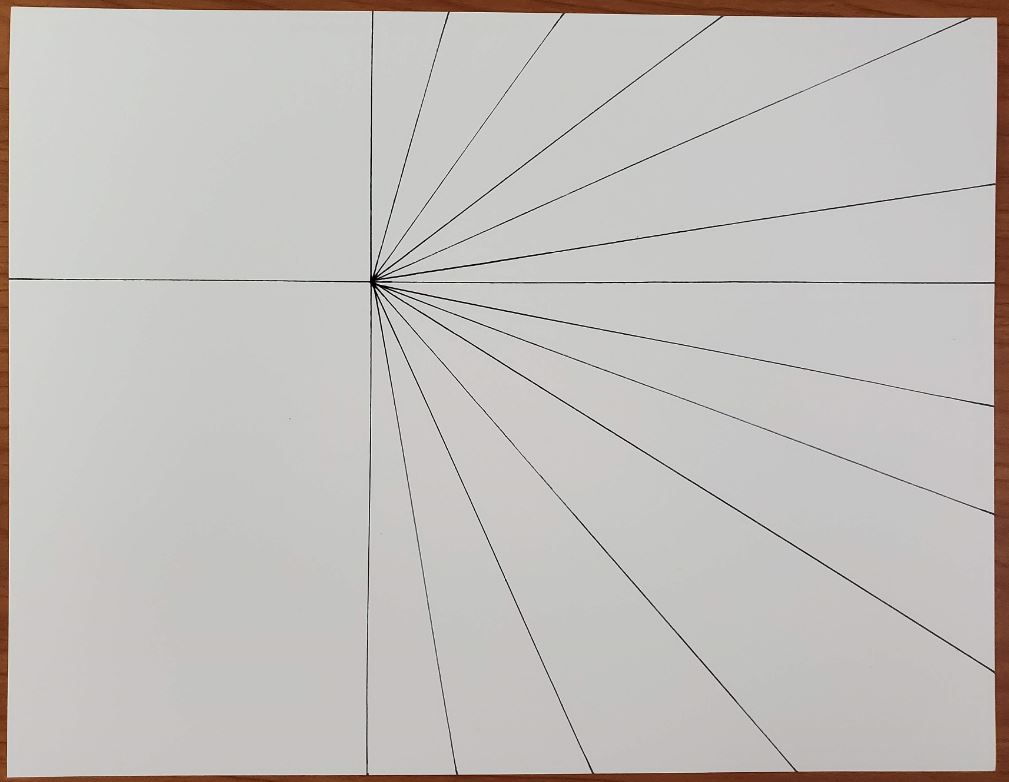
Begin by drawing a dot on your paper. Our finished drawing will represent the American flag, so your dot needs to be place at the inside corner of where the stars of your flag will be.
This is where your stars and stripes meet. I’m using cardstock for my drawing, but any kind of paper will work.
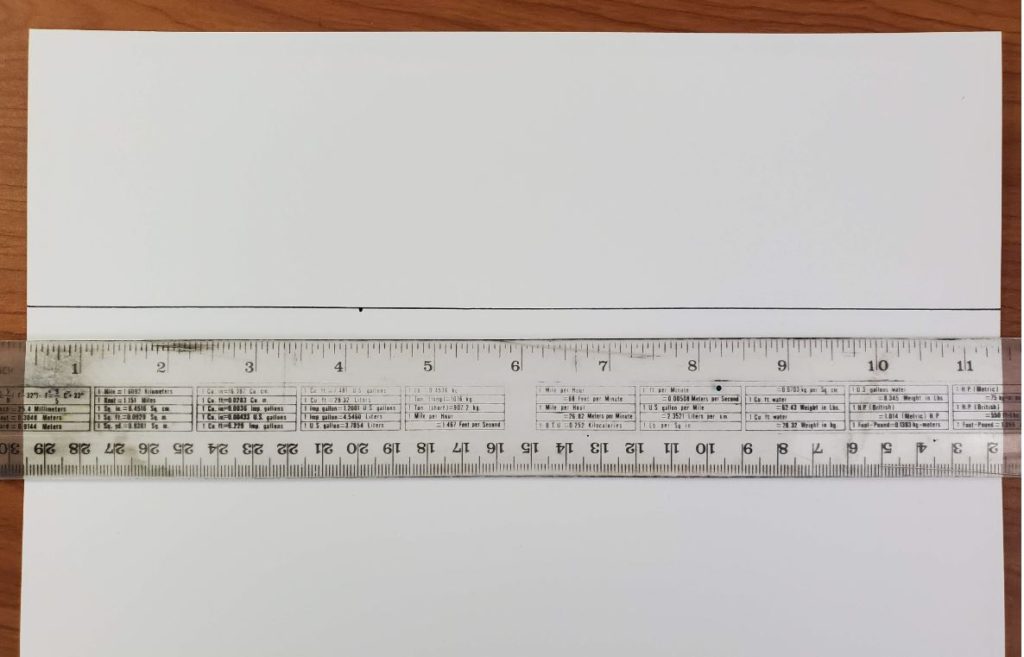
Next, draw a horizontal line across your paper using a ruler. You want your line to go through the dot you just drew on your paper.
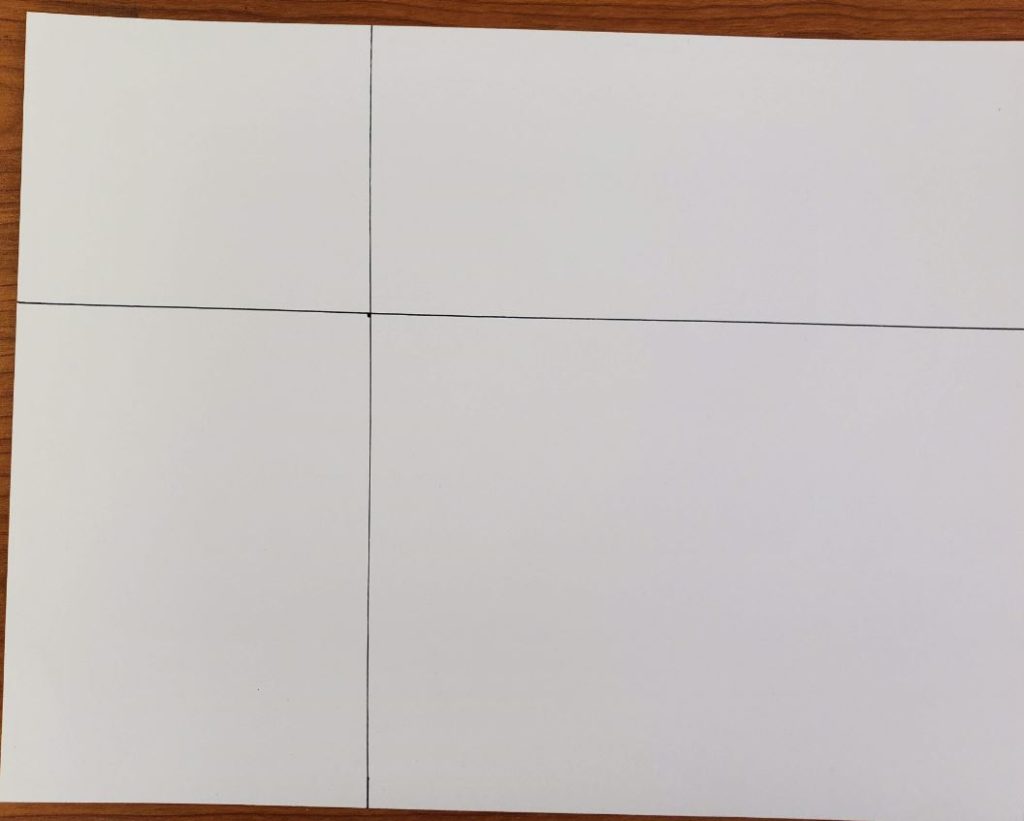
Now draw a vertical line, also going through the dot you drew. I’m using a black marker for my drawing so it’s easier for you to see. You can use a marker or a pencil to lay out your drawing. It really just depends on your level of confidence.
However, if you use pencil for your initial drawing you’ll need to go back over your lines with a marker or black pencil.
The top left quadrant will be where your stars will go. This section is the most difficult to draw, so we’ll leave that for last. The other three quadrants will all be the stripes of your flag.
Op Art Drawing – Stripes
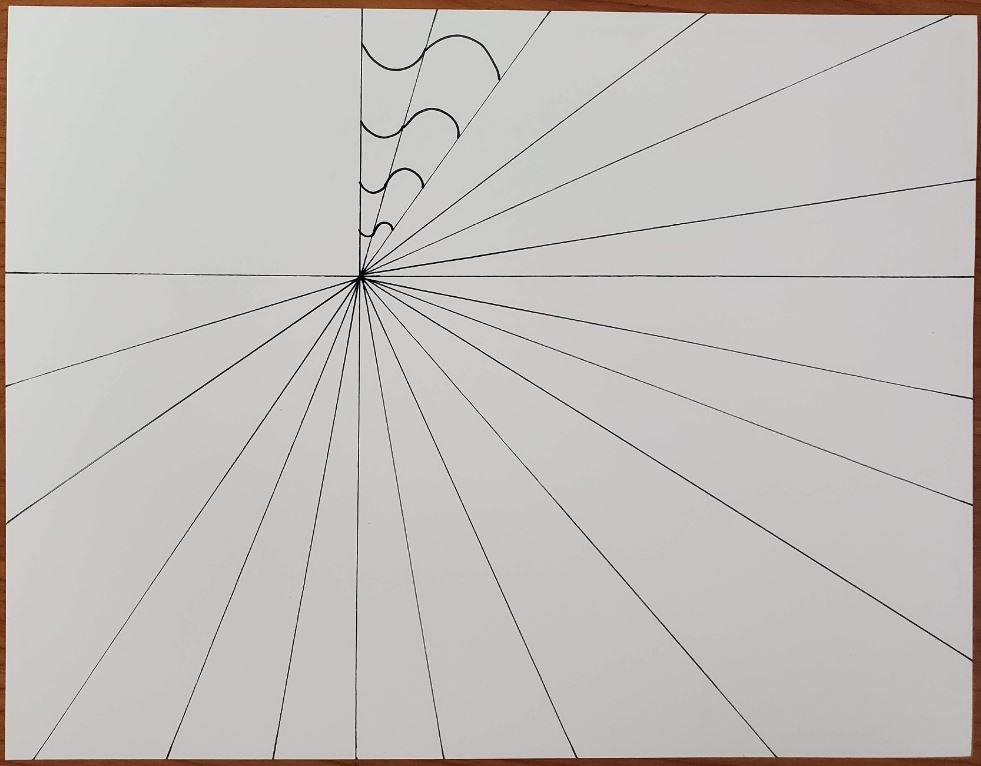
Now you’ll need to draw several radiating lines coming from the area where you drew your dot. Draw these lines in the three sections where your stripes will be going.
Skip the section where your stars will be, for now. We will get to that section later.
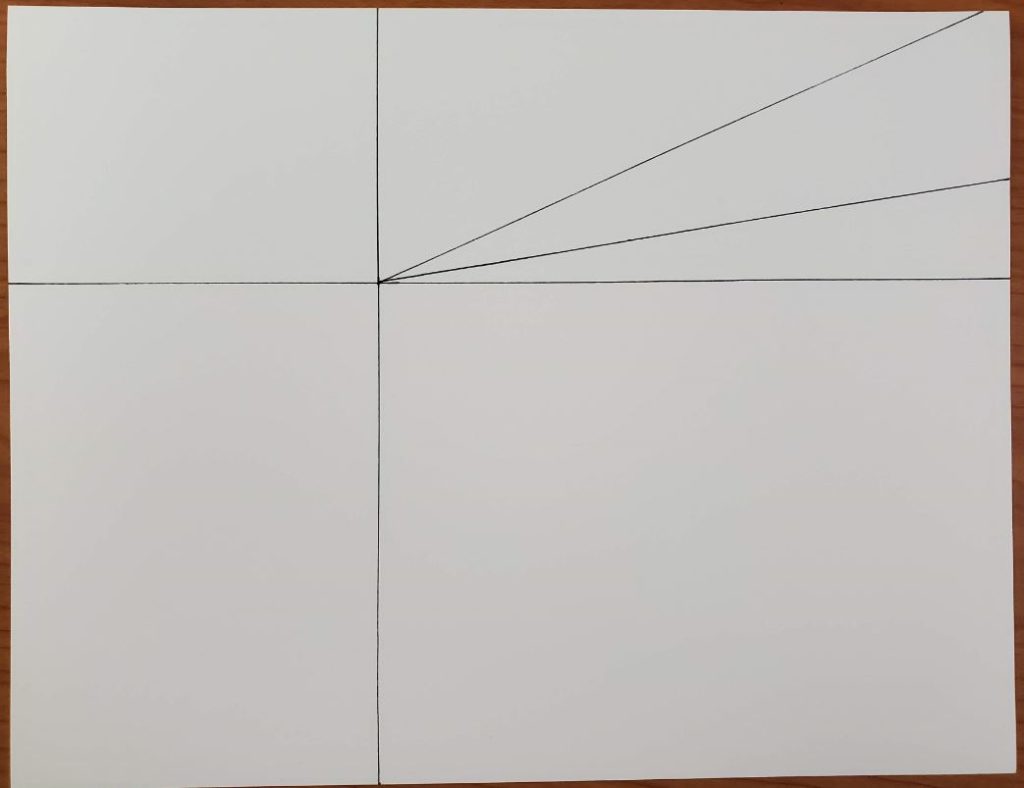
Draw your first line going from the dot to somewhere near the corner of your paper.
Add a second line on the other side of the corner.
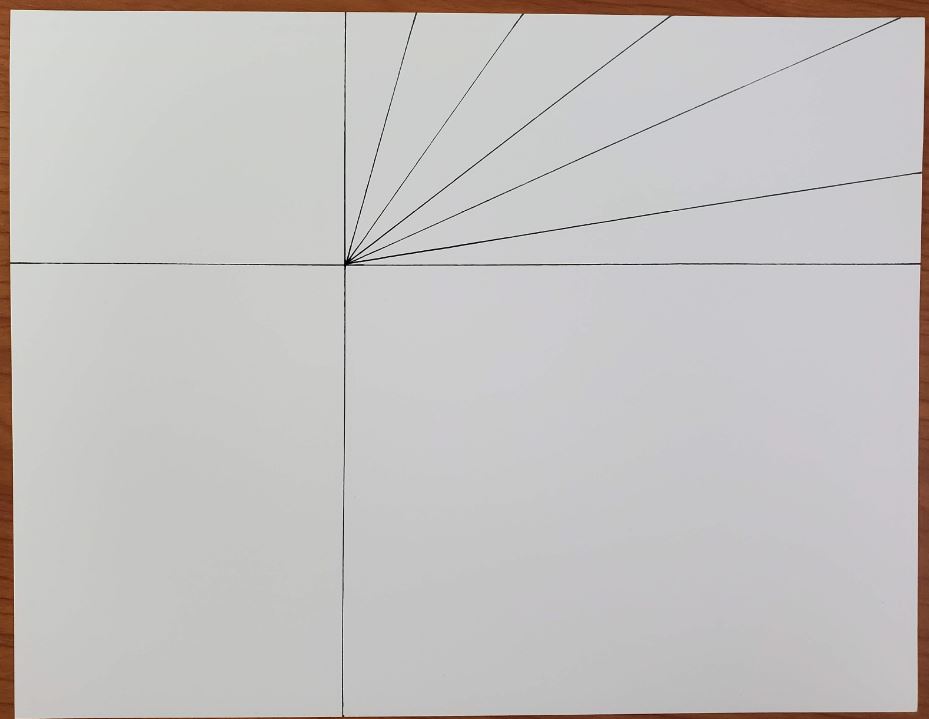
Three more lines were added to that first section. You want to make sure you have an even number of spaces between your lines. If you have an odd number of sections, your pattern will not work out correctly.
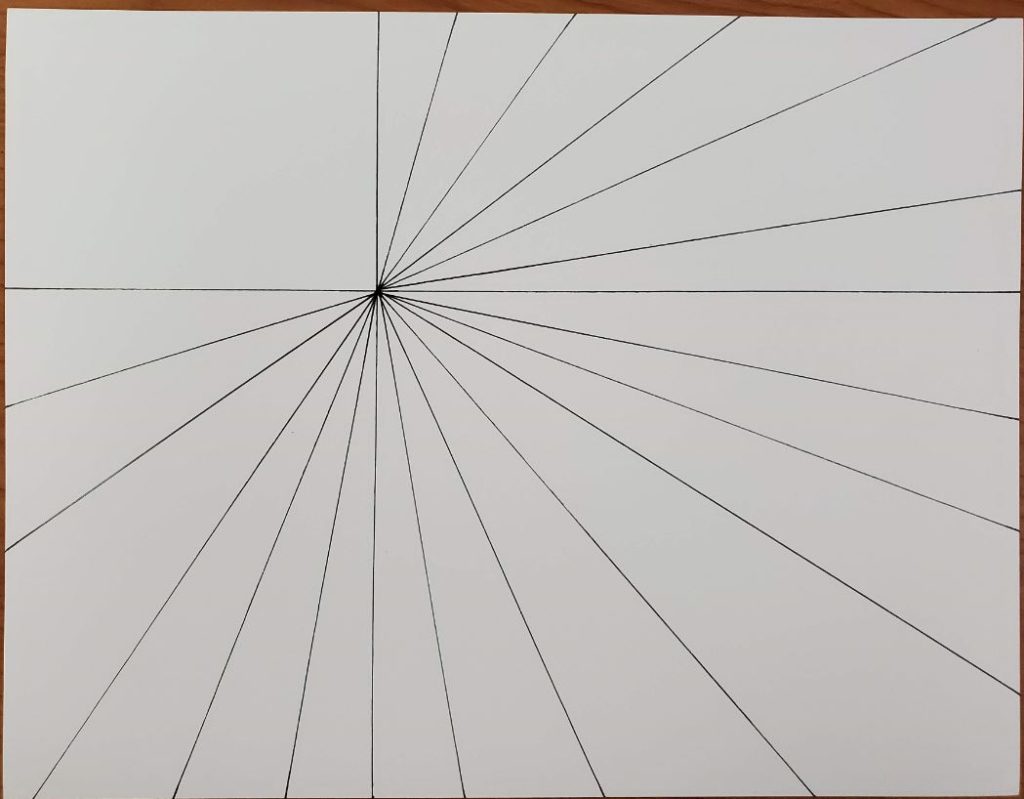
Do the same thing for the next section. I find it easiest to begin with the corners when starting each section.
Complete this section by adding more lines.
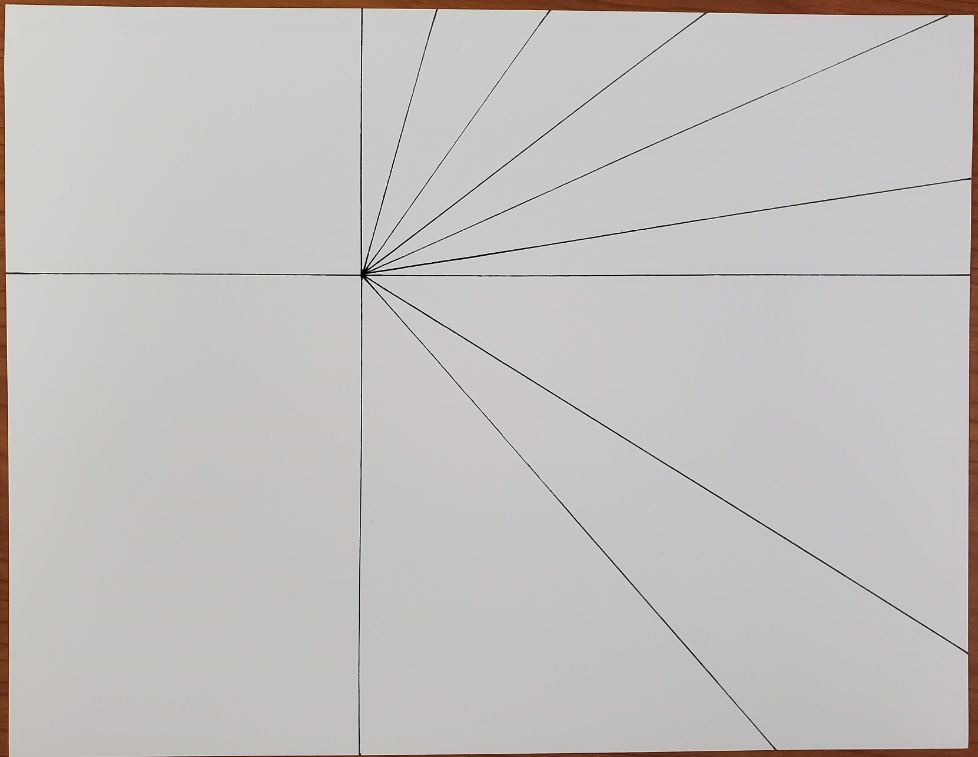
As you can see, this section has an even number of sections because more lines were needed to fill the larger section up. Just keep in mind that the total number of sections in your op art drawing needs to be an even number.
Go ahead a fill in the final stripes section with your lines.
American Flag Optical Illusion
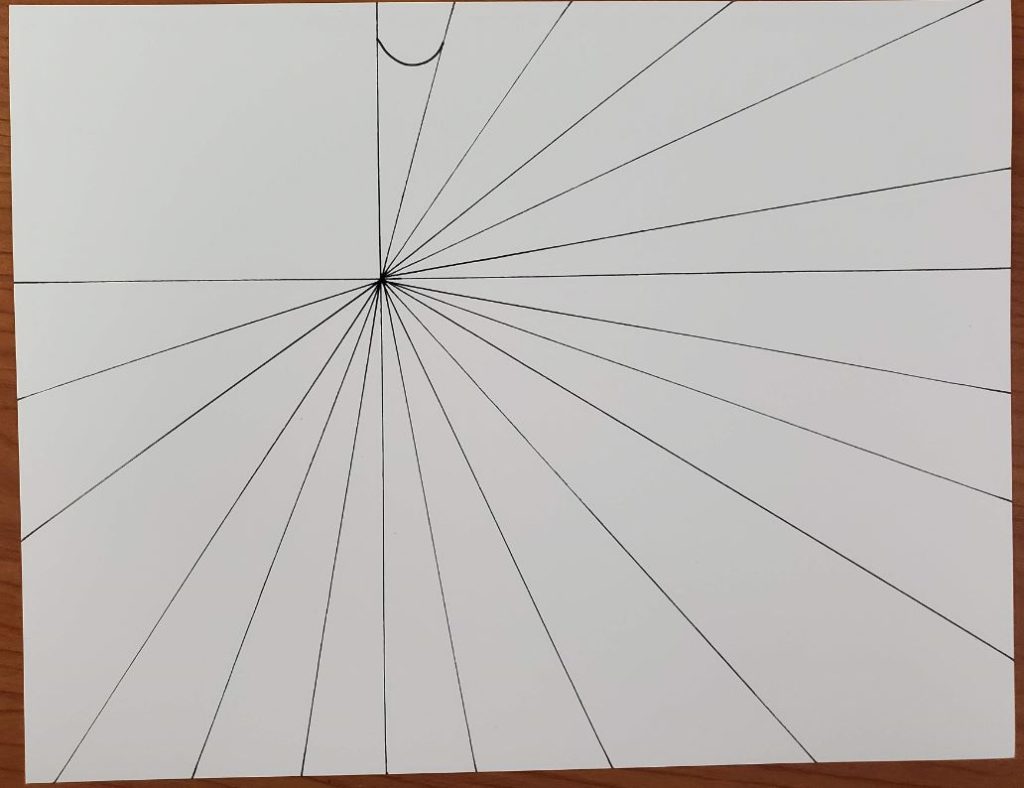
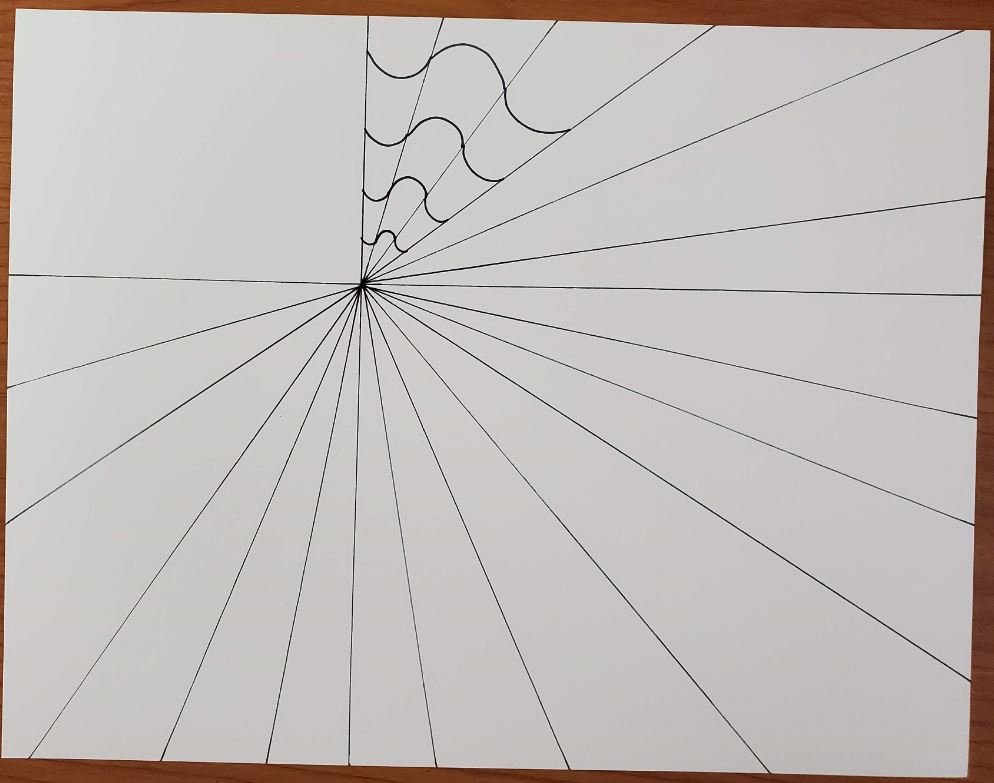
This next part is where the optical illusion takes place. Start by drawing a curved line in the first section of your drawing.
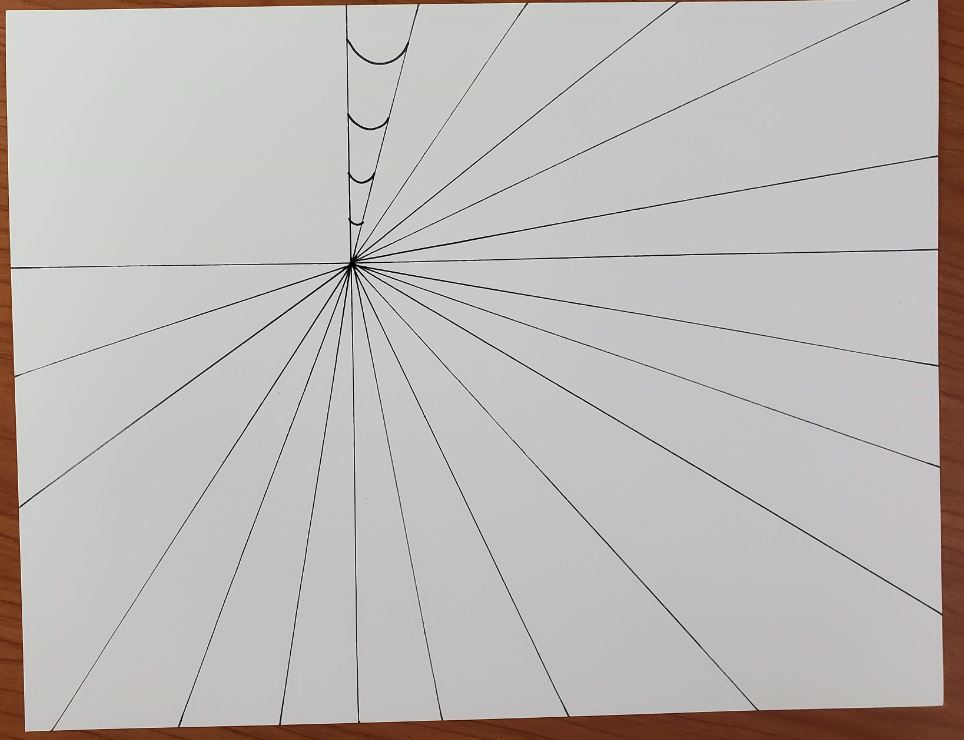
Fill in the rest of that section with more curved lines. Keep in mind that these lines will represent the stripes of your flag when you’re spacing them out. Make sure you curve the lines in the same direction.
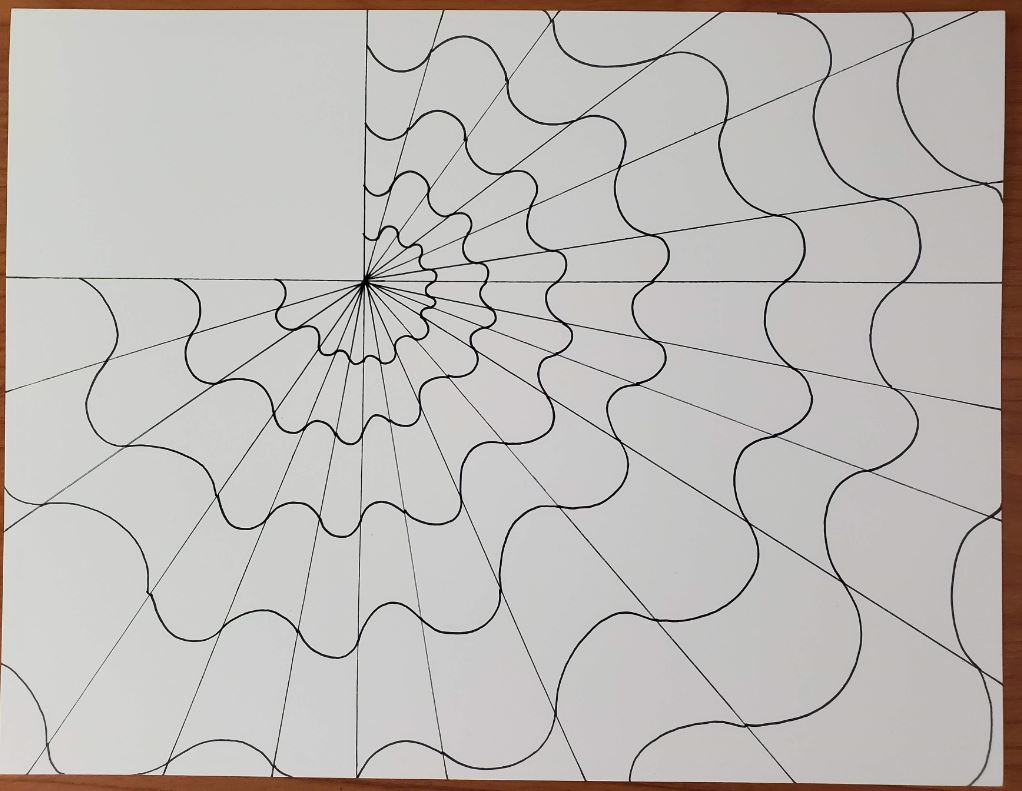
For the next section, curve your lines in the opposite direction. Draw your curved lines so they touch the ones next to them.
Move onto the next section, curving your lines the opposite direction from the ones next to it. Again, connecting your lines from section to section.
Continue working your way around your drawing moving from section to section. Keep your lines connected, and alternate the direction they curve.
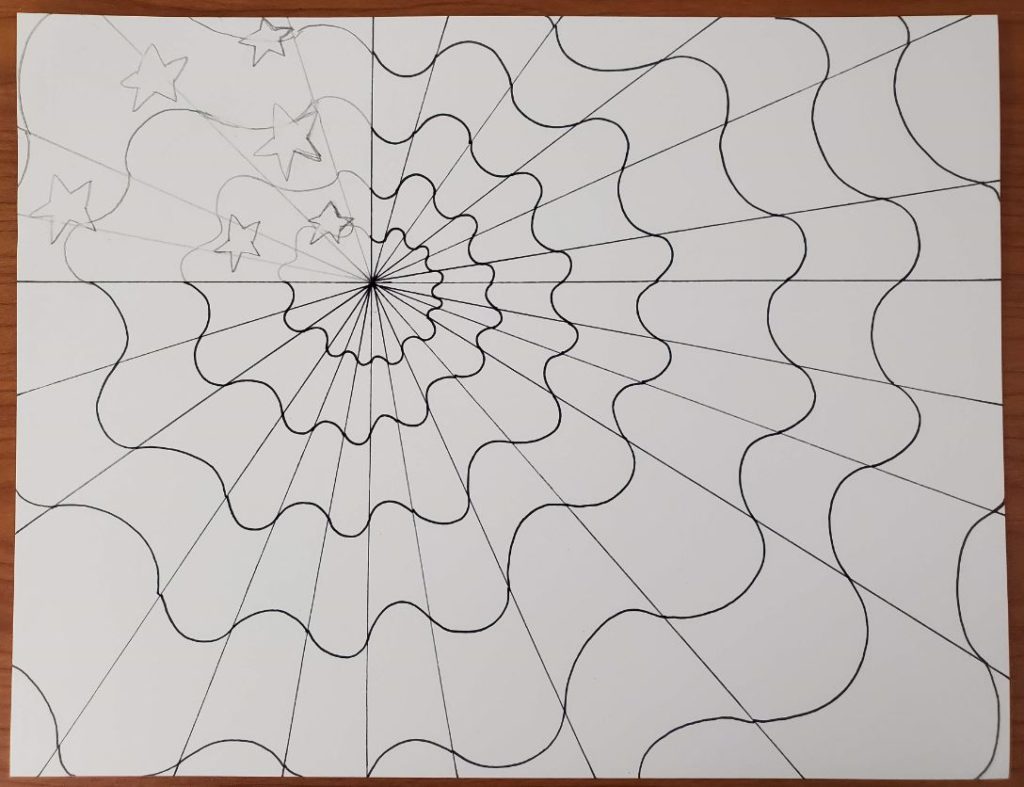
We’ve finally made it to the section where the stars will go. You’ll probably want to use a pencil first for this section.
Draw your lines the same way you did for the sections where the stripes are. Don’t forget to draw an even number of sections between your radiating lines.
Draw in a few stars and then go over your lines with your black marker.
Op Art Drawing – Color
We’ll be using colored pencils for this project to add color to our patriotic op art drawing. Since we want our final artwork to represent the American flag, we’ll be using red and blue for our colors.
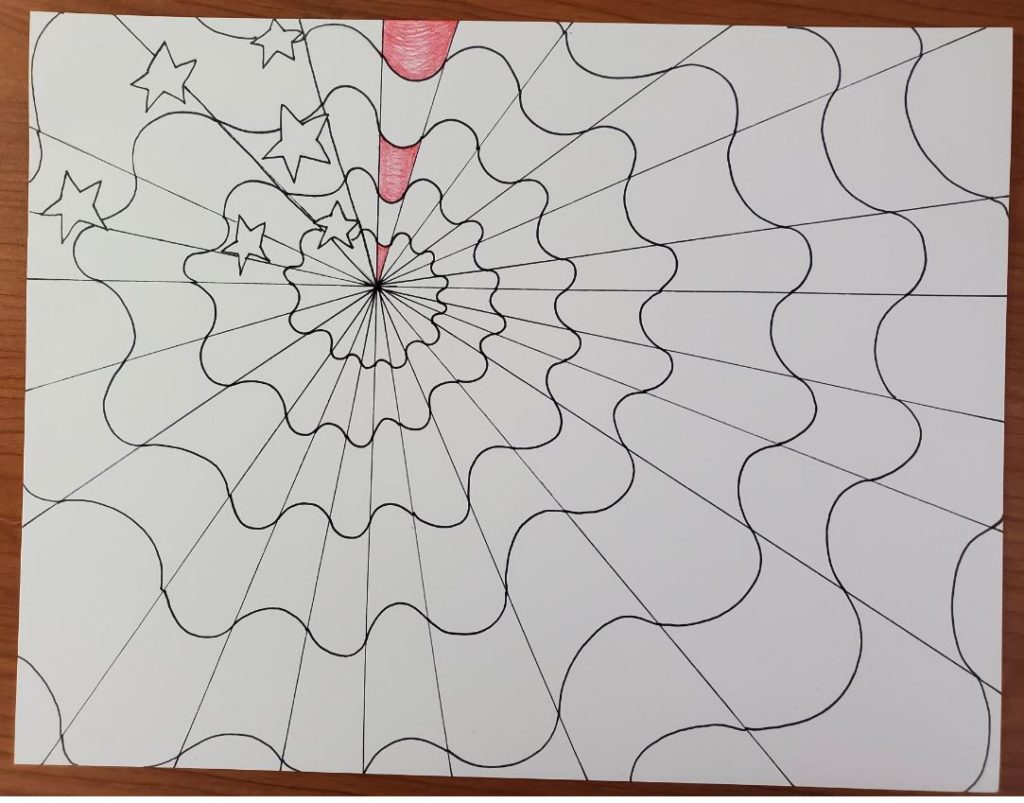
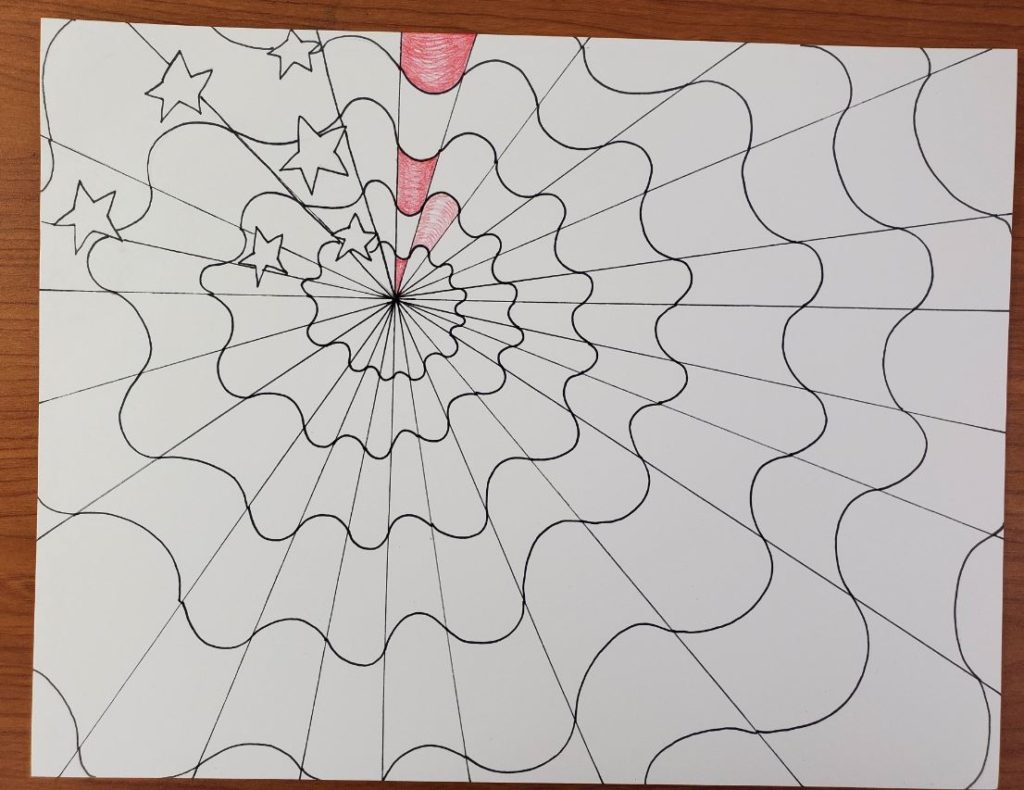
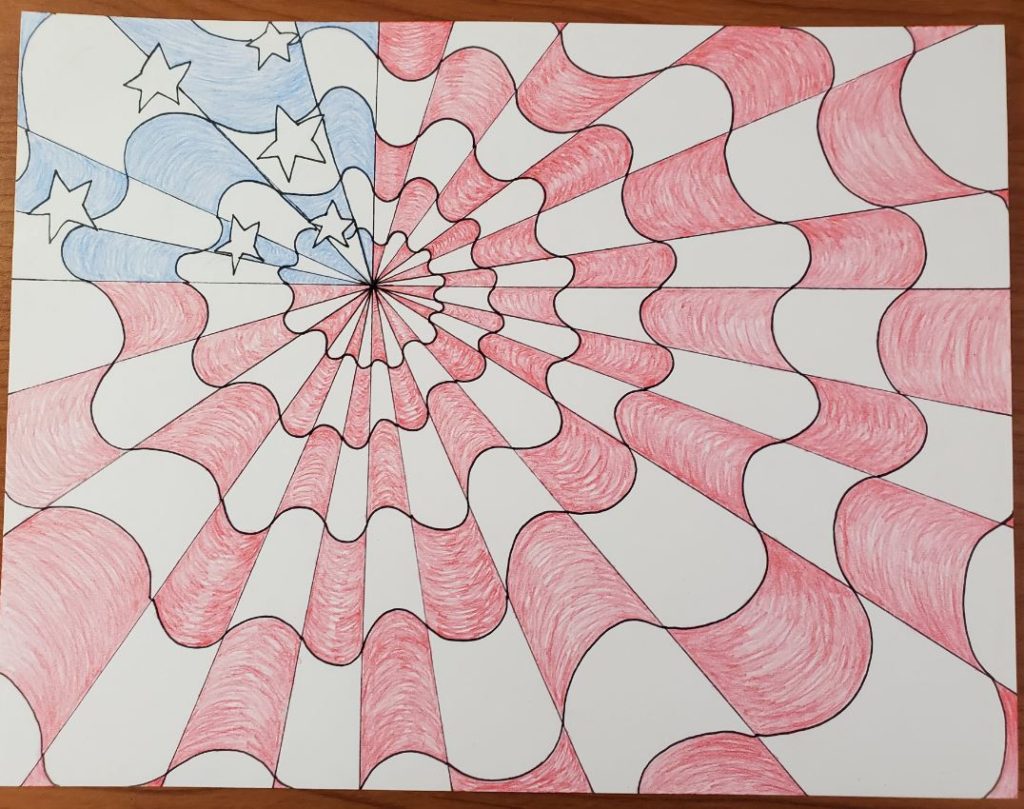
Begin by adding red to your first section for your stripes. You want to fill in every other area in that section. When adding your color, make it slightly darker on the edges next to your straight lines, and lighter towards the center.
This will help to create the optical illusion.
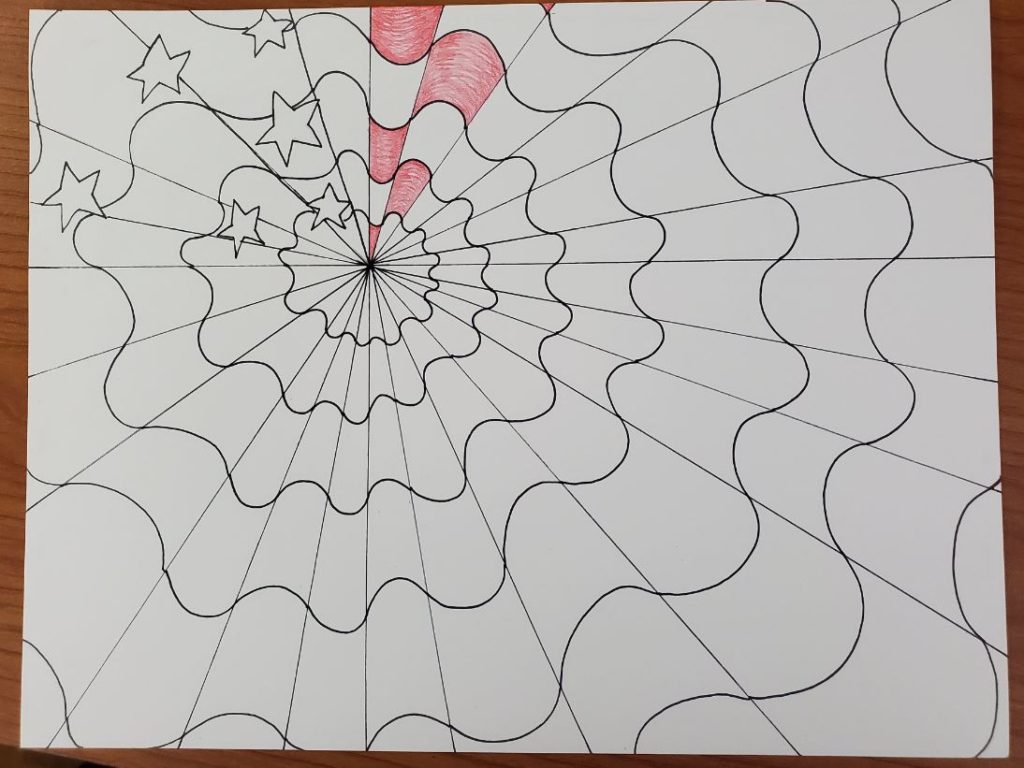
When moving onto the next section, you want to add color to the opposite areas.
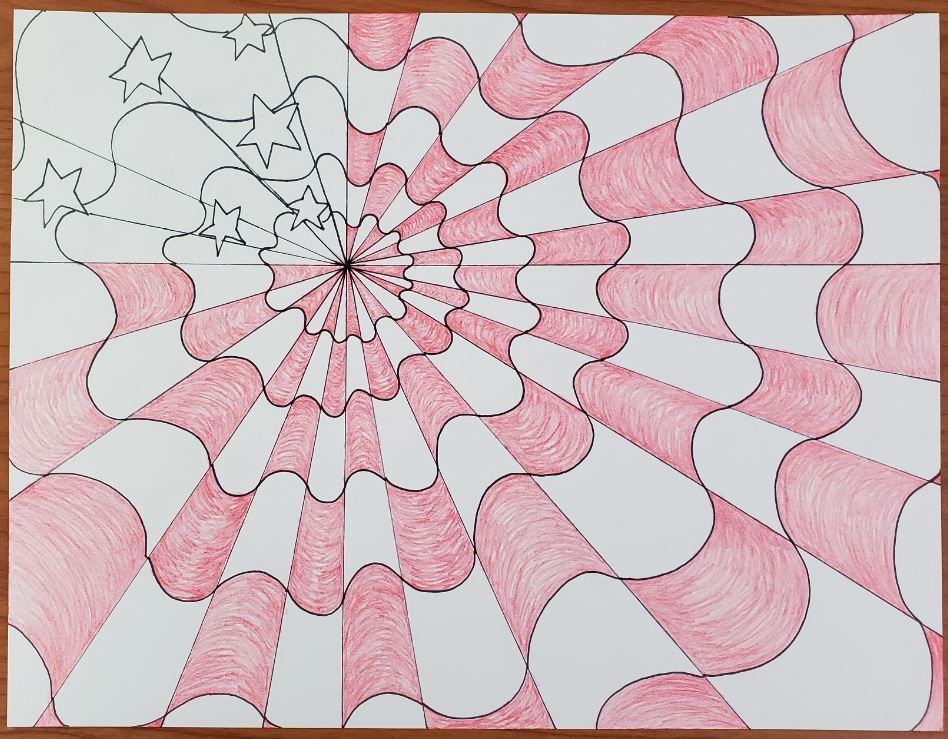
It’s very important to keep this pattern throughout your drawing. This is a big part of creating an optical illusion.
Continue working your way around your drawing filling in opposite areas of your drawing with a red colored pencil. Stop when you get to the section for the stars.
For the section where the stars are you’ll need to use two different shades of blue. I’m using the Crayola 24 pack so there is a blue, and a light blue colored pencil.
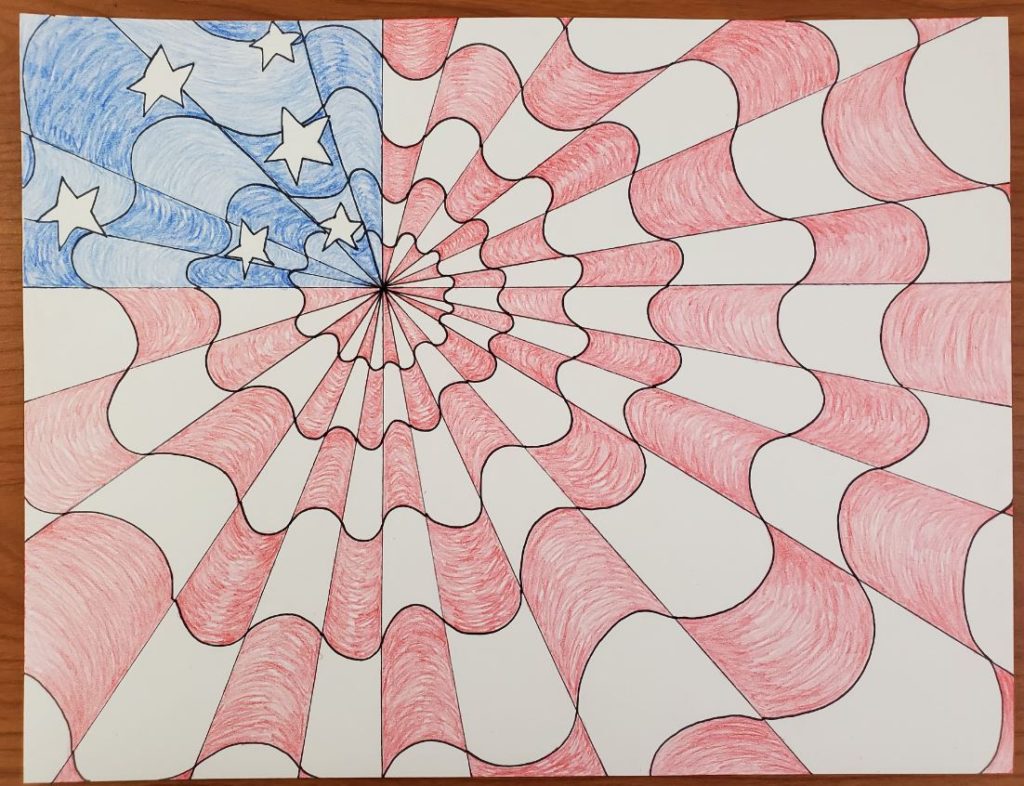
With the lighter blue, fill in every other section starting with the one next to the red.
Using the darker shade of blue, fill in the other sections of the stars area.
Creating an Optical Illusion – Shading
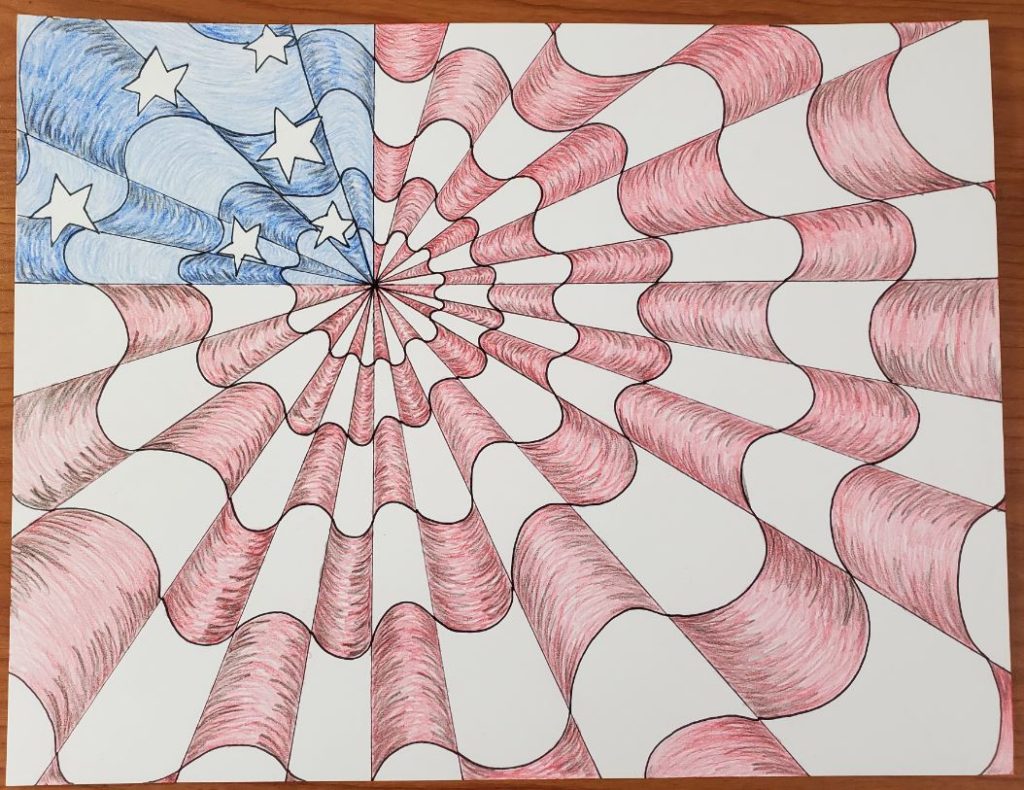
Here’s where the magic really happens. By adding in some shading, you’ll be able to increase the effect of the optical illusion. Using a black colored pencil, add some shading to the edges of all the red areas.
Do this for the darker blue areas as well.
Use a gray colored pencil to shade in the rest of the areas.
American Flag Op Art Drawing Tutorial for Beginners
That’s it for your American flag op art drawing. You could make your drawing look even better if you make the stars curve to follow the shape of the areas they are in, but this is a pretty advanced technique.
Bending the stars would add a lot to the optical illusion though, and may be worth giving it a try.
That’s it for today. I hope you enjoyed this lesson and we’ll see you again soon.

