Op Art Drawing of Tubes
Optical art is a very popular subject in the art world. So in today’s art lesson you’re going to learn how to draw op art tubes. This is a really easy op art drawing that is perfect for beginners.
This technique is really simple to produce but the results look much more complex than it actually is. And students have a lot of fun creating these and seeing their final results.
I did this with my 8th grade students but it could easily be done with both younger and older students as well.
What is Op Art
Op art is short for optical art, which is a form of abstract art that gives the illusion it is moving. You can learn more about op art and the history behind this art movement.
* Some of the links in this post may be affiliate links. This means I receive small commissions for purchases made through these links at no extra cost to you.
Art Supplies
- Drawing paper or cardstock
- Black marker
- Colored pencils or other medium
Drawing Guidelines
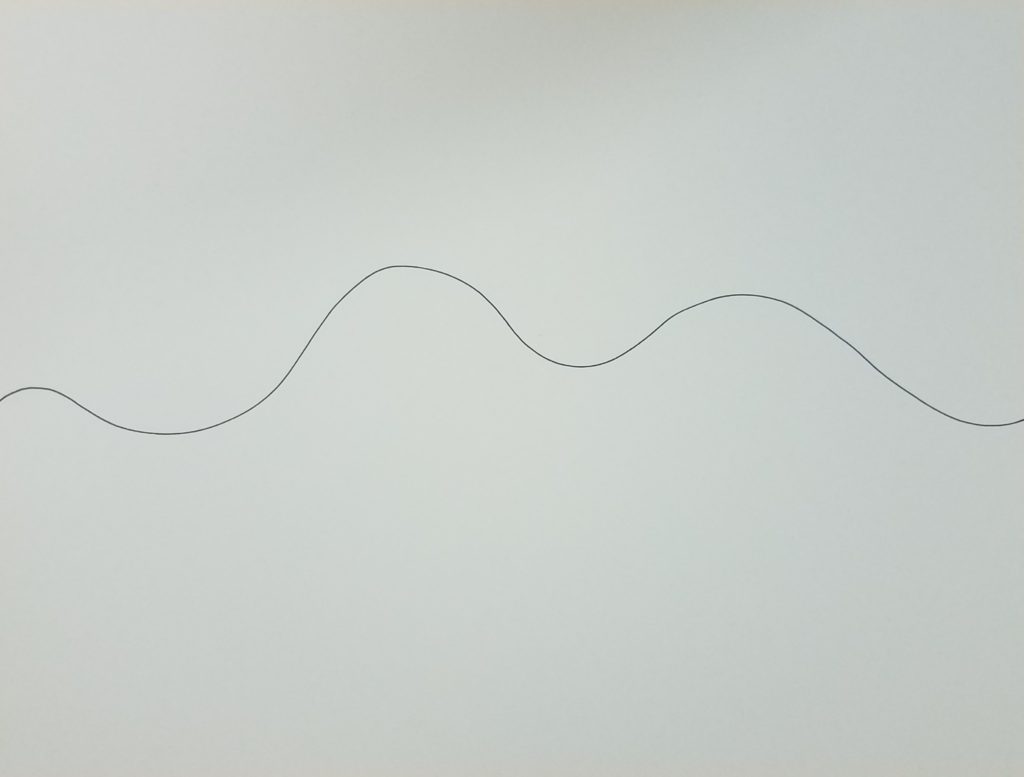
The first thing you want to do is draw some guidelines on your paper.
Using a thin black marker, draw a wavy line from one edge of your paper to the other edge of your paper.
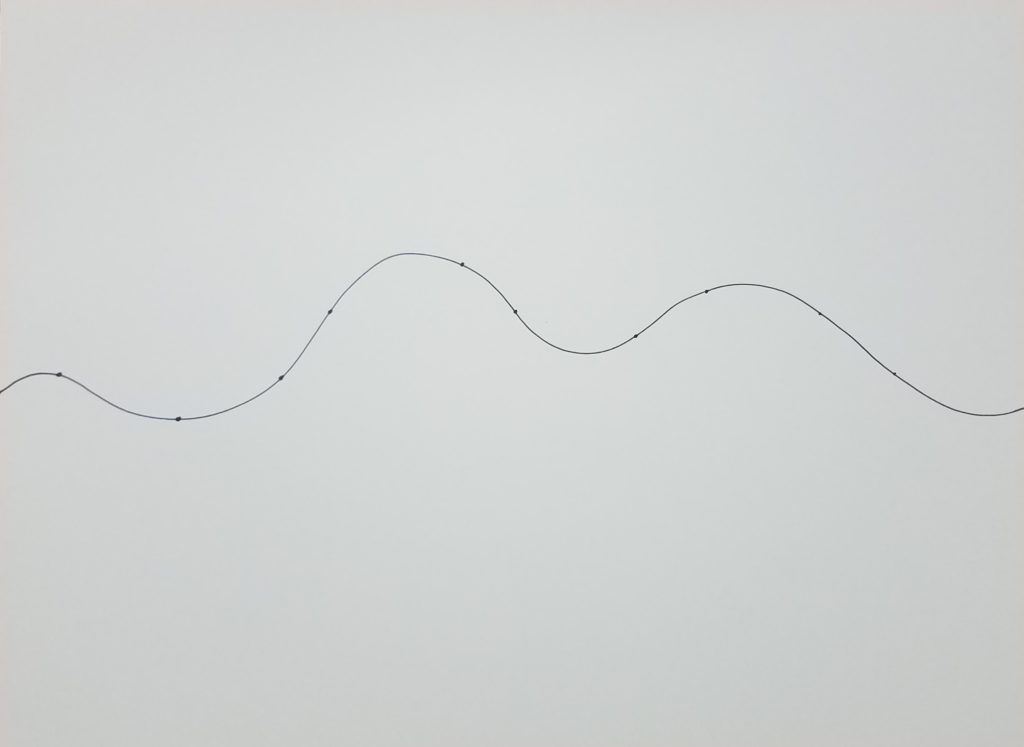
Next, you’ll want to add some dots along your wavy line. Space your dots an inch or two apart from one another.
Varying the distance between each dot will make your final drawing look more interesting.
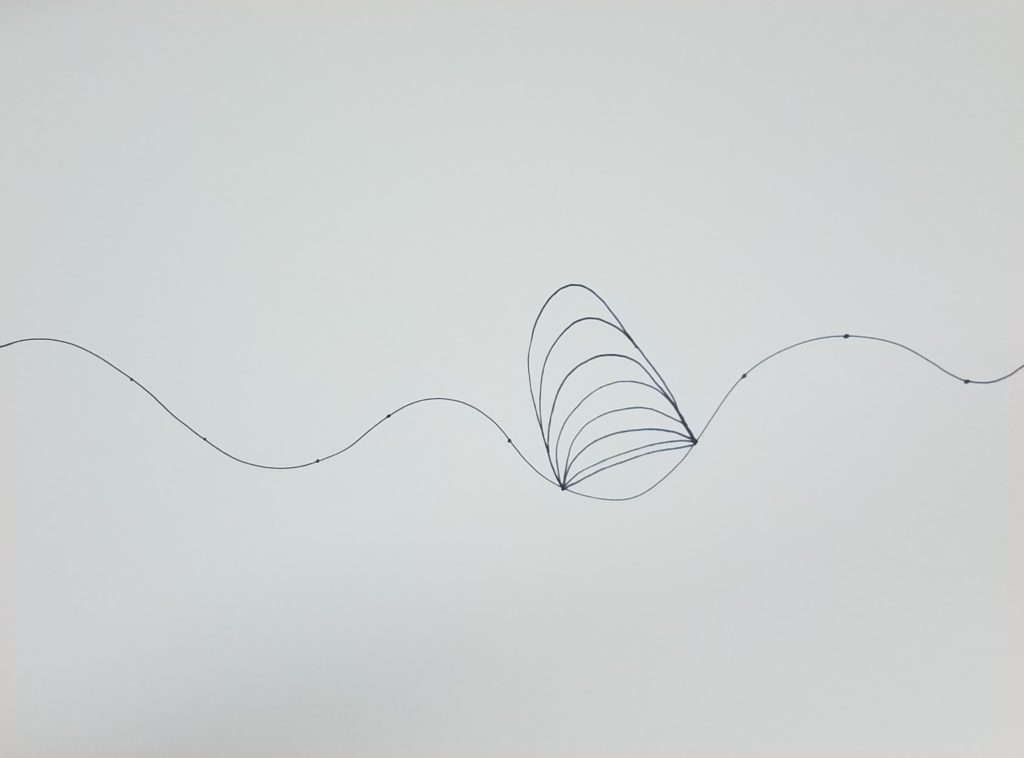
Drawing Op Art Tubes
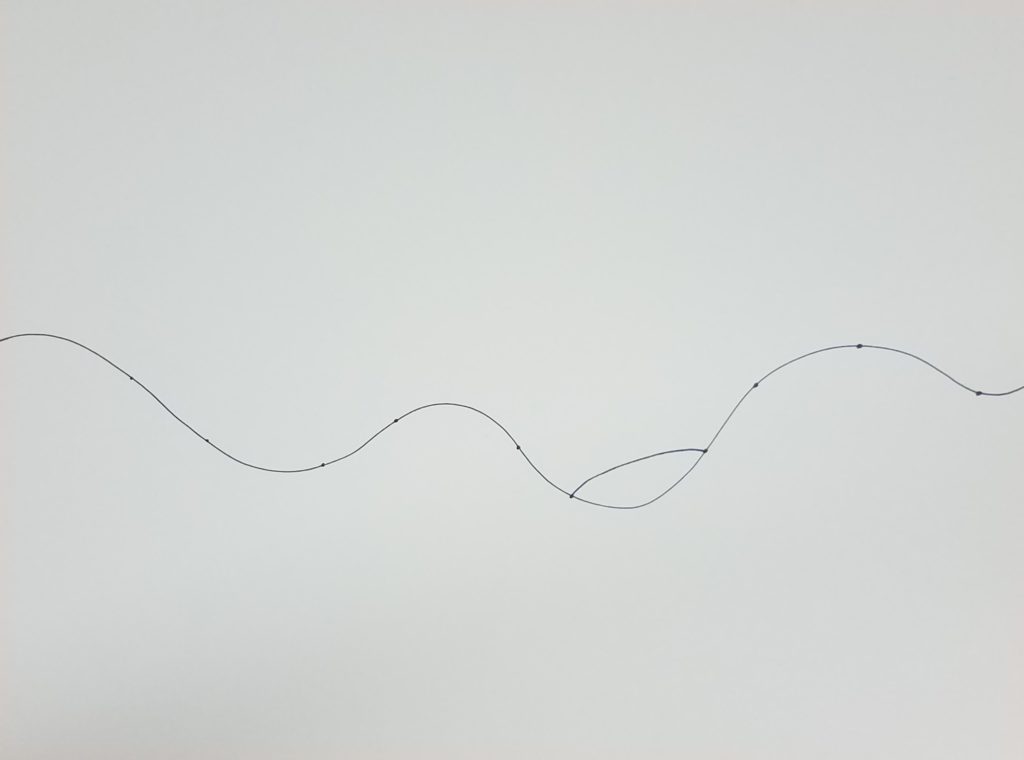
Choose two of your dots and connect them with a curved line.
From here you can proceed in a couple of ways.
One, you can continue working on the same tube until you reach the edge of your paper. Or, you can connect all of your dots first, before moving onto the next step.
For my example, I worked on on one tube at a time. So the next thing you want to do is to draw another curved line coming off of the previous line.

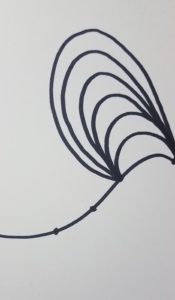
And then you continue adding lines. When drawing in your lines add them to the previous line, not the dots each time.
If you draw every line from the dots, you’ll end up with something like this. Which you don’t want.
Continue working in this manner until you reach the outside edge of your paper.
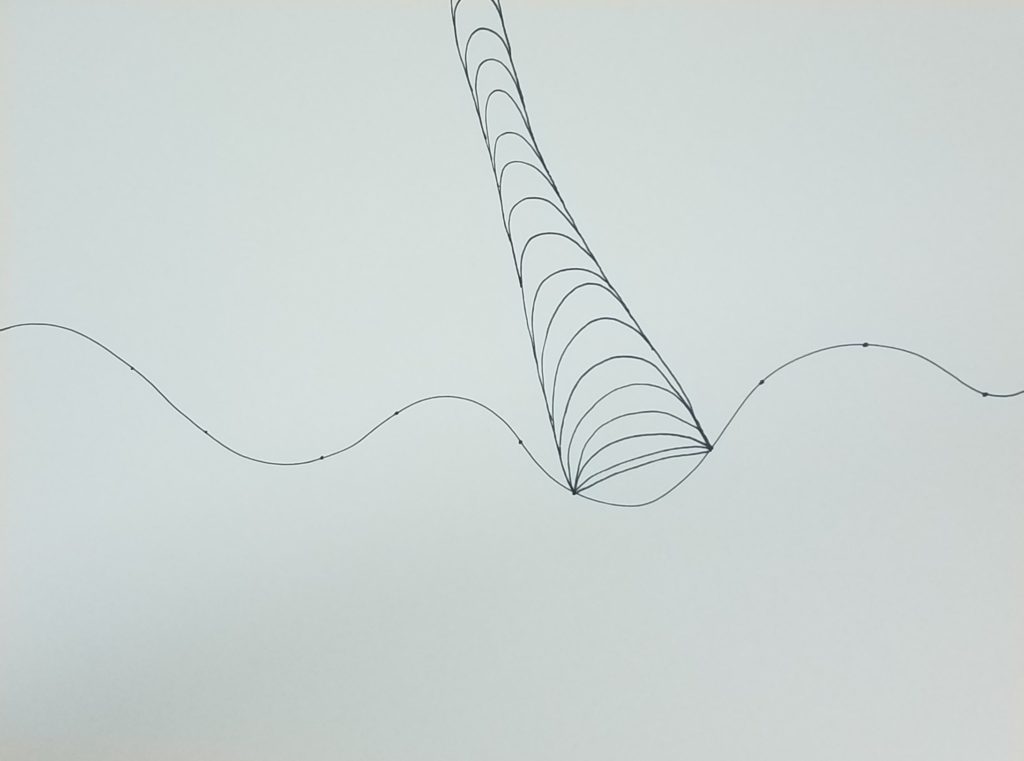
Next, you want to work on the opposite side of your op art tube. Work on the other side in the exact same way, until you reach the other edge of your paper.
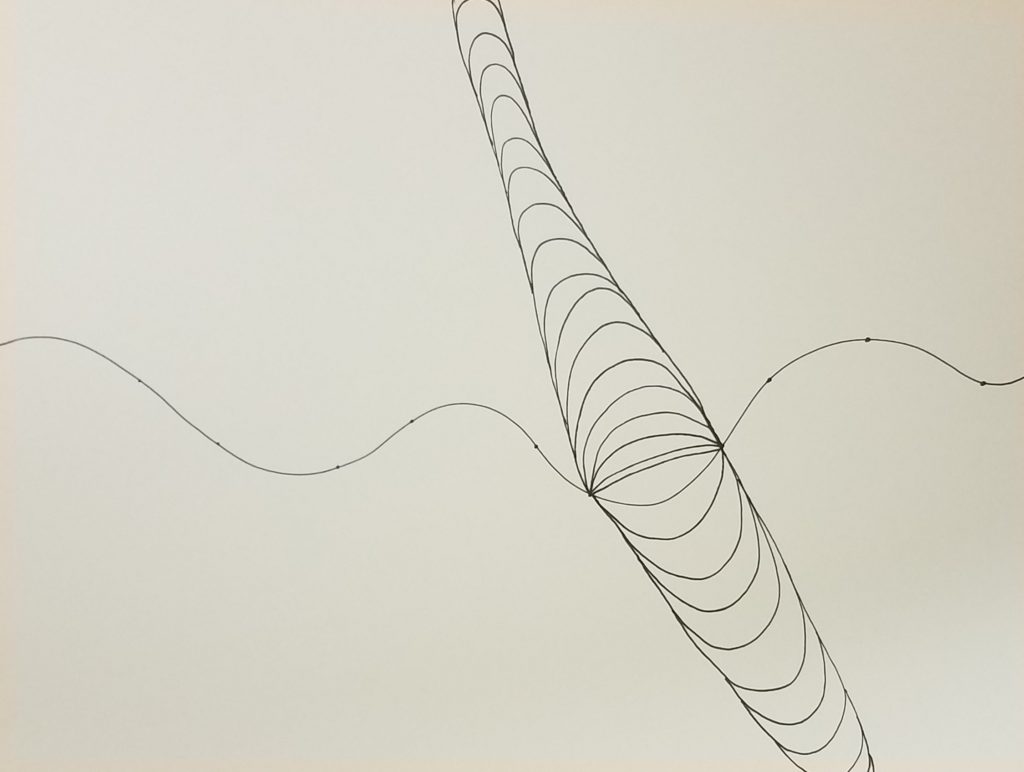
Choose another set of dots and complete your next tube using the same method. Which set of dots you work on next is up to you. I find it easier to jump around a bit.

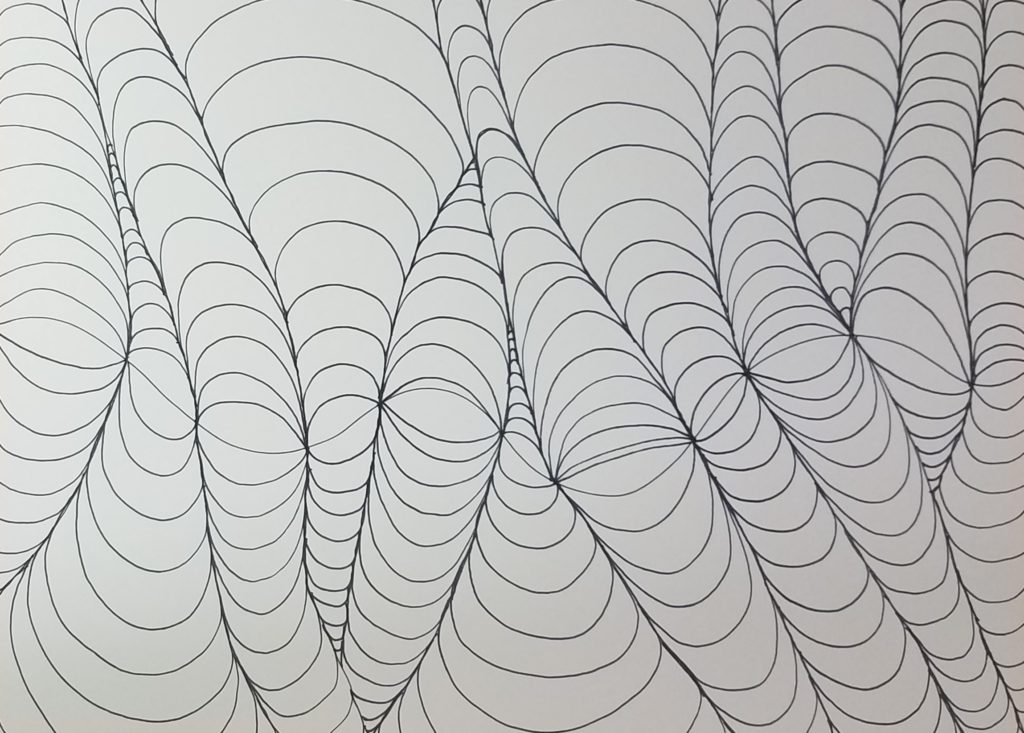
Continue working on your tubes. Draw your tubes across your paper until you reach the edge of the page or until you bump into another tube. When you reach another tube, you can stop or continue it on the other side.
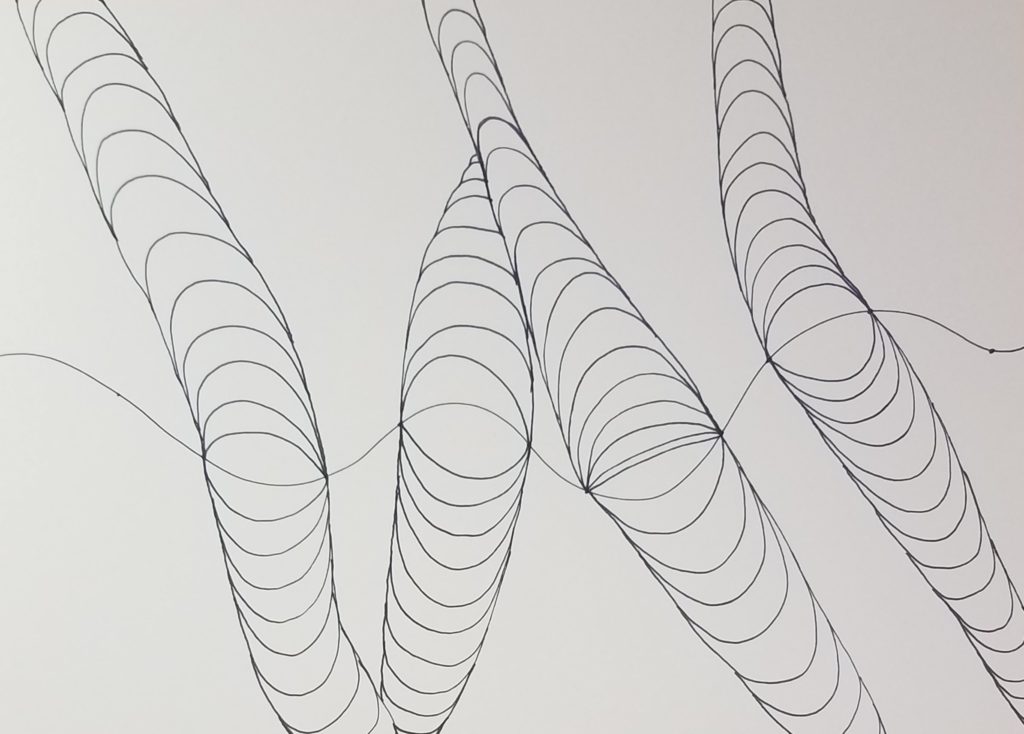
Keep working on your op art tubes until you have your entire paper filled in. Where your gaps are bigger, you will need to draw your lines longer so they fill the entire space.
How to Color Your Op Art Tubes
There are so many ways to add color to your tubes.
For the example in this post, I used colored pencils. But you could also use markers or crayons to add color to your optical art drawing.
When choosing your colors, you will want to keep the principles of color theory in mind. I used complimentary colors when doing mine.
When picking out my colors, I used two blues and two oranges. Orange and blue are color compliments because they are opposite one another on the color wheel. Black was also used to give the tubes some contrast.

When using colored pencils you’ll want to make sure you use a good electric pencil sharpener with an automatic stop. This will give you a nice sharp point, and help prevent your lead from breaking constantly.
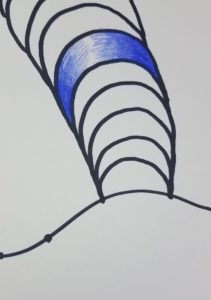
Shading Optical Art
When shading your op art tubes, you want your color to be darker at the edges and lighter towards the middle.
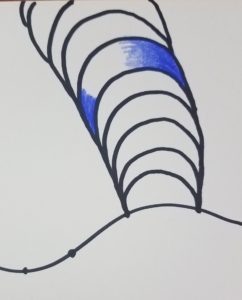
Leave the very center of each ring white. You’ll want to line up your lightest area from ring to ring along your tube so it will look like a reflection.
Op Art Tube Drawings and Inspiration
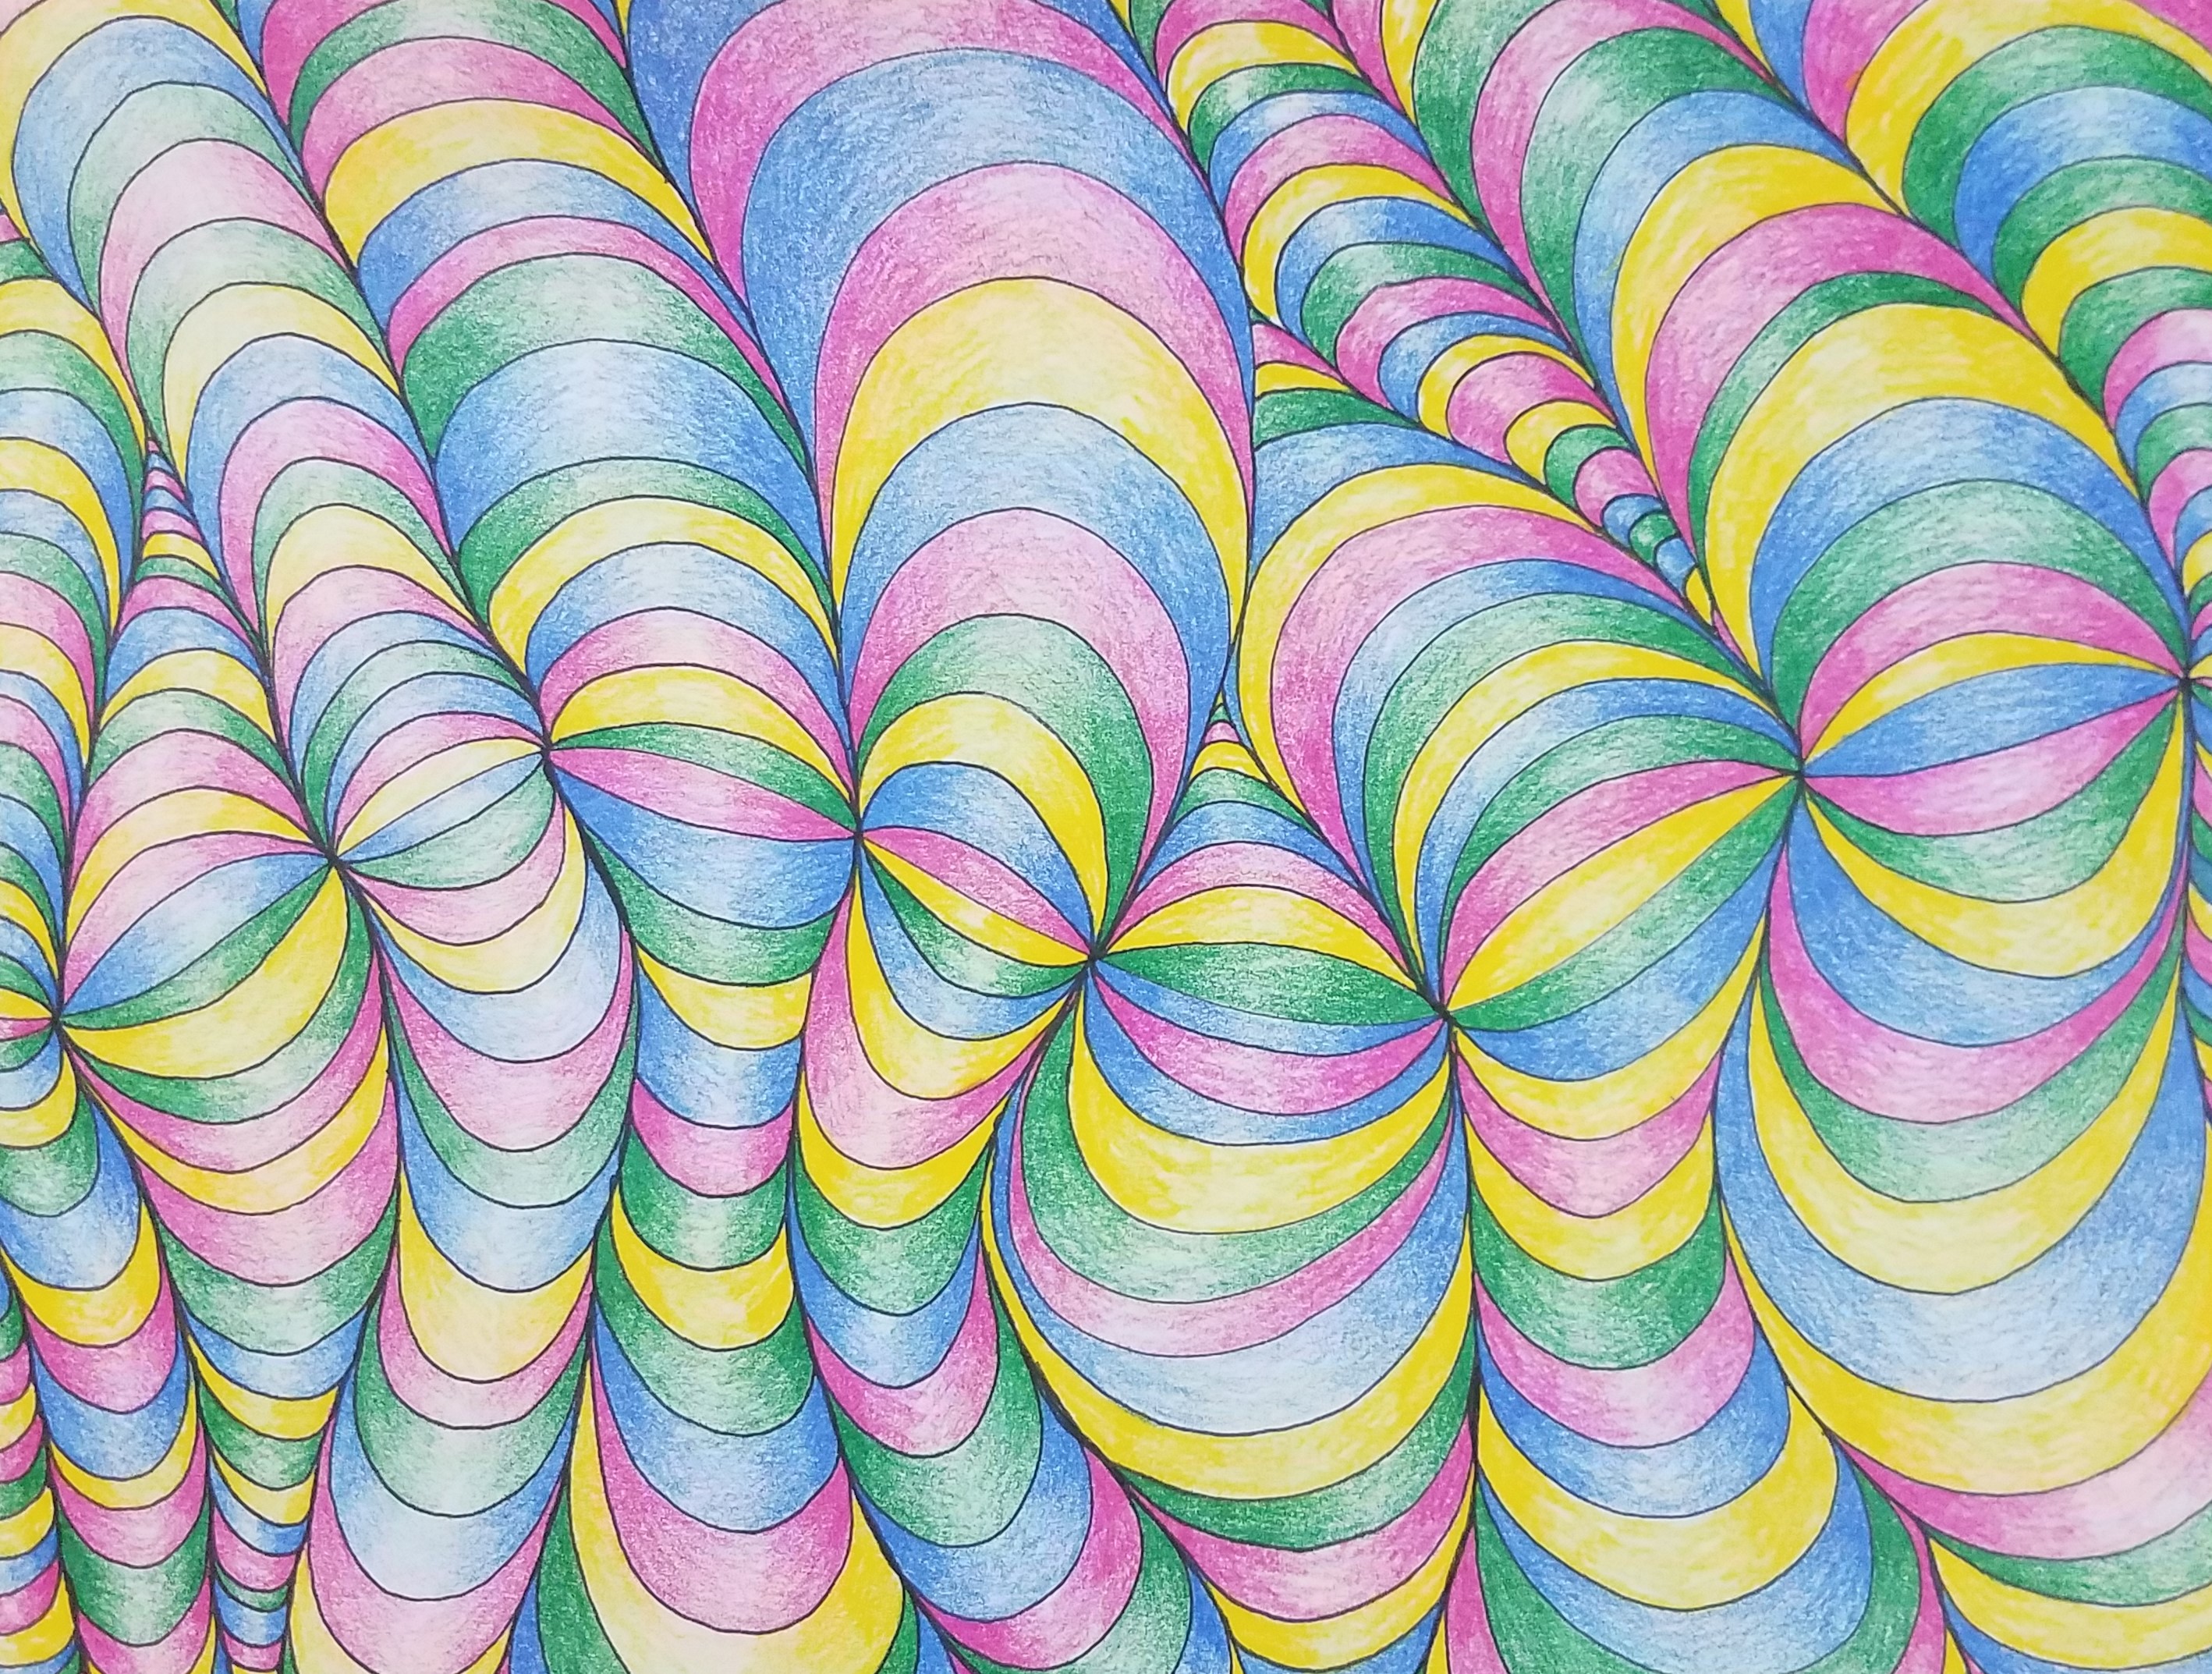
As I mentioned earlier, there are a number of ways you could choose to color your tubes. Below in another example using a different color scheme. Again, colored pencils were used to add color.
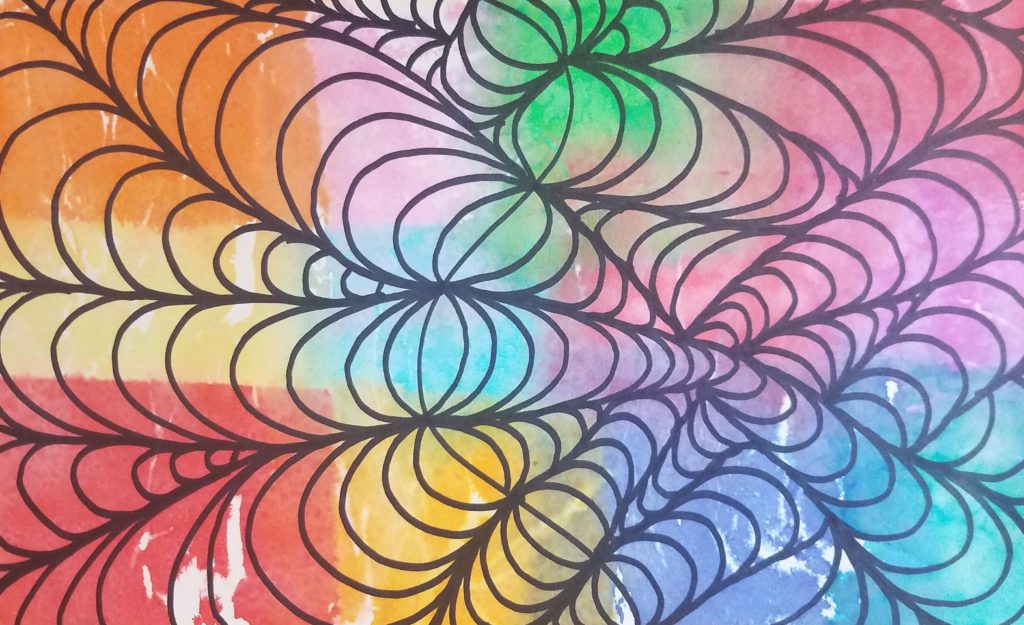
This next one was done a little differently. I used a half sheet of paper, and drew my guideline across the shorter direction of the paper. Bleeding tissue paper was used for the color. I also used a wider marker to make my lines.
The thicker lines and the bleeding colors give it sort of a stained glass look. I like how this one turned out and it was fun to make. If you need more information on using bleeding tissue paper, take a look at Bleeding Tissue Paper Backgrounds for ATCs. The technique applies to anything, not just ATCs.
How to Draw Op Art Tubes | Easy
As you can see, drawing op art tubes is pretty easy. Learning to draw anything takes practice and repetition. If you enjoy drawing optical art and creating optical illusions then keep practicing op art drawings.
There are many different ways to do make your op art drawings. Don’t be afraid to experiment and try new things. Have fun and enjoy the process of making art.
Grab Your FREE Drawing Guide
If you enjoy making optical art, check out these additional art tutorials on how to draw op art.
