
Introduction
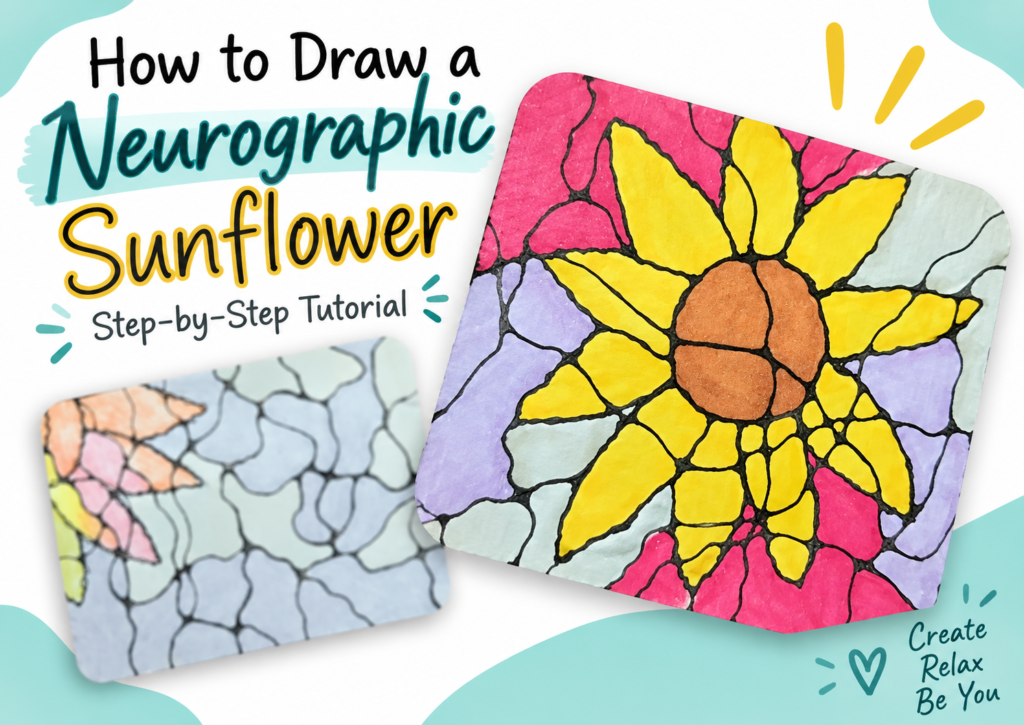
If you’re looking for a relaxing drawing project that’s easy, this neurographic sunflower is a fun one to try.
In this step-by-step tutorial, I’ll show you how to combine a simple sunflower drawing with flowing lines, rounded intersections, and colorful shapes to create a finished piece that feels detailed without being difficult.
And the best part, your drawing won’t look exactly like mine. You’ll be able to create something unique, that is all your own. Use the steps to create your own one of a kind neurographic art that is colorful and calming.
Getting Started with Neurographic Art
Neurographic art is made up of flowing lines, rounded intersections, organic shapes, and color. The lines often cross and overlap, creating small sections that can be filled with different colors or patterns. One of the things I like about this style is that there isn’t just one right way to do it.
As you work, the drawing starts to develop naturally from the lines and shapes you add. When two lines cross, you can round off the sharp corners to create softer transitions. This helps give the finished drawing that connected, flowing look that is often associated with neurographic-style art.
This type of drawing is especially nice for beginners because you don’t have to worry about making everything perfectly even or symmetrical. Your lines can curve in different directions, your shapes can be different sizes, and your color choices can be completely your own.
For this project, we’ll combine those flowing lines and rounded shapes with a simple sunflower drawing. You can follow along with my example, but feel free to change the placement of the lines, the shape of the petals, or the colors as you go. The goal is to use the tutorial as a starting point and create a version that feels like your own.
* Some of the links in this post may be affiliate links. This means I receive small commissions for purchases made through these links at no extra cost to you.
Supplies for Your Neurographic Sunflower
- Cardstock or Sketchbook
- Colored Pencils
- Markers
- Black Outlining Pen
How to Draw a Neurographic Sunflower
For this drawing I’m using an artist trading card (ATC). But you can use any size paper or sketchbook for your drawing. I like drawing small because it saves time, which means I actually finish my drawings now instead of having piles of half finished art.
I drew my sunflower with a pencil first, but you can draw everything with your black marker instead of starting with a pencil drawing.
Step 1: Draw the Sunflower
Use a pencil to lightly sketch out your sunflower. Begin by drawing the center part of the sunflower. You can draw this in the middle of your paper or off-center.
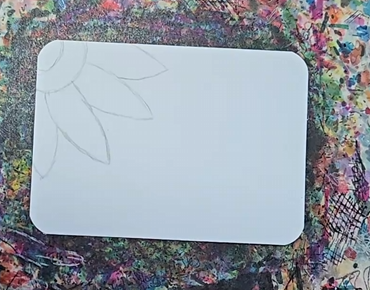
Or, you could draw it in the corner like I did with mine.
Work around the center of your sunflower to add some petals. Don’t try to make everything symmetrical. Your sunflower will look better if you vary the size and shape of the petals. And don’t be afraid to overlap some of the petals.
If you need help with this step, check out my tutorial on How to Draw a Sunflower Step by Step.
Step 2: Outline the Sunflower Drawing
After you have your sunflower sketched out, you need to go over your pencil lines with a black outlining pen or a black marker.
You’ll also need to decide how thick you want to make your lines. I used a thinner pen for my neurographic art since I was making a small drawing.
Recently I’ve been playing around with making my drawing outlines wavy, so that’s how I did mine. And then I added a second outline because I like how the double outlines look on some drawings.
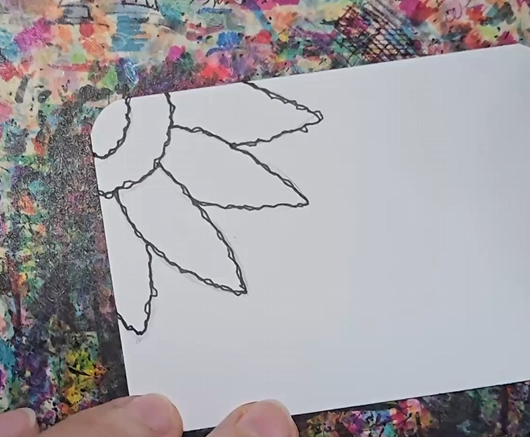
My approach is always to experiment and try new things. Don’t be afraid to step out of your comfort zone. That’s where growth is going to happen.
Step 3: Add Flowing Neurographic Lines
The next step is to add your neurographic lines. These are free flowing lines that don’t follow a specific path or pattern.
Using your pen, pick a place to start and let the pen travel wherever it wants to go. Don’t think too much about where it’s going. Just let the lines flow. Draw some of the lines through your sunflower as well. And make them a bit wavy. These lines shouldn’t be straight.
Keep drawing lines until you feel like the amount of lines is right for you and your drawing. Neurographic art is very intuitive. Go with whatever your gut tells you.
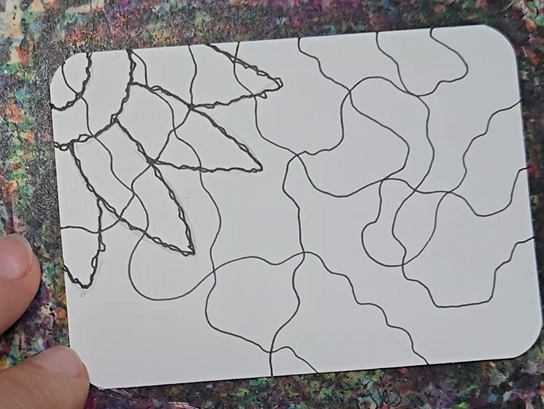
There is really no right or wrong number of lines to include in your art.
Step 4: Round the Intersections
Next we need to round off all of the intersections where the lines cross over each other. This step tends to be the most confusing for people so don’t get discouraged if you struggle to get it right at first.
Each of the intersecting lines needs to be rounded off so just choose one of them to start with and work your way through your drawing.
To do the rounding off make all of the pointed angles softer by tracing over your existing lines and then curve it right before it gets pointed. You’ll end up with some empty space where the intersections are. Then just fill that empty space in with your pen.
Then move onto the next part of the intersection and repeat this process. You’ll need to do this four times for each intersection.
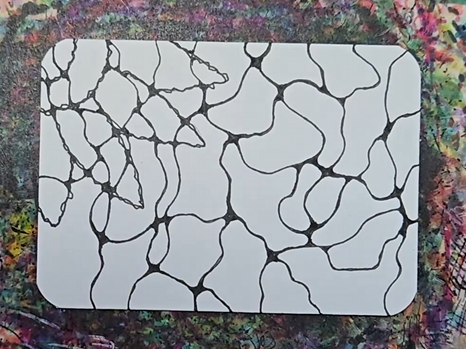
Keep doing this until you have all of the sharp edges rounded off.
Step 5: Add Extra Shapes and Details
Often with neurographic art there will be extra shapes added into the drawing. Circles are very common, as well as triangles and other shapes.
I did not add any extra shapes with my neurographic flower art because I feel like the sunflower breaks up the lines well enough. But this is very much a personal preference.
Step 6: How to Choose Your Colors
Choosing the color palette for your neurographic sunflower drawing can be a lot of fun, or it can be very stressful if you overthink it. The colors you choose are up to you. Any color combinations will work for your drawing so don’t take too much time with this.
If you feel overwhelmed by picking your colors you can use something like the Color Cubes to choose the colors for you. That’s what I did for my neurographic flower art. It was an easy way to reduce the number of decisions I needed to make to finish my drawing.
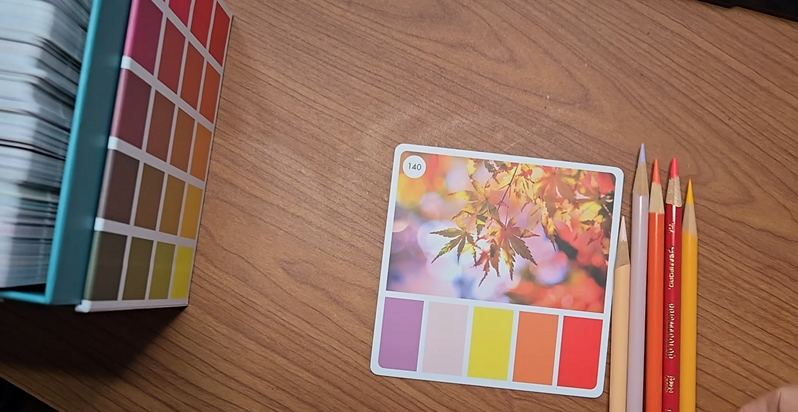
Color Cubes are a neat little product with hundreds of different color combinations on cards. I like to randomly choose a card from one of the boxes and use it in my drawings. It’s an easy way to try color combinations you wouldn’t normally use.
Learn more about the Color Cubes Here.
Step 7: Add Color to Your Neurographic Sunflower
When adding color to neurographic art, one of the rules is to avoid filling in your colors like a mosaic. Instead fill in two or more adjacent sections with the same color.
With that being said, it’s your artwork and you should do whatever feels right to you. Use the neurographic process as inspiration to create something that’s unique to you. It’s up to you if you want to follow the rules or not.
Where you place each color should once again be intuitive. Don’t overthink it. Have fun and let your artwork evolve with each step. You can color your entire drawing or leave some of the areas white.
When I created the drawings for this neurographic art tutorial I used different colors for the sunflower than I used for the background. I also did two different drawings, using markers for one and colored pencils for the other. But I used the same color palette for both.
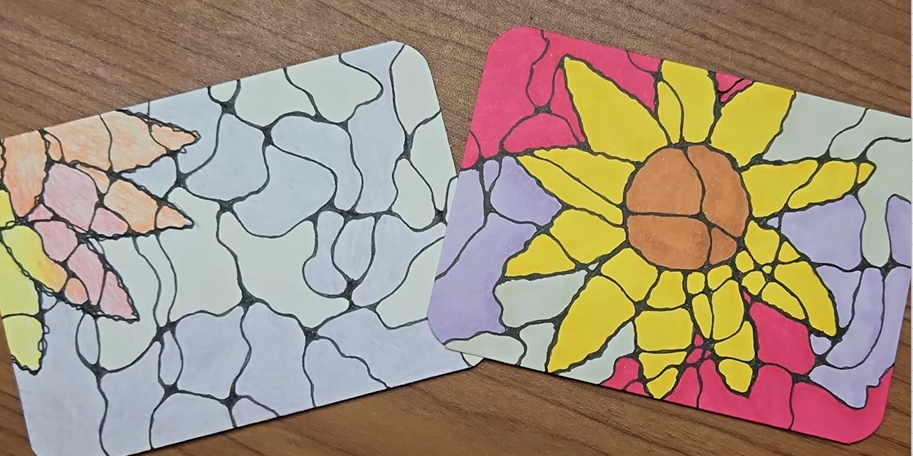
You could try blending some colors together for your drawing. This is a great technique to use for this type of art that takes it to the next level.
Ways to Make Your Sunflower Drawing Your Own
There are a lot of ways you can change your neurographic drawing to make it completely your own. The first thing is to draw your sunflower differently from how I drew mine. As you can see from the two examples I did, I made each completely different from each other.
There are many more variations for drawing your sunflower. You could add a second layer of petals. Or you could make them more abstract.
You could add fewer or more neurographic lines. Or make your lines thicker. I used the same size pen for most of my lines in both drawings. You could make some lines much bolder and others much thinner.
Final Thoughts
I hope you enjoyed my neurographic sunflower tutorial. And hopefully you followed along to create your own artwork. This type of drawing can feel really intimidating so don’t get discouraged if you struggled with some of the steps.
Like with anything, the more you practice it the easier it will get. And the more you step out of your comfort zone and try new things the quicker you’ll improve.
My favorite way to speed up my progress is with a weekly drawing challenge. It’s really great to see how much you can improve in only seven days.
Grab your FREE Guide to Better Art in 7 Days