How to Draw a Bow
Adding a cute little bow to your drawings can take them to the next level. And learning how to draw a bow is easy. Today we’ll show you several different styles of bows you can draw.
We’ll start with something really simple. Then move into some bows that are a little more difficult and have extra details. But don’t worry, we break each of them down into easy to follow steps.
* Some of the links in this post may be affiliate links. This means I receive small commissions for purchases made through these links at no extra cost to you.
Art Supplies
- Thin black marker
- Paper or cardstock
- Markers
- Pencil
- Click Eraser, Pink Pearl Eraser
- White Gelly Roll pen
Bow Sketch
Sketching is a great warm up exercise, and it’s beneficial in working through some rough ideas of how you want to draw something. There are an endless number of ways you can draw a bow.
There are different sizes, shapes, and styles. Doing some quick rough sketches is a great way to work through these different ideas.
The best way to do your sketches is to set a timer for three or five minutes, and sketch out as many bows as you can. Don’t focus on any specific details. Just get the size, shape, and style on paper.
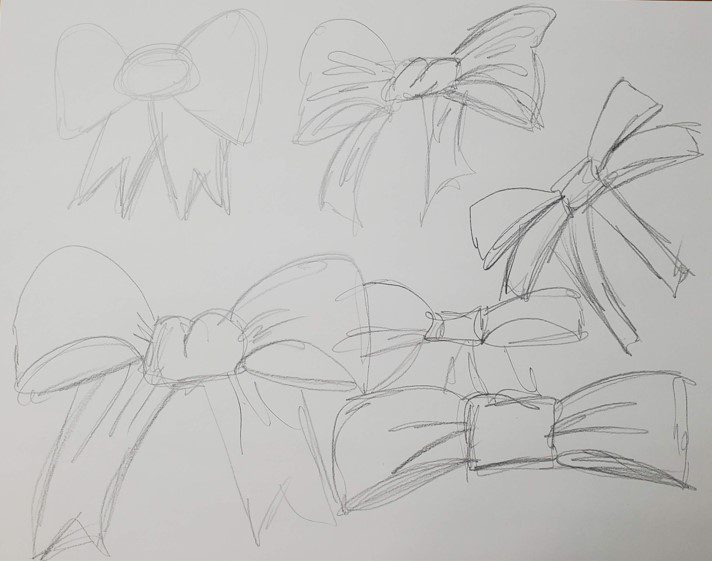
You could also do as many sketches as you can fit on your paper. Whichever method you choose doesn’t matter as much as making sure you’re doing quick sketches of your bows.
How to Draw an Easy Bow
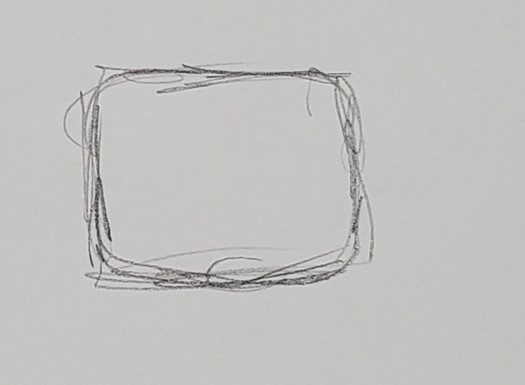
This first bow is going to be the easiest. Start by drawing a square for the knot of your bow.
Next, draw the main part of your bow. It’s up to you if you want them to be symmetrical or not. And there are several different ways you could draw the sides of your bow.
Make yours however you think looks good.
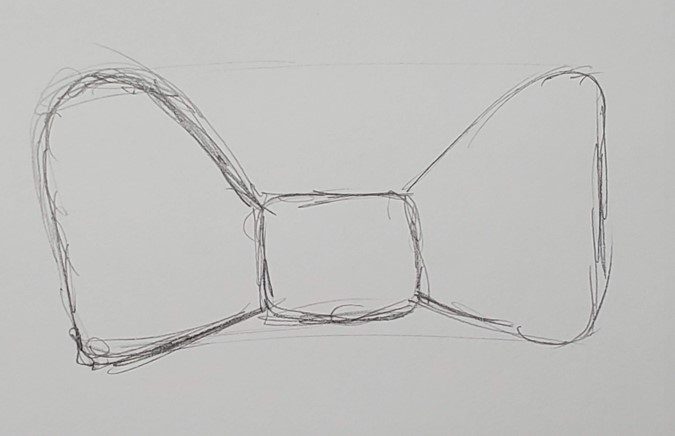
You could leave your bow just like this. For example, if you’re drawing a bow tie or a simple hair bow.
Or if you just want a basic bow drawing.
But let’s keep adding more details to make it a bit more fancy. Add in a couple of curved lines to show the folds of the bow.
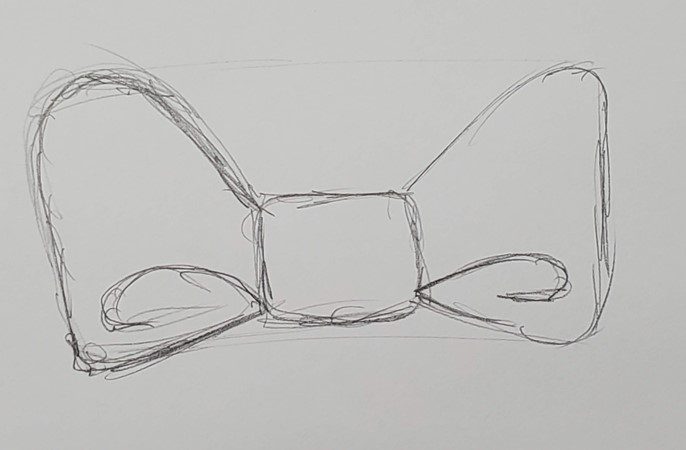
The next thing we need to do is draw the ends of the bow. There are a lot of different ways you can draw these.
Start by drawing two curved lines. You can make them overlap or keep them separated. Using overlapping in your artwork will make it more interesting.
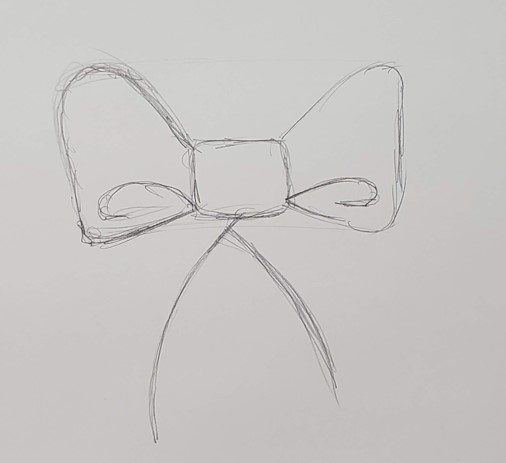
Then draw the outside edges and the bottoms. For the bottom part of the ends you can draw them flat or with points. I like how they look with pointed ends.
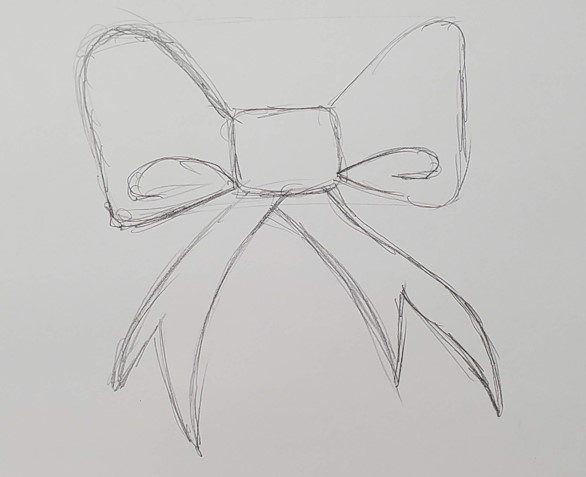
How to Draw a Bow Step by Step
For this next bow we’re going to follow the same steps, but we’ll make our bows look a little bit fancier by adding more details.
Start out by lightly sketching out your bow shape.
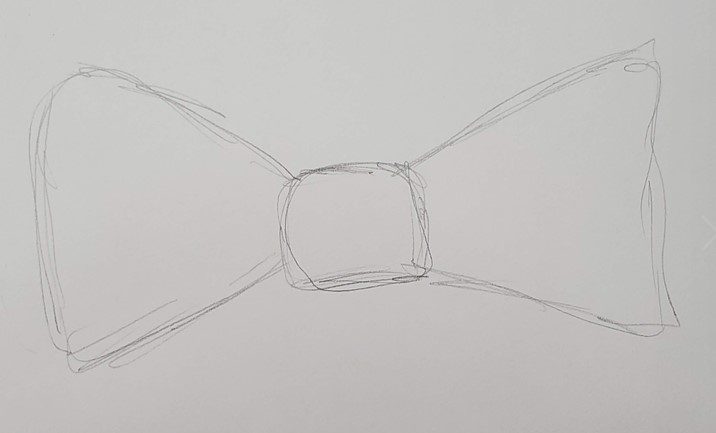
For the knot, draw some curves and folds. You can add as few or as many as you want.
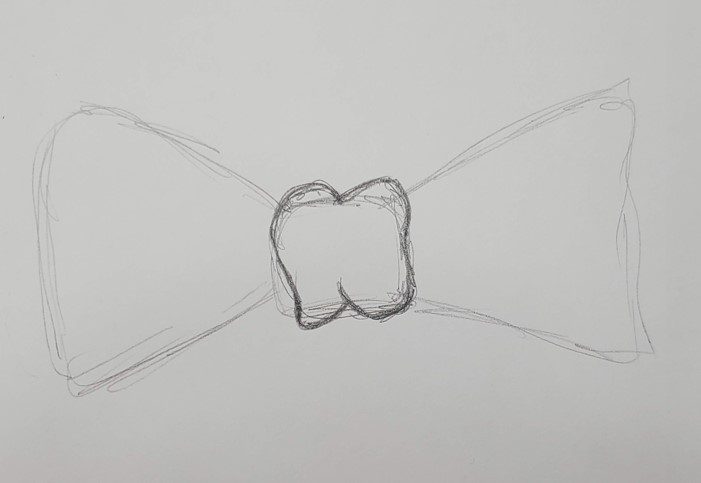
Now we’re going to make the main part of the bow look more interesting by curving the lines and adding some folds there as well.
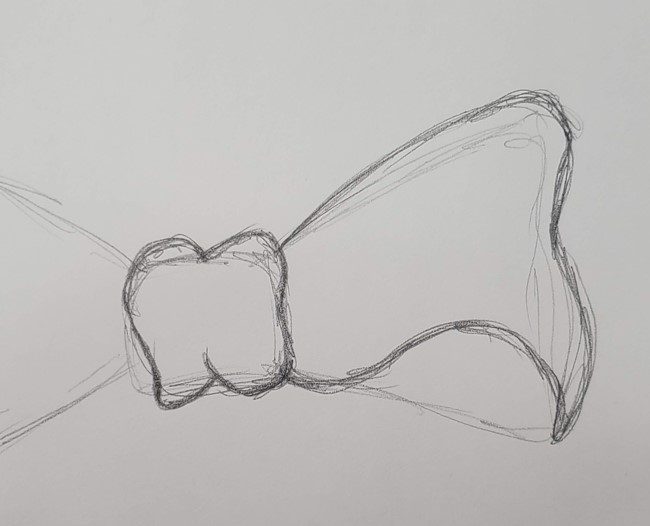
For the bottom part of the bow you want to draw your line so it wraps around the front part of the bow.
Then you can add some lines to show where the folds are. These can be drawn using lines that slightly curve. Or you can draw loops at the ends.
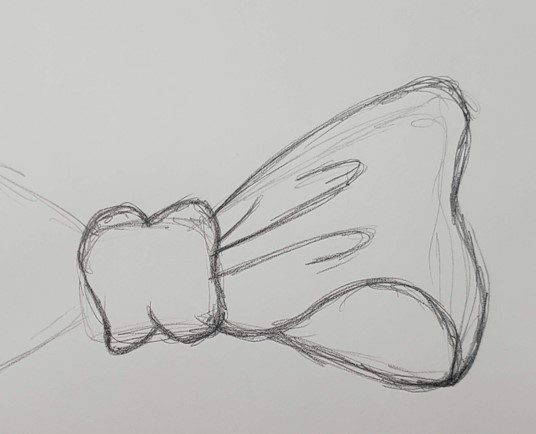
If you sketch everything out lightly you can try some different types of lines and see what you like best.
Do the same thing for the other side of your bow. Again, you can draw everything symmetrical or you can make the sides a bit different from each other.
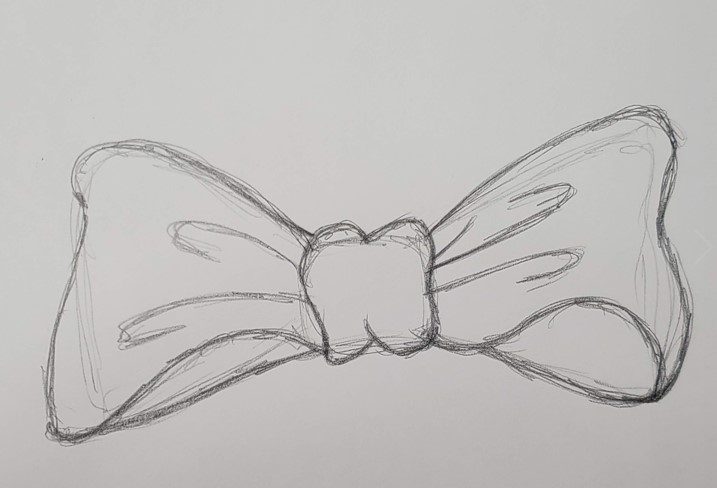
And then draw the ends of your bow, making the tips pointed or flat. You can also change the look of your bow by changing the length of the ends. You can make them longer than I did here, or make them even shorter.
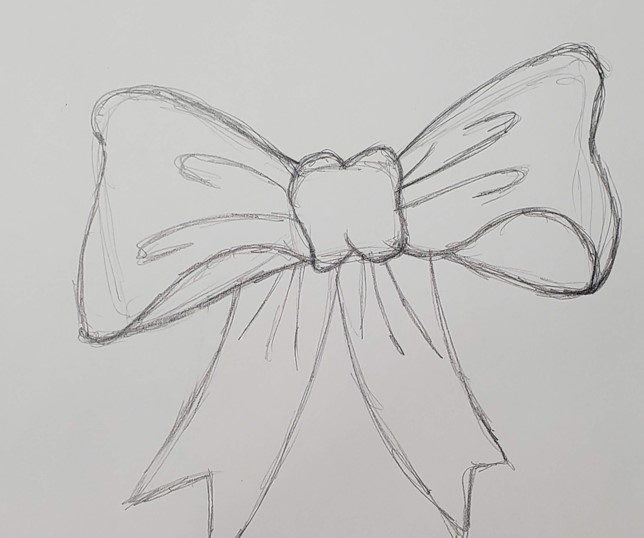
There are many different ways you can draw your bows. You can make them thinner, like this one.
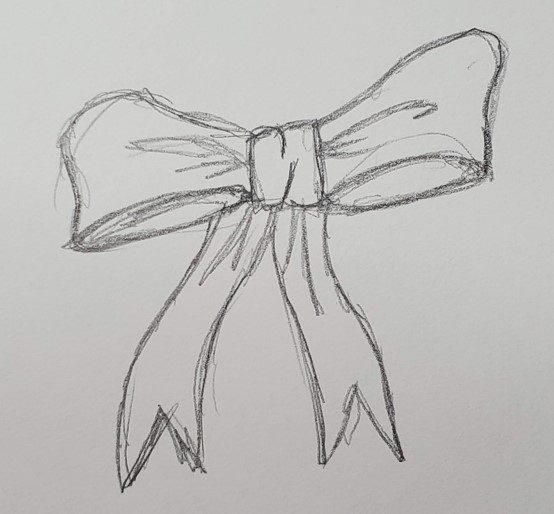
Bow Outline
Making a bow outline is really easy to do. Simply trace over the pencil lines you want to keep with a black pen or marker. Adding a black outline is part of my style.
If your artistic style takes you in a different direction you should go with it. Or, you could try it and see if you like this style or not.
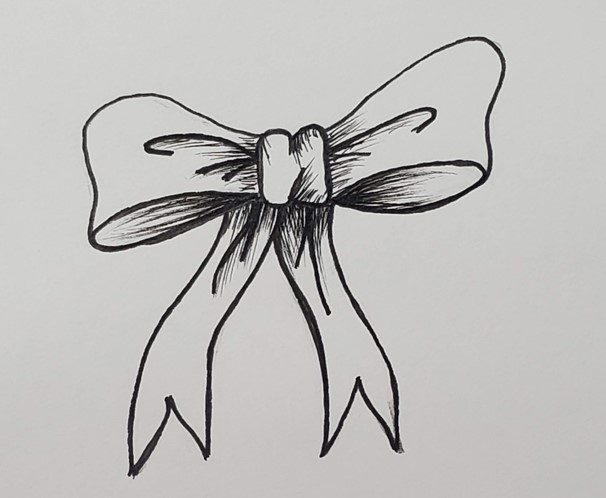
You can draw your bow outline with a thin black marker or pen. Or you could try using a different color. For example if you’re going to make your bow red, you could outline your drawing with a dark red pen.
Experiment and have some fun with it.
How to Draw a Bow with Markers
The final step is to add some color to your bow drawing. I like using markers because they are so bright and colorful. But you can use another medium if you choose.
Regardless of what you are using you’ll want to add two or three colors to your bow drawing. You can use a dark and medium red. Or you could use gray to add some darker areas.
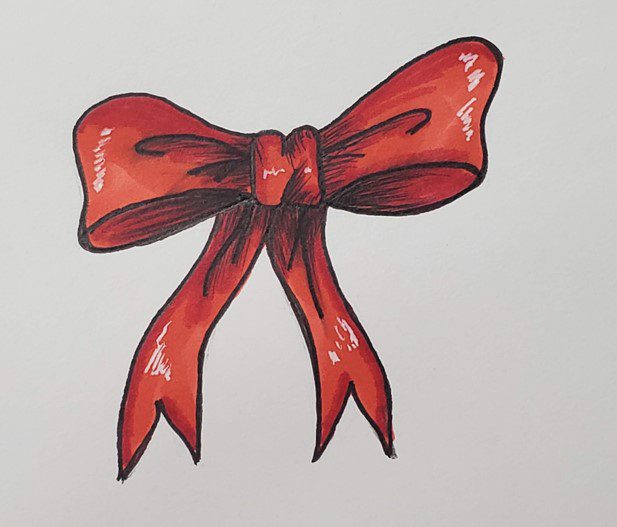
Using more than one color will add some dimension to your drawings and help them look less flat.
Conclusion
Now that you know how to draw a bow there is no limit to what you can do with them. Whether you’re adding a bow to the top of a present. Or sticking a cute little bow on the top of a teddy bear’s head. Or maybe you want to add a fun bow tie to your penguin drawing.
Whatever you decide to do with them, it will be a nice added touch to an already amazing drawing.
The more you practice the better you will get. Even if it’s only for a few minutes each day, you’ll see improvements in your art skills.
Download our FREE Guide to Better Art in 7 Days

