
How to Draw a Crescent Moon (Easy & Fun)
Learning how to draw a crescent moon is easy and fun. We’ll show you how to draw, outline, and color your crescent moon drawings with markers.
And there’s a lot of cute drawings you can do with them too.
Art and drawing are skills anyone can learn. The more you practice the better you will get. And the more you enjoy your creative time, the more you’ll look forward to it.
So let’s grab some supplies and get ready to have some fun learning how to draw a crescent moon.
* Some of the links in this post may be affiliate links. This means I receive small commissions for purchases made through these links at no extra cost to you.
Art Supplies
- Thin black marker
- Paper or cardstock
- Markers
- Pencil
- Click Eraser, Pink Pearl Eraser
- White Gelly Roll pen
About Crescent Moons
There are over 200 moons in our solar system. However, the Earth only has one moon. The moon orbits the Earth, meaning it circles our planet. This process takes roughly 27 days to complete.
The moon consists of metal and rock, just like the Earth. Although it appears to be a variety of colors, it’s actually gray. The moon reflects the light from the sun. The Earth’s atmosphere is what creates the appearance of the moon being different colors.
There are eight phases of the moon. You can see all eight phases over the period of a month.These phases are the different levels of reflection of the light from the sun.
If less than half of the moon is lit, it’s called a crescent moon. There are two different types of crescent moons. They are waning and waxing. This is determined by which side is lit. A waning crescent is lit on the left side, and a waxing crescent is lit on the right side.
This information is good to know because it means you can draw your crescent moon facing either direction, and it will still be accurate. If that sort of thing is important to you.
Crescent Moon Sketch Practice
Doing a crescent moon sketch practice exercise is a great way to warm up your drawing muscles and work through some rough ideas.
And it’s really easy to do and only takes a few minutes. Here’s how…
- Get some paper and something to sketch with
- Pull up some reference photos
- Set a timer for three or five minutes
Then just simply do as many crescent moon sketches as you can before the timer goes off.
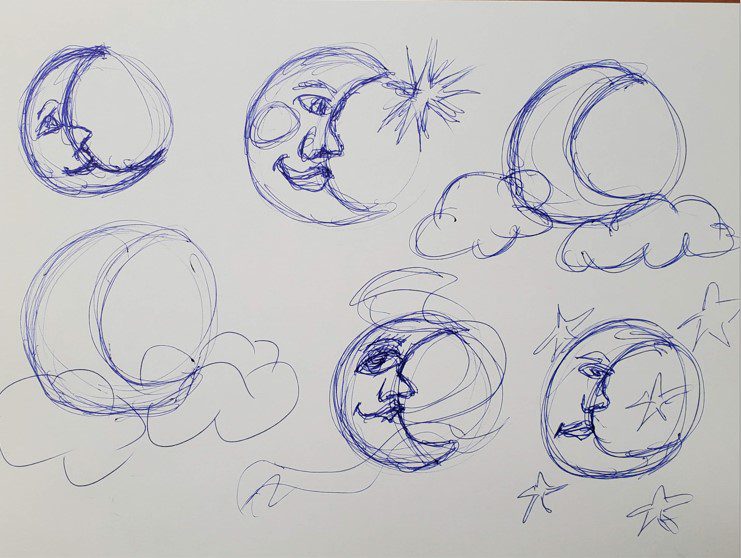
Another option is to sketch until your paper is filled and you’re out of room.
Either method is fine. Just be sure to keep your sketches quick and loose. And don’t spend more than a few minutes on the exercise.
How to Draw a Crescent Moon Step by Step
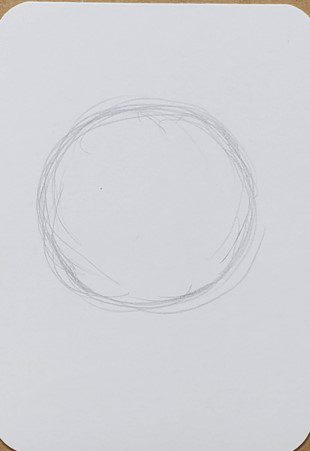
Learning how to draw a crescent moon is really easy. We’ll start with some simple shapes, just like we always do.
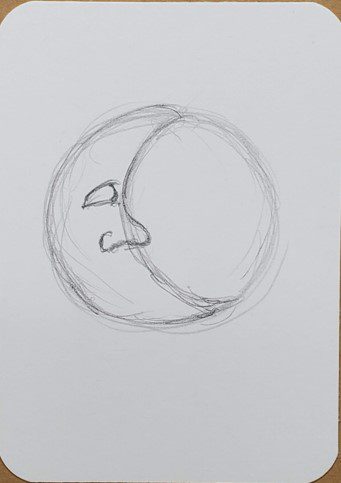
Begin by drawing a circle. Don’t worry if it’s not perfect.
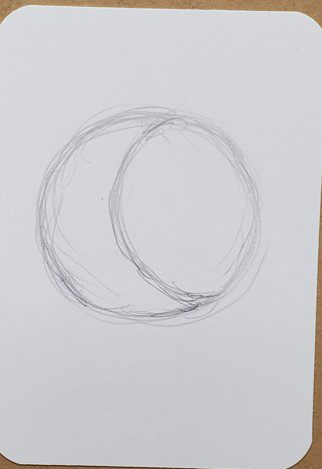
Then draw the shape of your crescent moon inside that circle.
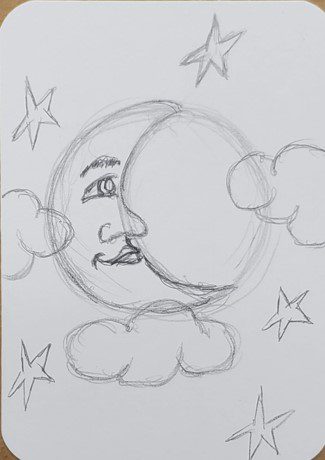
For our crescent moon drawing we’re going to be adding a face. Let’s start by drawing the nose.
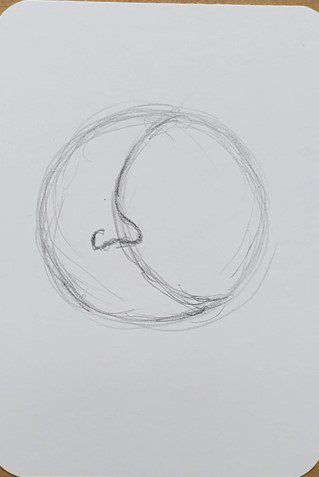
We’ll be drawing a profile view of the face.
Now draw the eye by making a sideways V-shape with a curved line for the eyeball.
Then draw the iris and pupil of the eye.

Next, draw the upper lip and mouth.
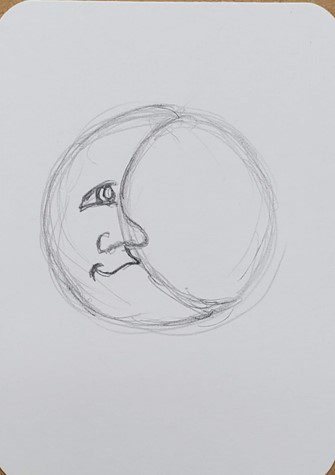
You can add lips to your drawing or leave the mouth as is without the lips. Either way looks good.
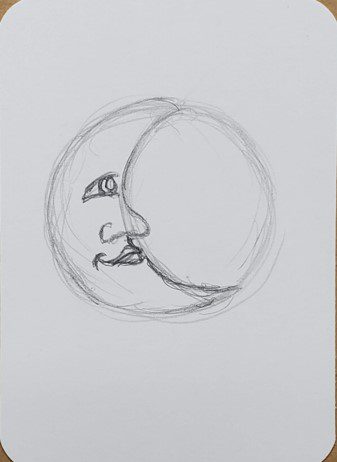
Finish up the face by adding an eyebrow and any other details you want to include in your drawing.
There are many different ways you can draw the face. You could make a female face, or maybe try something less friendly. It just depends on what look you’re going for.
Add in some clouds, stars, or anything else you want to include in your crescent moon drawing.
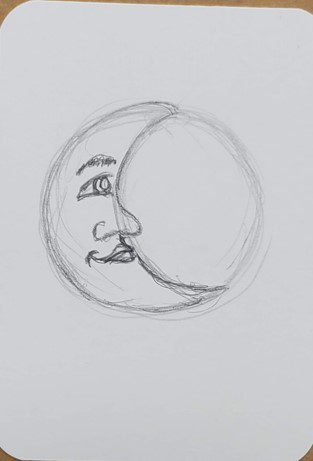
Crescent Moon Outline
Making a crescent moon outline is really easy. All you have to do is trace over your pencil lines with a black pen or marker.
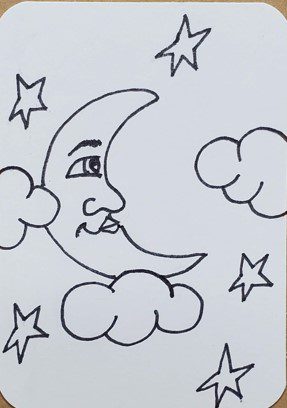
You can make your lines thick or thin. Or you can vary your line weights. Just do whatever fits your style.
Another option is to use a color other than black. Maybe try using purple or blue instead.
How you choose to do your outline will depend on your artistic style. If you don’t know what this is yet, don’t worry. It will develop over time with some practice.
How to Draw Crescent Moon with Markers
Learning how to draw a crescent moon with markers isn’t as hard as you might think. And there’s really only a few things you need to keep in mind.
First, if you want to be able to blend your colors together you need to use alcohol based markers. Bic, Sharpie, and Copic for example. As well as many others.
Second, you need to work while the colors are still wet or they won’t mix together. This isn’t a big deal. Just make sure you work on a section at a time.
Third, you need to use colors that are similar to each other if you want to create a smooth transition of color. If your markers are too different they will leave a harder edge.
When drawing your moon you can use yellow and a light orange like in this example. Or you could use a completely different color scheme.
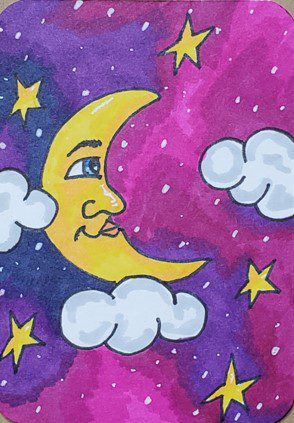
Avoid using one solid color for your drawings though. As this will make them look flat and boring.
The same colors were used for the stars. And gray was added to the clouds for some shadows.
For the background a galaxy was added. You can learn how to do this in our How to Draw a Galaxy with Markers tutorial.
A white Gelly Roll pen can be used to add highlights and stars.
Final Thoughts and Next Steps
Now that you know how to draw a crescent moon, what’s next? If you want to improve your art and drawing skills you need to practice. The more you practice the better you will get.
Consistency is important. Even if it’s only a few minutes each day. Those minutes will add up quickly.
If you want to improve your crescent moon drawings, try doing a challenge to see how many you can do in a week.
Not only will your art and drawing skills improve, but so will your creativity.
Grab your FREE Guide to Better Art in 7 Days
