
How to Draw a Guitar
Learning how to draw a guitar is easy and fun. We’ll show you step by step how to sketch, outline, and color your guitar drawings with markers.
Art and drawing are skills that anyone can learn. By breaking things down into simple steps we’ll make it much easier and more enjoyable.
And your creative time should always feel relaxing.
Let’s grab some supplies and get ready to have some fun learning how to draw a guitar the easy way.
* Some of the links in this post may be affiliate links. This means I receive small commissions for purchases made through these links at no extra cost to you.
Art Supplies
- Thin black marker
- Paper or cardstock
- Markers
- Pencil
- Click Eraser, Pink Pearl Eraser
- White Gelly Roll pen
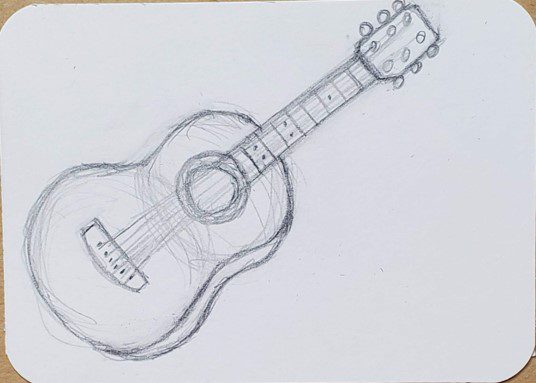
Guitar Sketch Practice
Doing a sketch exercise prior to drawing is a great way to warm up. But it’s also a great way to work through some drawing ideas and get more familiar with whatever you’re going to be drawing.
And it only takes a few minutes to complete.
To do a guitar sketch practice session begin by pulling up some photos of guitars. Then get some paper and something to sketch with.
Set a timer for three or five minutes. And then sketch as many guitars as you can before the timer goes off.

Another option is to do as many guitar sketches as you can before the timer goes off. Just make sure you’re doing them quickly and keeping your lines loose.
Don’t get too hung up on all the little details. The goal is to warm up and get familiar with the shapes and proportions of a guitar.
How to Draw a Guitar
When learning how to draw a guitar the easiest approach is to start with some basic shapes. Pretty much everything you’d ever want to draw can be simplified this way.
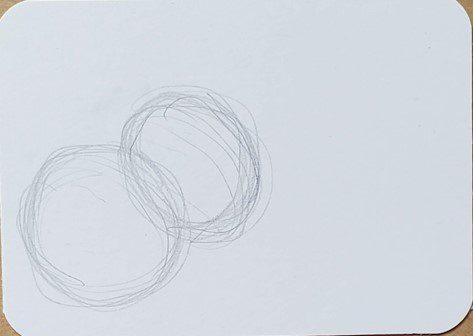
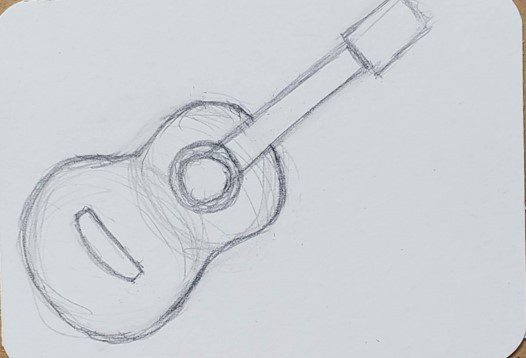
Let’s start by drawing a couple of circles for the body of the guitar. The one on the bottom should be slightly larger than the one on the top.
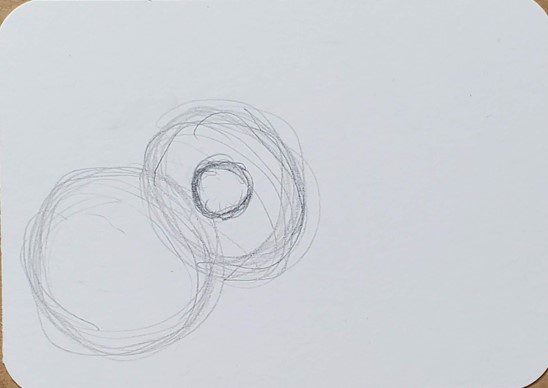
Then draw a circle for the sound hole towards the bottom of the top circle.
Next, draw a long rectangle for the neck of the guitar. And at the end of the neck, draw another rectangle for the head.
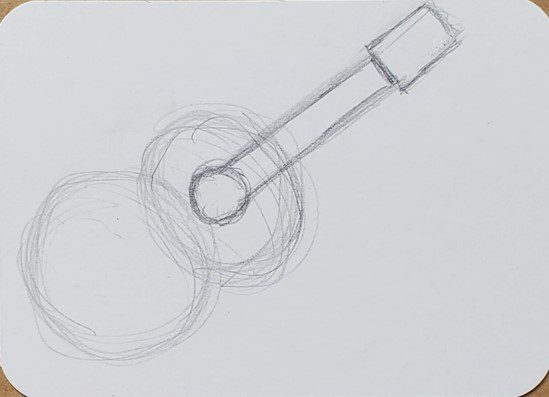
Make the head slightly larger than the neck.
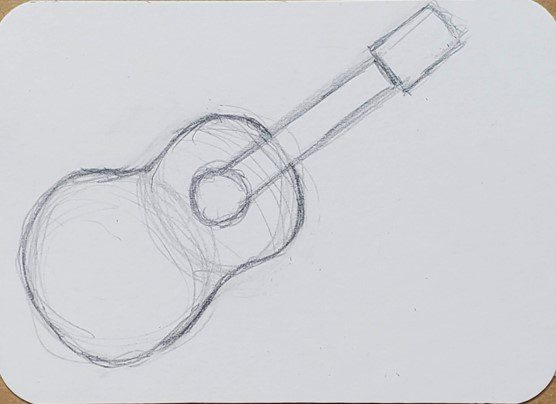
Now draw the shape of the guitar body using your circles as guides. There are different ways to draw the body depending on the style of the guitar. Don’t stress too much over this, unless you’re trying to draw a specific brand or style.
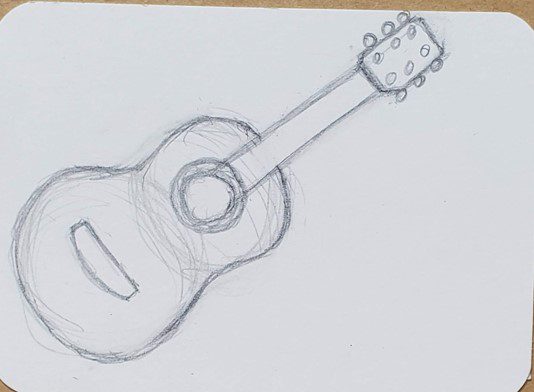
We need to start adding some details to our guitar drawing. Add a decorative circle around the sound hole. And draw the bridge towards the center of the bottom part of the guitar body.
Next, add the posts and pegs to the head of the guitar. Since we’re drawing a six string acoustic guitar we need six of each.
Add some frets along the neck of the guitar. Again, no need to worry too much about how many you draw. Just make it look nice.
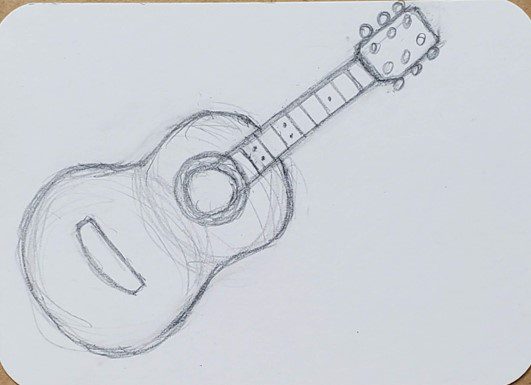
Now comes the hard part… drawing the strings. Each string should go from the posts to the pegs on the bridge.
But you don’t have a lot of room to draw them in. So just do the best that you can.
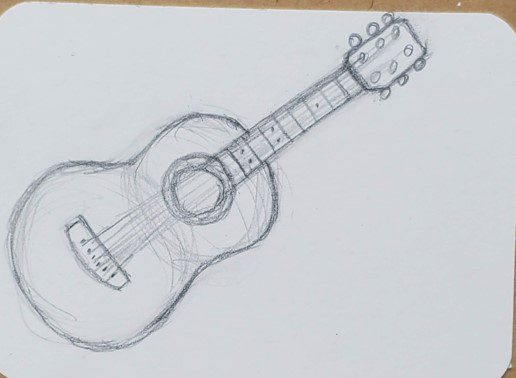
Next, let’s make our guitar body look 3D. Follow the shape of the guitar to add some depth to it.
Finish up your guitar drawing by adding anything else to it that you think it needs. Most guitars will have a pick guard right under the sound hole.
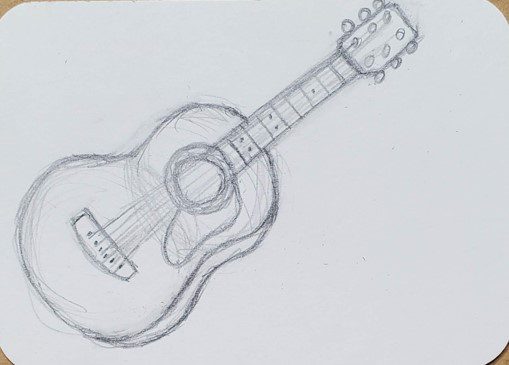
Keep working on your drawing until you’re happy with how it looks.
Guitar Outline
After you’ve finished your guitar drawing you’ll need to decide how you want to finish your artwork.
Because markers will be used in this drawing, the next step is to add an outline. If you’re using a different medium this step might not be necessary.
Making your guitar outline is really easy. Simply trace over the pencil lines you want to keep with a black pen or marker.
You can make your lines thin, thick, or a combination of the two. Experiment with your lines and do whatever looks good and fits your artistic style.
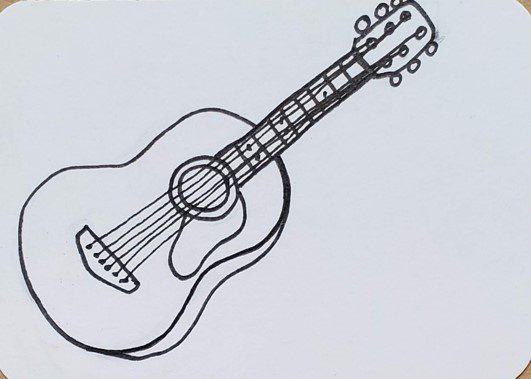
You could also try using a different color for your guitar outline. Maybe try using brown or red.
If you’re not sure what your style is, don’t worry. It will develop with practice and time.
When you’re finished making your guitar outline, use an eraser to remove any pencil lines and clean up your drawing.
How to Draw a Guitar with Markers
Learning how to draw a guitar with markers isn’t as difficult as you might think. There’s a couple of things to keep in mind. But it really just takes practice to get good at using them.
First, you need to use alcohol based markers if you want to be able to blend your colors. And you’ll have to work while they’re still wet.
We explain this in more detail in our Beginner’s Guide to Using Markers.
The second thing is that you need to use markers that are similar in color. For example, a light brown and a medium brown for the body of the guitar.
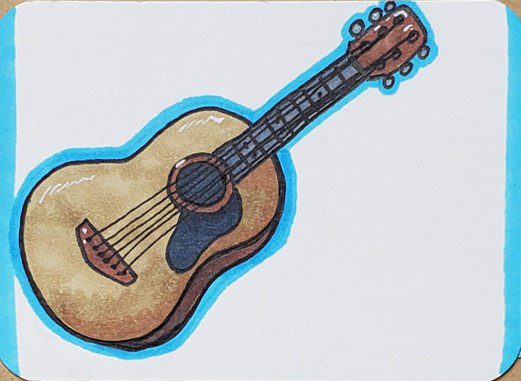
But you should always experiment and try new things when creating your artwork. I’m showing you one way to do things. There are many other options you could try.
A white Gelly Roll pen can be used for highlights on markers. The white shows up nicely.
Final Thoughts and Next Steps
Now that you know how to draw a guitar, what’s next? If you want to get good at drawing guitars you’ll want to practice making as many as you can.
Using artist trading cards is a great way to get more drawings done in less time. You can check out our Ultimate Guide to ATCs for more information.
A great way to improve your art skills and creativity is to do a seven day challenge. You’ll be amazed by how much you can improve in just one week.
Grab your FREE Guide to Better Art in 7 Days
