How to Draw a Peace Symbol (easy art tutorial)
In this tutorial I’ll show you how to draw a peace symbol in a way that is easy for even the most unskilled artist. The peace symbol is highly recognizable throughout the entire world and is a great addition to many styles of art and drawing.
I’ll be drawing my peace symbol on an artist trading card, but you can do your drawing on any size and type of paper you have available to you.
Let’s grab some supplies and get started.
* Some of the links in this post may be affiliate links. This means I receive small commissions for purchases made through these links at no extra cost to you.
Art Supplies
- Thin black marker
- Paper or cardstock
- Markers
- Pencil
- Click Eraser, Pink Pearl Eraser
- White Gelly Roll pen
About Peace Symbols
The peace symbol, often referred to as the “peace sign,” is one of the most recognizable symbols worldwide, symbolizing peace, unity, and non-violence.
The peace symbol was designed in 1958 by British artist Gerald Holtom for the Campaign for Nuclear Disarmament (CND).
The design of the symbol is quite simple but powerful. It consists of a circle with three lines inside of it, forming a combination of the semaphore signals for the letters “N” and “D,” standing for “nuclear disarmament.” The symbol was intentionally designed to be easy to reproduce, even by individuals with limited artistic skills, making it highly accessible for use in protests and demonstrations.
The peace symbol quickly gained popularity and became associated not only with the anti-nuclear movement but also with broader peace movements and protests against war and violence around the world. It became particularly prominent during the 1960s and 1970s as a symbol of opposition to the Vietnam War and other conflicts.
Since then, the peace symbol has continued to be used in various contexts to promote peace, human rights, and non-violent resistance. It has appeared on posters, banners, clothing, jewelry, and other items, serving as a universal symbol of hope for a more peaceful world. Its enduring popularity is a testament to its simple yet powerful message.
Peace Symbol Sketch Practice
It is helpful to do some quick warm up sketches before getting started with your drawings. This would be a great opportunity to work through some rough design ideas or concepts. And it’s quick and easy to do. Here’s how…
- Get some paper and something to sketch with (pencil, pen, marker, etc.)
- Pull up some reference photos of peace symbols
- Set a timer for three or five minutes
Then just sketch out your peace symbols as quickly as possible until you run out of time. This will loosen up your muscles and get you more comfortable before starting on your actual drawing. Of course this is an optional step, but it does pay off.
You could also just sketch until you run out of room on your paper. Whether you use the time or space method, just be sure to keep your lines quick and loose. Don’t get hung up on the details.
How to Draw a Peace Symbol Step by Step
Now that you’ve got your supplies together and you’re all warmed up, let’s learn how to draw a peace symbol. I like to start my drawings with simple shapes and guidelines whenever possible. It makes it so much easier to get started.
Since a peace symbol really doesn’t have any shapes, besides the outside circle, we’ll start with some guidelines.
Step 1: Guidelines
The first thing we need to do for our peace symbol drawing is to draw the circle. You can do this freehand, but it’s much easier to use a template.
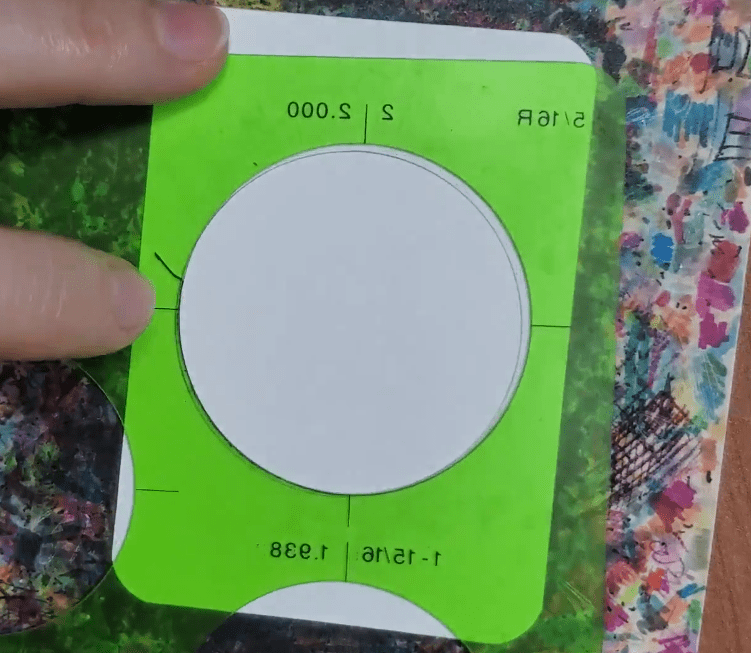
You can use whatever you have available for your template or use a store bought one. Another option is to draw it freehand.
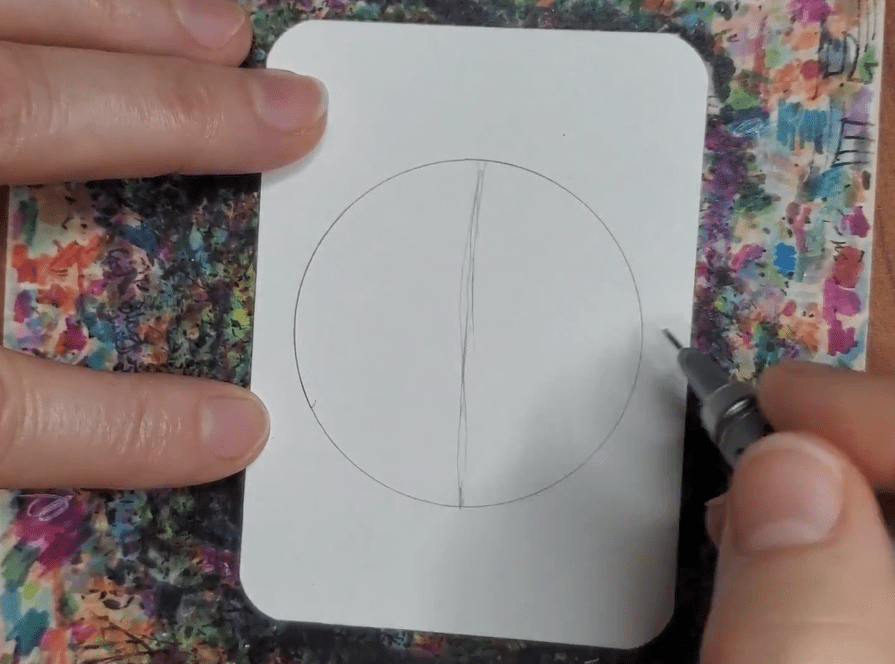
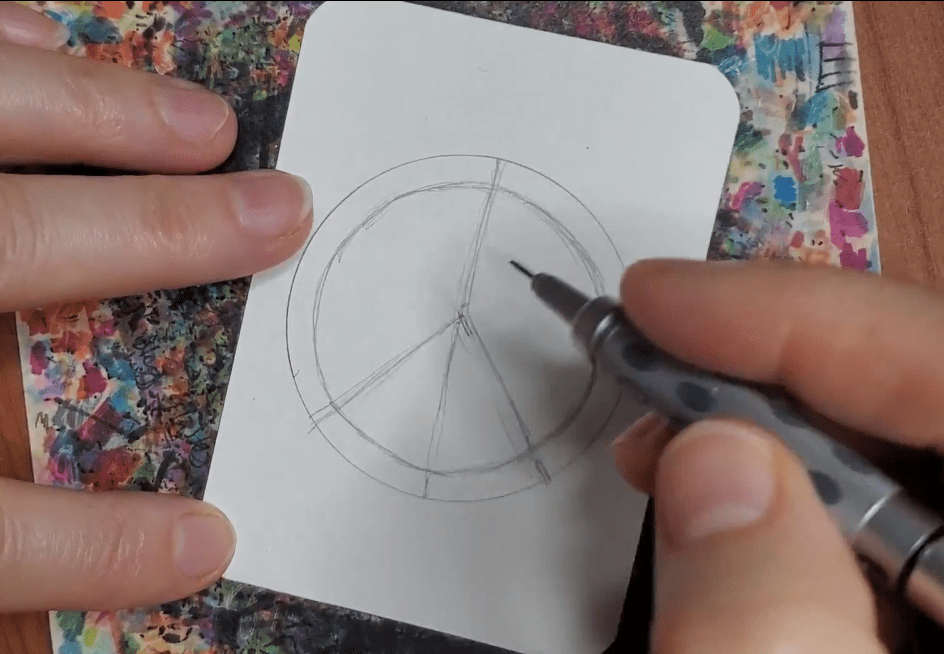
Then draw a straight line directly in the center of your circle, dividing it in half. Try to get this as close to perfect as you can without getting too stressed over it.
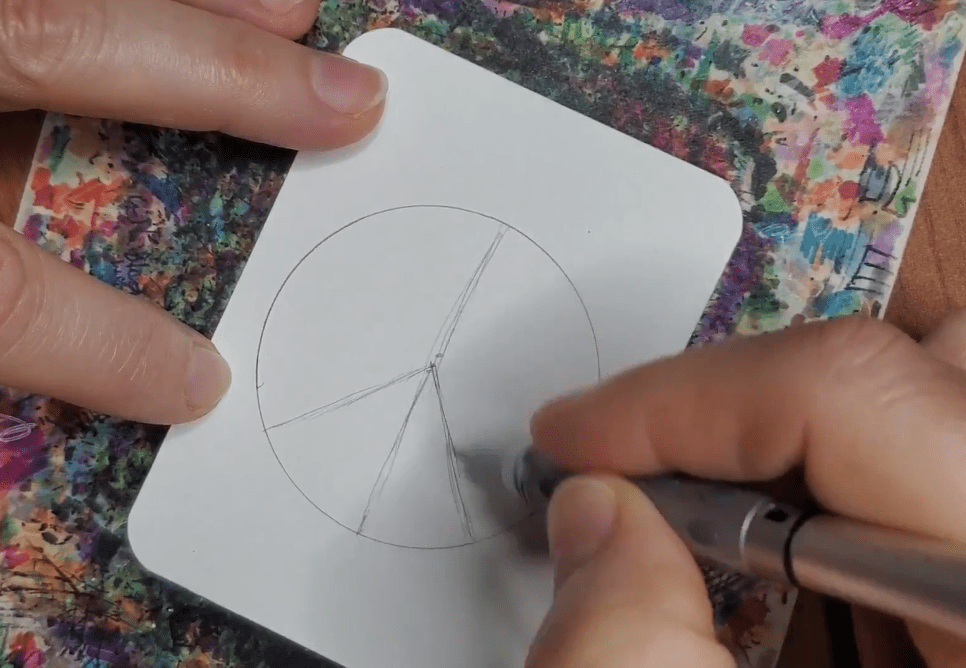
Now find where the center of the line is and draw two diagonal lines going down from the center point. Make these two lines symmetrical.
Step 2: Peace Symbol Sketch
Now we need to add the width of the peace symbol by drawing in the edges. To do this, begin with the circle and add another line on the inside. The width of this circle will be the same as the width of the rest of your peace symbol so keep that in mind when deciding how wide to make it.
Try to keep the distance between the two circles as consistent as possible. You could also try using a smaller circle template if you have one the right size.
Then move onto the center line. Draw a line to the left and the right of that line. Keep the space between your lines the same so your drawing will be symmetrical.
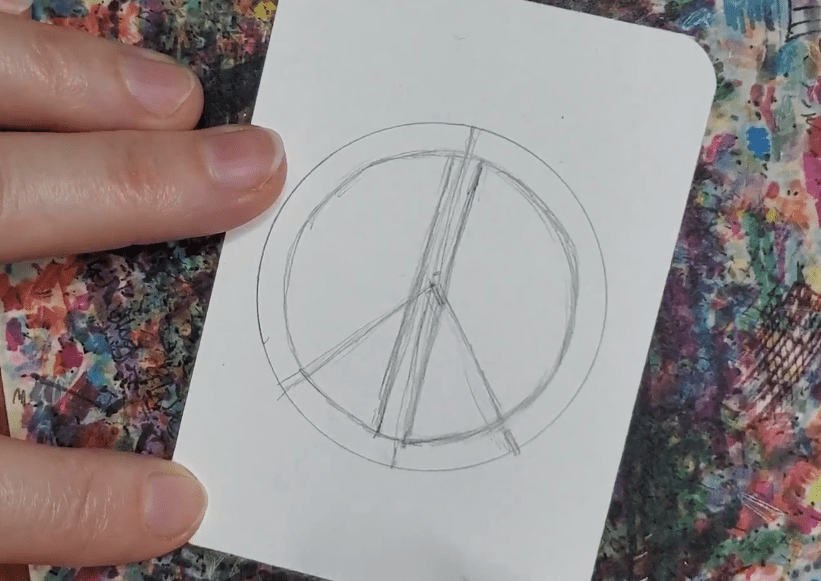
Now, repeat this process for the other two lines. It’s important to keep the width of your lines consistent throughout your entire drawing.
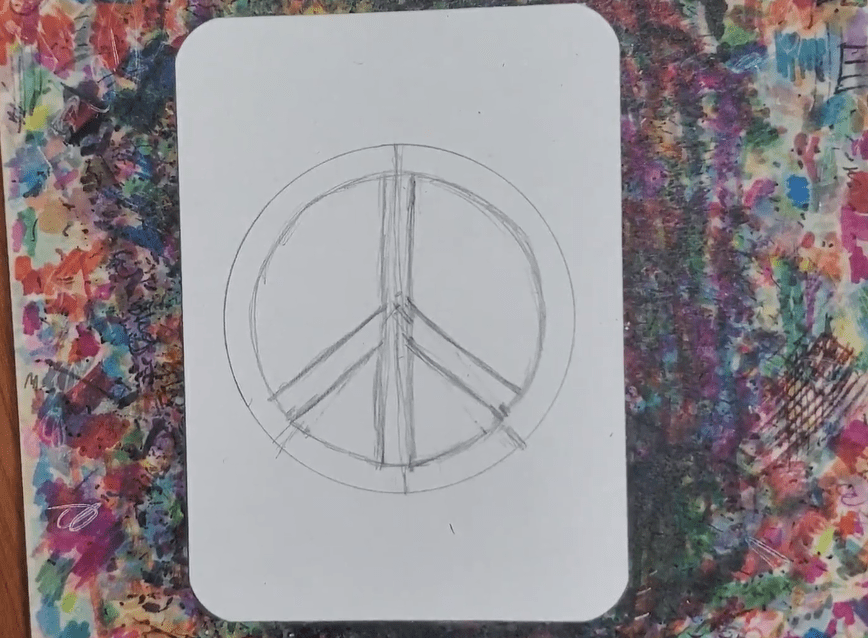
Step 3: Final Details
The final step for your peace symbol drawing is to add anything extra you want to include. You may want to add a background or maybe some flowers.
There’s a lot you can do to turn this simple symbol into a complete work of art.
Peace Symbol Outline
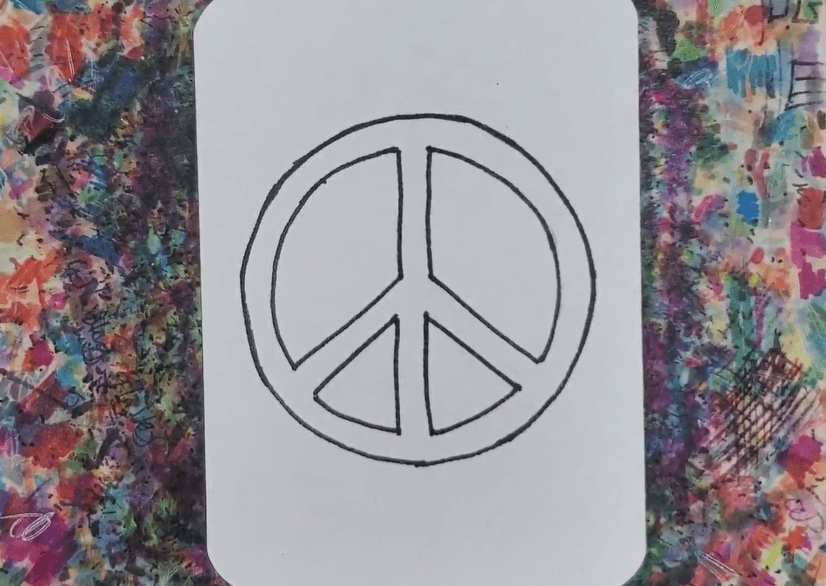
After you have your peace symbol drawn out and you’re happy with how it looks, you can draw an outline before adding color. This is really easy to do with a black pen or marker.
All you have to do is trace over all of the pencil lines you want to keep. You can clean up your drawing a bit with an eraser prior to doing this if you feel that it would be helpful.
You can make your lines thick, thin, or a combination of line weights. How you draw your peace symbol outline will be determined by the overall look and style you’re going for.
You could also use a color other than black, Or you could try not making an outline at all. Again, it just depends on the style you’re going for.
Don’t worry if you’re unsure about how to make your outline. It just means you need more practice. Your own artistic style will develop over time and with repetition. Doing your work on artist trading cards is a great way to help with this.
After you’ve finished your outline you can use a big eraser to remove all the pencil lines.
How to Draw a Peace Symbol with Markers
After you have your outline finished, it’s time to add some color to your drawing. I used markers for my drawing but you could use a different medium as well.
If you’re using markers there are a few things to keep in mind.
First, if you want to be able to blend your colors together you need to use alcohol based markers. Bic, Sharpie, and Copic for example. As well as many others.
Second, you need to work while the colors are still wet or they won’t mix together. This isn’t a big deal. Just make sure you work on a section at a time.
Third, you need to use colors that are similar to each other if you want to create a smooth transition of color. If your markers are too different they will leave a harder edge.
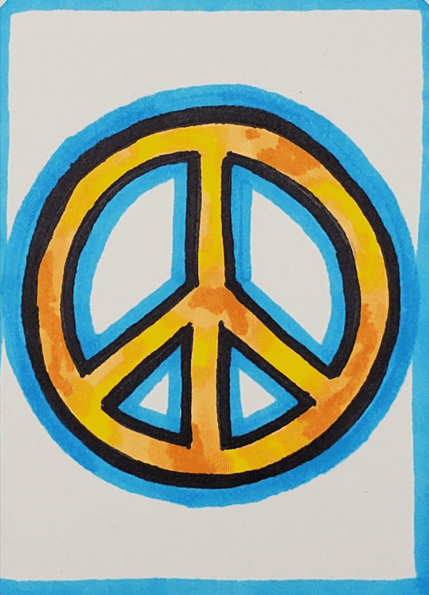
For my peace symbol drawing I wanted to create a tie dye effect with yellow and orange. So I picked out three different markers that would look good together and blend nicely.
I finished my drawing by adding blue around the edges.
There are a lot of different ways you could choose to finish your peace symbol drawing. Don’t be afraid to experiment and try new things.
Final Thoughts and Next Steps
Now that you know how to draw a peace symbol, what’s next? If you want to improve your art and drawing skills all you need to do is practice. The more consistent you are, the quicker you’ll start seeing results.
This doesn’t mean you have to work on your art for hours each day. Just five or ten minutes each day will add up over time if you’re consistent. Repetition is key when it comes to improving any skill.
Speaking of repetition, a great way to improve your art skills is by doing a series of drawings. I like doing a seven day challenge where I create seven drawings in seven days while sticking to a theme. Give it a try and see what you think.
Grab your FREE Guide to Better Art in 7 Days
