Rose Bud Drawing Tutorial
Today we are going to learn how to draw a rose bud. And you’ll see several different art techniques that you can use to make really cool rose bud drawings. Learning how to draw should feel fun and easy. The techniques you’ll learn today are definitely fun to do.
Learning to draw and create art is a skill. If you practice you will get better. So the more fun it is, the more you will want to do it, and the better you will get. Let’s grab some art supplies and get started on our rose bud drawings.
* Some of the links in this post may be affiliate links. This means I receive small commissions for purchases made through these links at no extra cost to you.
Art Supplies
- Paper or sketchbook
- Pencil
- Eraser
- Blending stump
- Black outlining pen
- Markers
Get Your FREE Marker Blending Guide
There are different ways you can draw a rose. The biggest difference is which state of bloom you want to draw your rose in. It can vary from a completely closed flower to one that is fully bloomed and opened.
Today you’ll be learning how to draw a rose bud that isn’t fully bloomed because this is the easier of they two types of roses to draw. We will be covering a more complex drawing in a few weeks.
Reference Photo for Drawing a Rose Bud
The first thing you want to do before drawing anything is to find a good rose bud reference photo to work from.
Real life is always best, but a photo works just fine if that’s your only option.

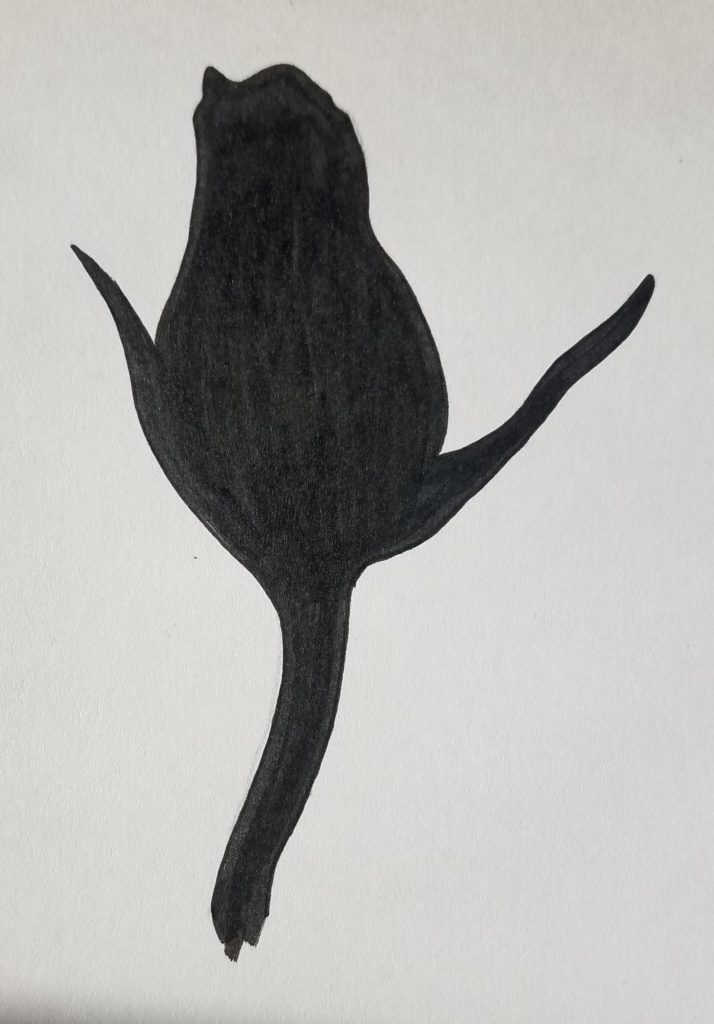
Learning to draw is more about learning to see, so let’s take a “critical” look at this flower. Begin by looking at the overall shape, or silhouette, of the object.

What do you notice about it?
If you look at the main area of the rose bud, you’ll notice that it is wider at the bottom and then narrows towards the top. You also want to pay attention to how the silhouette of the rose bud isn’t even. There are curves, and bumps, and indentations.
Of course this silhouette doesn’t look like much, but add in some leaves and a stem and it totally looks like a flower.
How to Draw a Rose Bud Step By Step
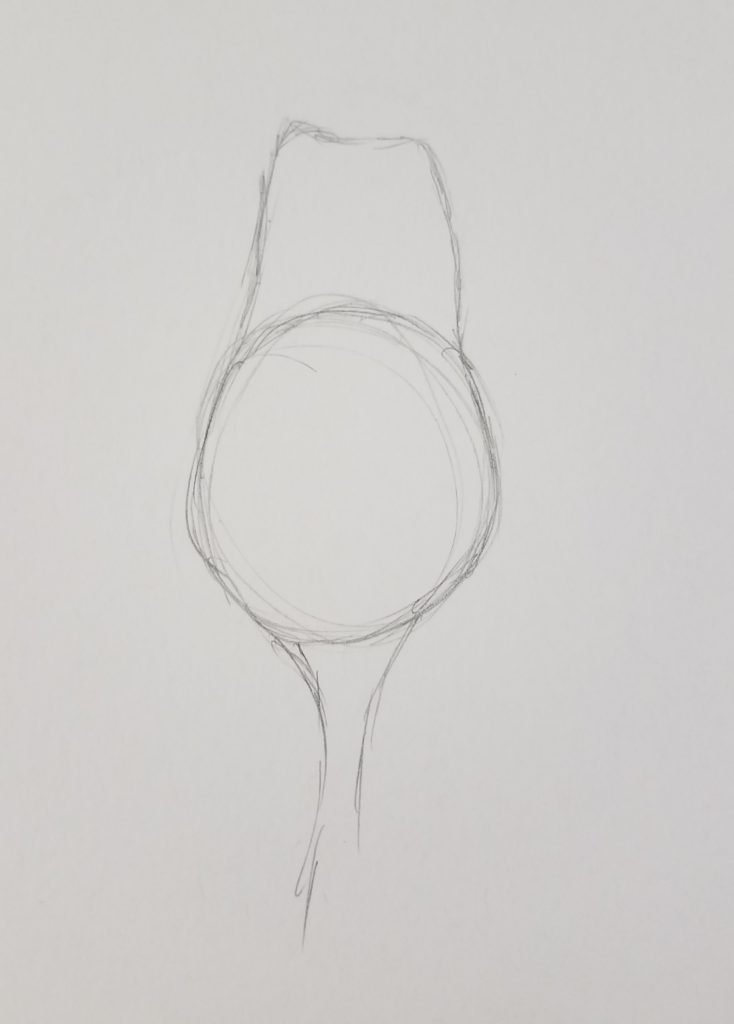
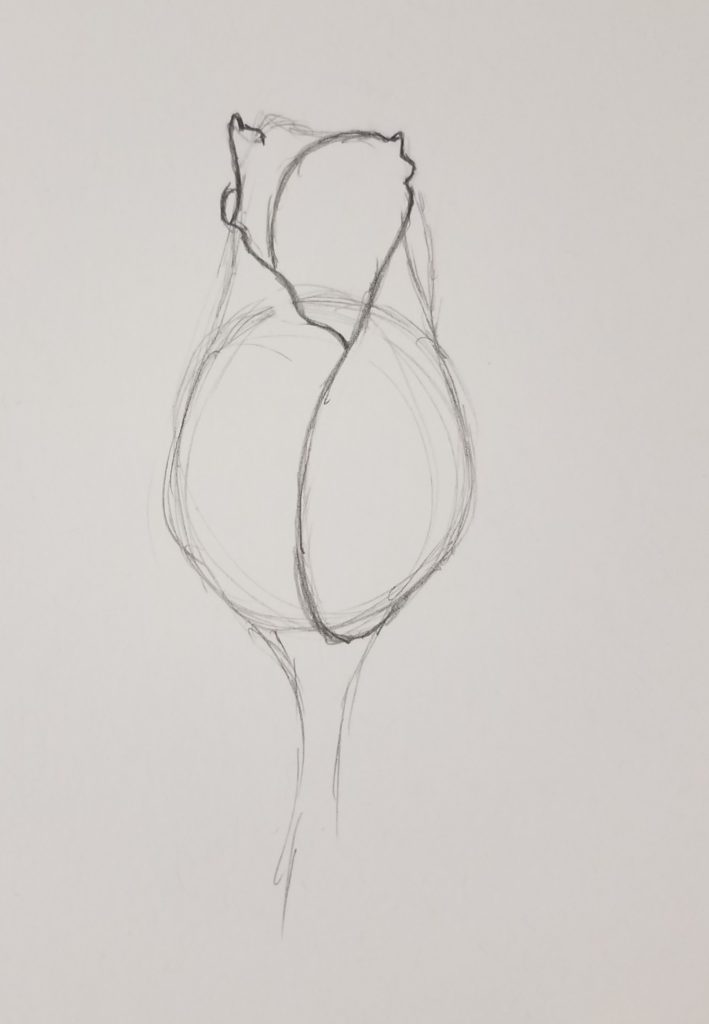
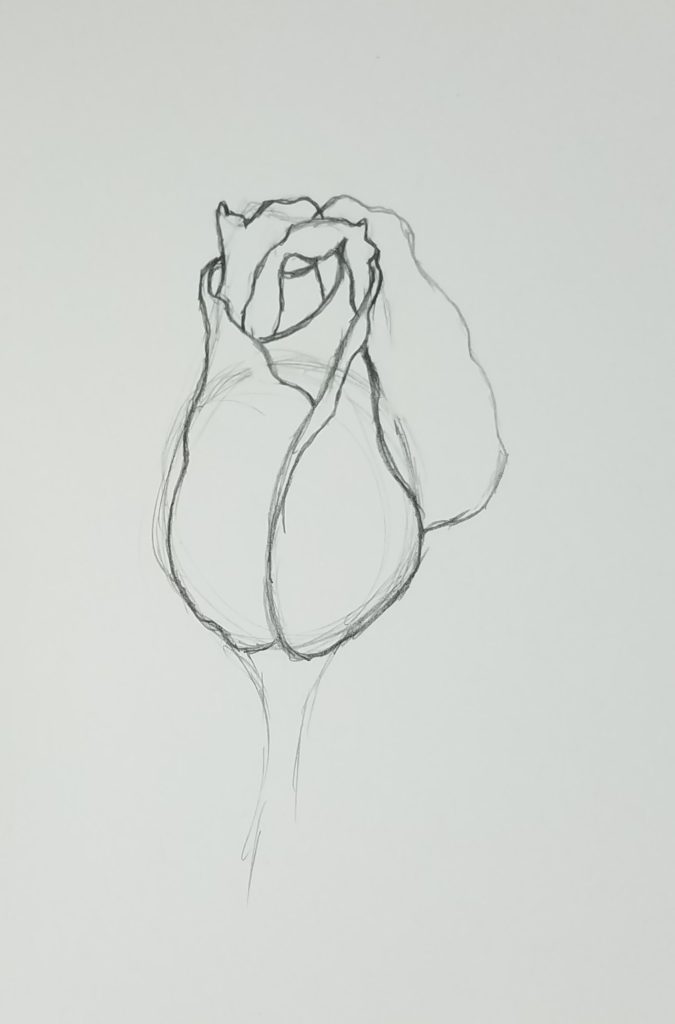
Now let’s look at how to draw the flower with more detail. The first thing we want to do is break the drawing down into simple shapes. Using the same reference photo, we can see that the bottom has a circle shape and then the top of the rose extends from there and gets narrower.
We can also see that the stem is wider where it meets the bottom of the flower than it is further down.
Learning how to draw is really about learning how to see.
Breaking an object down into basic shapes, allows you to draw just about anything. Learn more about this technique in How to Use Shapes to Draw.
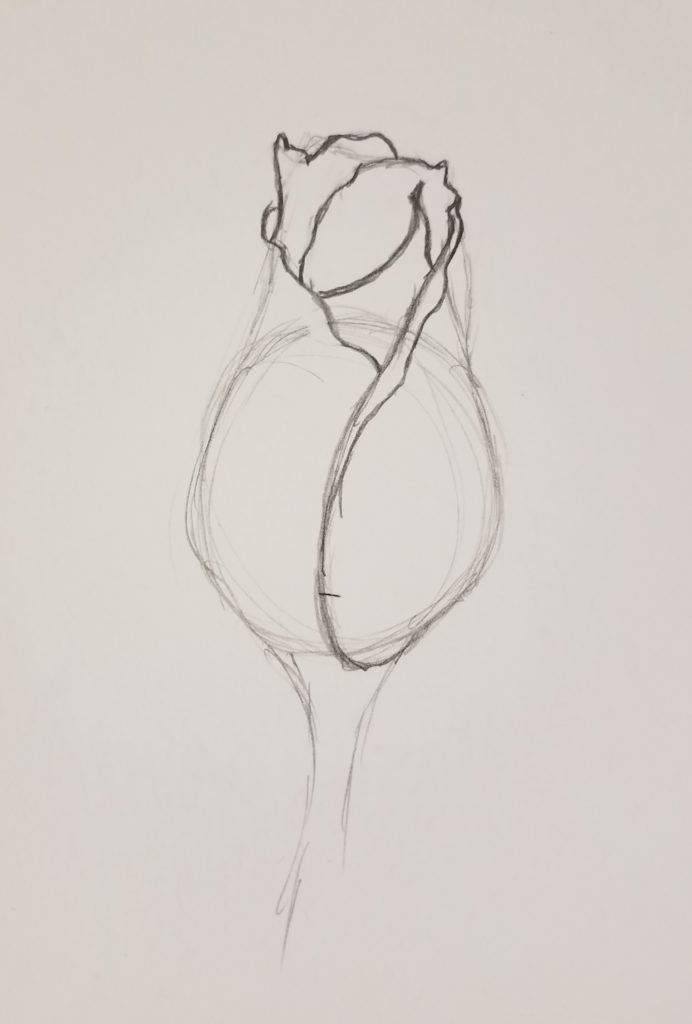
Now that the overall shape is drawn out, you can start adding in the details of your rose bud drawing. I started with the large petal on the right side of the flower. When it is drawn, if forms an S shape.
I drew what I thought would be behind the leaf that’s in the center of the rose. My drawing is darker than it should be so I could get a good picture of my lines. You’ll want to draw yours very lightly so they are easier to erase.
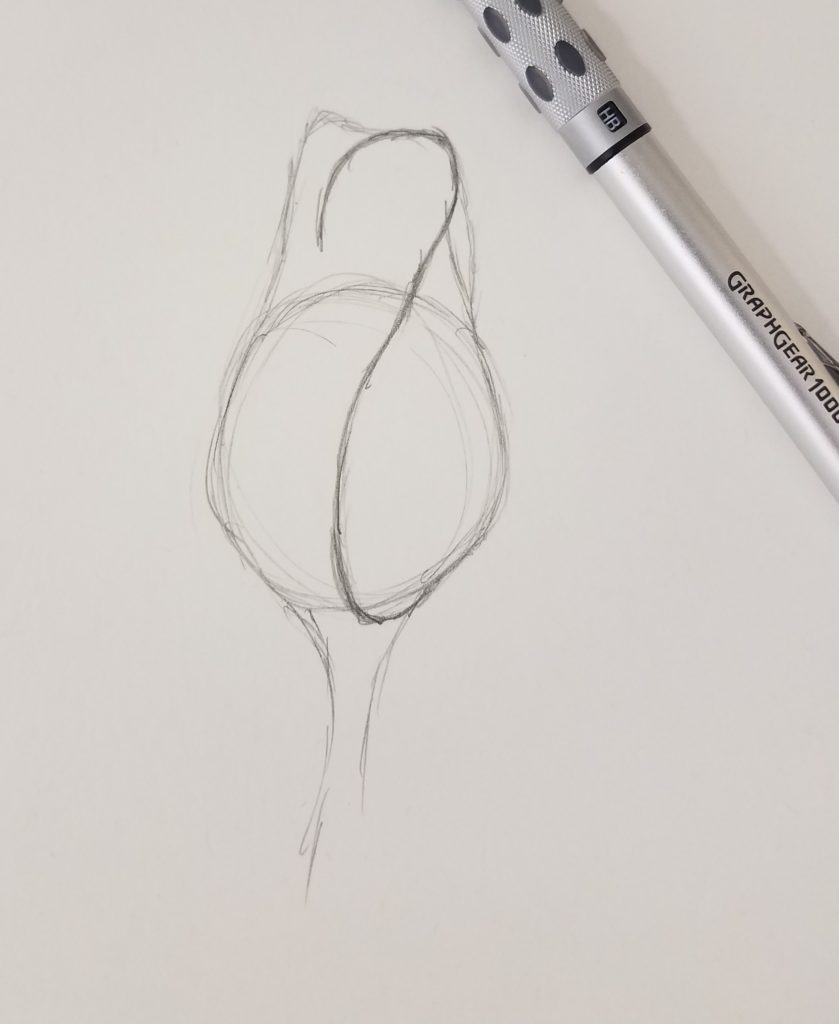
I’m using a Graphgear 1000 mechanical pencil from Pentel, but any pencil will work.
Observational Drawing
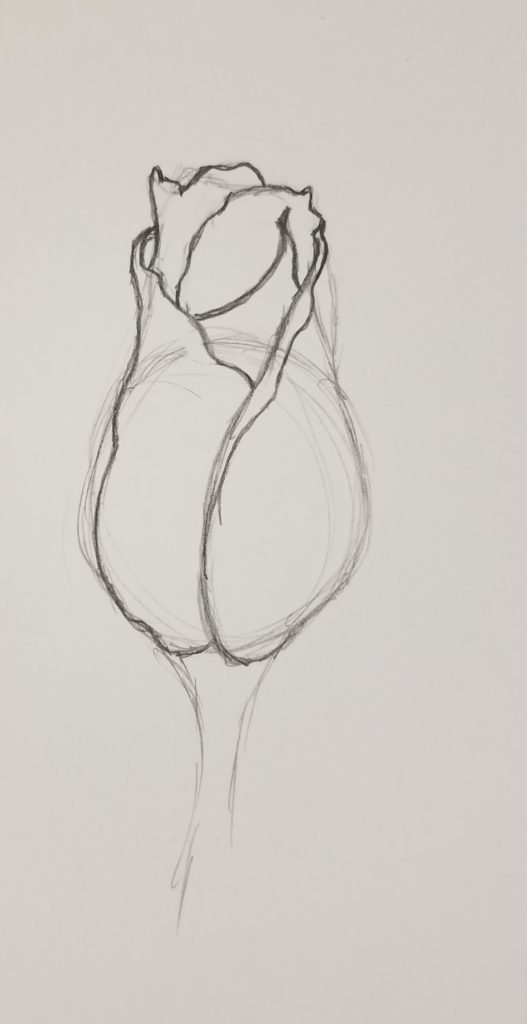
Continue drawing your rose by observing the various parts of the flower. I drew the top left are of the flower next. I also added in some details to the S shape to make it look more realistic.
Remember the curves, bumps, and indentations from our silhouette? This is where we apply what we learned from that exercise.
Here, I added more details to the top of the rose bud drawing and added in some thickness to our original petal that we drew. It’s okay to jump around and add in details as you notice them.
You’ll develop a better understanding of what you are seeing over time with practice. Nobody can teach you how to see. You need to do that on your own.

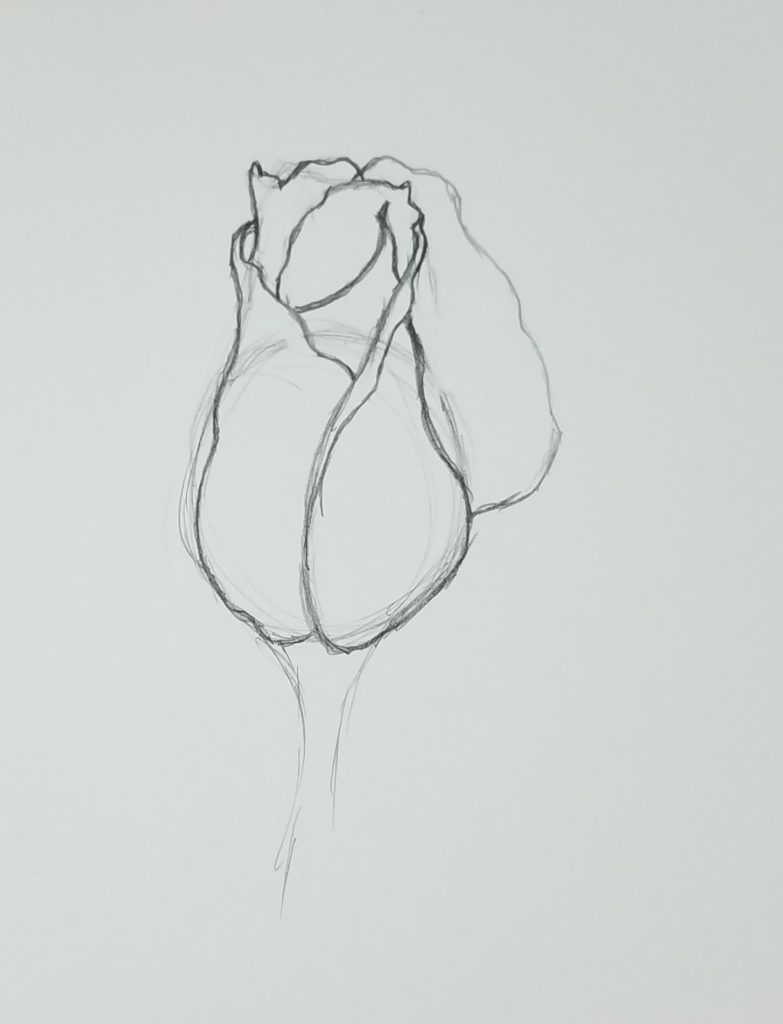
Now, start filling in the very center of your rose bud. Remember to add in some curves and uneven lines to make your drawing look more realistic.
Next, draw in the left petal. Again, make sure you add in some uneven areas to give your rose bud drawing some character and realism.
Add in the larger petal on the right side of the flower. Notice all the curves and how it gets narrower at the top. It’s okay to exaggerate the curves like I did here. It will give your drawing more character.
Finish the details of the rose bud by drawing in the very center of the flower.
Finally, draw in the leaves to finish up your sketch of the rose bud. There are three leaves in the reference photo. One on the left, one on the right, and one directly in the center of the flower.
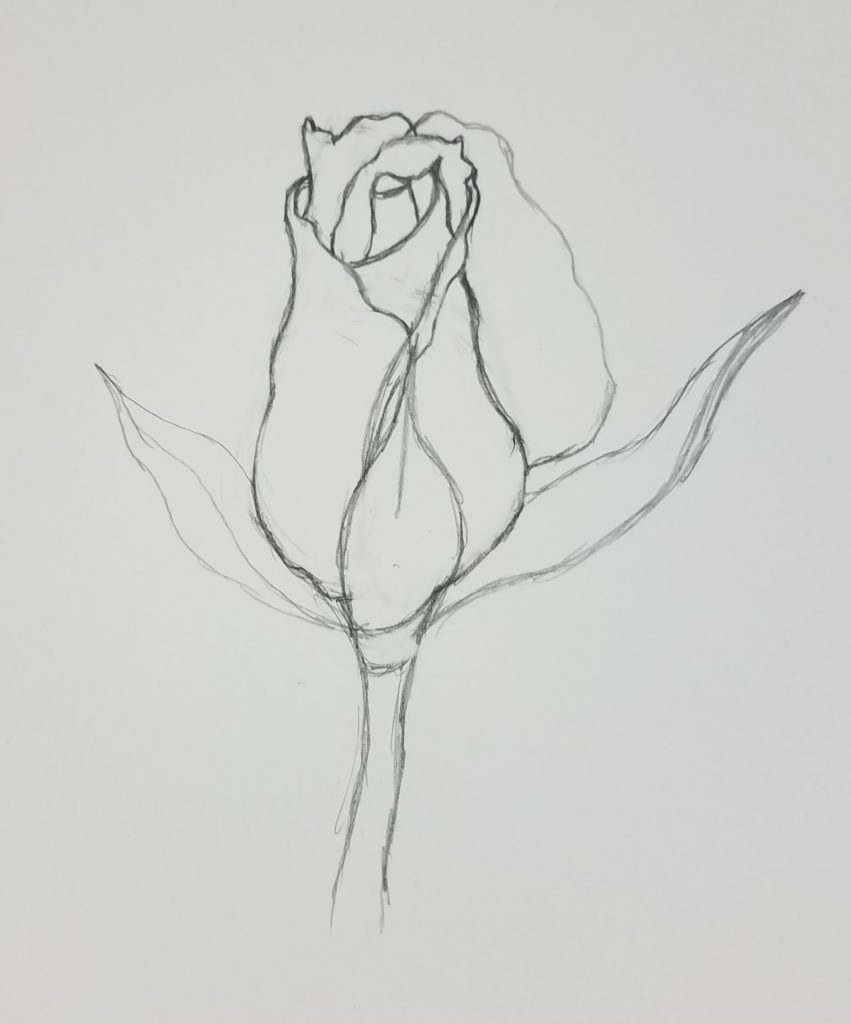
The only thing left to do now, is to clean up your drawing by erasing any extra lines and refining the ones you want to keep.
Artistic Freedom
So now we are going to talk about something called artistic freedom. What this means is, as the artist, you have the right and the ability to make choices based off of your own personal style and opinion.
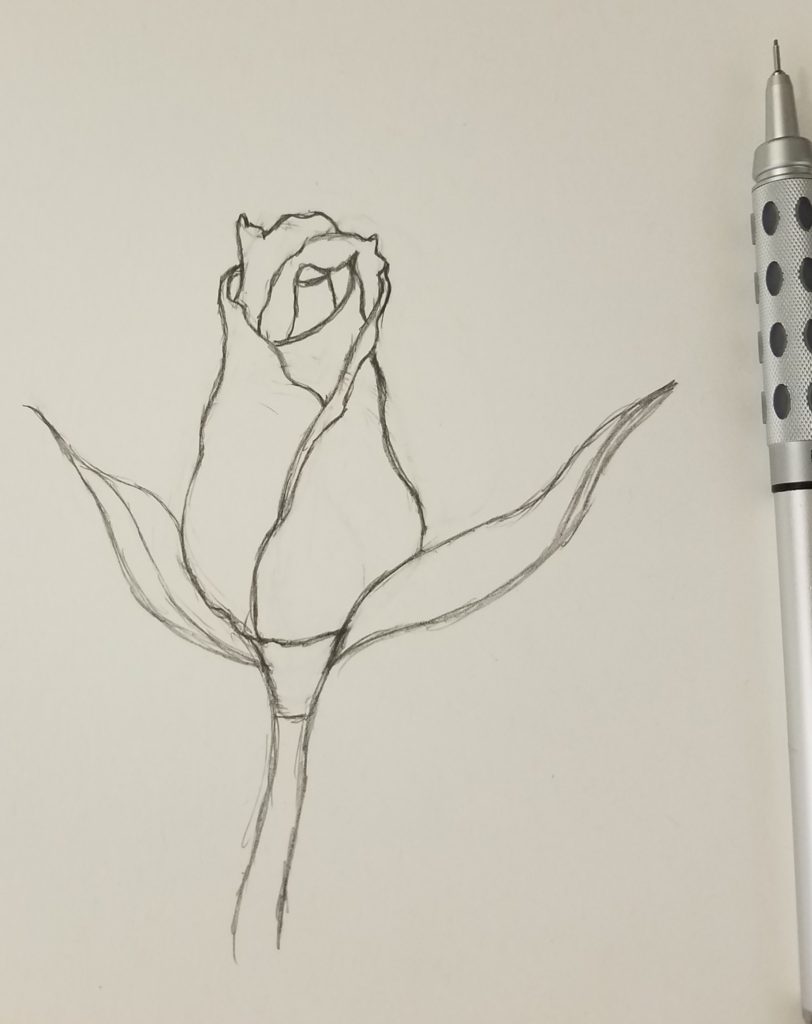
While doing this rose bud drawing, I decided I didn’t care for how it looked when drawn like the reference photo. So, I removed the extra petal on the right and the leaf that was in the center.
I think it looks much better this way, and I’m using my artistic freedom to make that decision. When you are drawing your flower, you should make the decisions that reflect your feelings about the drawing.
After all, it’s your drawing and you can create it however you want.
How to Shade Your Rose Bud Drawing
Now it’s time to learn how to shade your rose bud drawing. The first thing I do is look for the darkest areas of the flower. Make sure you continue to use the same reference photo as you used for the drawing.
Artist trick – convert your photo to black and white to help see the values in the photo.
If you’re new to shading and need some help getting started, take a look at How to Draw a Value Scale.
The darkest areas are where the different folds of the flower come together. In this case, it will be along the edges of where your inside lines were drawn.
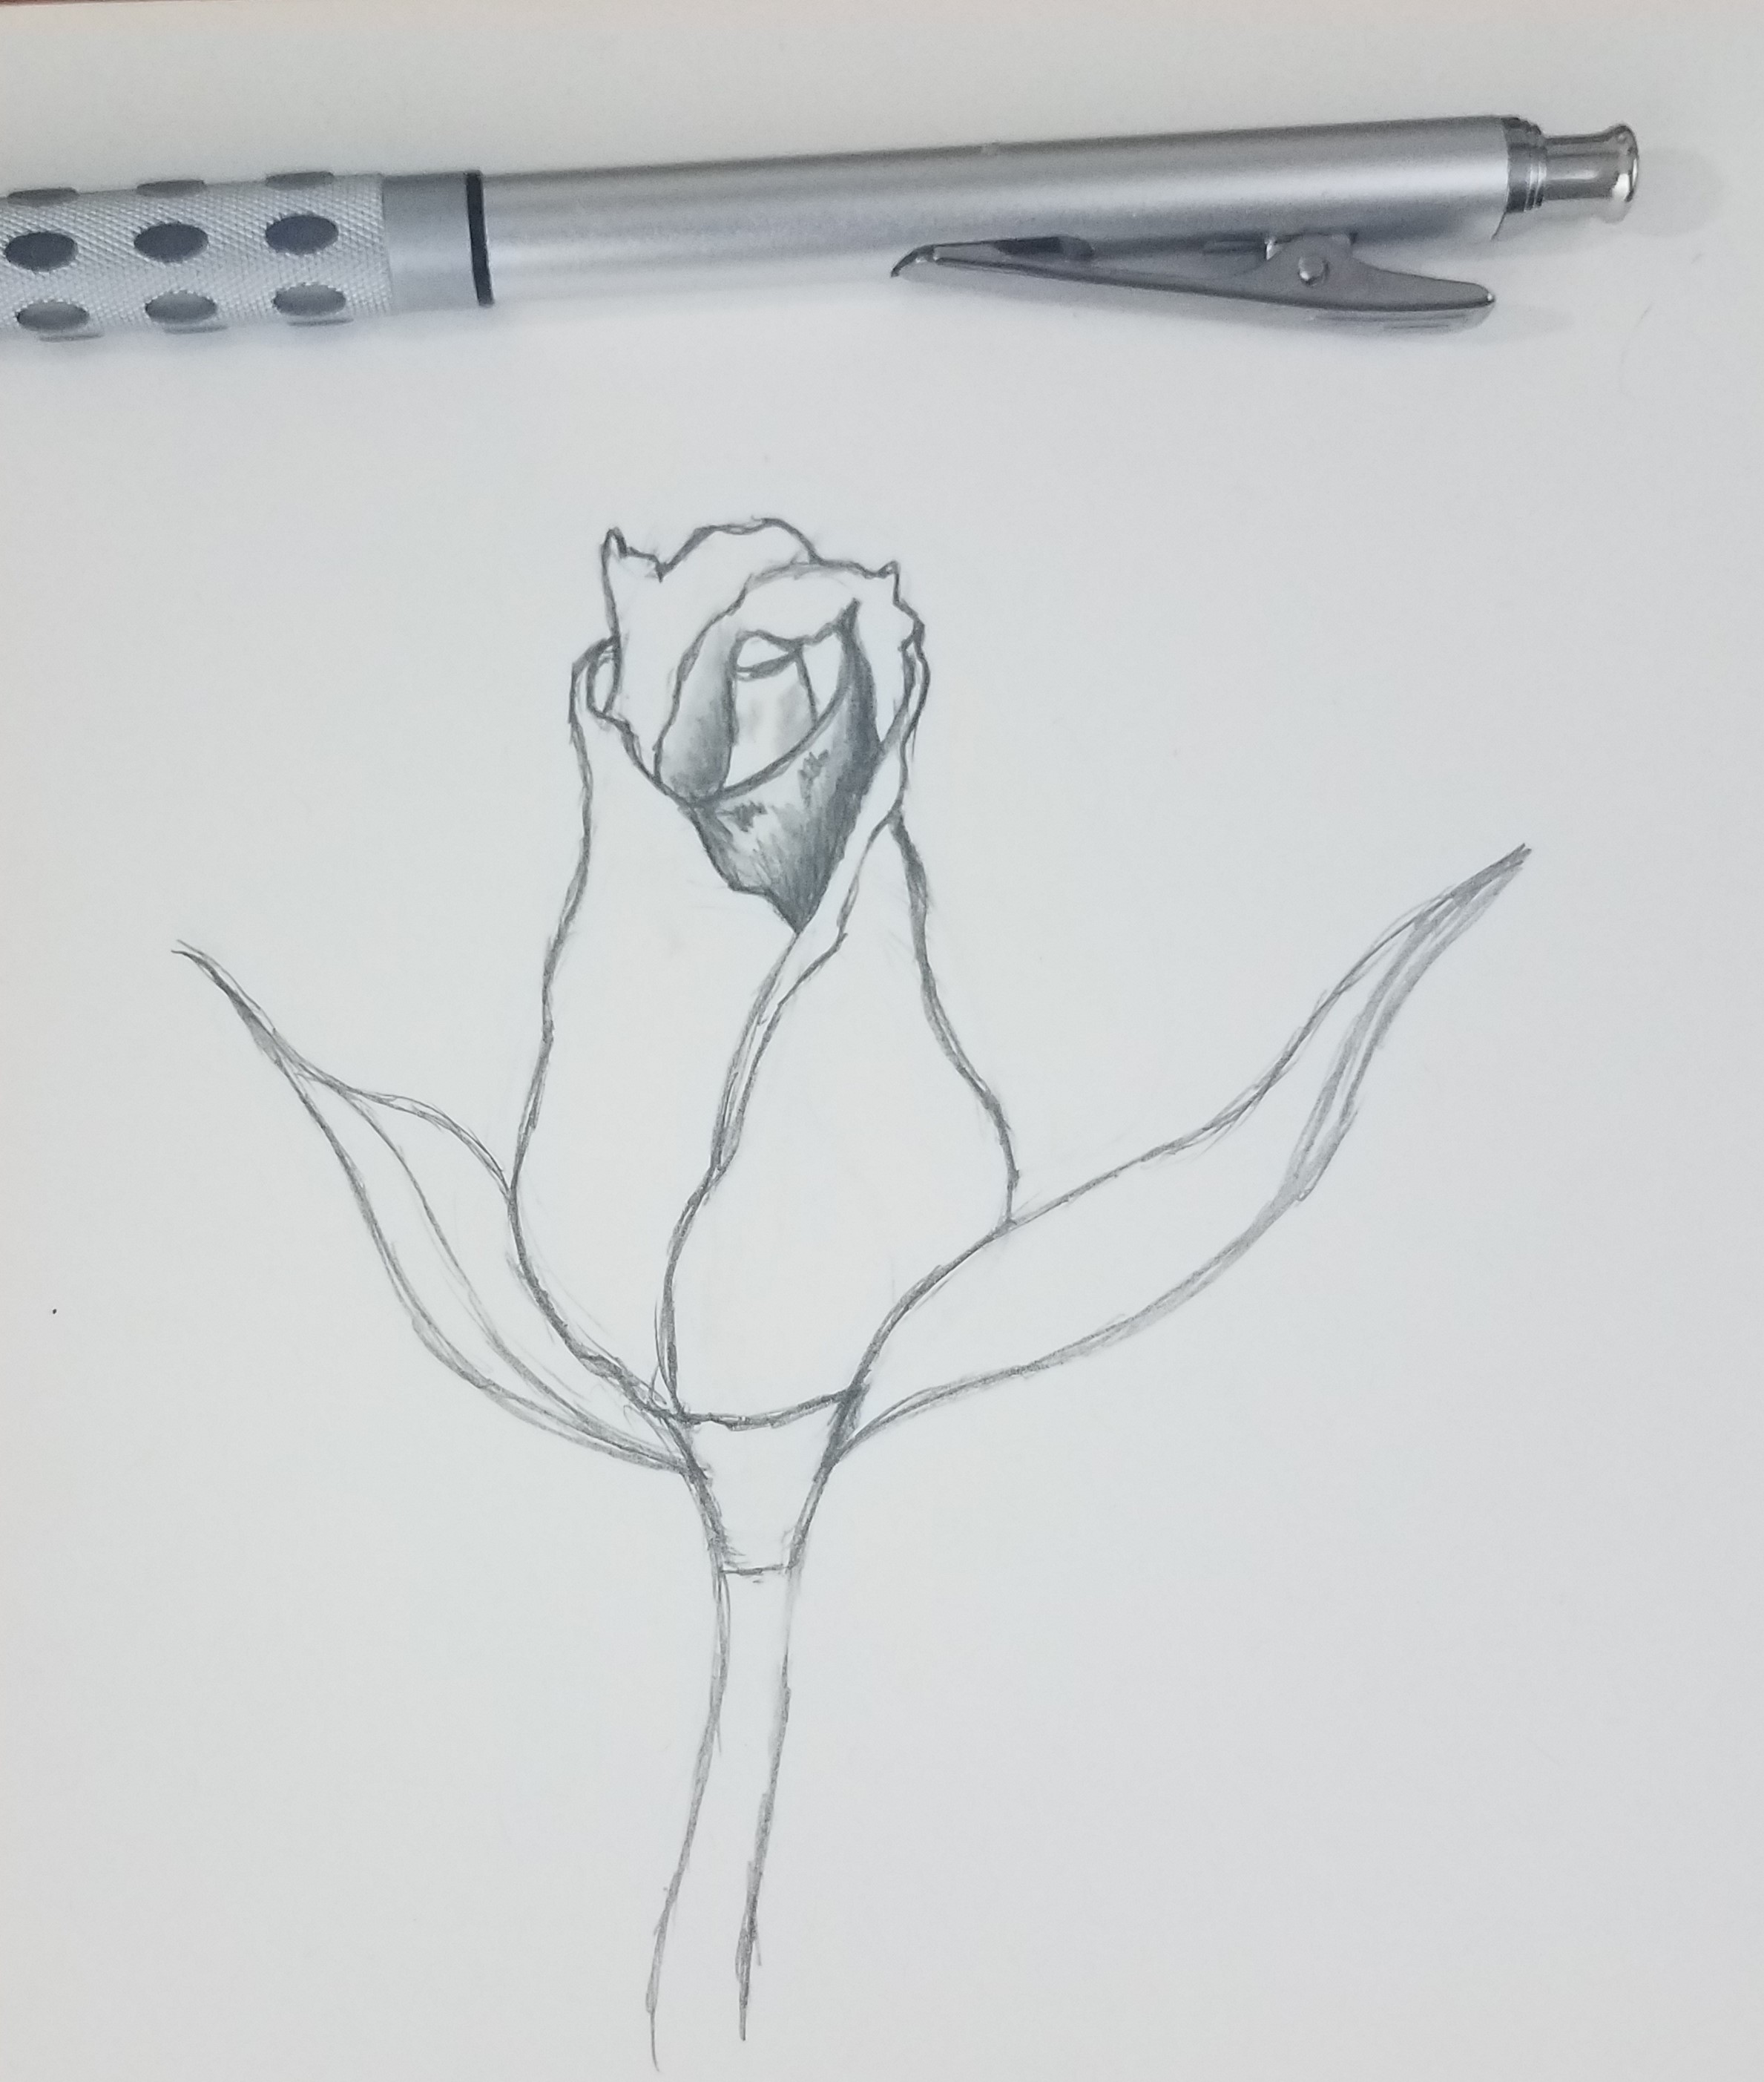
From there, move on to other areas of your flower, adding in areas of various values.
Continue to work on your shading until you are satisfied with how your drawing looks. Use a blending stump to smooth out your pencil lines and to add in the lighter areas.

That’s all there is to it. Pretty easy, right?
Now let’s take a look at some different ways we can create a work of art from this simple rose drawing.
Rose Bud Drawings with Color
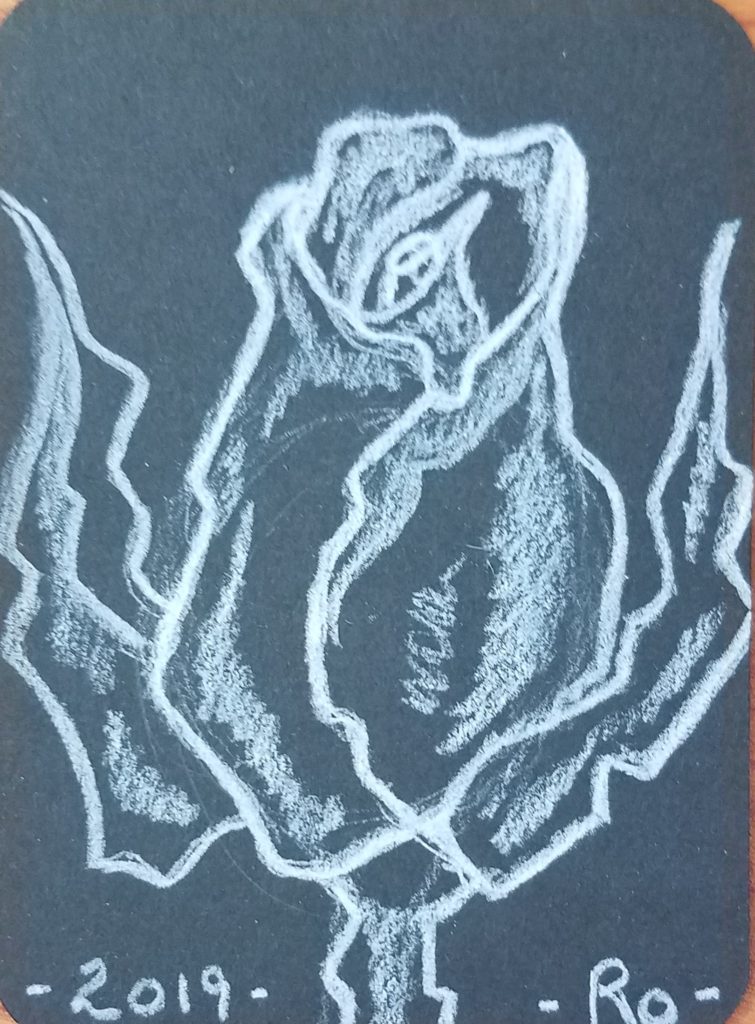
Remember our silhouette drawing from earlier in the lesson. We can take that simple drawing and turn it into a complete work of art by using a white Gelly Roll pen to add in the details.
These next three drawings were done on artist trading cards (ATCs). All three cards will be traded to other artists for some of their artwork. If you are not familiar with this form of mail art, I encourage you to take a look at How to Make Artist Trading Cards (ATCs).
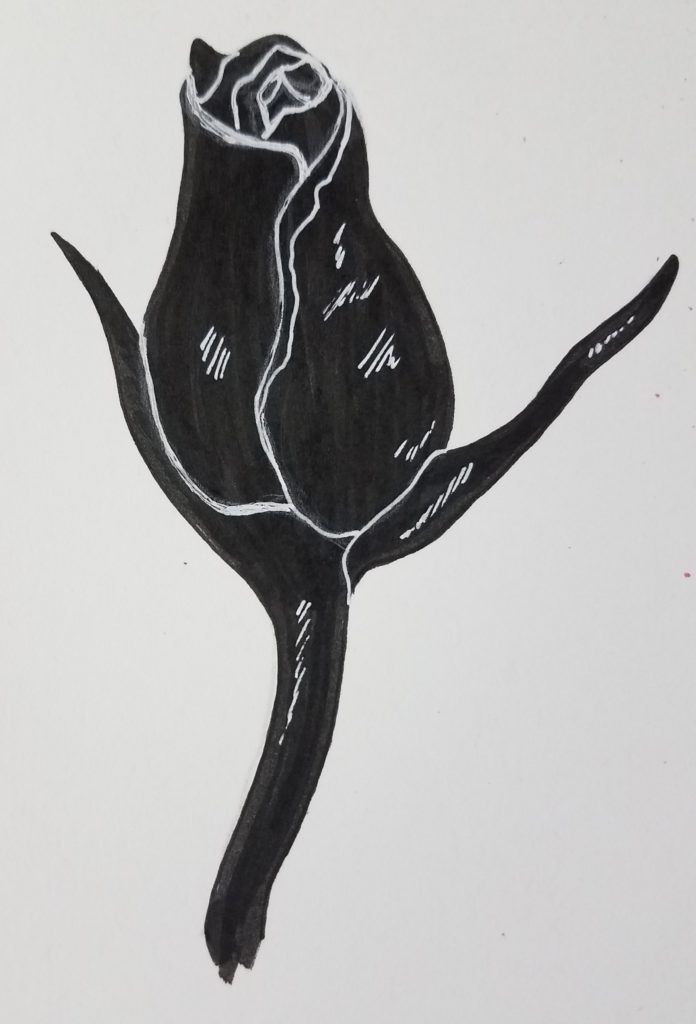
This first card was drawn on toned paper and colored with Bic markers. The drawing itself was done in a more stylized technique and then outlined using an illustration pen.
For more information on blending markers check out How to Blend Markers for Beginners.

Read Bic Intensity Marker Review – Fine Point to find out why I recommend Bic markers for beginner artists.
White on black is always a fun technique to use. This artist trading card was created using a white Prismacolor pencil on black cardstock.
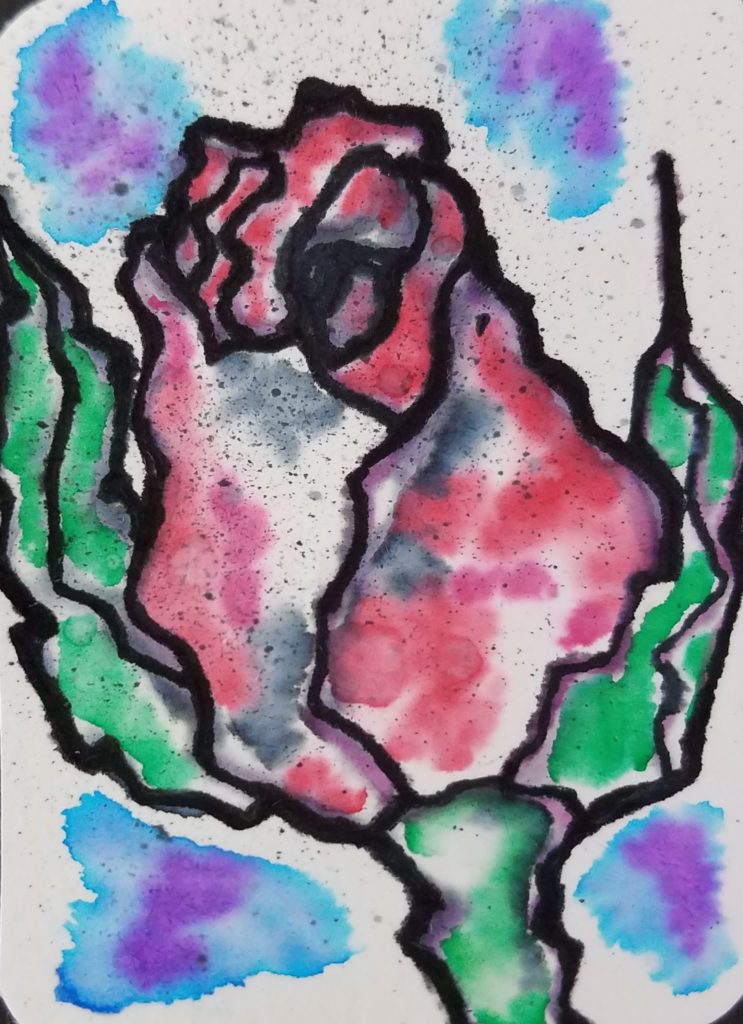
I wanted to try out a new technique for this ATC. This card was made using water-soluble markers and then going over the markers with a watercolor brush. After the water was dry, I went back in with a Gullor fountain pen and cleaned up the lines a little bit.
This was a fun technique to use and the results are more interesting than just a typical drawing.
How to Draw a Rose Bud & Drawing Ideas
There are so many options when it comes to what you can do with your rose bud drawings. Don’t let your own imagination limit you in what you are capable of doing. The more drawings you do, the more creative you’ll be. So be sure to do lots of practicing.
Don’t forget to grab your FREE Marker Guide
