
Easy Cross Drawing
Learning how to draw a cross is easy. However, there are a lot of complex drawings you could make using crosses. You could create an entire work of art focused around a cross. There are so many options when it comes to drawing crosses and what you can do with them. We are going to show you a couple easy cross drawings to help get you started.
From there you can have some fun with them and see where your imagination takes you.
Ready to gather up some supplies and get started?
* Some of the links in this post may be affiliate links. This means I receive small commissions for purchases made through these links at no extra cost to you.
Art Supplies
FREE Guide to Better Art in 7 Days
How to Draw a Cross Step by Step
We are going to begin our drawing by laying out a couple of guidelines, just like we’ve been doing for most of our drawings. You can learn more about the importance of using basic shapes and guidelines in How to Use Shapes to Draw.
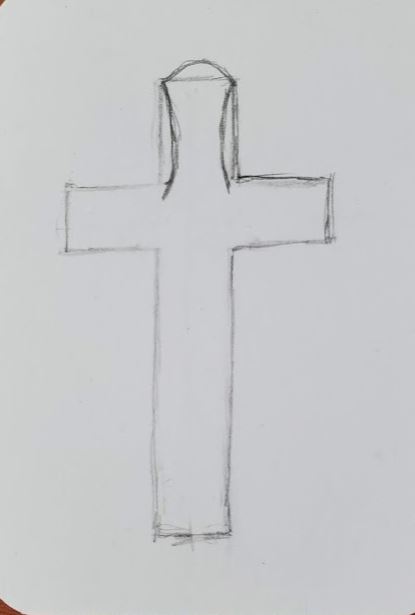
To draw a cross, begin with two interesting lines that look like the letter “t”.
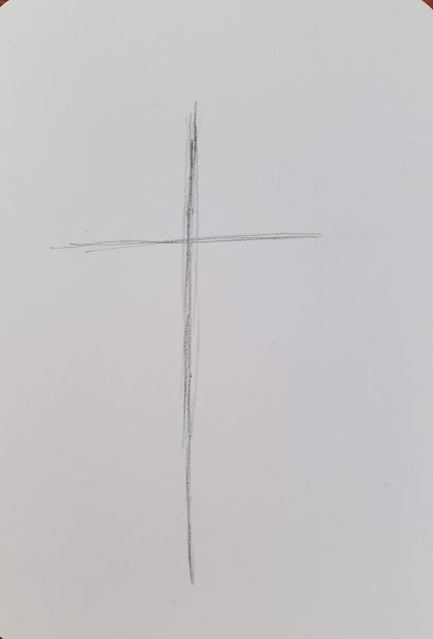
Notice how there is less space at the top than the bottom. You do not want to draw a plus sign with evenly placed lines.
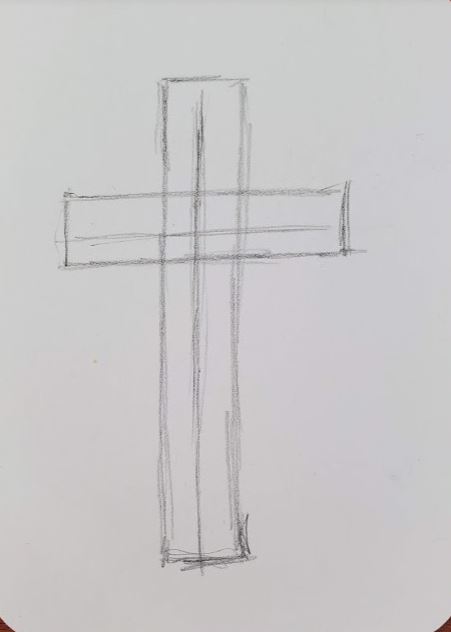
Next, draw lines on both sides of your “t” guidelines.
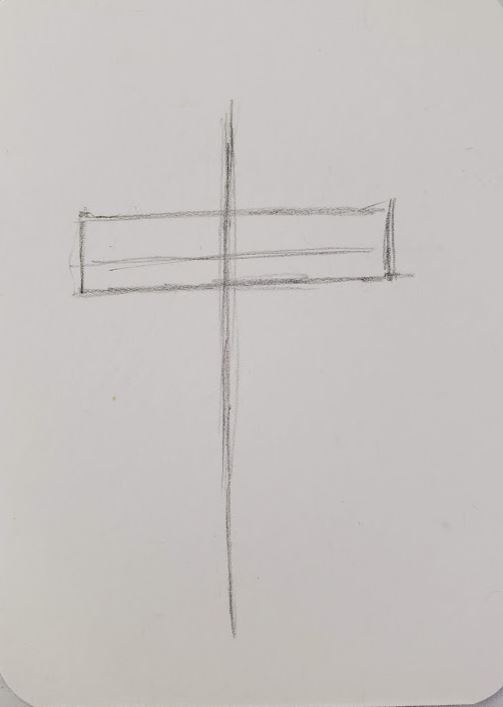
Try to make them roughly the same distance on each side. This is similar to the techniques we used in How to Draw Block Letters.
When you are happy with how your cross looks, erase your guidelines and intersecting lines.
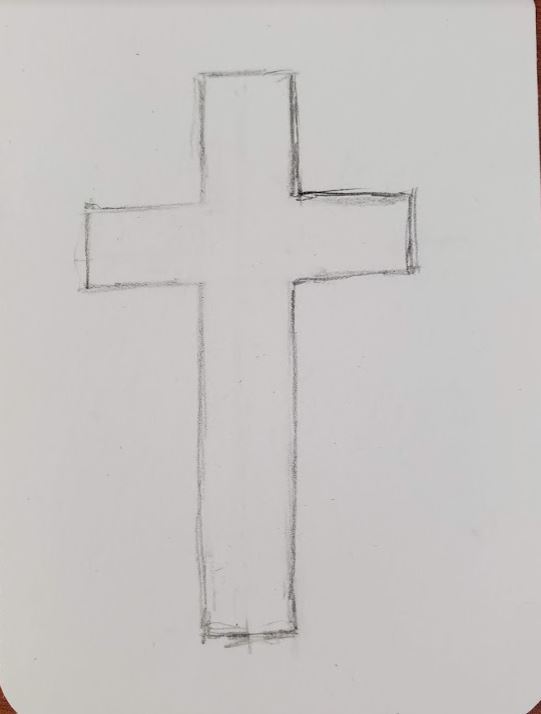
That’s all there is to drawing a basic cross. But let’s work on drawing some that are a bit more challenging, and interesting.
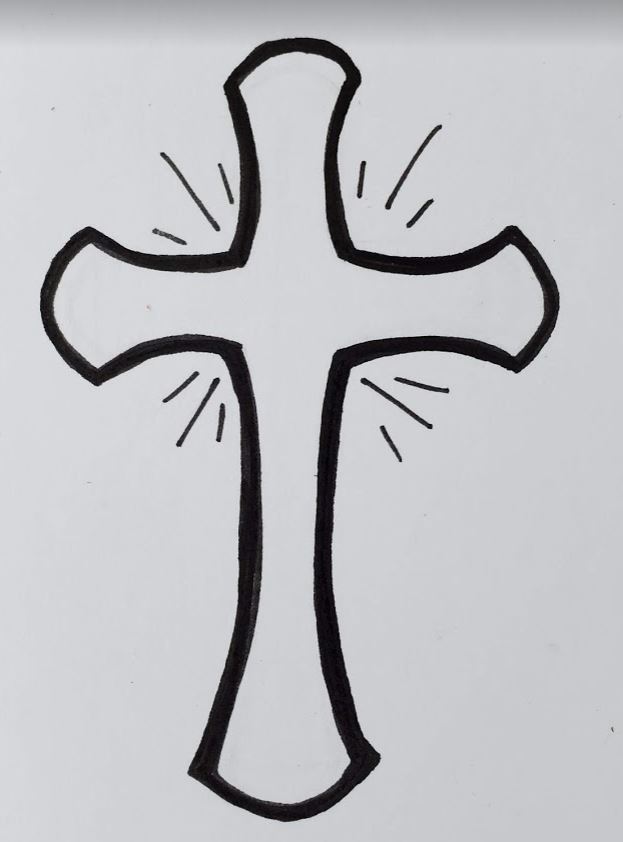
Take your original cross drawing and draw curved lines instead of straight lines. And round off the top edge of your cross as well. Try to keep your lines symmetrical, like you’re drawing a mirrored image. You’re drawings don’t have to be perfect, but you do want to get them fairly close to the same.
Do the same thing for the other three sections of your cross.
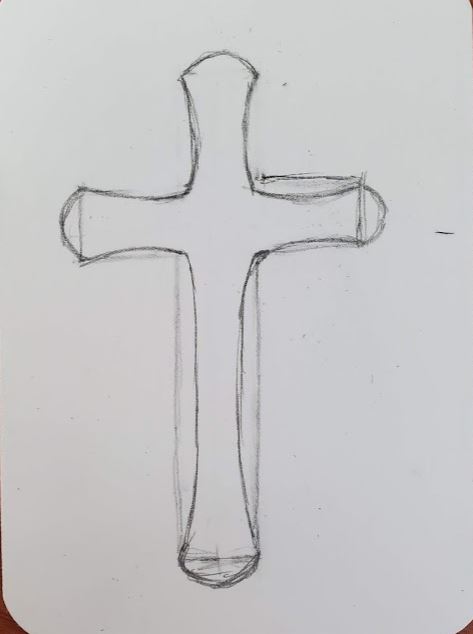
As you can see, my drawing is slightly uneven. It’s also too narrow at the bottom. This was even more obvious after erasing the extra lines and cleaning it up a bit.
No problem. Just fix it up and make it look better. That’s why we use pencil to sketch out all of our drawings.
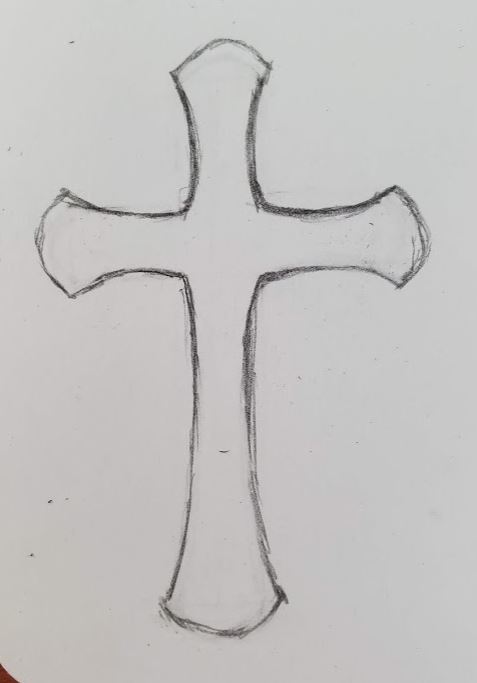
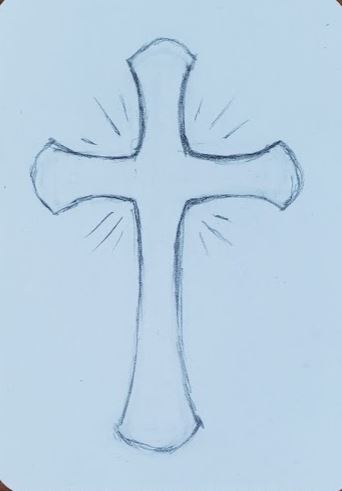
You can add in some extra details to your cross as well. Like these rays, or anything else you come up with.
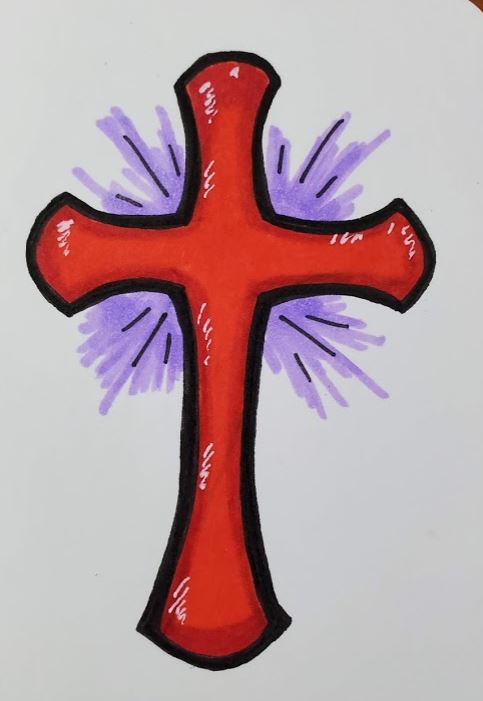
Cross Outline with Ink
The next step is to outline your cross with a black marker. I prefer using the Pitt Artist pen set for most of my drawings.
The thick black outline is part of my artistic style. You can do yours however you like.
Using markers, or whatever medium you prefer, add some color to your cross drawing.
How to Draw a Cross with a Gem
I’m not exactly sure what you would call this cross, but it looks like it’s made out of gems to me.
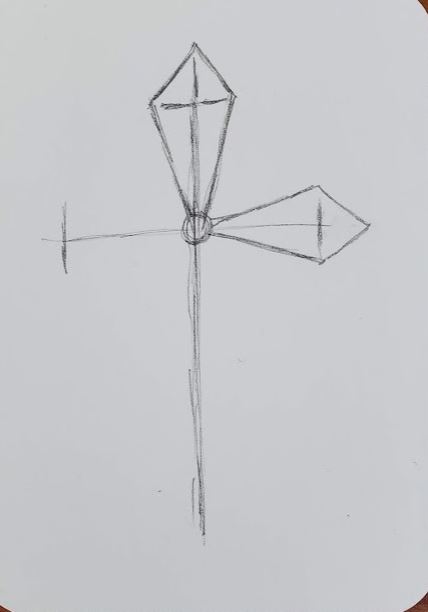
We begin in a similar way as our basic cross drawing. Only this time add a small circle to the very center of your cross. Right where the two lines intersect.
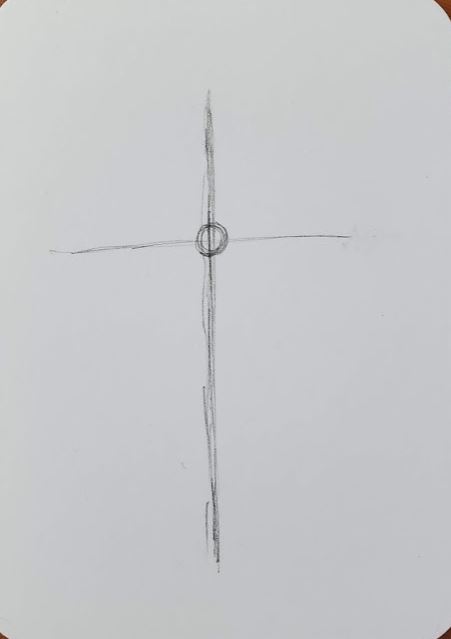
Towards the top, add a small horizontal line. Notice how it makes a small cross in the top section of your drawing.
Starting from the top, draw two angled lines that come down to where you drew your small horizontal line. Then draw two lines from there, down to where your small circle is at your interesting lines.
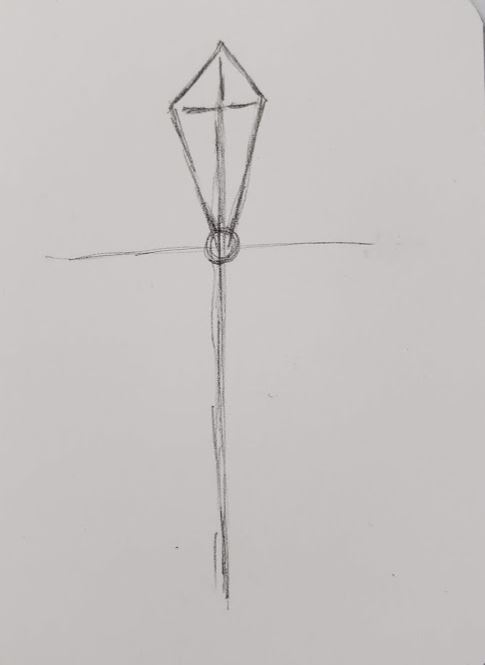
Below you can see the placement of the cross section guides. They should be placed just before the ends of you main lines for your cross.
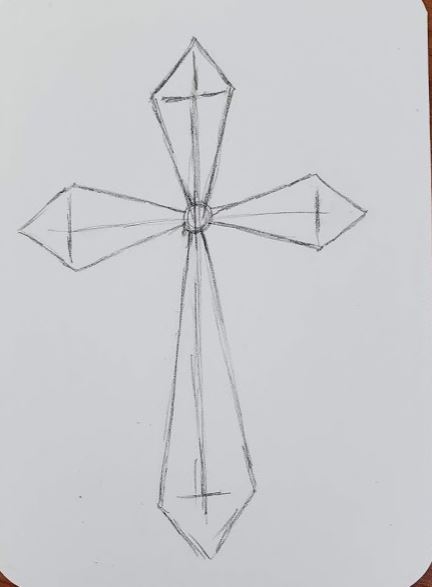
Follow the same process for the other sections.
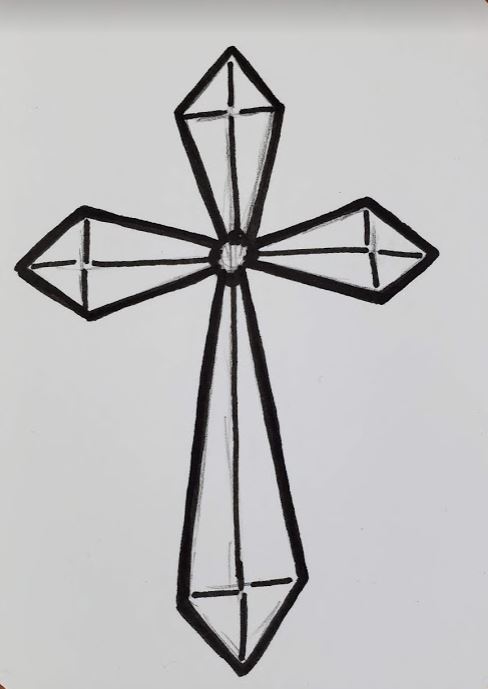
Gem Cross Drawing Marker Art
The next step is to ink your artwork. You can use whatever method you want to do this. I stuck with my typical bold black outline using the Pitt Artist pens. You can also vary your line weight by using both thick and thin lines.
The final step is to color in your cross. This example was done using the Bic Intensity marker set.
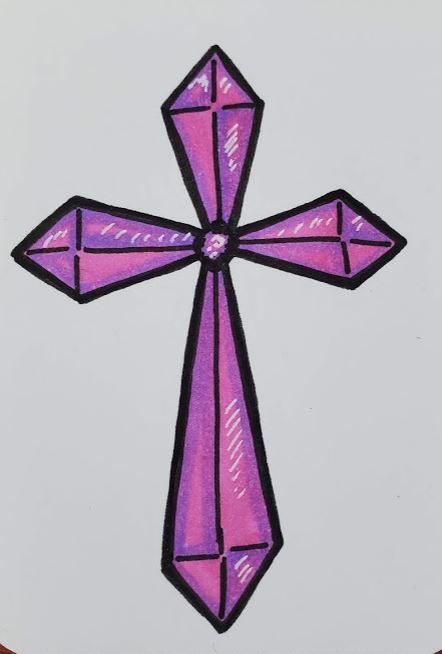
These markers are great for the price. There are a lot of options when it comes to choosing markers. And the price range is pretty vast. You need to find what works for your needs.
If you need help with blending, take a look at How to Blend Markers for Beginners, where we show you step by step how to get a nice transition with your colors.
The highlights were done with a white Gelly Roll pen. This pen is amazing when it comes to adding white on top of other colors.

These drawings were done on artist trading cards. ATCs are a great way to work on your art and drawing skills. Since they are so small they take less time to make and can be saved or traded when finished.
How to Draw a Cross Step by Step for Beginners
As you can see, learning how to draw a cross is pretty easy. But there’s also a lot you could do with them. The best way to get better at something is with practice. And that holds true for art as well.
Art and Drawing are skills that anyone can learn. And the more you practice the better you will get. So if you want to get good at drawing awesome crosses, you need to draw a bunch of them. The more you draw of the same thing, the more you’re creativity will develop.
Get Your FREE Guide to Better Art in 7 Days
