Step by Step Bunny Drawing with Fur Texture
Today we are going to learn how to draw a bunny and add some texture for the fur. There are literally an endless number of ways to draw a bunny. Each of these ways will result in a different look to your drawing.
You can draw them from the back, which is actually pretty cute. They could be sitting, standing, or leaping. And there are many different angles to draw them from. Today I’m going to show you just one of the ways to draw a cute little bunny.
Let’s begin by looking at the supplies that were used for this drawing.
* Some of the links in this post may be affiliate links. This means I receive small commissions for purchases made through these links at no extra cost to you.
Art Supplies
How to Draw a Bunny Step by Step
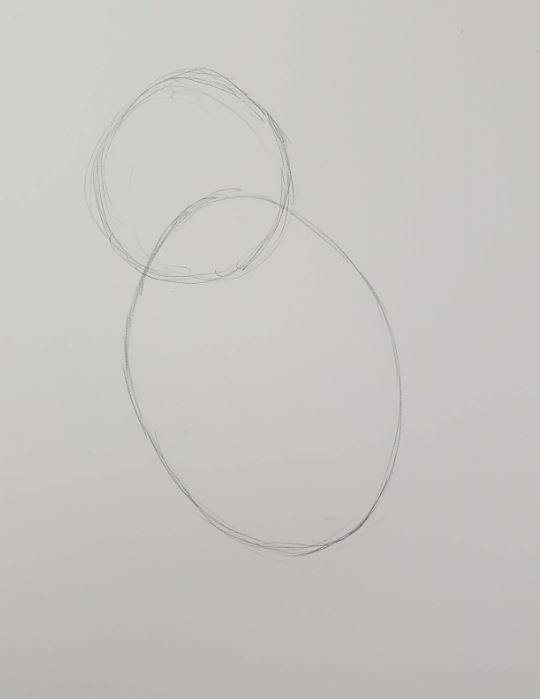
It’s important to rough out your bunny using basic shapes. There are many benefits to doing this, and you can read all about them in How to Use Shapes to Draw.
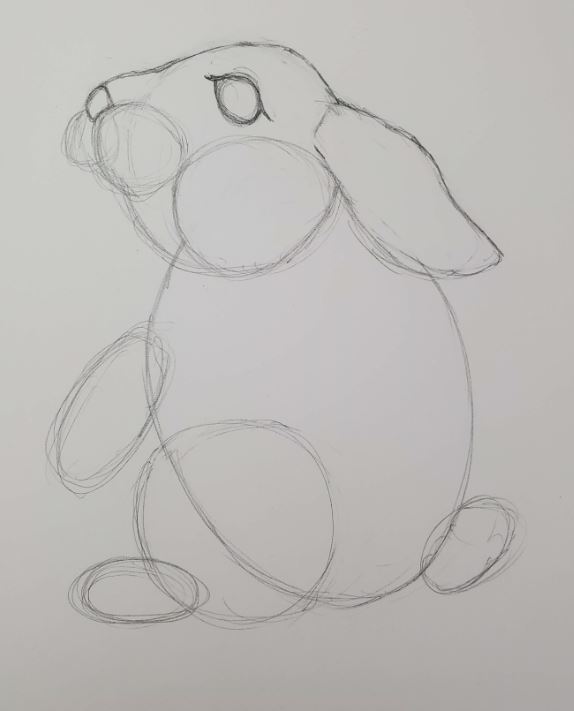
Begin by drawing an oval for the body, and a smaller circle or oval shape for the head. Our bunny is going to be sitting down, so think about this when drawing your ovals.
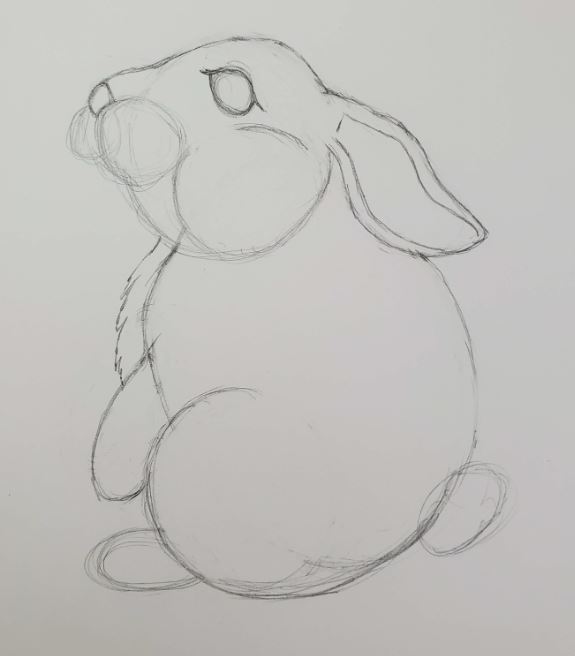
Step 1: Basic Shapes
Now draw a circle for the leg with a much smaller circle for the foot. Since we are drawing our bunny from the side you’ll only see one front and one hind leg.
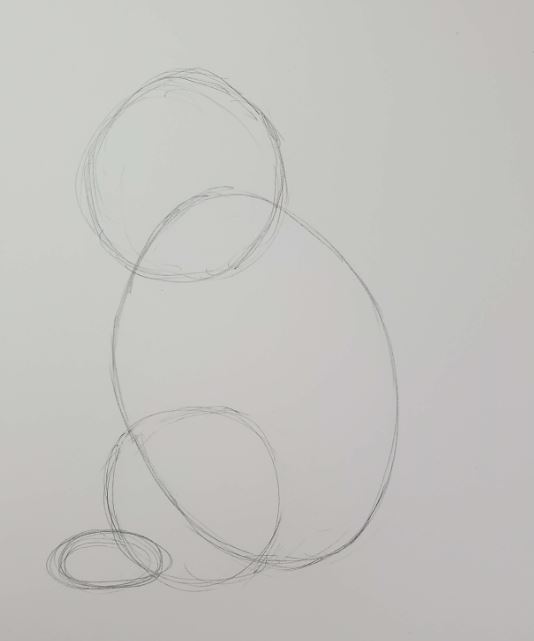
Add an oval for his front leg, and a small circle for the tail.
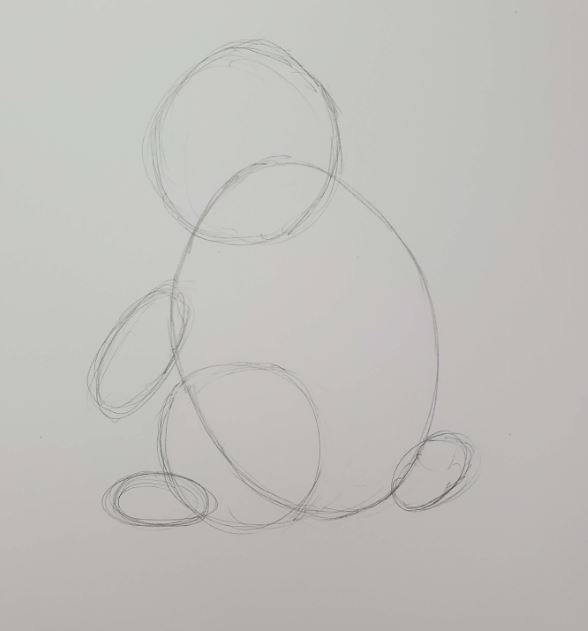
Next, draw where the ear will go, as well as his nose.
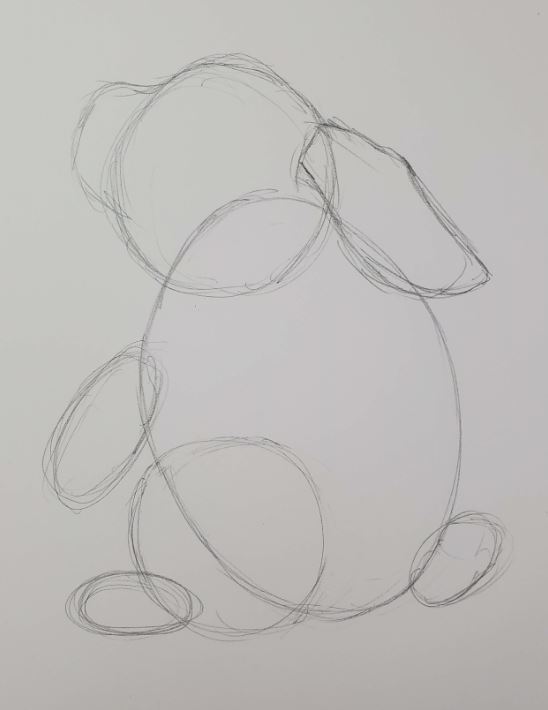
That’s it for our basic shapes to rough out our sketch. This gives us an idea of how our finished bunny drawing will look. Let’s move on to drawing a more detailed bunny.
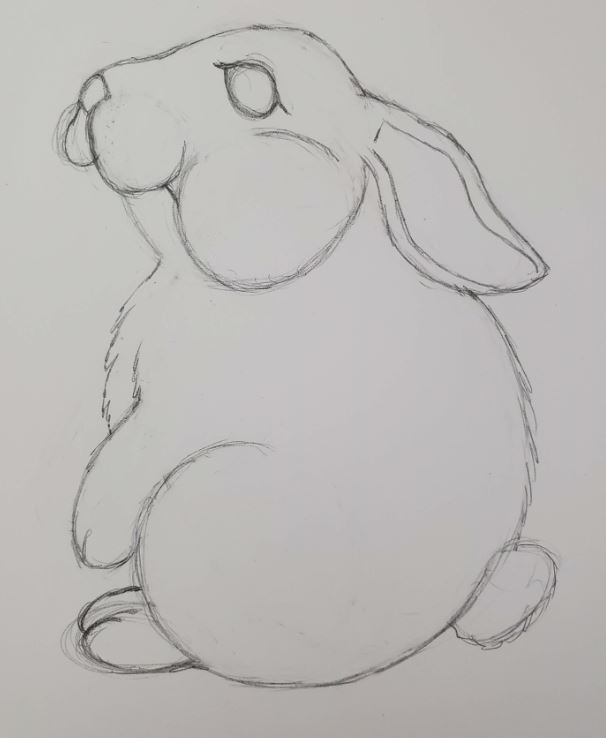
Step 2: Add Details
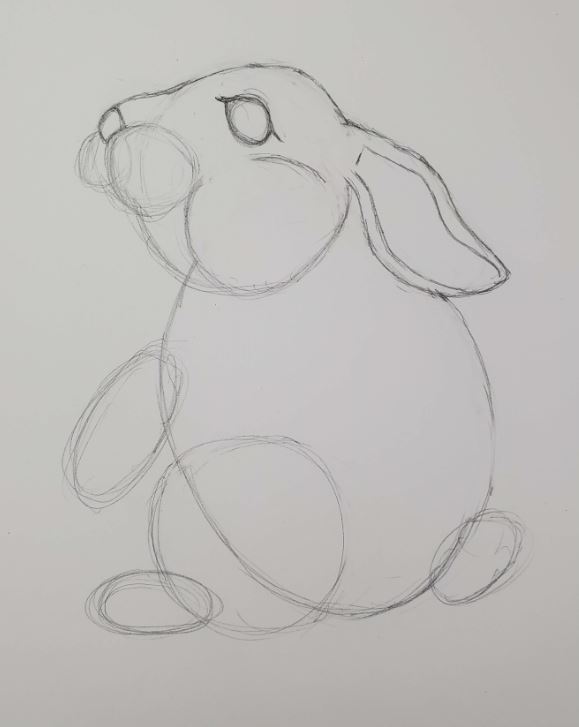
We’ll begin by drawing in the bunny’s eye. Start by making a circle for the eyeball. Animal eyes are fairly similar to the human eye. If you haven’t seen our eye drawing lesson, you can see it at How to Draw Eyes for Beginners.
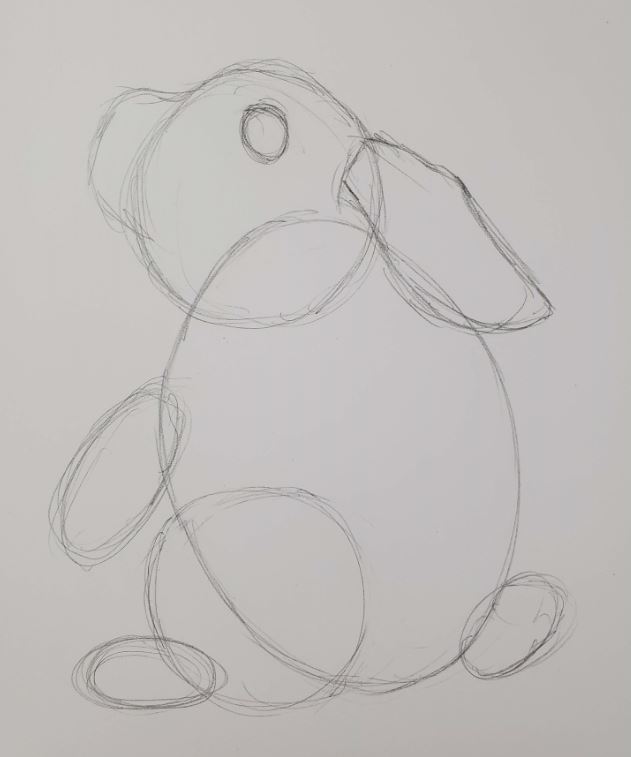
Then draw the upper lid. We’ll refine this more later. But for now let’s keep working our way around the bunny drawing.
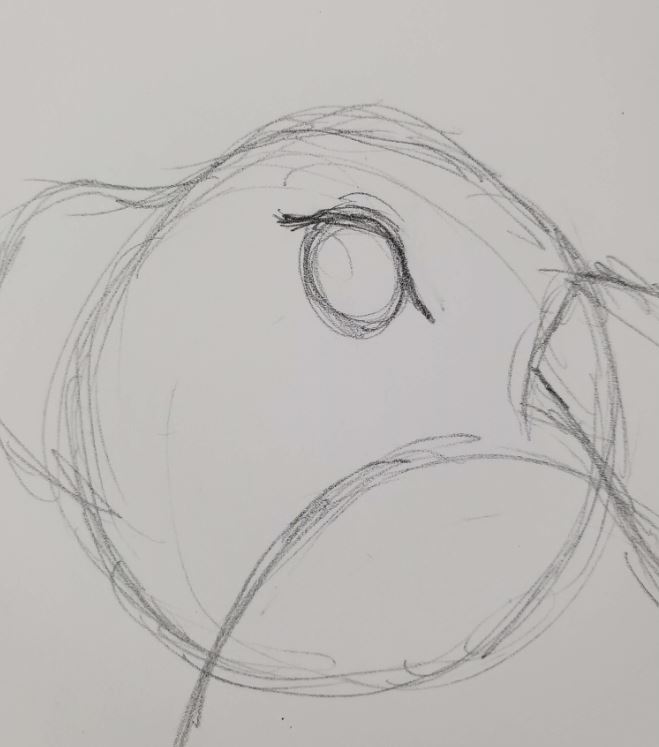
Add a nose, and start connecting your basic shapes to start forming the head shape of your bunny.
Add in some circles for the cheeks so we can see how they would be shaped. Bunnies have cheeks that puff out.
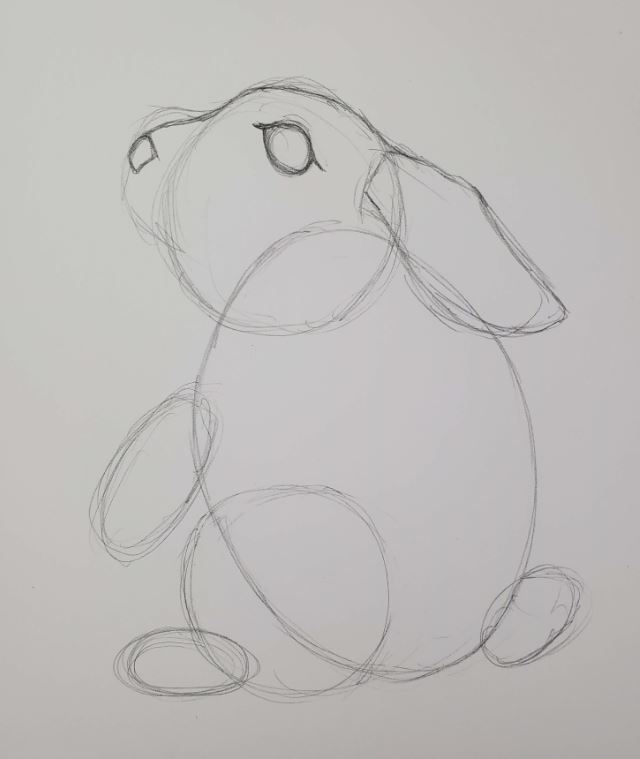
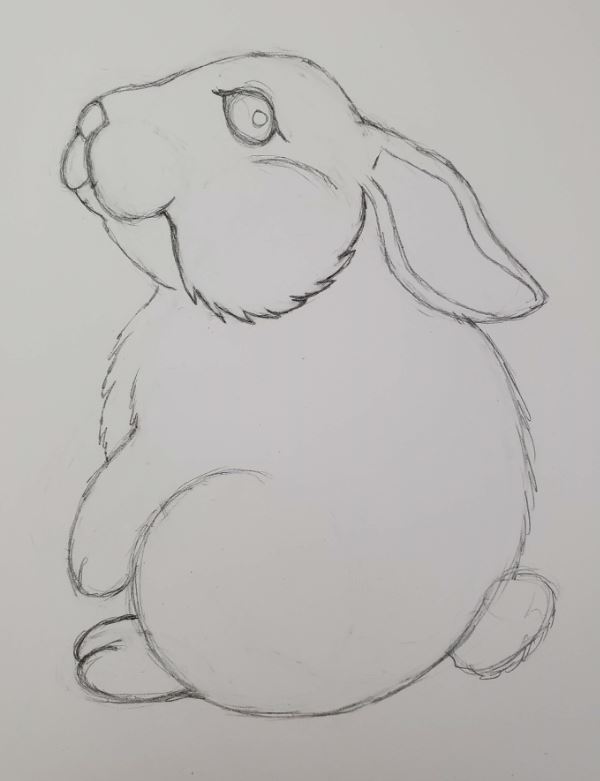
Bunny Ears
Add in the details for the ear. I like starting with the easiest parts first. And the ear is pretty straightforward to draw. Draw the inside fold of the ear, and clean up the overall shape of the ear.
Fixing Mistakes
I decided I didn’t like the placement of the front leg, so I changed it a little bit. Making changes as you go is part of drawing.
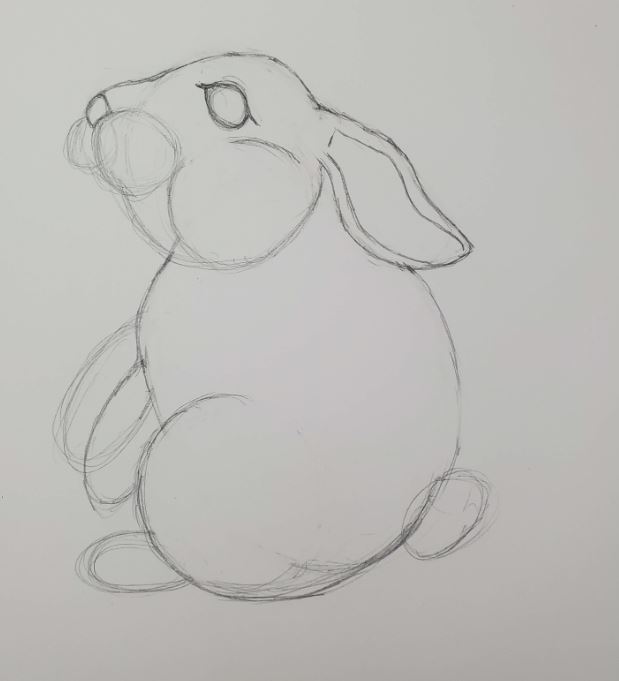
This is why it’s a good idea to refine your drawing bits at a time. If you spend too much time on a piece of your drawing early on, you might not want to change it if it doesn’t look right later on.
Bunny Fur and Texture
At this point you can round out his bottom and bring the two sections together.
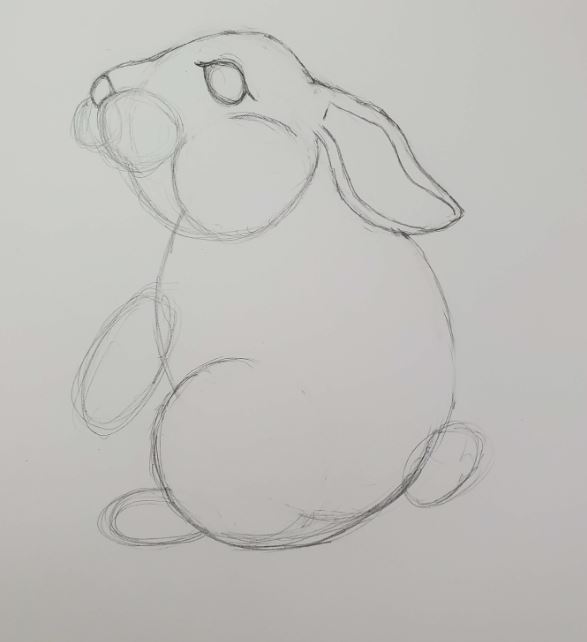
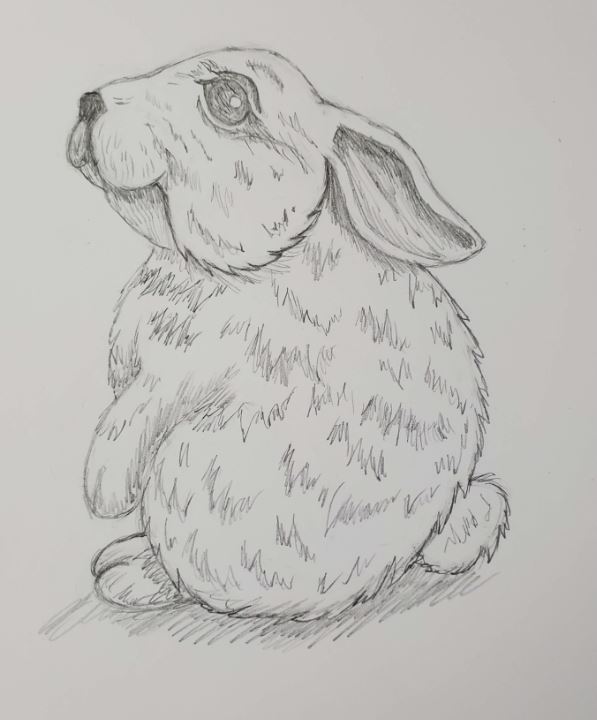
Now it’s time to start drawing in fur and adding some texture to your bunny drawing.
Add some more detail to his feet by drawing in the line for his toes. Do bunnies have toes? I’m not sure what the technical term would be here, but you get the idea.
Continue working on the fur until you are happy with the amount of texture your bunny has.
Some texture is actual texture and some is perceived texture. The bunny’s fur is a perfect example of perceived texture. We have a full post on Using Texture in Art.
Don’t forget to add in a highlight for his eye.
How to Draw a Bunny Step by Step with Fur Texture
Finish up your drawing by adding some shading and cleaning up your extra pencil lines. The click eraser is the best tool I’ve found for cleaning up lines.
Final Thoughts & Next Steps
Learning how to draw a bunny is easy if you follow our simple process. Breaking complex objects down into basic shapes will help you get everything laid out correctly, before you put a lot of time into your drawing. Drawing should be fun and relaxing, so make sure you’re always having fun.
Art and Drawing are skills that anyone can learn. Practice as often as possible, even if it’s only for a few minutes a day, and you’ll see your skill level improve. The more you draw, the better you will get.

It took too long, but I did it.
Good for you for sticking with it and not giving up!