Op Art Drawing – Waving Flag
Today you’ll learn how to do an op art waving flag drawing, which is great for beginners of all ages.
Optical art is so much fun to make and it’s super easy to draw. Yet the results are impressive and make people think it’s much more difficult than it really is. This is a lesson I did with my 4th grade art students and they always turned out really well.
You can learn more Optical art at, Optical Art.
So let’s get started by taking a look at the art supplies needed to draw an op art American flag.
* Some of the links in this post may be affiliate links. This means I receive small commissions for purchases made through these links at no extra cost to you.
Art Supplies
- Paper or Cardstock
- Pencil (optional)
- Ruler
- Black Sharpie
- Colored pencils or Markers
Get Your FREE Drawing Guide
American Flag Drawing
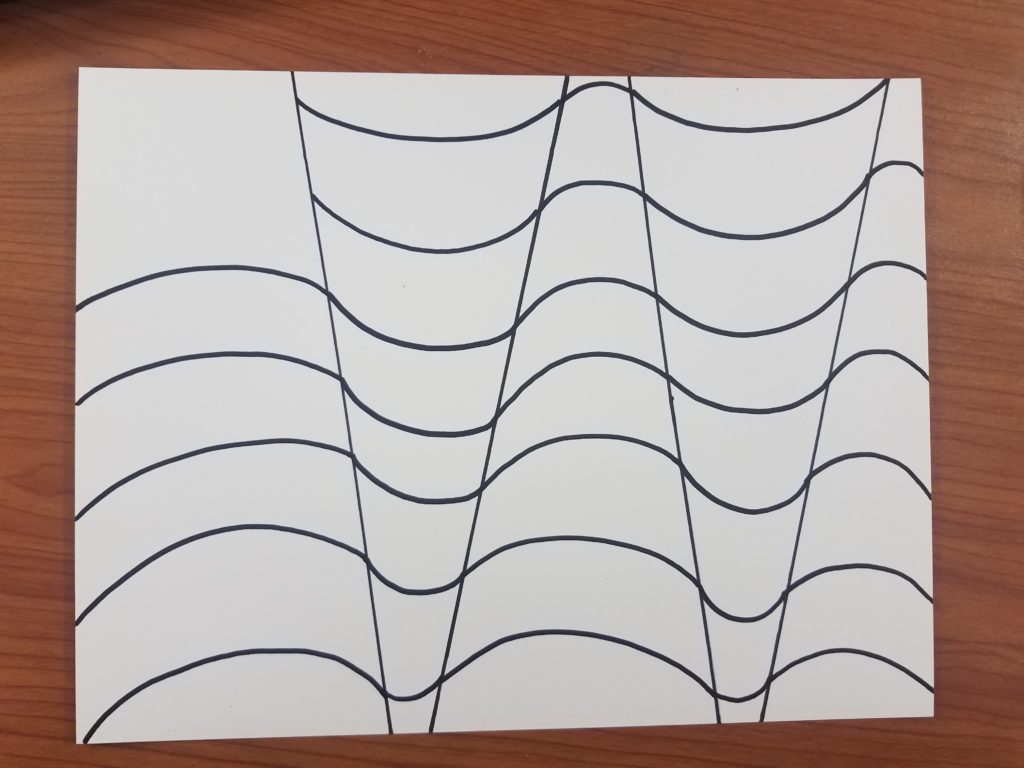
We begin by drawing out our main lines for our American flag. These lines will represent the folds of our flag. This will help give the illusion that it’s moving.
Using a ruler, draw your first line for your flag. For your first section you need to make sure you leave enough space to draw in your stars. The sections after that can be fairly close together without causing any problems.
You can use a pencil first, or draw it with the Sharpie marker. I like using cardstock for most of my drawings. However, when doing this project with my students I used 12×18 drawing paper.
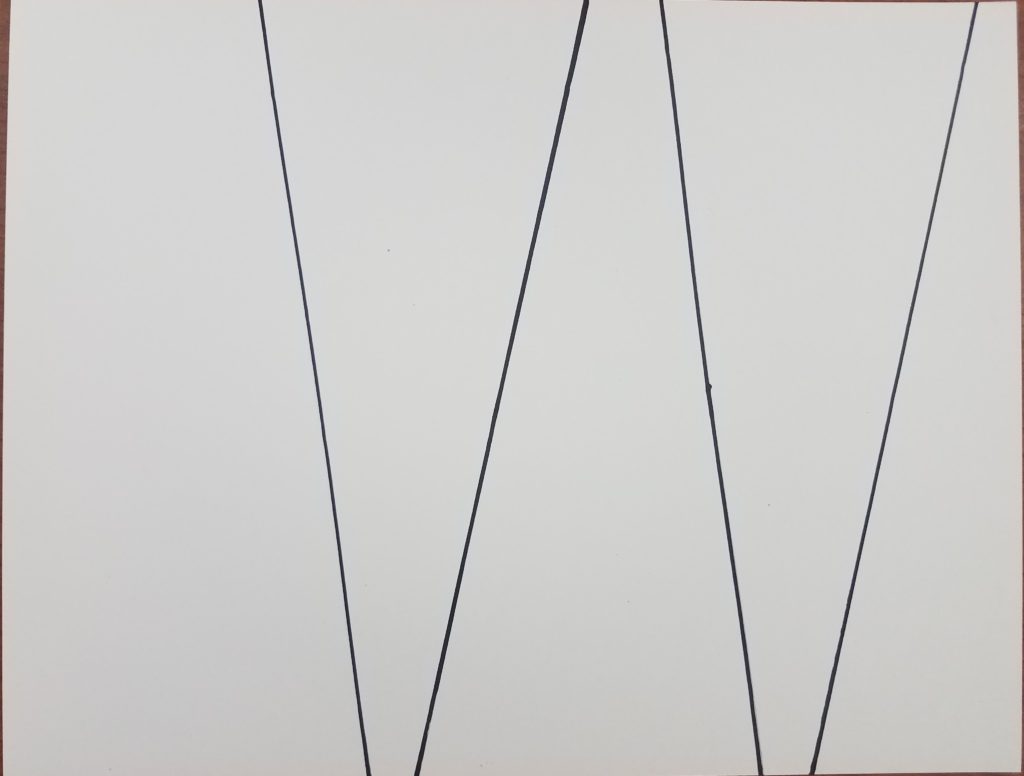
You want to draw all of your lines on an angle. And you need to alternate yours lines being closer together at the top and then further apart at the top.
American Flag Drawing – Op Art Stripes
When drawing your stripes, you need to make curved lines. The process is similar to the one we learned in Bullseye Op Art Drawing. By drawing the lines curved, you’ll begin to create the optical illusion.
Draw your first curved line in the first section towards the top. The space between this line and the top edge of your paper needs to be slightly larger than the rest of your lines because this is where your stars will go.
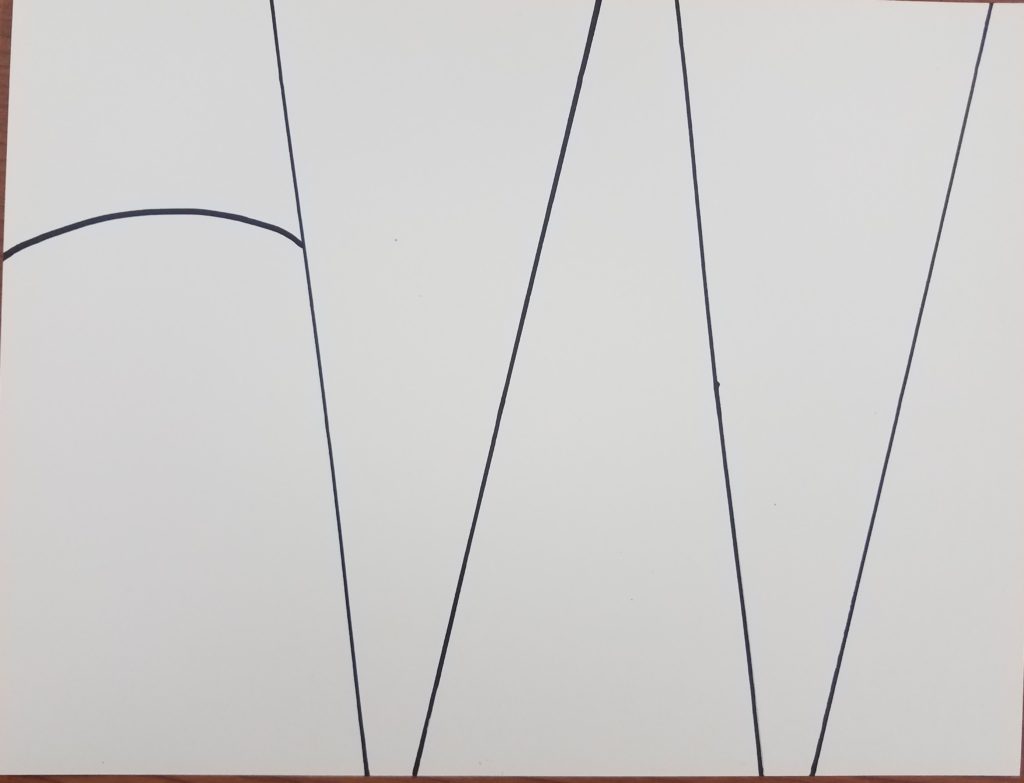
Continue drawing curved lines down your paper until you reach the bottom. You want your lines to be fairly evenly spaced apart.
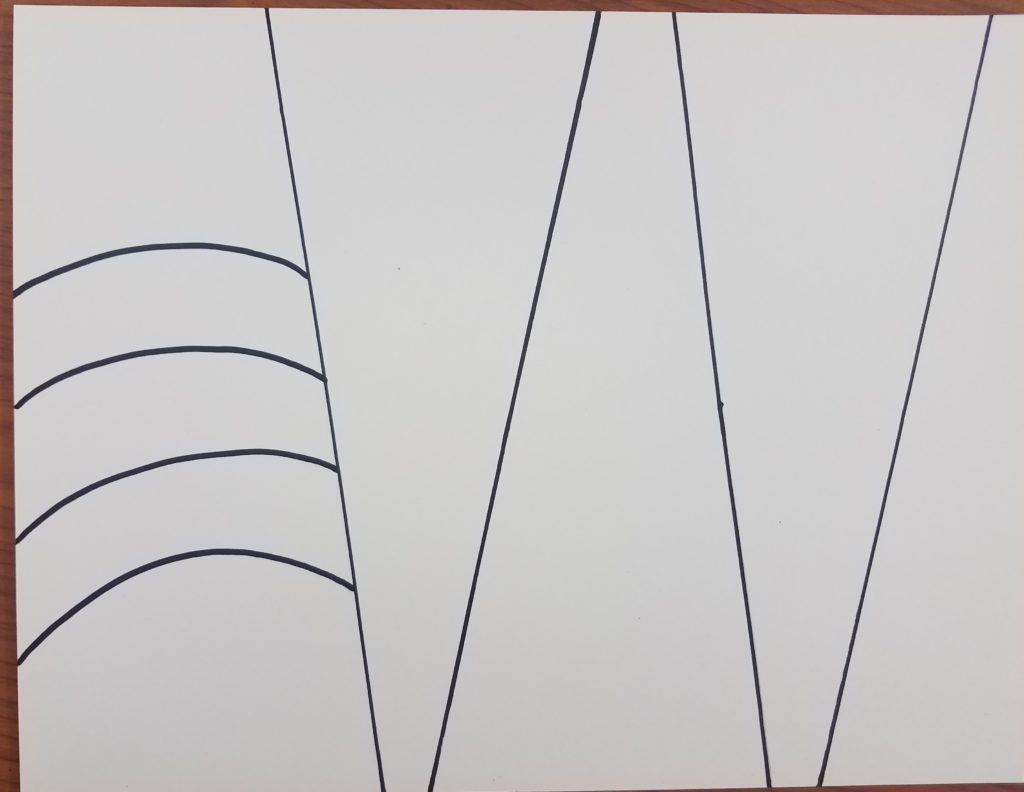
Move onto the next section, but this time curve your lines in the opposite direction. Your lines should line up with each other from left to right.
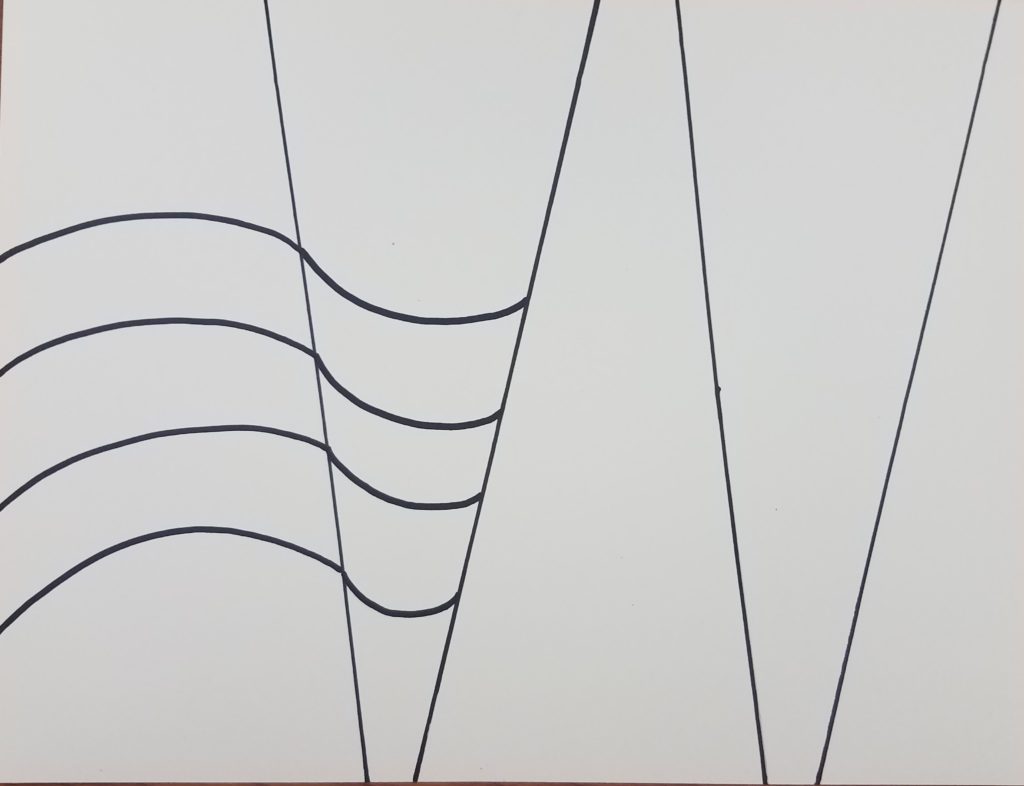
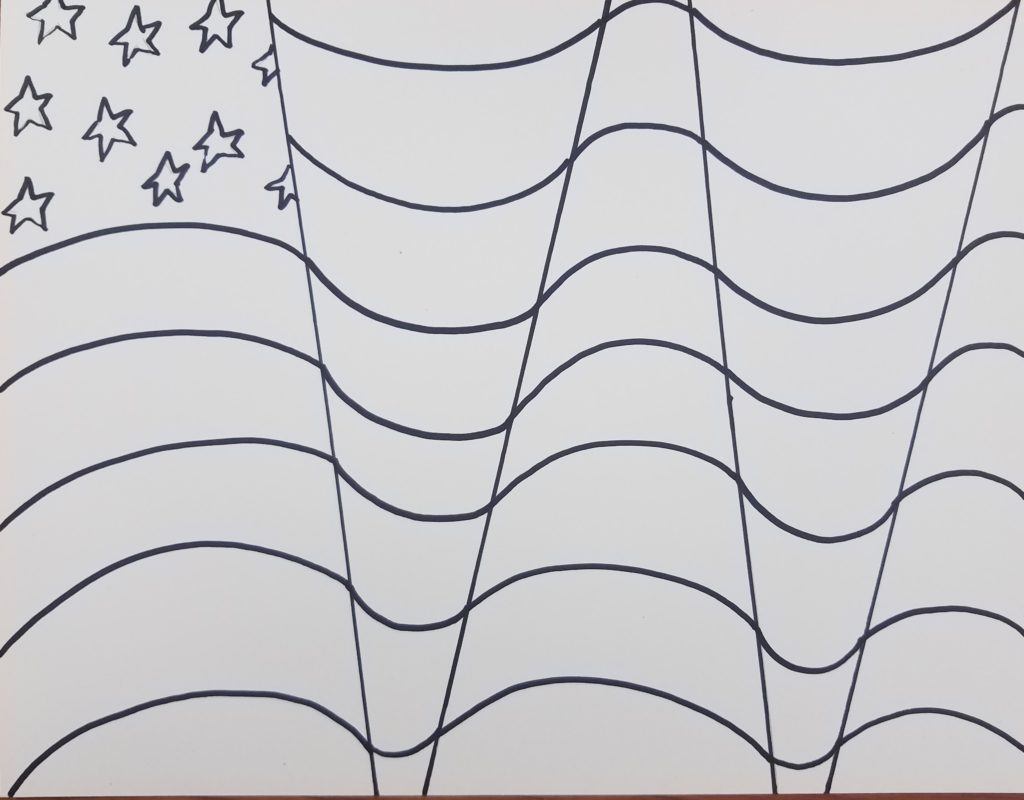
Continue working your away across your drawing, alternating the direction the lines curve. Add a couple more next to where your stars will go.
Add some stars to your first section on the top left. Again, they don’t have to be perfect. You can add as few or as many stars as you ant to add.
Drawing an Optical Illusion with Color Gradation
You can use whatever medium you want for your colors. Colored pencils were used for this example. I typically use Prismacolor colored pencil for all of my work, but because I was doing this with my students, I used Crayola colored pencils. Either one is fine for your waving flag drawing.
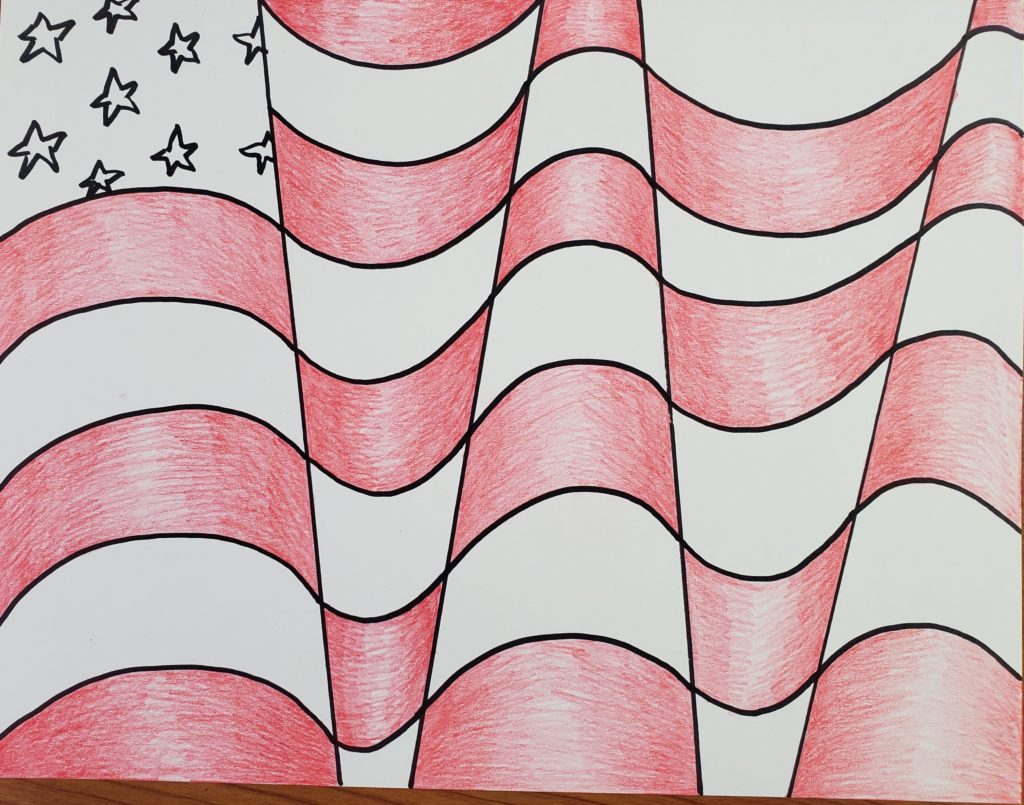
In the first stripe underneath where your stars are, use red to color in that section. Use gradation to make your edges darker than the center. This will add to the optical illusion.
To do this, add multiple layers of color. Gradually build up the color a little at a time, making it darker at the edges and fading it out towards the center.
The section directly below the red and to the right of the red will be left white. You should never have two adjacent sections the same color.
Continue working on your stripes until every other one is colored red. At this point your waving flag drawing is starting to take shape.
When you’re finished with all of your stripes, use blue to fill in the color around your stars.
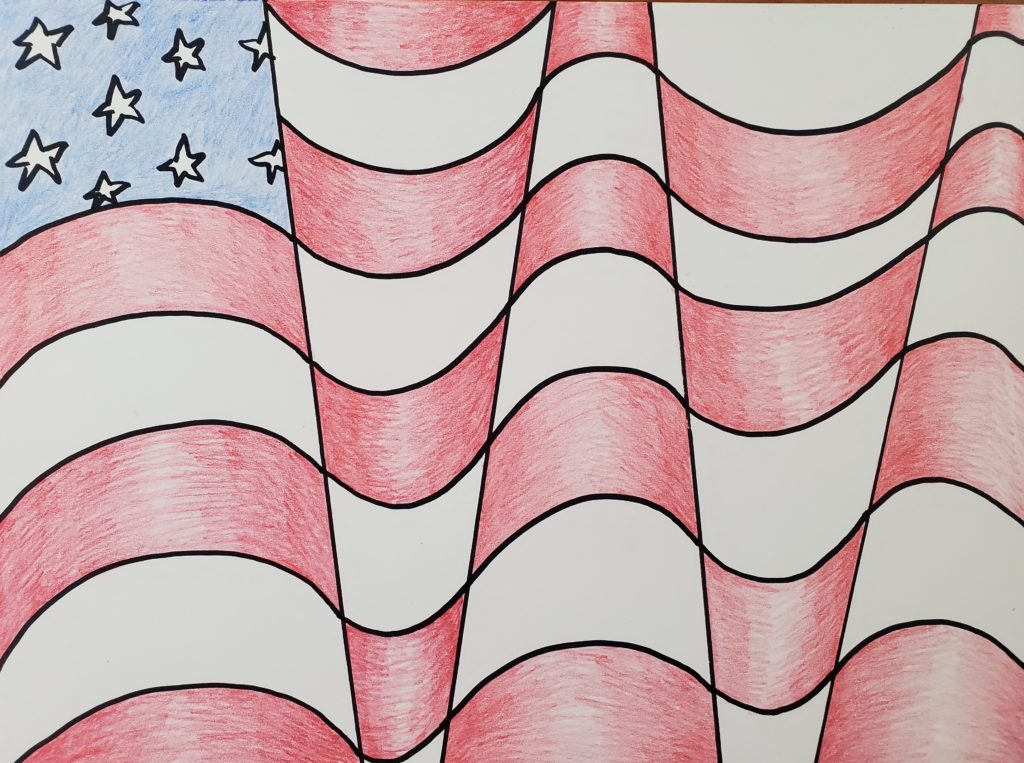
You can also use the blue to add shadows to all of the white stripes. Or black can be used for the shadows on the white. And of course gray is a good option as well.
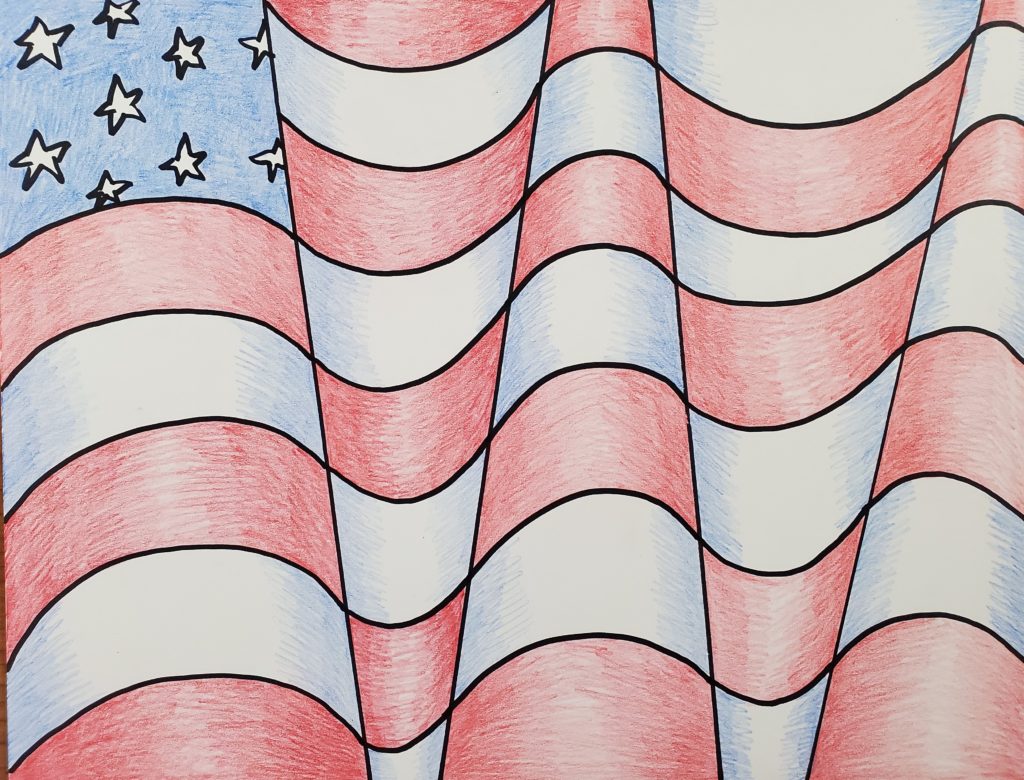
That’s it, you’re all done. You have many options when working on your flags. I like using markers for most of my work because of how bright and colorful they are.
For the price, Bic markers are my personal choice. You can do your waving flag drawing with markers, colored pencils, or any other medium you like to use.
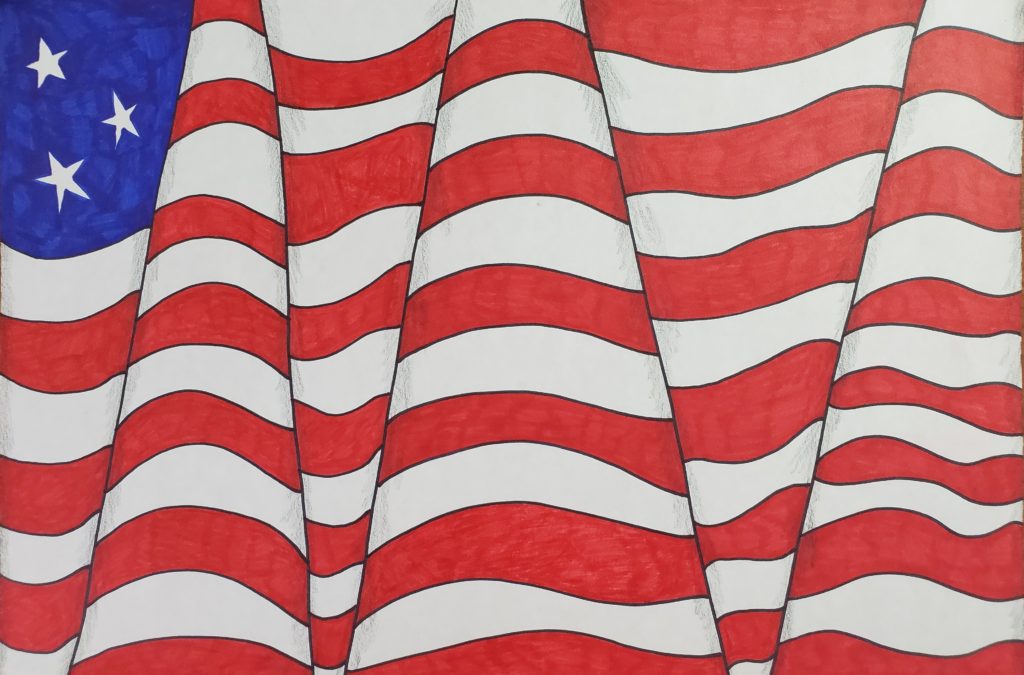
Waving Flag Drawing Ideas
Like with anything, practicing will help you improve. The more you practice the better you will get. And, the more your creativity will improve. Experiment and try new things. Have fun and don’t get stressed about the results.
You can try some different colors to use for your shadows. For the examples below, I used gray or black to add some shadows and created depth.
By trying new things and experimenting, you can figure out what you like and what you don’t like. The more you try new things the easier it will get. Try doing as many waving flag drawings as you can. They more you do the better you’ll get at drawing them.
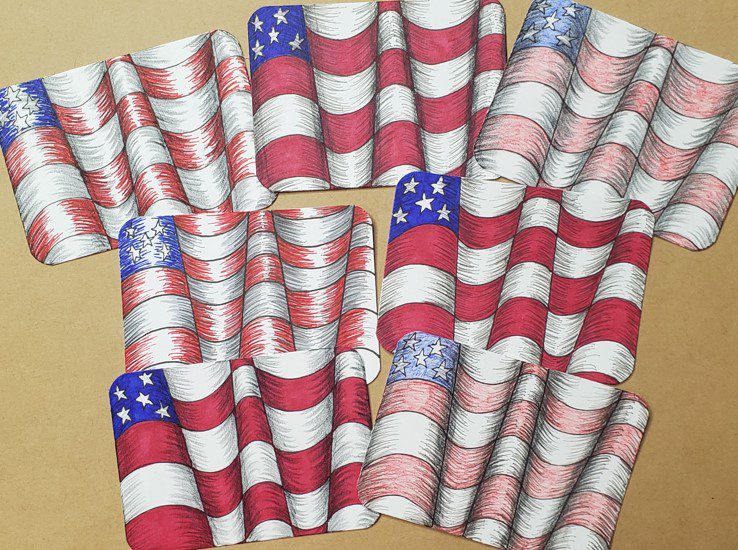
Waving Flag Drawing | Op Art for Beginners
Now that you know how to make a waving flag drawing, you can experiment with the technique and try some new things. Art is about having fun and experimenting. Don’t stress too much about the finished product, and try working smaller if you don’t have a lot of time.
Artist trading cards are a great way to save time. If you’re not worrying about how much time your drawings are taking you’ll be more willing to try something new. Getting good at drawing and creating art comes with practice. The more you practice the better you will get. And the more you draw something, the more creative you’ll be.
Try drawing a series of optical art waving flags. You’ll see huge progress in your art skills.
Don’t forget to download your FREE Op Art Drawing Guide


Pingback: 15 Illusion Art Examples | Psychedelic Art Ideas For Kids - Rainbow Printables