How to Draw Block Letters & Artwork Ideas
After you have learned how to draw block letters, you’ll be able to draw any letter or word that you want. This is an easy process that all skill levels will be able to master, including beginner artists.
You’ll learn how to draw the word ART, but you can adapt it to any word you want to draw. Once you get the basics down for drawing block letters, you’ll be able to create all kinds of fancy looking letters and words to use in your artwork.
The possibilities will be endless.
Let’s begin with the list of art supplies that were used to do this demonstration. There are many different supplies that could be used. For most artists this is a personal preference. If you are a beginner artist, you will learn what you like and don’t like to use through practice and a little bit of time.
* Some of the links in this post may be affiliate links. This means I receive small commissions for purchases made through these links at no extra cost to you.
Art Supplies
Block Letters Sketch
Before starting on your block letters drawing you may want to sketch your ideas out first. There are several different ways you could do this. If you’re trying to make a complete work of art you might find it helpful to do a series of thumbnail sketches. These are great for working through your layout ideas and concept designs.
The other thing you could do is draw a bunch of quick sketches for your letter ideas. This will help you work through your ideas and is a great warm up exercise as well.
A in Block Letters
Begin by drawing in a couple of horizontal lines to use as guides for the top and bottom of your letters. This will make it easier to make your letters the same size.
Draw your first letter in whatever style you want it to be. Make sure it touches the top and bottom guidelines. Keep in mind that block letters have straight edges and pointed corners. When sketching out your letters, you can make all of the edges straight. Or you can round out the curved lines you would normally find in letter such as B and R.
Either way is fine and will depend on which type of lettering style you want to do. If you want a more chiseled look you’ll need to keep every line straight.
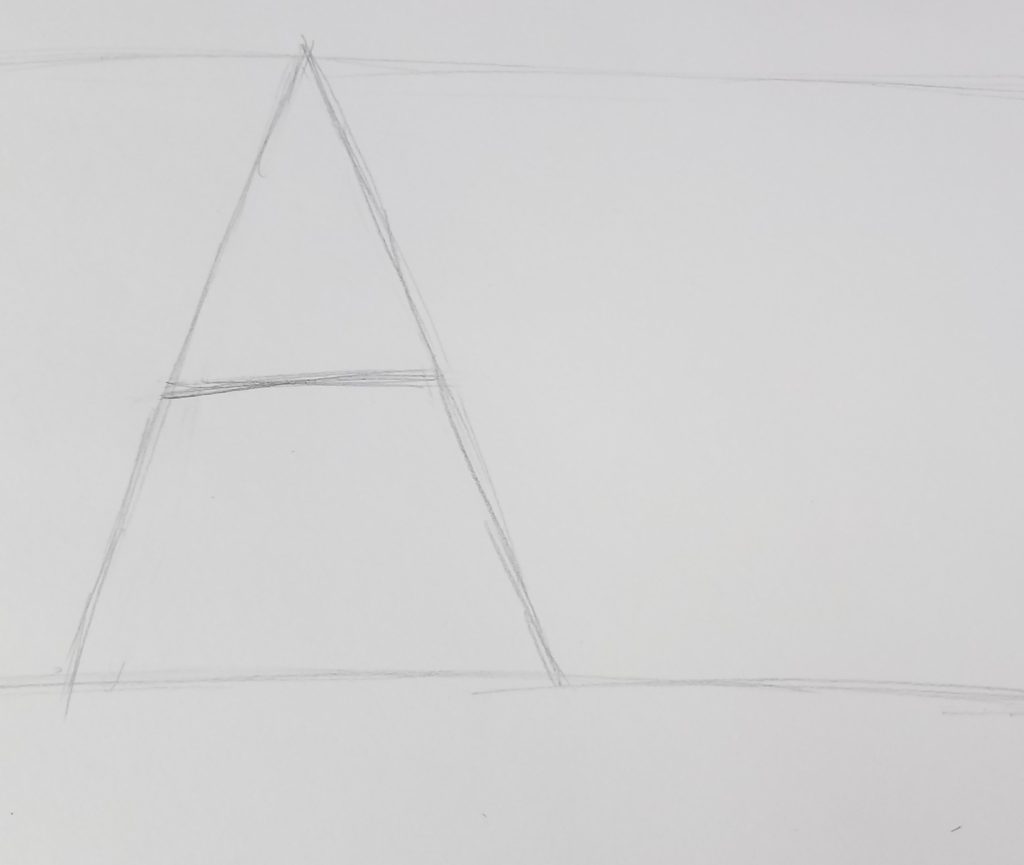
Next, draw lines that are equal distances away from your initial letter. Do this for both the outside and the inside of your A. The top and bottom of your letters will extend past your guidelines.
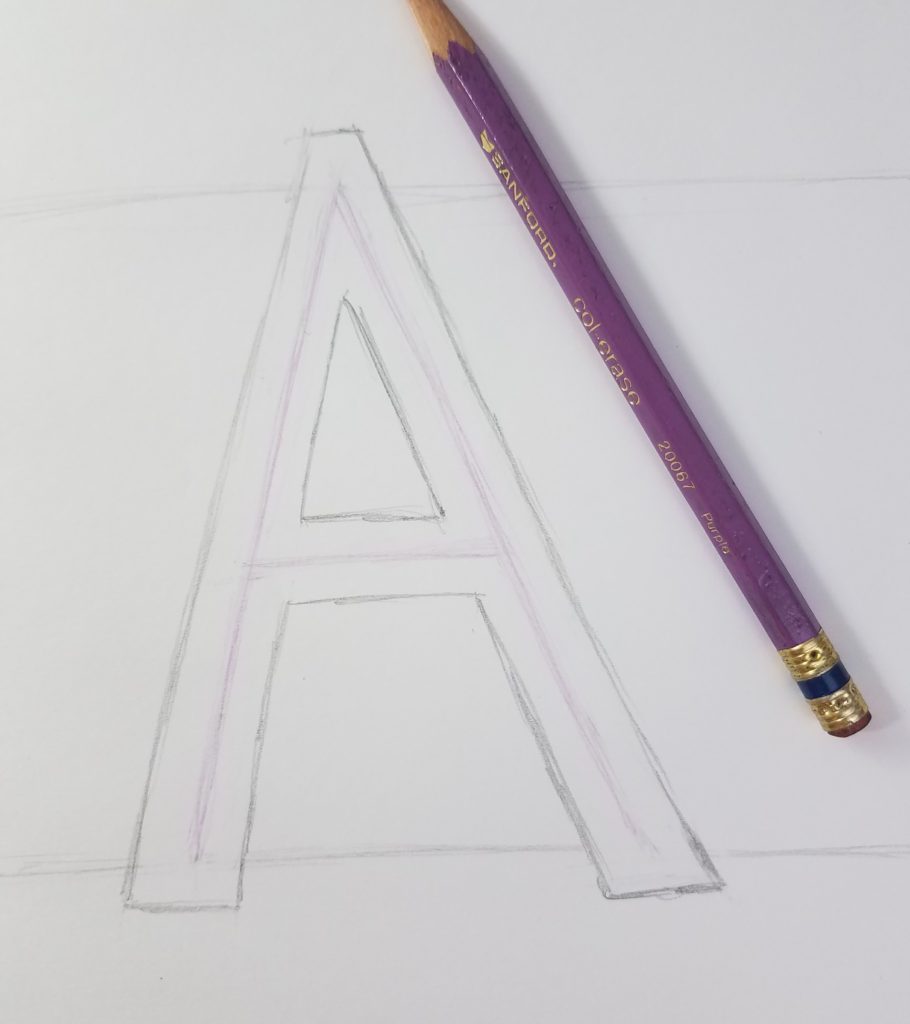
Rotating your paper as you draw will make it easier to have even placement of your lines.
Block Letter R
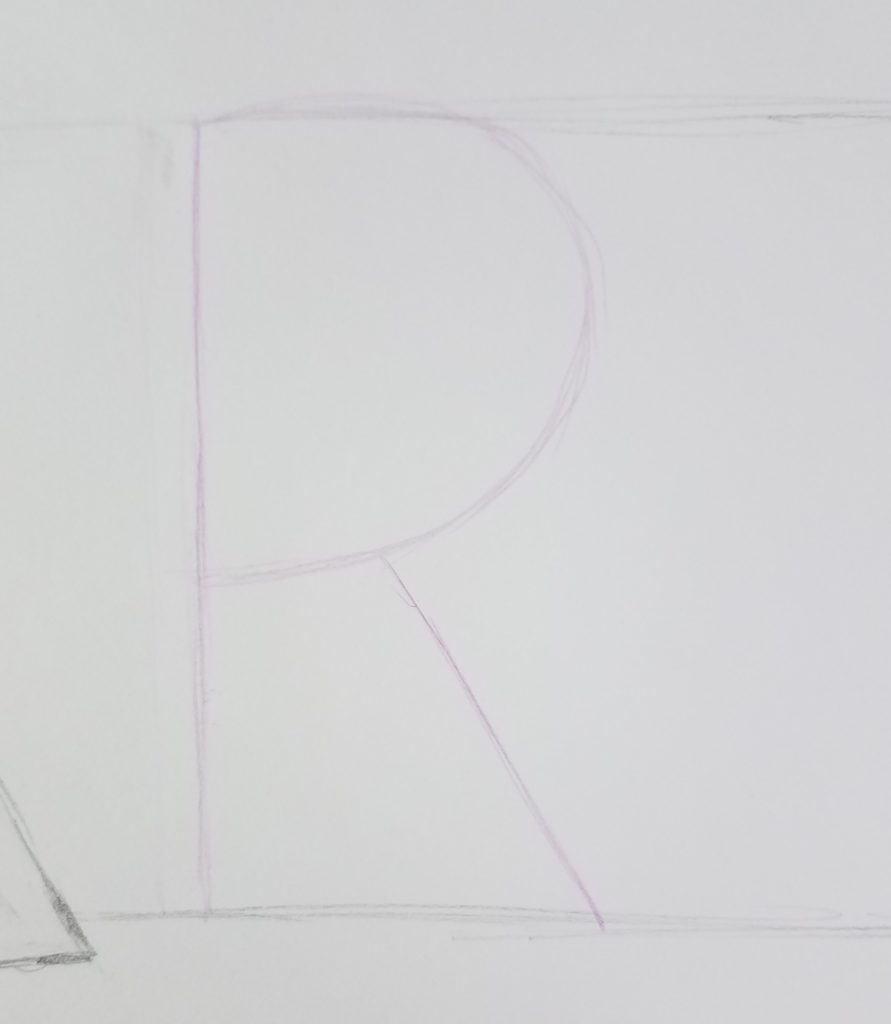
Follow the same process for your next letter, in this case it’s an R. Again, making sure your letter touches the top and bottom guidelines. As mentioned earlier, there are a couple of different ways to draw this letter. Make yours look however you’re comfortable with it.
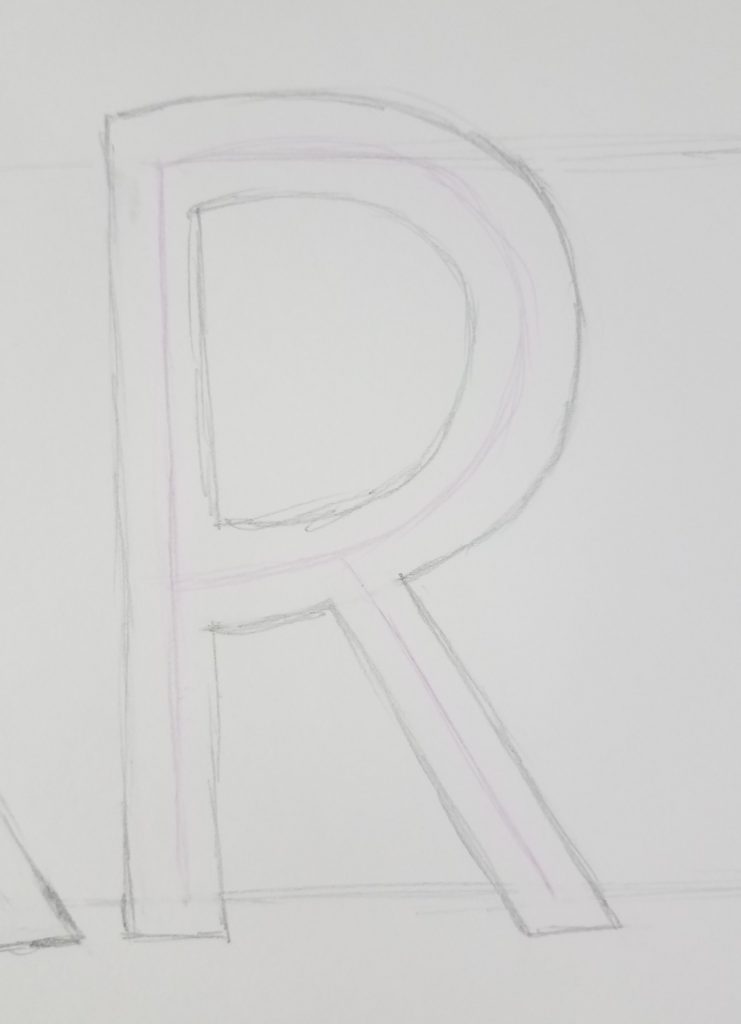
Rotating your paper as you work, draw your lines evenly spaced around your initial R letter. There are many ways to draw the letters. Don’t be afraid to add a little style to yours. We all form our letters slightly different, and that’s perfectly fine. You want your letters to be drawn in your own style.
How to Draw Block Letter T
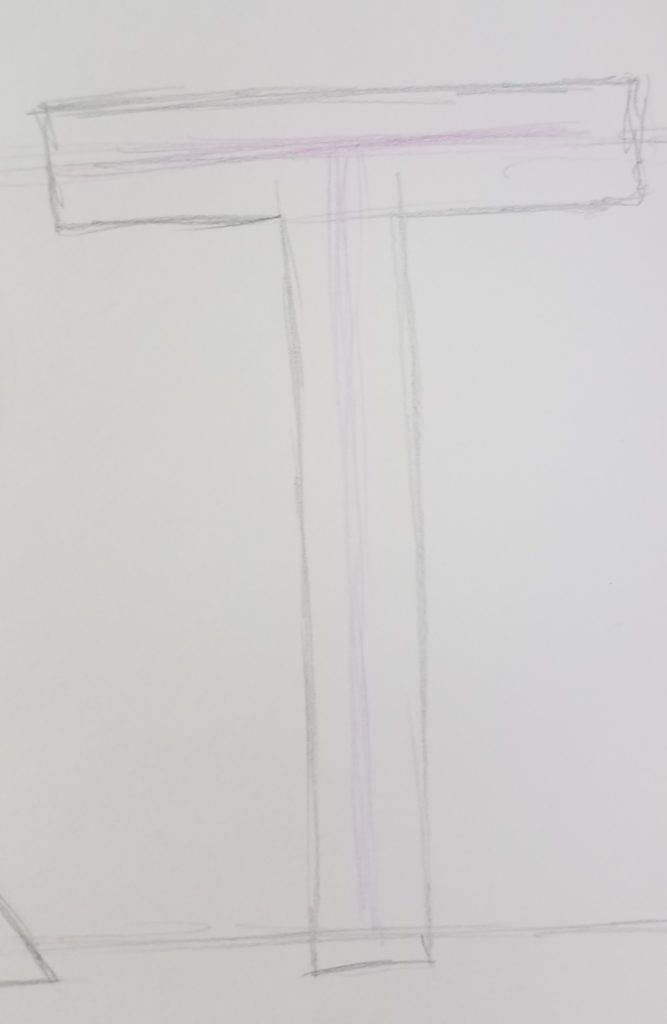
The final letter for this example is a T. Draw your T so it reaches the top and bottom guidelines like you did with the other letters.
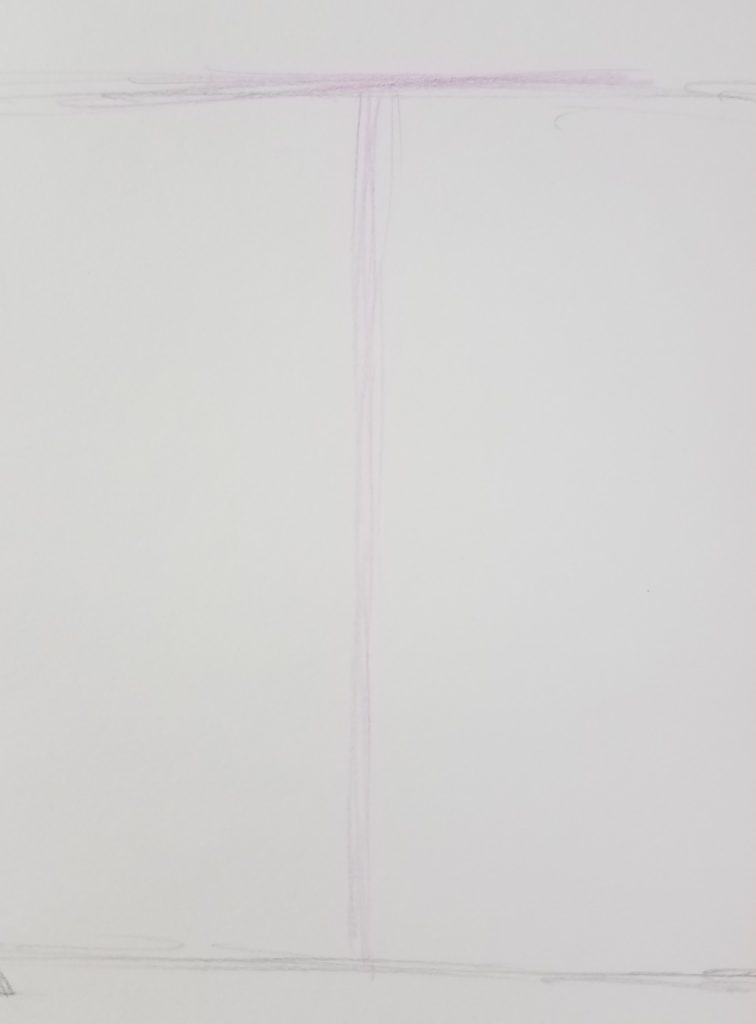
Repeat the same process as you did with the previous letters to complete your block letter T. When drawing each letter you want to make sure you keep the style consistent throughout. If you add a little curve to your horizontal lines, for example, you’ll want to make sure you do the same thing for all of your letters. If your letters don’t look like they’re the same style, you will not have harmony in your finished block letter drawing.
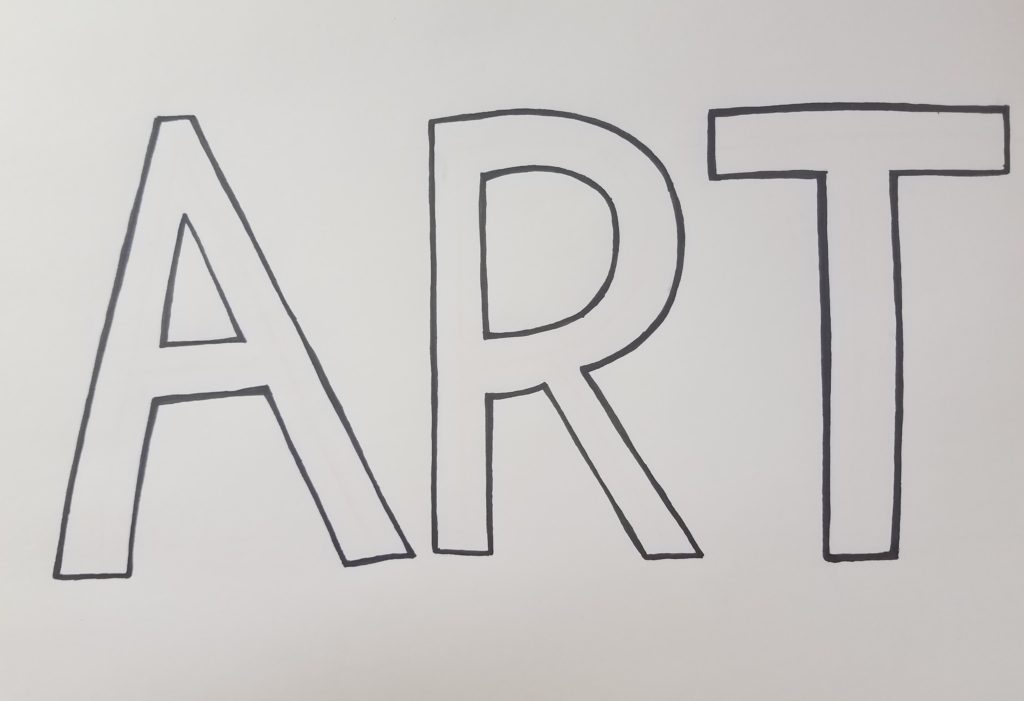
Block Letter Drawing
Next, trace over your pencil lines with a black marker. At this point there are an endless number of possibilities for finishing your letters and turning them into a work of art. And there’s a lot of different things you could do with the outline itself. You could make your block letters 3D, or you could add a shadow.
I decided to add some Zentangles to my letters. These patterns are so useful for filling in areas of your artwork. If you’ve ever been interested in using art for therapy and relaxation, then Zentangles are something you’ll want to look into.
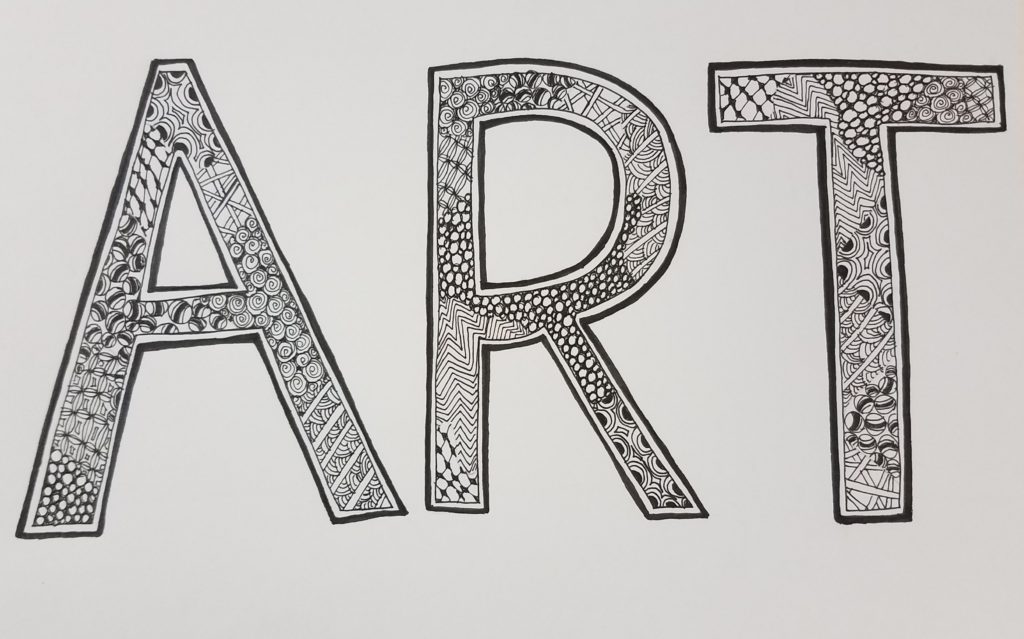
To finish off my drawing I added some shading to the inside edges. Of course there are many more options to finishing this drawing. I thought about adding some color or just doing colors without the Zentangles.
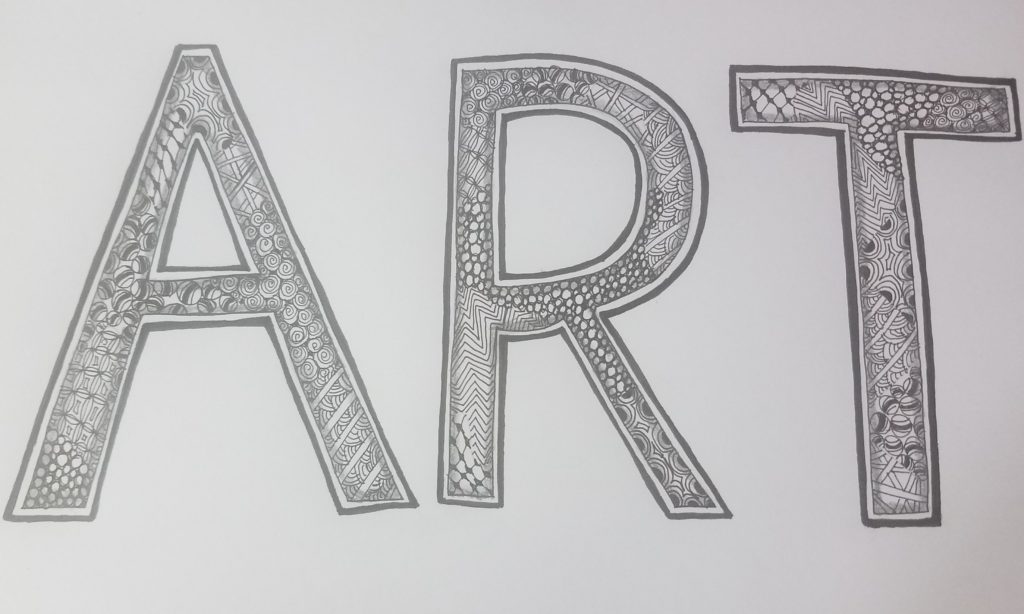
If you’re not familiar with the Zentangle method I encourage you to look into it. They are so much fun to make and extremely relaxing. You can learn more about them by going to https://zentangle.com/.
Final Thoughts
Now that you’ve learned how to draw block letters you can use this process to draw any letter or word. Lettering art makes wonderful gifts for family and friends. Especially if you add in some images that represents who that person is or what they enjoy.
You could draw out their first or last name in block letters then add a personal touch to it with some drawings to compliment the name. Add in their favorite colors and you’ve got yourself a really nice personalized gift.
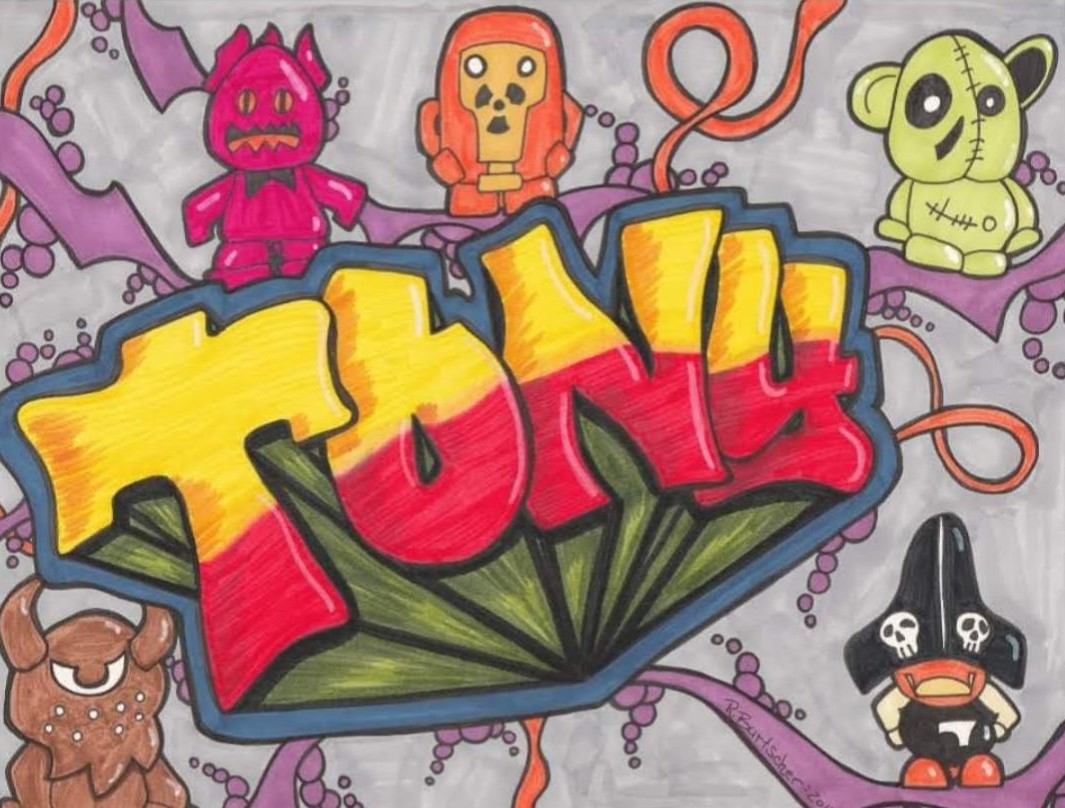
If you’d like more information about how to do really cool name art, download our FREE Graffiti Guide.


it is cool
Thank you. I’m glad you liked it.