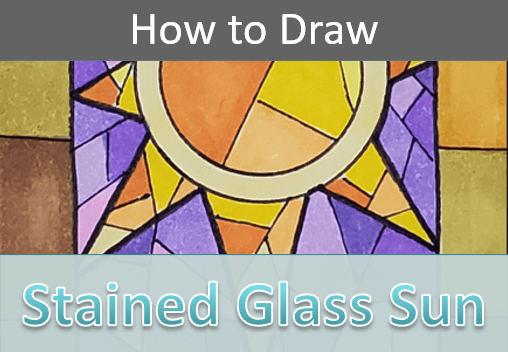
Step by Step Stained Glass Sun Drawing
In this tutorial I’ll show you how to draw a stained glass sun. This is an easy step by step lesson that’s good for beginners.
And they make nice artist trading cards (ATCs). I’ll be using markers today but you can use any medium that you’d like to use for your own drawing.
* Some of the links in this post may be affiliate links. This means I receive small commissions for purchases made through these links at no extra cost to you.
Art Supplies
- Thin black marker
- Paper or cardstock
- Markers
- Pencil
- Click Eraser, Pink Pearl Eraser
- White Gelly Roll pen
About Stained Glass Windows
Stained glass windows have a rich history, beginning with ancient civilizations like Egypt and Rome, where colored glass was used in mosaics and jewelry. The technique evolved in the Byzantine Empire, leading to the use of stained glass in religious buildings.
The Gothic period (12th to 16th centuries) marked the height of stained glass art, with cathedrals across Europe, such as Chartres and Canterbury, featuring intricate windows depicting biblical scenes and moral lessons. Artisans during this time developed advanced techniques, including the use of vitreous enamel and lead cames.
The popularity of stained glass declined during the Renaissance and Baroque periods but saw a revival in the 19th century with the Gothic Revival movement. Artists like Augustus Pugin and Eugène Viollet-le-Duc played key roles in this resurgence.
In the United States, Louis Comfort Tiffany brought innovation to the art form with his opalescent glass, a hallmark of the Art Nouveau movement. In the 20th century, artists like Marc Chagall and Henri Matisse introduced modern themes and abstract designs to stained glass. Today, stained glass remains a vibrant art form, used in both religious and secular contexts, with modern techniques expanding its stylistic range and applications.
Stained Glass Sun Sketch Practice
Doing a stained glass sun practice exercise is a great way to get warmed up and ready to do some drawing. It only takes a few minutes to do but the benefits will last a lifetime.
Here’s how to do it.
- Get some paper and something to sketch with (pencil, pen, marker, etc.)
- Pull up some reference photos of stained glass suns
- Set a timer for three or five minutes
Then simply sketch until the timer goes off. You want to make as many quick sketches as possible. Keeping your lines loose and not worrying about small details.
You could also just sketch until you run out of room on the paper.
How to Draw Stained Glass Sun (step by step)
Like with most things there are many different ways to draw your stained glass suns. I’m going to show you one of those ways, as well as try to give you some ideas for variation.
I did my drawing on an artist trading card but any size and type of paper will work.
To learn more about artist trading cards (ATCs), check out this post.
Step 1: Window Frame
I like to start my stained glass drawings with the frame. For this drawing I made a rectangular frame. You could try doing different shapes though. Arches look really nice on stained glass windows.
I cut a piece of cardstock the width that I wanted my frame to be. This was used as a straightedge to make my frame.
Begin by lining up the straightedge to the side of your paper and draw a line down the other side of it using a pencil. Then repeat this for each of the four sides of your paper.
Draw lightly because some of those lines will get erased.
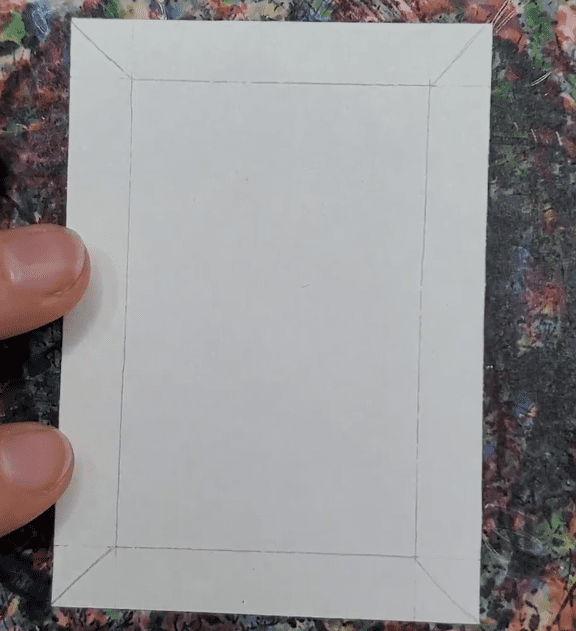
If you don’t have a straightedge you can use a ruler. You’ll have to make sure you keep your lines even on all sides.
Step 2: Sun Drawing
Begin by drawing a double circle for the sun. You could make your sun with a single circle as well. You can position your sun in the center of your paper or offset it like it did with mine.
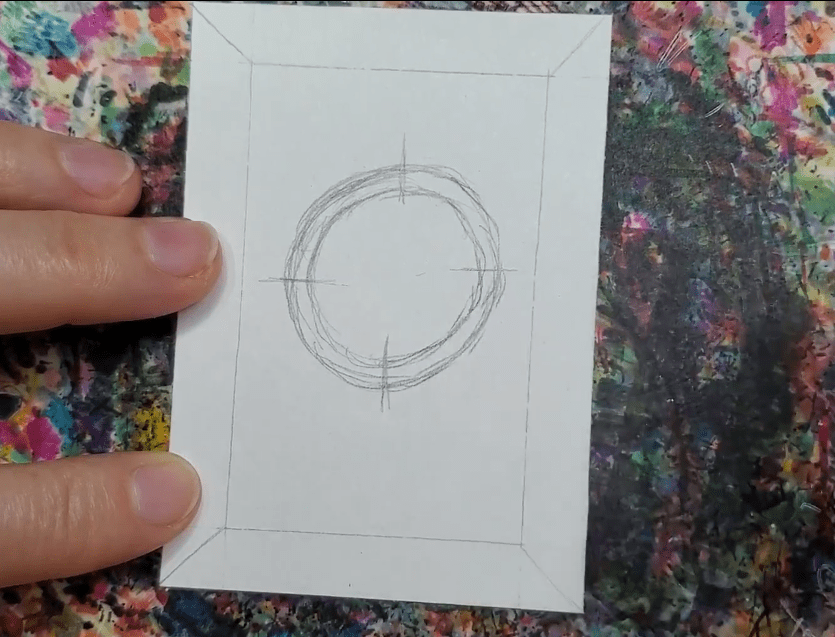
Then draw the rays of your sun by making some triangle shapes. You can make them different lengths or all the same.
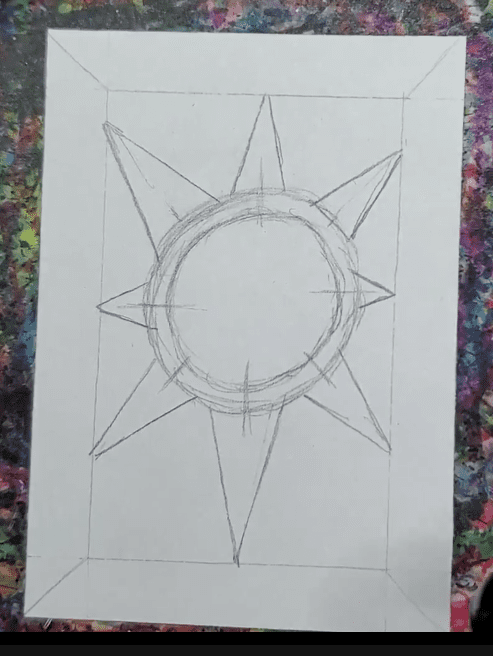
Step 3: Stained Glass Sun Outline
Use a black pen or marker to outline your drawing. I like to make the subject of stained glass bolder than the inside. So you’ll need two different sized pens.
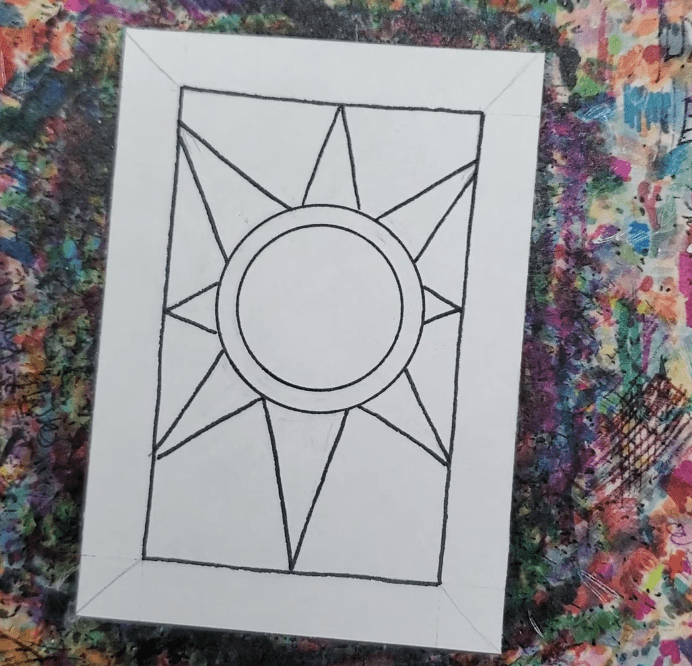
I added a heavier outline to the outside of the sun, as well as the window frame.
You can make yours the same way or do everything the same line weight.
Step 4: Stained Glass Effect
To make the stained glass effect use a ruler or straight edge to make sections throughout your drawing.
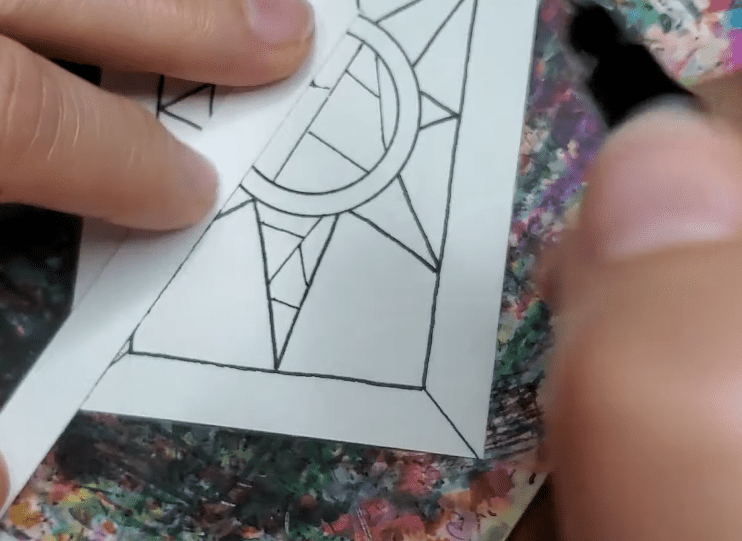
You can make them all similar sizes, or make the background a bit larger. I’ve also done stained glass drawings where the subject is solid instead of being divided up.
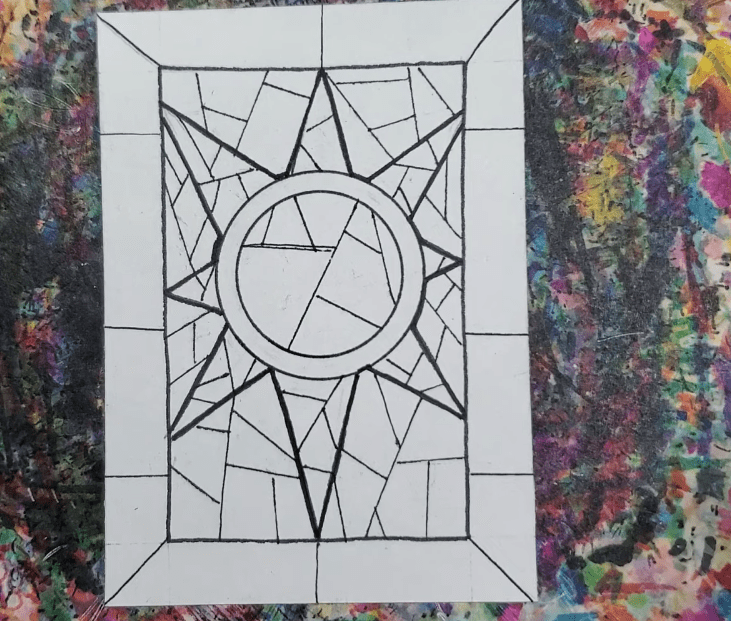
For the window frame I like dividing it up into rectangles.
How to Draw Stained Glass Sun with Markers
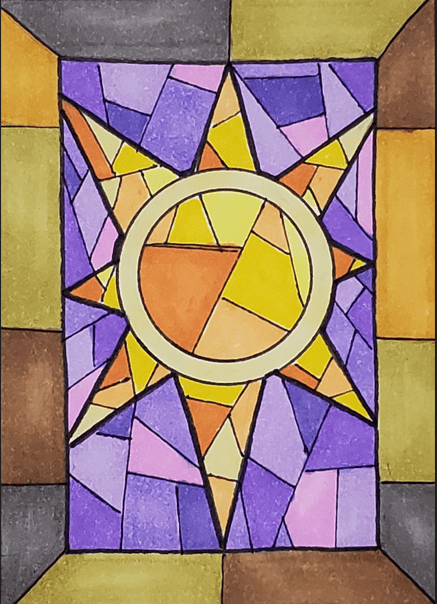
When using markers to add color to your stained glass sun drawing you have some options. You can fill the areas in with solid color. Or, you can make your colors have some variation in them.
Either way is fine, but your finished drawing will look different with each technique.
For the stained glass sun drawing, fill in the sections for the sun using warm colors (red, yellow, and orange). You could use only yellow and choose several different shades. You could also do this for any other color, or simply use a variety of warm colors.
For the background, use cool colors to contrast the warm colors for the sun.
Neutral colors can be used for the window frame (browns and grays).
Final Thoughts and Next Steps
Now that you know how to draw a stained glass sun, what’s the next step? Since art and drawing are learned skills, the more you practice the better you will get. Spending a little bit of time each day is the best way to improve.
This doesn’t mean you have to spend hours and hours each day. Just a few minutes consistently each day will add up over time.
Try doing a series of stained glass sun drawings. See how many different designs you can come up with. And don’t forget to have fun!
Grab your FREE Guide to Better Art in 7 Days

