Scribble Art Tutorial
Today you’re going to learn about scribbling drawing basics. This technique is super easy to do, and it’s quite relaxing. You literally just make scribbles to create your drawing.
There are many approaches to this technique, and we’ll be showing you several today in this scribbling art lesson. To get really good at anything takes practice and repetition. Learning to draw, or learning new techniques, is exactly the same.
Practice your scribbling art and enjoy the process. Art should be fun so don’t put too much pressure on yourself. The more you draw and create art the better you will get. And you won’t be motivated if you’re not having fun.
* Some of the links in this post may be affiliate links. This means I receive small commissions for purchases made through these links at no extra cost to you.
The following list contains the supplies I used during this art tutorial. You can use any type of pen or pencil for your scribble drawings, but you do need to make sure your pens allow for a smooth application of line.
Art Supplies
First, let’s look at some basic concepts and fundamentals of scribble drawing. Before doing any type of drawing you should know what you want to draw, and have a good reference photo or object to draw from.
Creating Value in Scribbling Drawings
We’ll begin by talking about value and what it. The definition is as follows,
Value – how light or dark something is.
In drawing this refers to black, white, and all of the different grays in between.
Value is one of the 7 Elements of Art. And in my opinion, is one of the most important of the seven elements.
The closer your lines are together, the darker your value will be. In contrast, the further they are apart the lighter your value will be.

Speaking of contrast, value is used to show contrast in your artwork. If a work of art has all the same value, there will be no contrast. Therefore creating a flat, uninteresting work of art.
And let’s face it, nobody wants to create a boring work of art.
Layers can also be used to achieve different values in your scribble drawing. When doing a scribble drawing and layering up your lines, you are essentially placing your lines closer together. The only difference with layering is that you achieve this through multiple passes across the same area of your drawing.
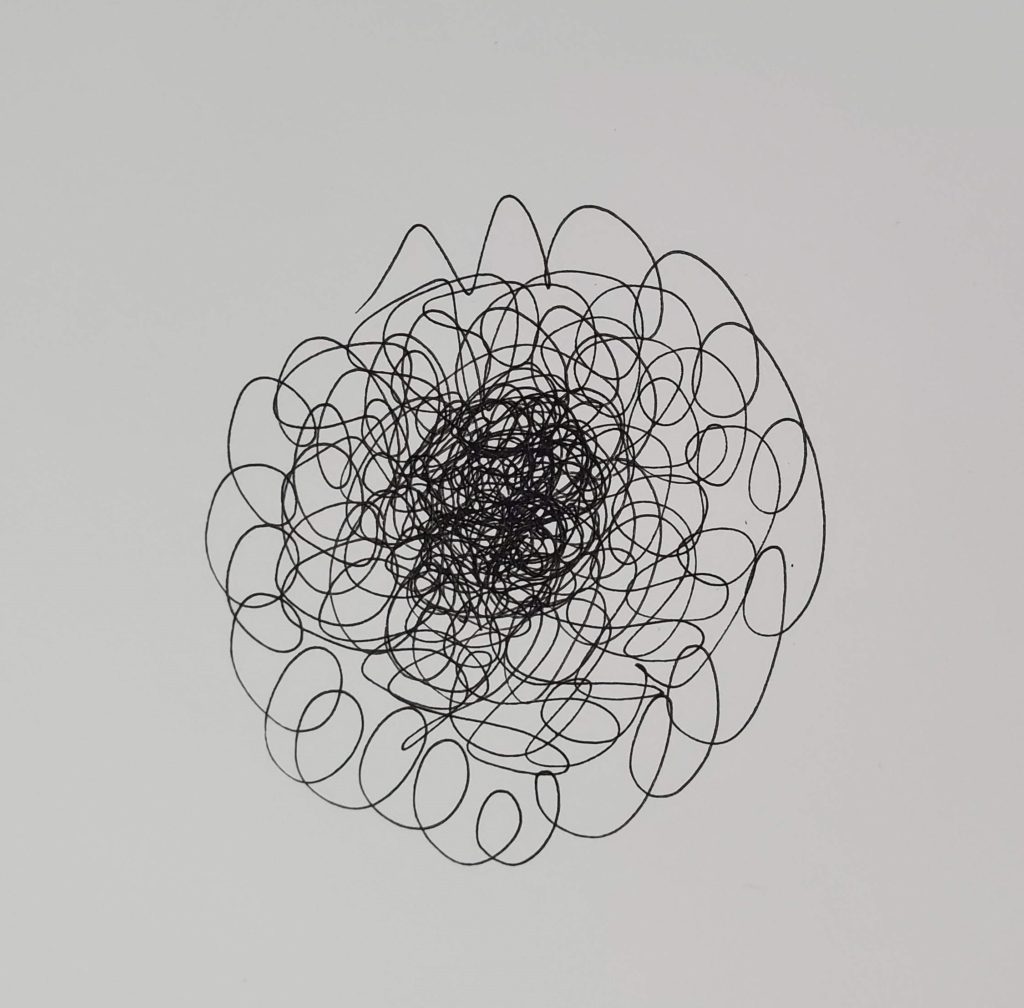
This allows you to build up your darker values more gradually. Which makes this method a bit more relaxing to do. But it does take more time to complete.
Types of Scribble Drawings
There are a couple of different approaches to doing a scribble drawing. Which technique you use is a personal choice, and really just depends on what you’re trying to achieve. You’ll obviously have more control over your artwork if you allow yourself to lift your pen off of the paper. However, you won’t gain the push in creativity if you force yourself to leave the pen on the paper until finished with your drawing.
Let’s look at what these different techniques are.
Continuous Line vs. Broken Line
A continuous line drawing is where you pick a spot to start drawing and never lift your drawing utensil from the paper until you are finished with your drawing.
With a broken line drawing, you can start and stop as needed while working on your drawing.
However, with scribble drawing you will need to lift your pen off the paper a lot less often than you would with regular drawing techniques.
Rough Sketch vs. No Rough Sketch
Scribble drawing is usually done with an ink pen, but not always. If you are using an ink pen to do your drawing, you can choose to do a rough sketch with pencil first.
Or you can start your scribble drawing right away with the ink pen.
Scribbling Drawing Techniques
Now I’d like to show you some examples of the various combinations of these techniques. And hopefully give you some ideas and inspiration to start your own scribbling drawings.
Continuous Line – No Rough Sketch
This is by far the most freeing and liberating way to do a scribble drawing. Probably because the expectation is pretty low.
This a very loose type of drawing, similar to a gesture drawing. You’re really just trying to capture the essence of your subject matter.
This is a great option for speed drawing and drawing from life.
Of course it is possible to create some stunning drawings using this method. But this method is typically used to do quick, warm up type drawings.
You can learn more about warm ups at, How to Do Warm Up Sketches.
Continuous Line – Rough Sketch Under-Drawing
This method will result in a slightly more refined finished scribble drawing. When doing this type of art, you sketch out your subject first using a pencil. And then finish the shading and details with your pen, adding in your scribbles.
A couple of months ago I started getting involved in the abandoned art movement by making and hiding painted rocks.
Which gave me the idea to draw Pokemon characters and leave them at Poke-stops. This seemed like the perfect opportunity for some scribble drawings of Pokemon characters.
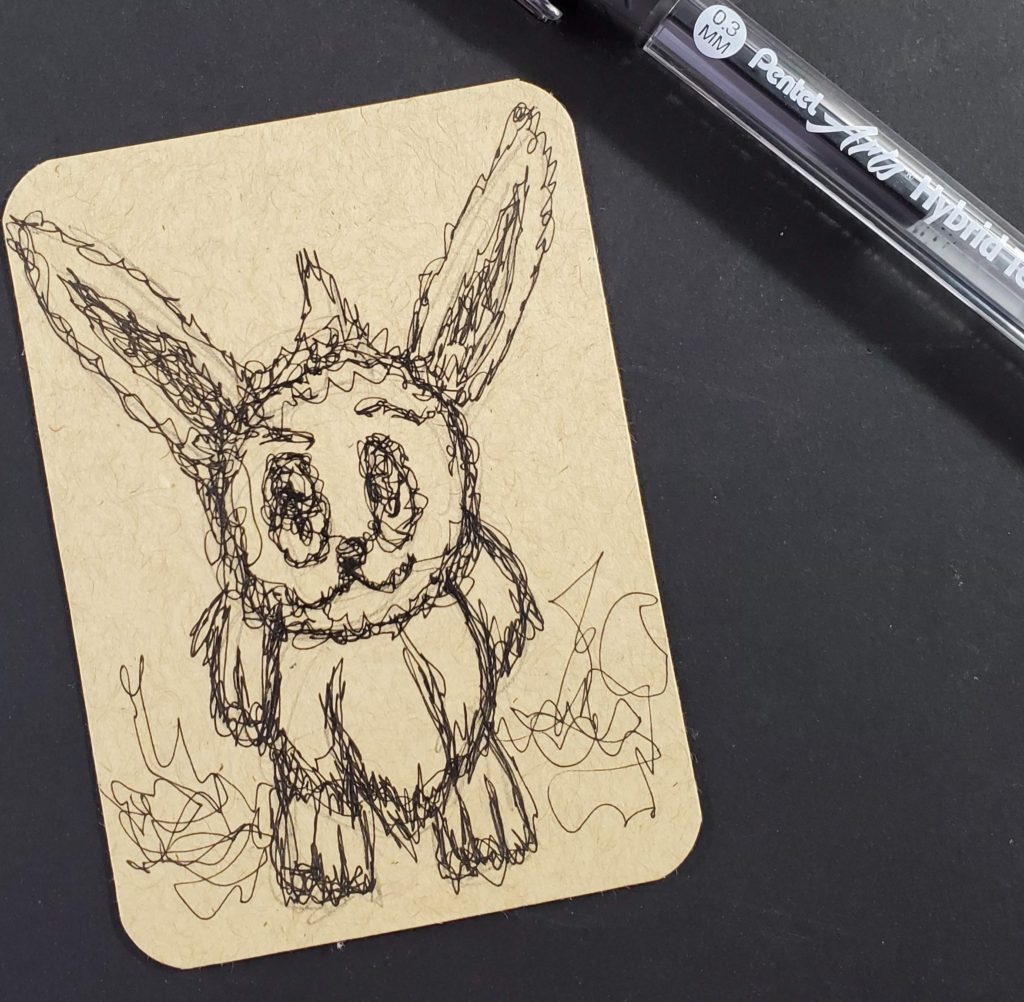
I wasn’t brave enough to try this without doing a rough pencil sketch first. But after a bit more practice I think I’ll give it a try.
Broken Line with Rough Sketch
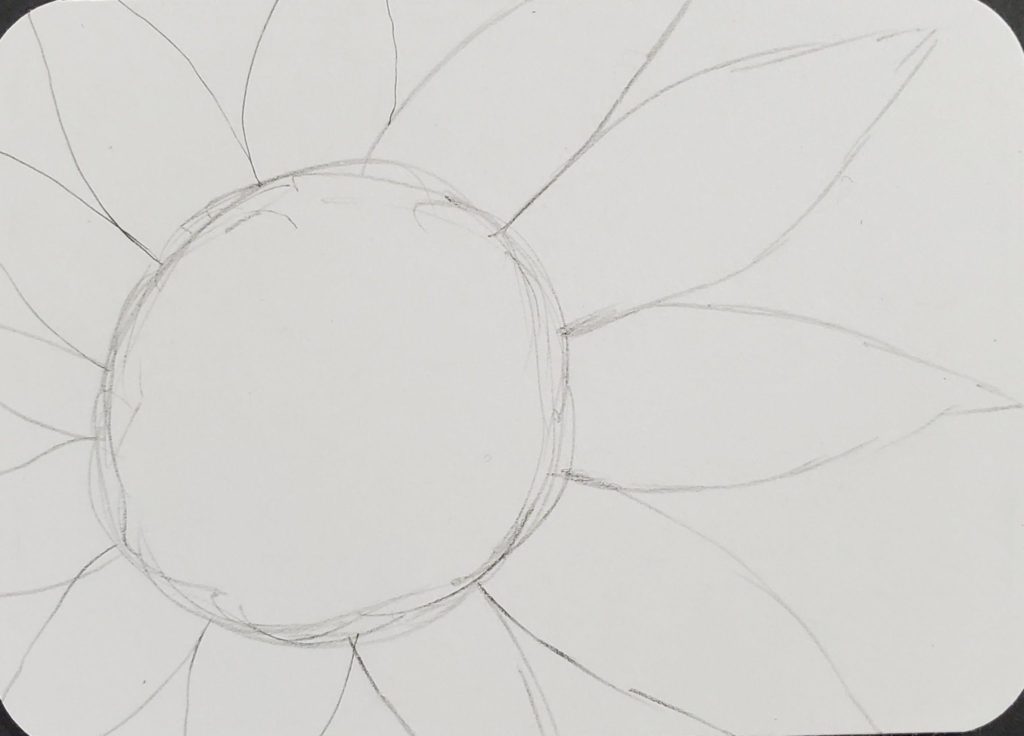
I was recently working on an art tutorial for how to draw sunflowers, and I needed to do some drawings for the posts.
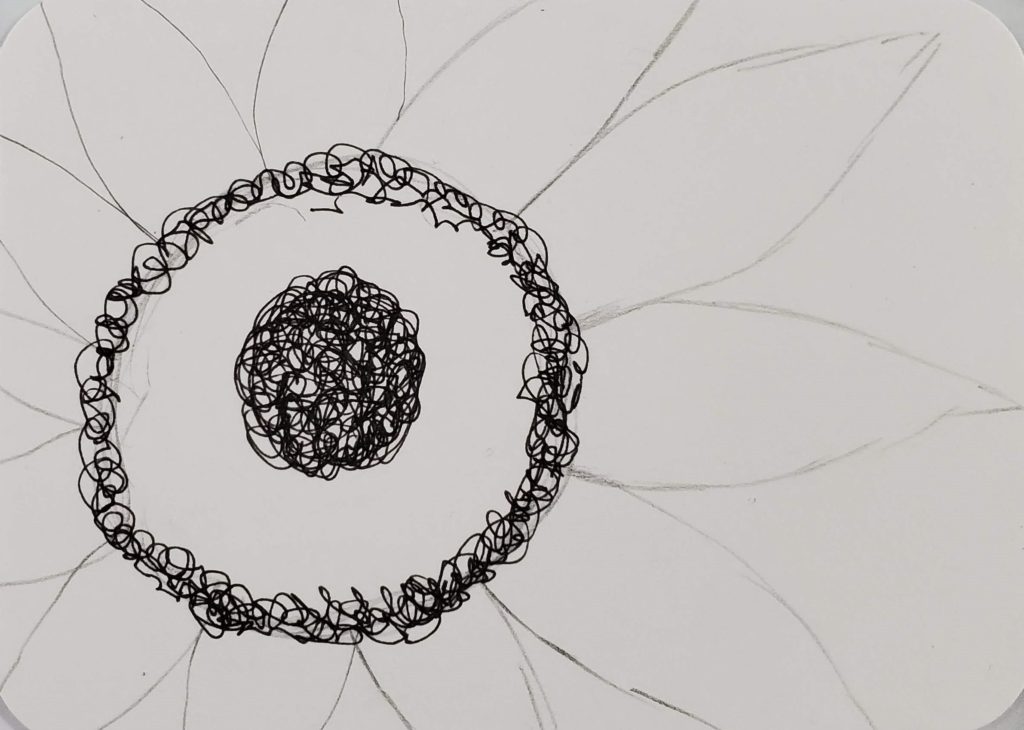
Scribble drawing seemed like a good technique to use for one of my examples. So I started out with a quick sketch in pencil without too much detail. The main purpose of the rough sketch is just to give you an idea of where your lines need to go.
Next, I used my Pentel pen for my scribble drawing. This is a pen I received in the January Sketchbox shipment and it really hasn’t gotten as much use as it should have.
The pen worked great for this type of drawing. The lines went on really smoothly and didn’t smudge. It’s important to have a good, even flow from whatever pen you are using. Experiment with different ones and see what works best for you.
I started by working on the center of my sunflower drawing where the seeds are. This area is darker, so my scribbles are closer together and layered.
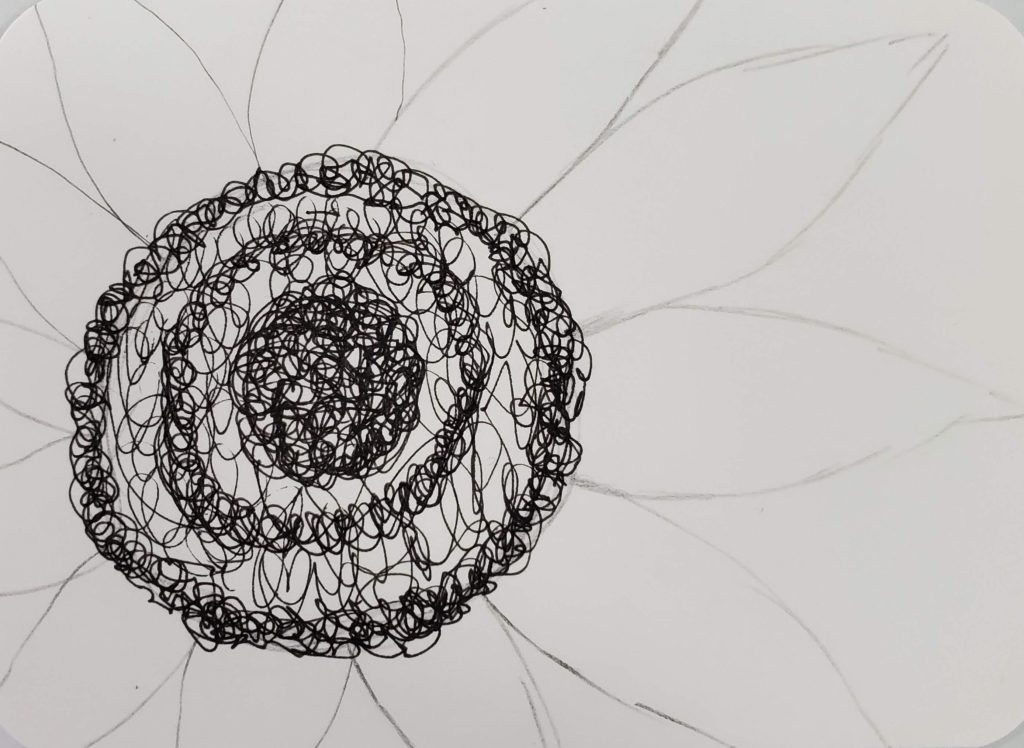
The center of the sunflower was completed by adding in some scribbles that had a lighter value.
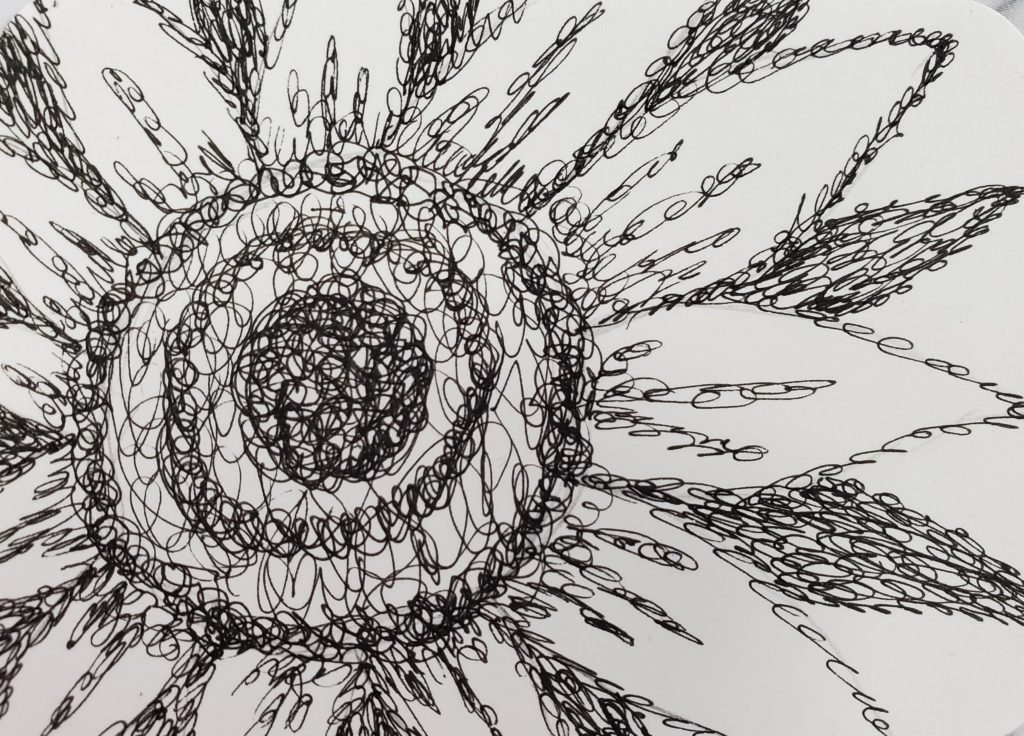
The next step was to scribble in the petals of the flower. I literally scribbled right over where my pencil lines were. Some extra details were added in the petals as well. Notice how the second row of petals were made darker to show some contrast.
Adding Color to Your Scribbling Drawing
After completing the sunflower scribble drawing, I decided it needed some color. So I grabbed my Stabilo fineliner pens, and started to scribble in a few different colors. I was surprised by how well these pens worked. They have been stored in a box for years, and still went on very smoothly. They worked very well for adding color to my scribble drawing.
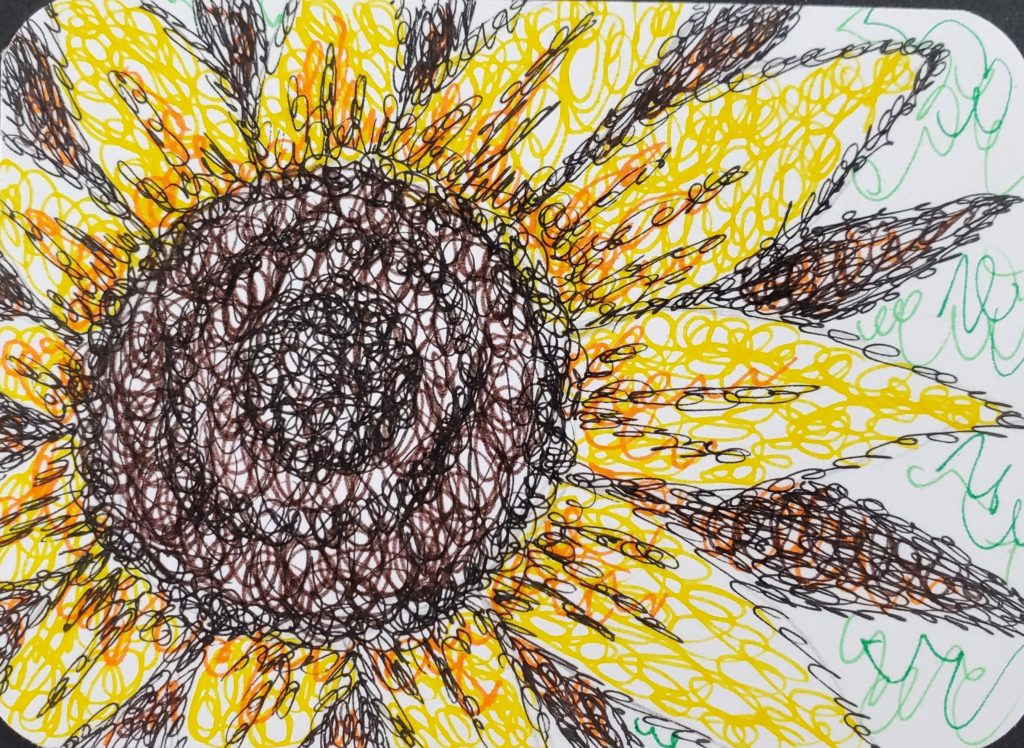
Adding the color makes the drawing look much better in my opinion. It’s important to experiment and try new things when creating works of art.
The examples for this art tutorial were done on artist trading cards. If you’re familiar with this art form, I don’t need to tell you why I chose to do this. If you’re not familiar with what they are, check out How to Make Artist Trading Cards (ATCs).
Scribbling Drawing Tutorial for Beginners
I hope you enjoyed learning about the basics of scribbling drawing and scribbling art. If you feel inspired to make your own, please let us know in the comments.
Happy creating!
Start Your Art Journey Today
Posts Related to Scribbling Drawing
- Drawing Exercises and Warm Ups
- How to Make Artist Trading Cards
- 7 Day Drawing Challenge
- Art Goals that Will Improve Your Skills
