Learn to Make a Tiki Drawing
Today we are going to have some fun learning how to make a tiki drawing. There are so many really cool designs you can do with these.
I’m going to share with you a simple process that will make drawing your tikis easy and fun. Because art should feel relaxing and enjoyable.
In this drawing tutorial you’ll learn how to sketch, outline, and color your tiki drawings. From there you can come up with as many different drawings as you want to do.
Tiki History
Tiki carvings are said to represent Polynesian Gods and were first discovered in Polynesia. In Maori mythology Tiki is the first man created.
The tiki carvings themselves represent power, wisdom, prosperity, and knowledge. They are hand-carved out of wood depicting fierce expressions. They are often considered to be guardians.
* Some of the links in this post may be affiliate links. This means I receive small commissions for purchases made through these links at no extra cost to you.
Art Supplies
- Thin black marker
- Paper or cardstock
- Markers
- Pencil
- Click Eraser, Pink Pearl Eraser
- White Gelly Roll pen
Tiki Drawing Quick Sketch
One of the things I recently started doing is to begin with some quick sketches before working on my drawings. As it turns out, these have been extremely beneficial.
They are a great way to warm up. And it’s a really good opportunity to work through some rough ideas and to get familiar with whatever it is you’re drawing.
Quick sketching is really easy to do. You just set a timer for a specific length of time. Three or five minutes is a good time for a session.
Then you do as many sketches as you can do in that amount of time. Just make sure you’re keeping your sketches loose and you’re doing them quickly. Use some reference photos to help with your drawings.
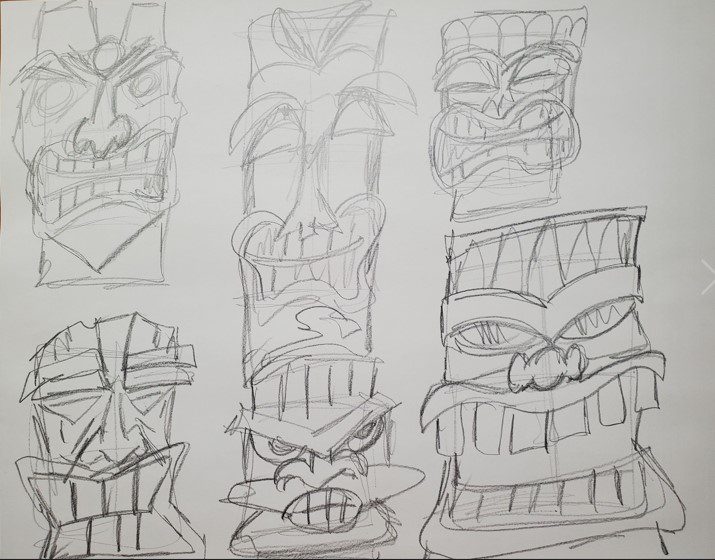
You don’t want to spend a lot of time on them. The idea is to get the rough shapes and proportions correct.
And this is a perfect time to work through some ideas for the faces of your tiki drawings.
How to Draw a Tiki Head
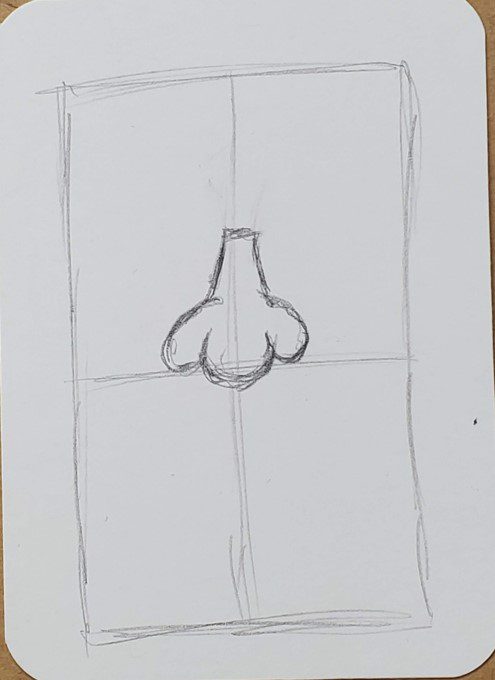
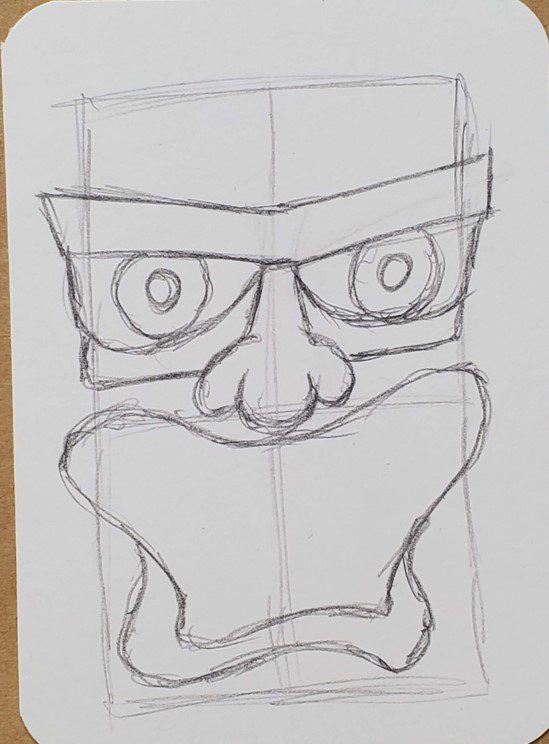
Tiki heads are typically a square or rectangular shape. And are symmetrical. So let’s begin by drawing a rectangle that is divided into a quadrant.
Dividing the rectangle will help keep things symmetrical. And it will help with the placement of the facial features.

Let’s begin by drawing the nose. The placement should be somewhere around where the lines intersect. As you do more tiki drawings, and get comfortable trying new things, you can move the placement and shape of the nose around.
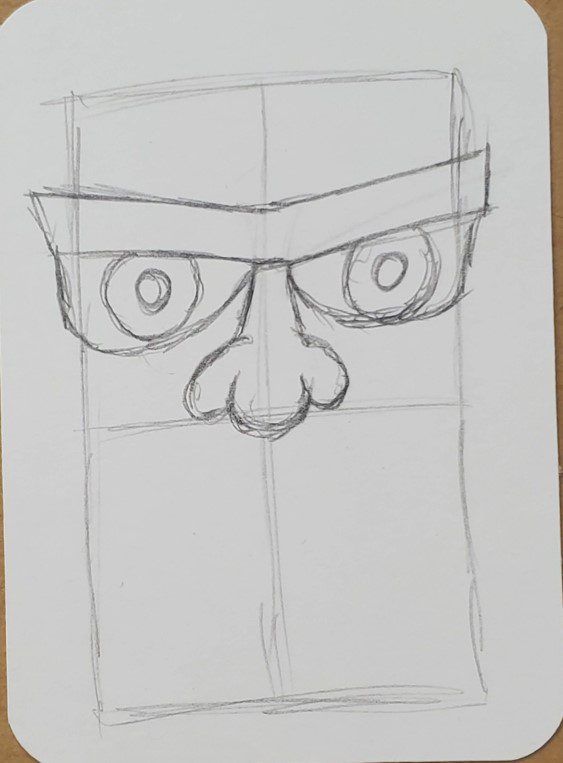
Next, draw some eyebrows. Keep in mind that tiki heads are typically hand carved from wood. So most of the details are a bit more chunky and not super fine details.
Now draw the shapes of the eyes and the eyes themselves.
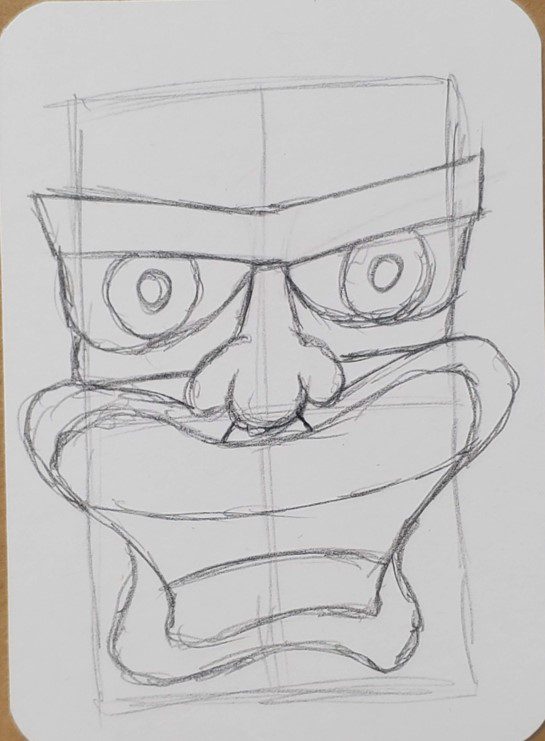
The next step is to draw the mouth. Which I think is the best part of a tiki drawing. The mouths normally have a pretty similar shape. There are still opportunities for variation, but the shape is typically about the same.
Draw out the shape of the mouth and add in the lower lip.
Next, draw the upper lip and some lines for where the teeth will go.
Then add in some lines for the teeth.
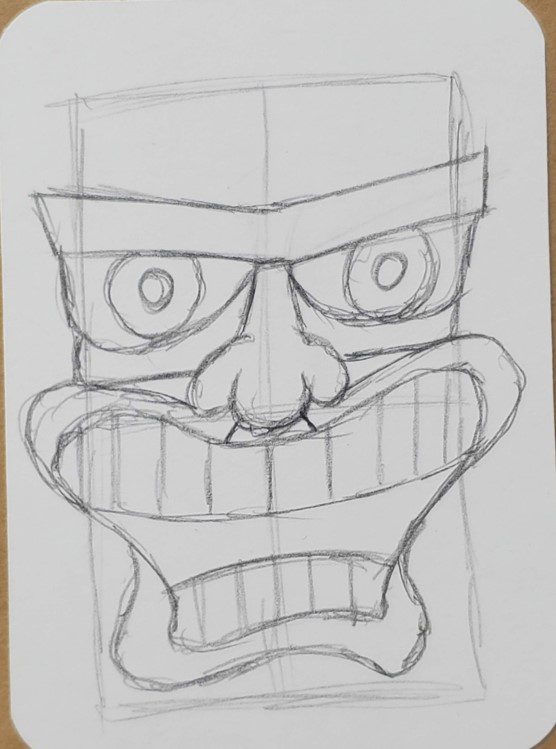
Now you need to fill in the rest of the shape for the head and add in any extra details and decorations you want to include in your tiki drawing.
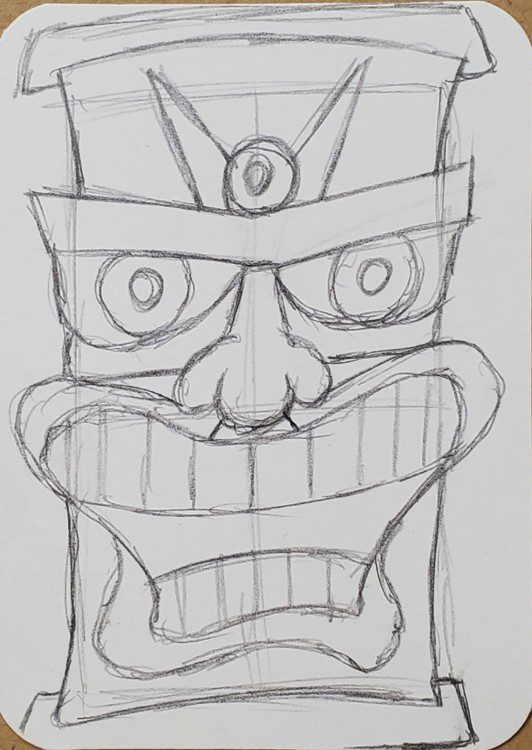
To finish up your drawing add some wood texture. This step is optional but adding some cool textures to your artwork can help take it to the next level. Learn all about how it’s done in our Texture in Art tutorial.

Tiki Head Outline
The next step is to go over your pencil lines with a black pen or marker to make your tiki head outine. You could also you a thicker pen, marker, or a different color. How you go about finishing your drawing will depend on your own artistic style.
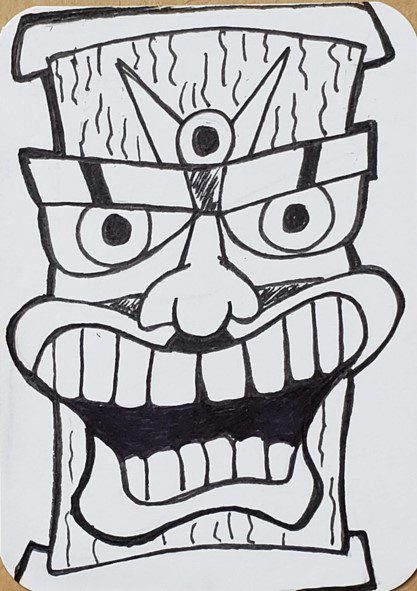
If you’re not sure what your style is, you need to practice more. Your artistic style will develop over time. And in most cases will change a bit as you grow.
Your outlines can be thin, thick, or a combination of the two.
After you have everything outlined use an eraser to remove all your pencil lines.
Tiki Drawing with Markers
After you’ve got your outline finished, and your tiki drawing cleaned up, you’ll want to add in some color. I’m using markers for this tutorial but you can use whatever you prefer.
Learning how to draw a tiki mask with markers is really easy, but there are a few things you should keep in mind when using them.
First, if you want to be able to blend your colors together you need to use alcohol based markers. Bic, Sharpie, and Copic for example. As well as many others.
Second, you need to work while the colors are still wet or they won’t mix together. This isn’t a big deal. Just make sure you work on a section at a time.
Third, you need to use colors that are similar to each other if you want to create a smooth transition of color. If your markers are too different they will leave a harder edge.
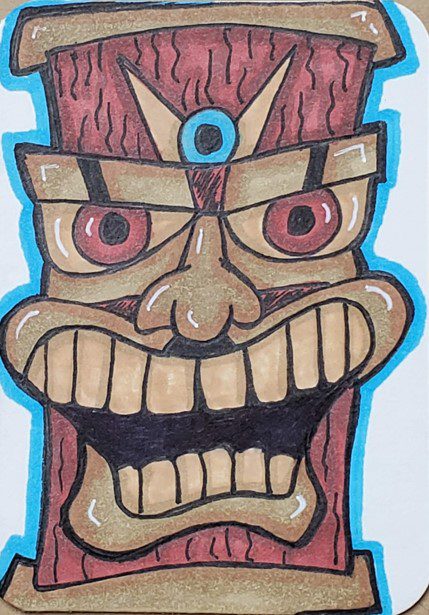
When adding color you’ll want to use a couple of different colors for each section, regardless of which medium you choose.
You could use different shades of brown. Or you could use some yellow or gray with your brown. Adding in some other colors to show different values will help add dimension to your tiki drawings so they look less flat.
You can leave the white of your paper for highlights or you can add some white with a Gelly Roll pen or paint marker.
Final Thoughts and Next Steps
Now that you’ve done a tiki drawing, the next step is to draw several more. The best way to improve your art and drawing skills is with practice and repetition. The more you draw, the better you will get.
And, your creativity will improve as well. Challenge yourself to make a series of tiki drawings and see what you can come up with.
Grab your FREE Guide to Better Art in 7 Days
