Birch Tree Watercolor Painting for Beginners
I love painting these watercolor birch trees, and I think you will too. They are so easy to create, making them the perfect watercolor painting for beginners. If you’ve always wanted to try using watercolors, but didn’t know where to start, this is the perfect painting tutorial for you to try.
You can change the entire look of your painting just by making small adjustments to the colors you use or the placement of your trees. There are so many opportunities to making it your own.
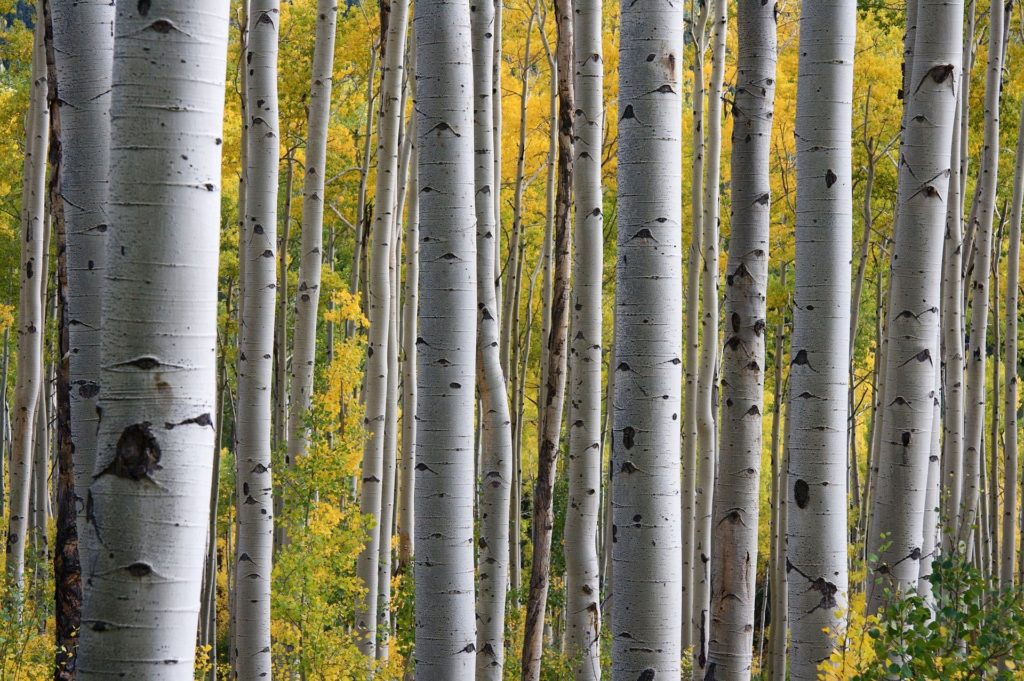
Here’s a reference photo so you can see what real birch trees look like.
Let’s go ahead and get you started making your own winter birch tree watercolor painting. First we need to gather up some supplies.
* Some of the links in this post may be affiliate links. This means I receive small commissions for purchases made through these links at no extra cost to you.
Art Supplies
- Paper or cardstock
- Watercolors
- Brushes
- Water
- Paper towels
- Masking tape
- Markers (optional)
Additional Supplies (if you want to make artist trading cards)
Step by Step Watercolor Birch Trees
For this watercolor painting, there will be very little actual drawing involved. Instead, you’ll use tape to create your trees.
When applying the tape to your paper, you can create the illusion of space by varying the location of your trees. You can learn more about this in our article about Space, or the 7 Elements of Art.
And you can use size to add depth as well. This can be done by using different sizes of tape.
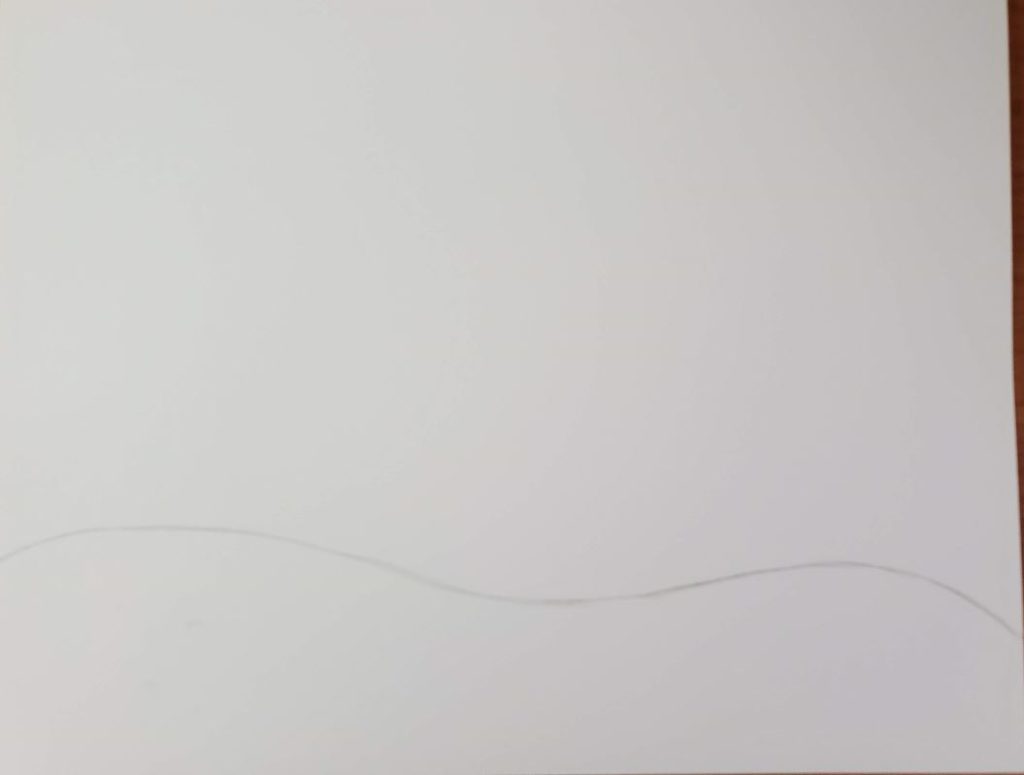
Before taping down your trees, draw where your ground is going to be. You can do this after you put your tape down, but it can be difficult to not damage the edges of the tape.
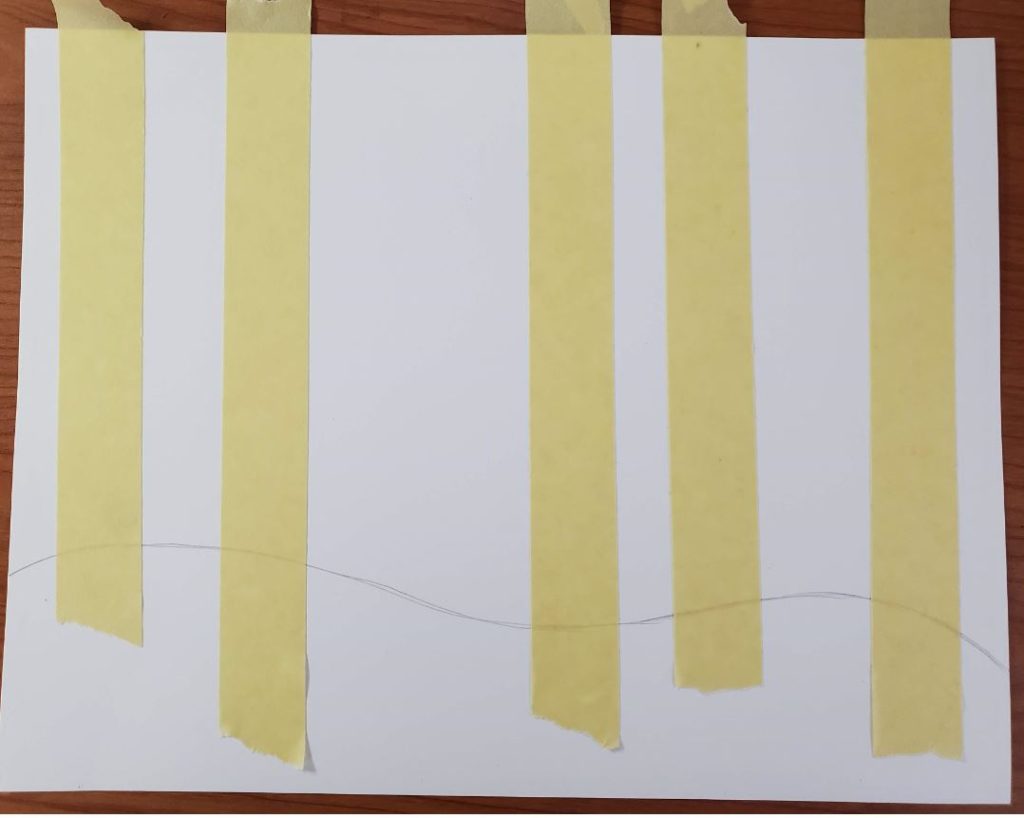
Use masking tape, or another type of tape, to layout your trees on the paper. Rip the bottom edges of the tape so it’s fairly straight, you don’t want them to be too uneven.
Tip: To keep the tape from ripping the paper, place it on your clothing first.
Vary the distance from the bottom of your paper. This will help create the illusion of space by making your trees appear to be at varying distances from the viewer.
How to Paint a Watercolor Sky
When painting your sky, you can use pretty much any colors you’d like to use. I’ve even seen some cool paintings where black was the only color used for the sky. So don’t be afraid to experiment and try new things.
Try sticking to two or three colors, and blending those together if you want more. You don’t want your sky painting to end up looking muddy and brown.
Start at the top of your paper and apply your first color of paint across the top.
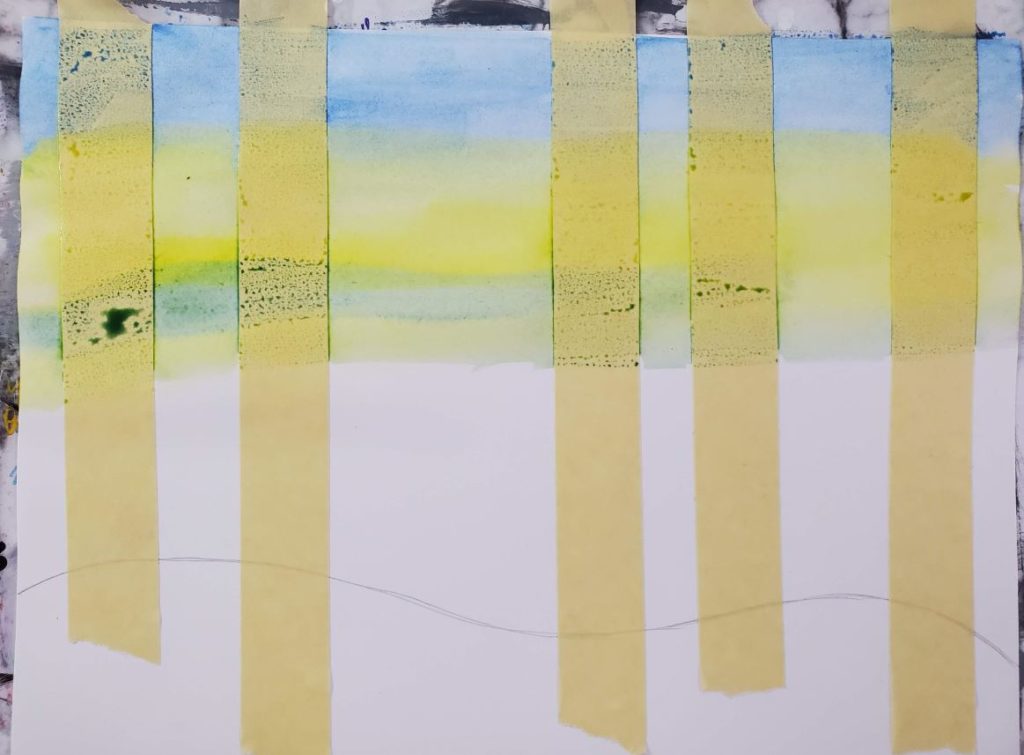
If you want to use a wet on wet technique, add some clean water to your paper before adding your next section of color.
This will allow the colors to blend together more easily.
Add your second color to the next section of your sky. Overlap the colors and allow them to blend together.
Continue adding your colors until you reach your ground.
Salt on Watercolor Technique
Adding salt to your watercolor painting will create an interesting effect. This step is optional, but if you’ve never tried it before now is a good opportunity.
While your sky is still wet, sprinkle some salt on your watercolors. When you sprinkle salt on watercolor, the salt crystals absorb the paint and leave a lighter area in that place on your painting.
This is a really cool technique that you can use to create snow or other textures for your watercolor paintings.
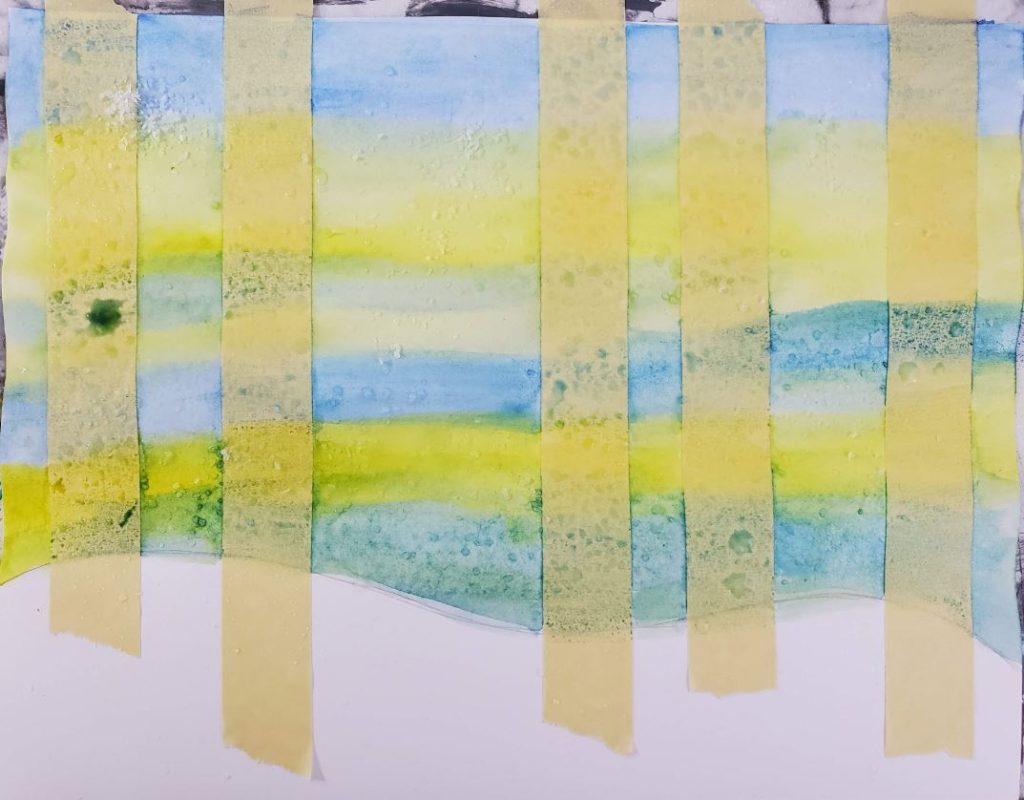
You’ll need to allow your watercolors to dry before removing the salt from your painting. After everything is completely dry, simply brush the salt off of your paper into the trash.
Adding Shadows to Your Painting
The next step is to add some shadows to the bottom of your trees. You can do this with gray, or another color if you’d like.
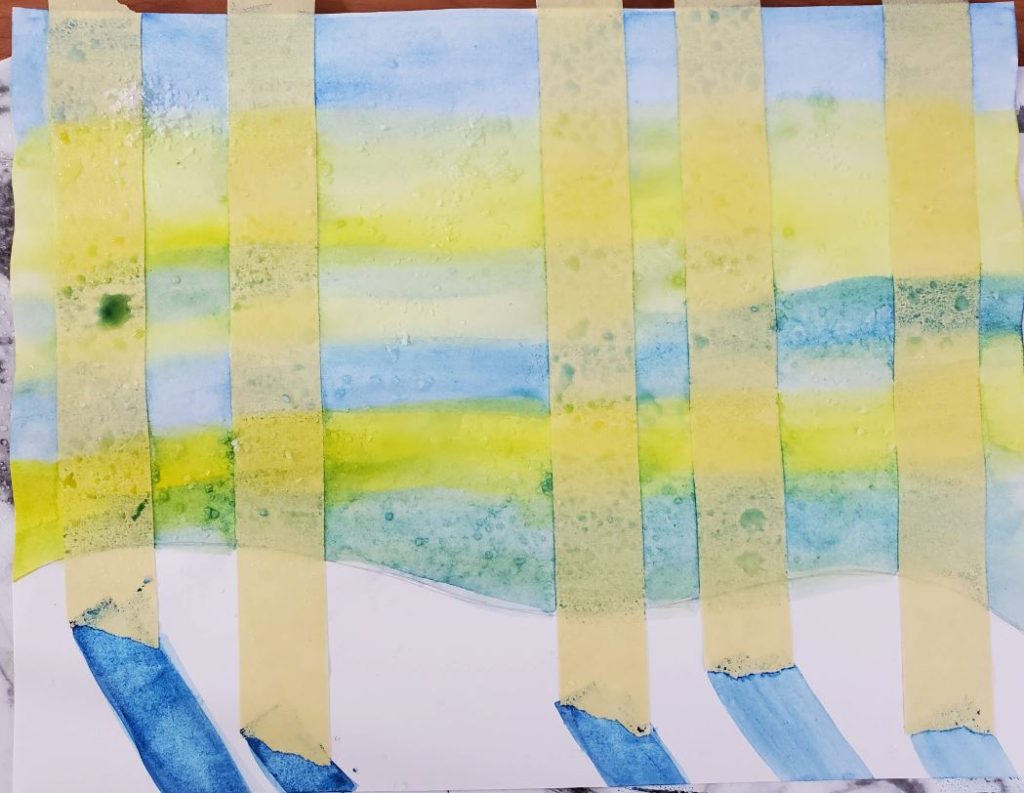
Paint your shadows so they all go in the same direction. Start at the bottom, and paint them at an angle.
They should be about the same width as your trees.
How to Draw Birch Trees
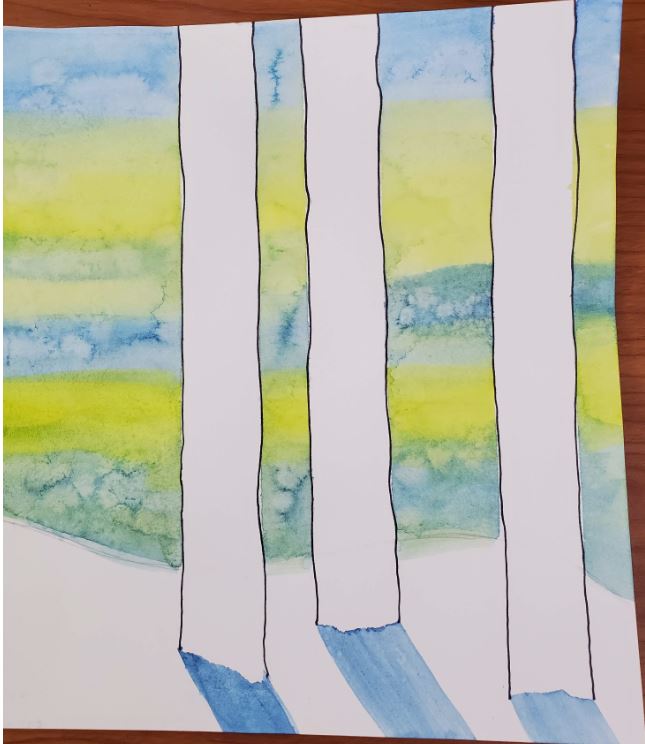
Carefully remove all of the tape from your watercolor painting to reveal your birch trees.
Erase your pencil line from your ground drawing, if you drew it over where your trees are.
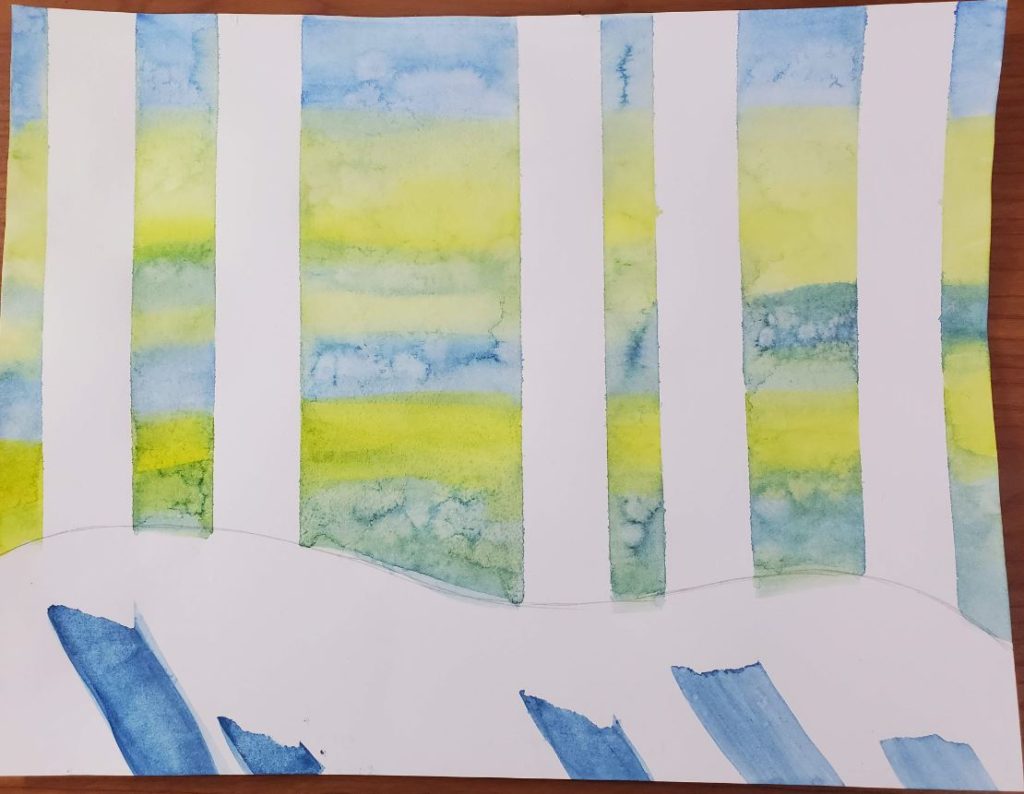
Now you need to add in the bark and outline for your birch tree drawings. You can use a marker for this if you prefer it over paint.
Draw thin lines for the edges of each tree. You can add some waviness to your lines to show a little texture.
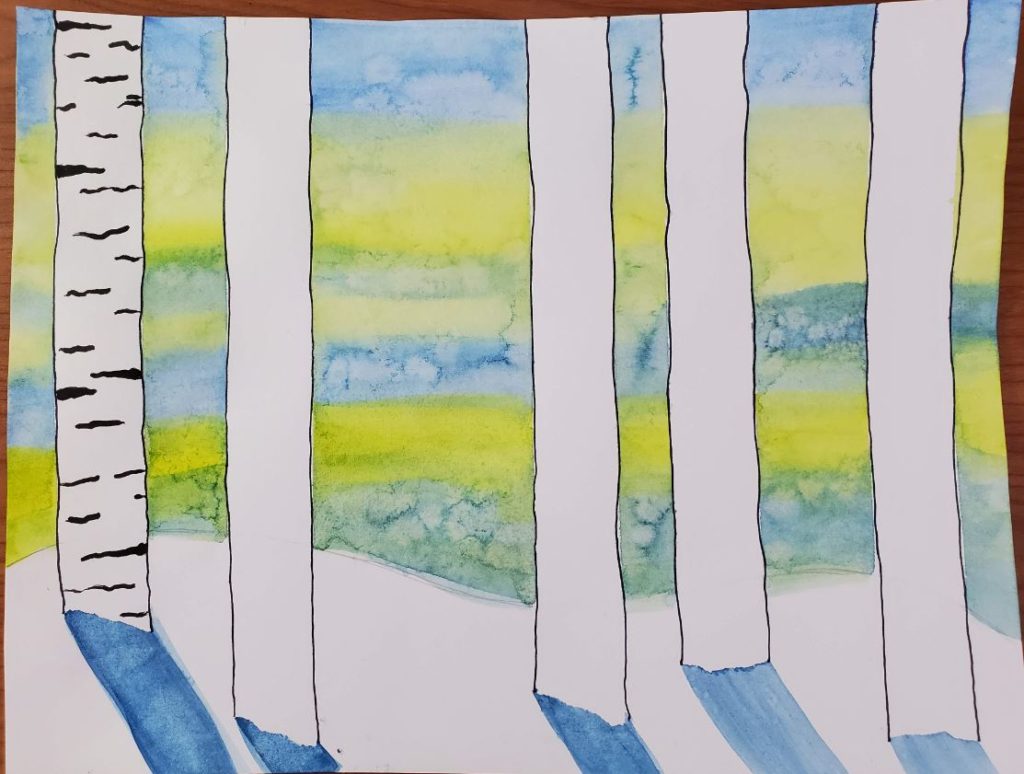
Next, add some short sections of thicker line for the bark. It looks better if you vary the thickness and placement of the lines.
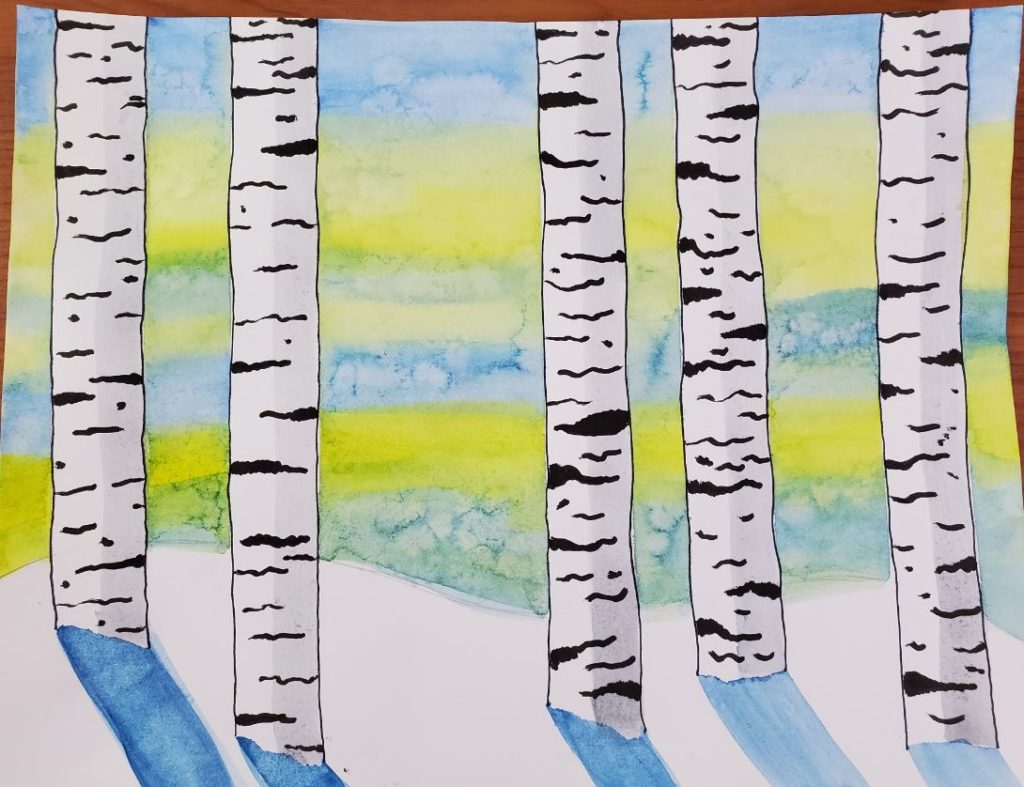
Do this for all of your birch trees. Then add a shadow down one side of your trees. Make sure you do this on the same side as your ground shadow.
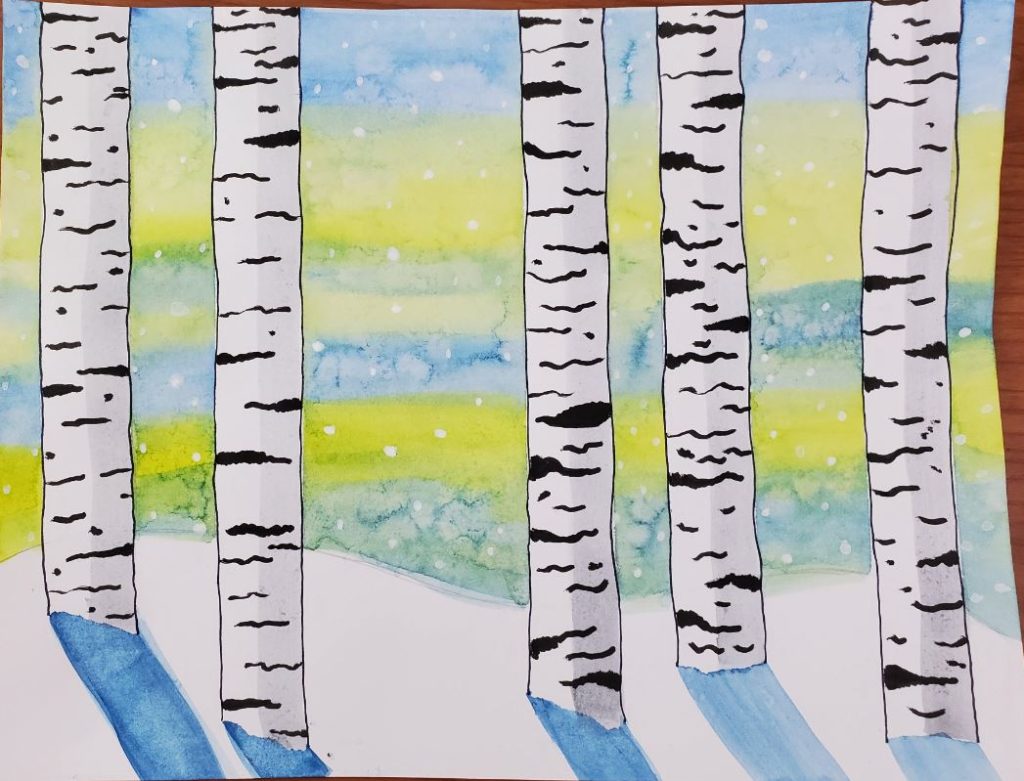
The final step is to add some snowflakes using white. This can be done with a paint pen or white gouache and a brush.
Birch Trees Watercolor Painting Ideas
The best way to improve your painting, or drawing skills, is with lots of practice. It’s more beneficial to work in shorter sessions consistently, than to try working in large chunks of time. Most of us can find 10 or 15 minutes during our day to create some artwork. But finding an hour or two to work is a much harder task.
For this reason, I love creating my artwork on Artist Trading Cards (ATCs). Even though they are intended to be traded, that doesn’t mean you have to trade them. Keeping them in a binder is a great way to build up a portfolio of your work to see how you improve over time.
And by doing more paintings in less time, you can have the freedom to experiment without the added stress of not wanting to waste time by ruining your artwork. I don’t know about you but after I’ve spent hours on a painting the last thing I want to do is take risks.
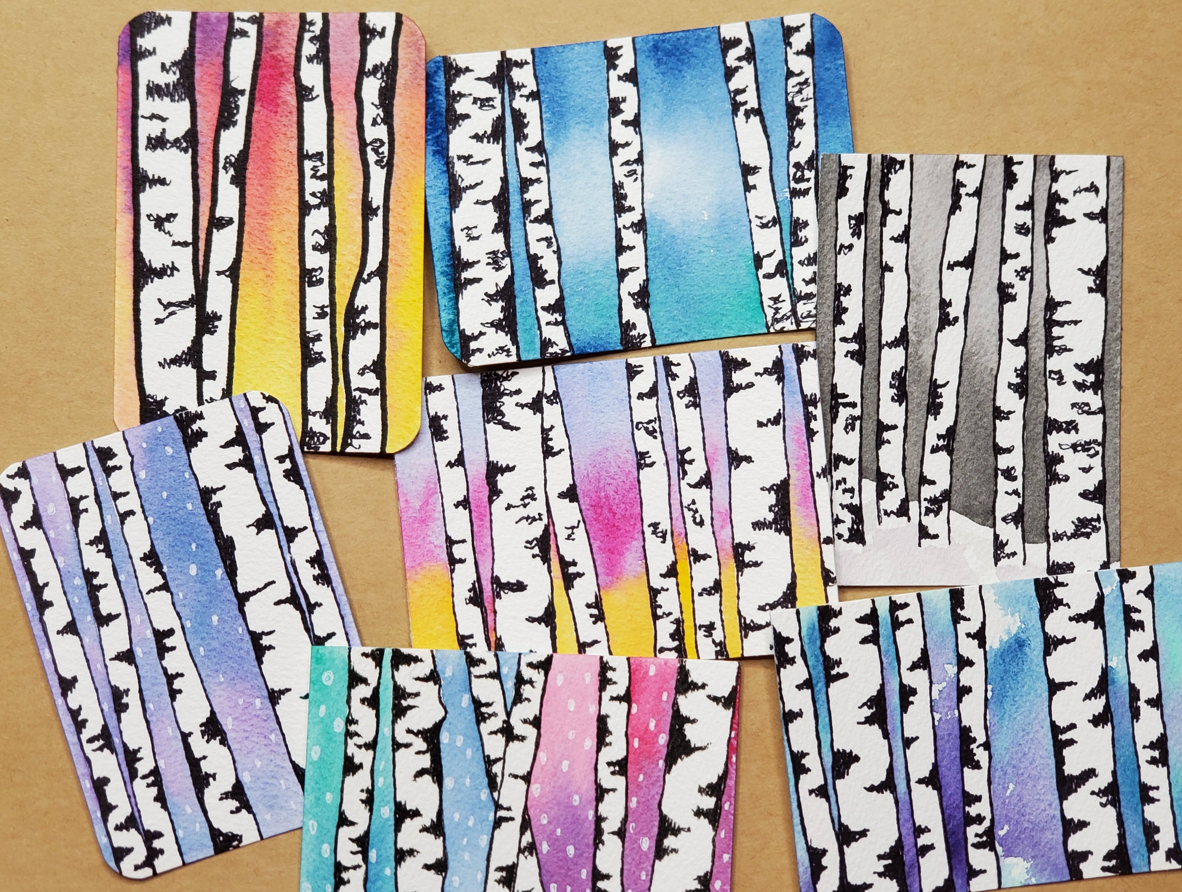
Here are some examples of what I came up with after experimenting a bit with colors, orientation, and sizes of the trees.
Grab Your FREE Guide to Creating Better Art in 7 Days
Easy Watercolor Birch Trees | Step by Step Painting Tutorial
I hope you enjoyed this easy watercolor birch trees art tutorial. They are a wonderful way to practice your watercolor painting techniques and are really easy and fun to make. Challenge yourself to see how many different paintings you can come up. I bet you can think of a lot of different ways to make them look unique.
But don’t forget to have fun. Creating art should be relaxing, not stressful.
Take care, and happy creating!

