Graffiti Letter R Drawing Tutorial
If you follow this simple process, drawing a graffiti letter R is really easy. As a matter of fact, drawing any letter is simple to do. And the best part about it is that you can draw your graffiti letters in many different styles using the same process you’re going to learn in this drawing tutorial.
Pay attention to graffiti art as you’re out and about in your daily travels. And notice what it is you like about it and what you don’t like about it. Let what you see provide inspiration for your own artwork.
Let’s grab our supplies and get started drawing some graffiti Rs.
* Some of the links in this post may be affiliate links. This means I receive small commissions for purchases made through these links at no extra cost to you.
Art Supplies
- Thin black marker
- Paper or cardstock
- Markers
- Pencil
- Click Eraser, Pink Pearl Eraser
- White Gelly Roll pen
How to Draw a Graffiti Letter R Step by Step
Step 1: Quick Sketch
This step is optional but it’s also very beneficial to do. If you’ve never done any quick sketching before you really should give it a try.
Get yourself a piece of paper and something to draw with, it doesn’t matter what it is. Then set a timer for a short duration of time. Typically, three or five minutes would be the amount of time spent on quick sketches.
However, the length of time is totally up to you. It can be one minute, or you could spend ten minutes doing this. And you could also just sketch until you run out of space, which is what I did here.
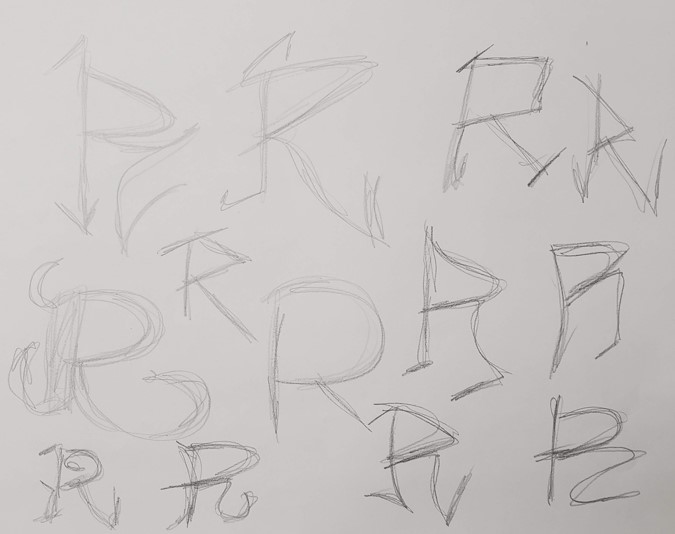
When doing your sketches you want to focus on the shape of your letter R and how the lines flow. Add in any little extra lines where needed. Don’t worry about making mistakes or erasing anything. Just let your pencil flow across the paper.
Your lines should be quick, loose, and sketchy.
Step 2: Graffiti R Drawing
Choose the style letter from your quick sketch page that you want to use for your graffiti R drawing. Then sketch it out on a good piece of paper or sketchbook.
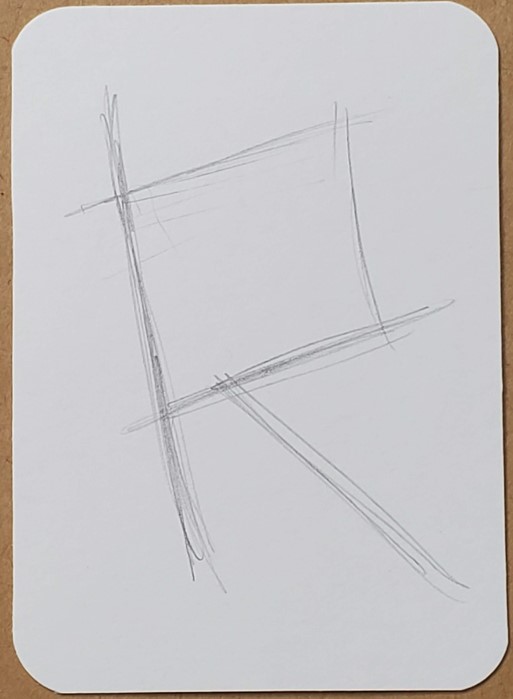
I do most of my artwork on Artist Trading Cards. They save time and I like keeping them in my binder so I can look at them later.
When sketching your letter pay close attention to the size and placement. Especially if you’re going to be making this into a finished work of art.
Next, draw out the shape of your graffiti Letter R. This is where you need to pay closer attention to all those little details. Fix any mistakes as you go and erase where necessary.
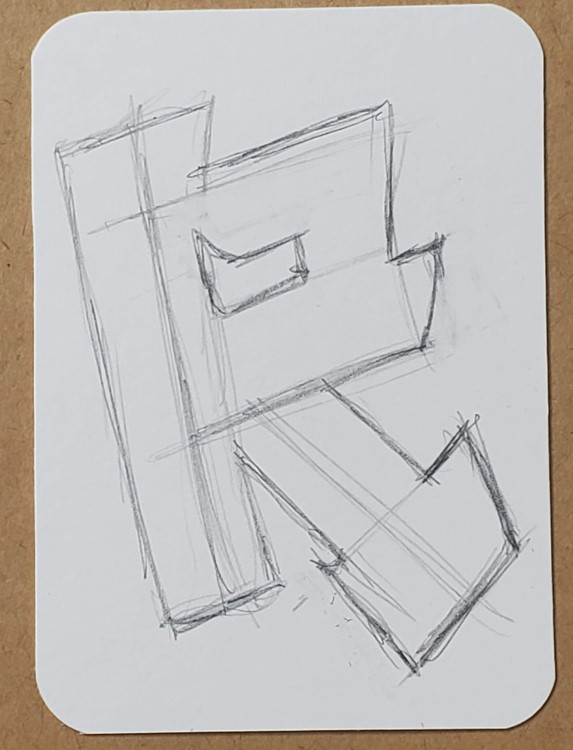
You can keep your lines a bit sketchy since we’ll be cleaning up the drawing in the next step. Keep working on your sketch until you’re happy with how your drawing looks.
Step 3: Letter R Outline
Go over the top of your drawing with a black pen or marker. Of course there are many other options. And you can make your drawing however you want, and you should do your own things. For this drawing I’m using a PITT Artist Pen.
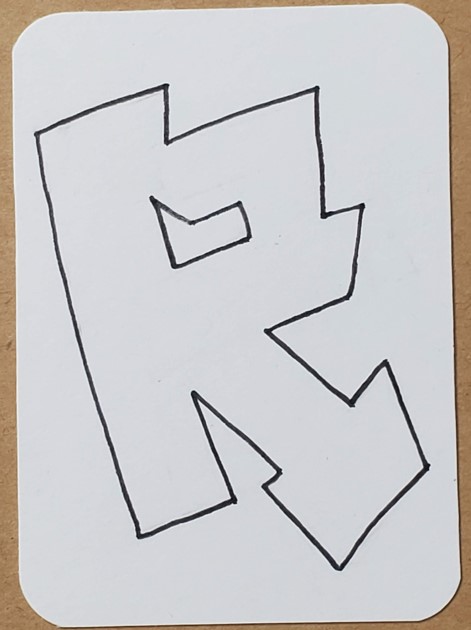
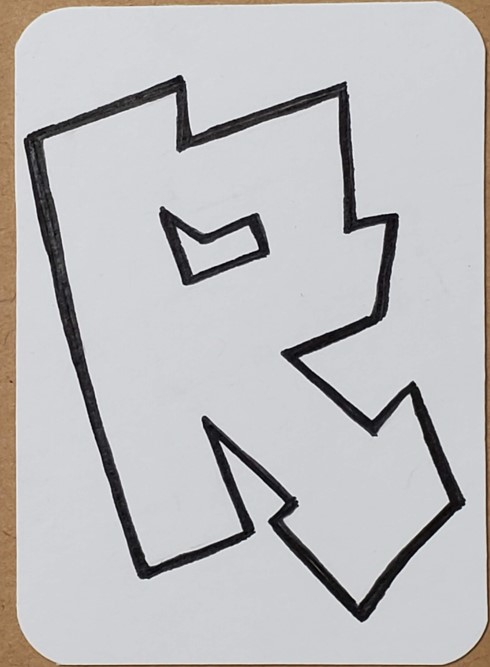
I like my outlines a bit thicker, so I went back in and added to my drawing. You can make your graffiti R with thick lines, thin lines, or a combination of the two. If you’re not sure what you like, that means you need more practice.
Step 4: Drawing with Markers
Now comes the really fun part. To add some color to your drawing. I’m using markers because I like how they look. The colors blend together nicely and they are nice and bright. This makes them a perfect choice for graffiti art.
Choose colors that go well together and will work with your background. If you need some help picking out colors that go together, we have a full tutorial on Color Theory.
Fill in your graffiti letter R by adding your color in small areas at a time to make sure the colors stay wet. If the alcohol evaporates before you blend them together you’ll have sharper edges where the colors meet.
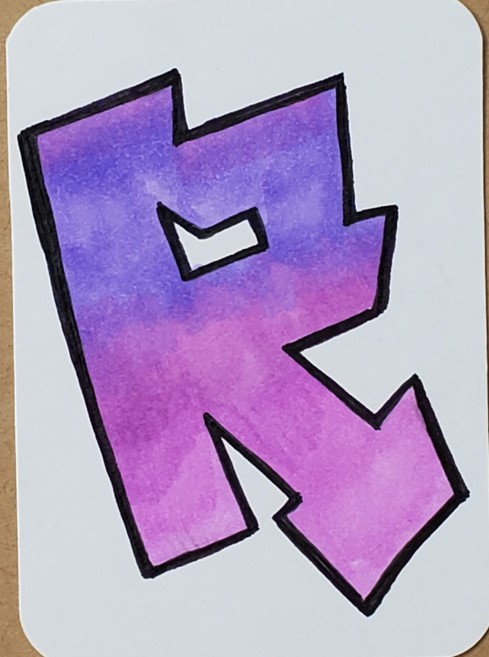
However, if this is the look you’re going for then you won’t need to worry about working in smaller sections.
There are a lot of different ways you can color in your letters. And learning what you like or don’t like will take some practice. The more drawings you do the better you will get. And the more your artistic style will develop.
Step 5: Add a Background
To finish up your graffiti letter R drawing you need to add a background. This could mean filling in the entire rest of the page. Or, you might want to just add in some additional color or some simple accents.

The great thing about drawing graffiti art is all of the different possibilities in each step along the way.
You could add in a brick wall for your background. Graffiti art and brick walls go really well together. And once again, there are so many options for drawing them that you can add your own style to them.
Step 6: Practice, Practice, Practice
You may have noticed there’s a theme throughout this tutorial. And that is that you’ll need to practice if you want to improve your skills. Drawing is a skill that anyone can learn.
The more you practice the better you will get. Make it fun and keep it relaxing and enjoyable. If you’re not having fun you won’t want to do it. Making your practice drawings smaller will help keep the level of pressure lower and will save time.
I try to do a series of 7 for each subject that I draw. So if I’m drawing a graffiti letter R, I’ll do 7 of them. The reason for this is because after the third or fourth drawing I start to feel a shift in my creativity.
I also start to feel more relaxed with my drawings and more comfortable experimenting and trying new things.
Graffiti Letter R Drawing Tutorial
As you can see drawing a graffiti letter R is easy if you follow the steps. You can use this same process to draw any letter of the alphabet or any word you could ever want to draw. The more you practice, the better you will get. Keep it fun and enjoy every minute you spend working on your art.
If you’re interested in learning more about drawing graffiti art grab our free guide by clicking the link below.
Get your FREE Graffiti Guide and learn the steps to creating your own graffiti art.

