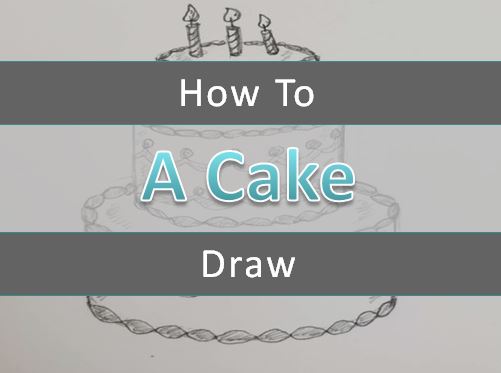
Cake Drawing How To
In today’s art lesson we are going to learn how to draw a cake. We’ll be using a cylinder as our guide so our cake will be three dimensional.
In our lesson how to use shapes to draw, we discussed how many objects can be broken down into basic shapes or forms.
This is a great technique for drawing realistic or more complex works of art. Let’s get started by looking at some basic supplies.
* Some of the links in this post may be affiliate links. This means I receive small commissions for purchases made through these links at no extra cost to you.
Art Supplies
Paper or cardstock
FREE Drawing Guide
How to Draw a Cake Step by Step
As mentioned earlier, you want to start your drawing with a cylinder. This will create a 3D effect for your cake drawing.
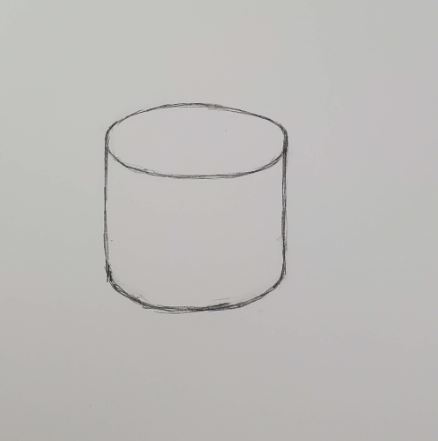
If you want less of the top to show, draw the top of your cylinder more squished.
Next, draw some candles on top of the cake. Last week we did a lesson on drawing candles, and the second part of the lesson covered birthday candles.
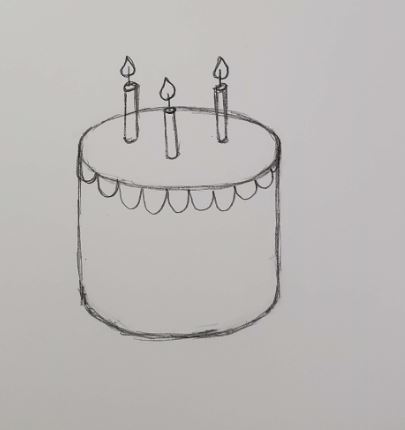
You can draw just one candle for your cake, or draw several candles. Or don’t add any at all.
Draw all the candles so they are the same height, but vary their placement on the cake.
Decorating Your Cake Drawing
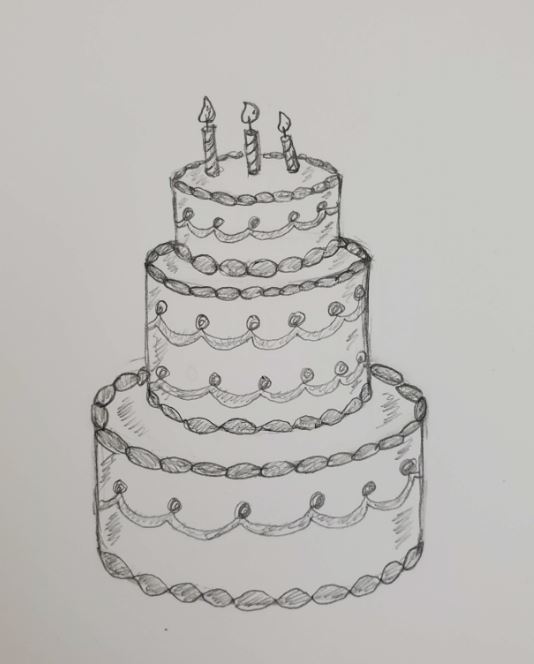
The best part of drawing cakes is the decorations. You can make them really simple, or super intricate. If you’re stuck on coming up with ideas, scallops are always a good choice for the top row.

Add some stripes to your candles, if you didn’t do them earlier.
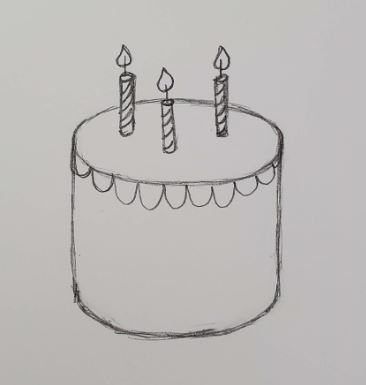
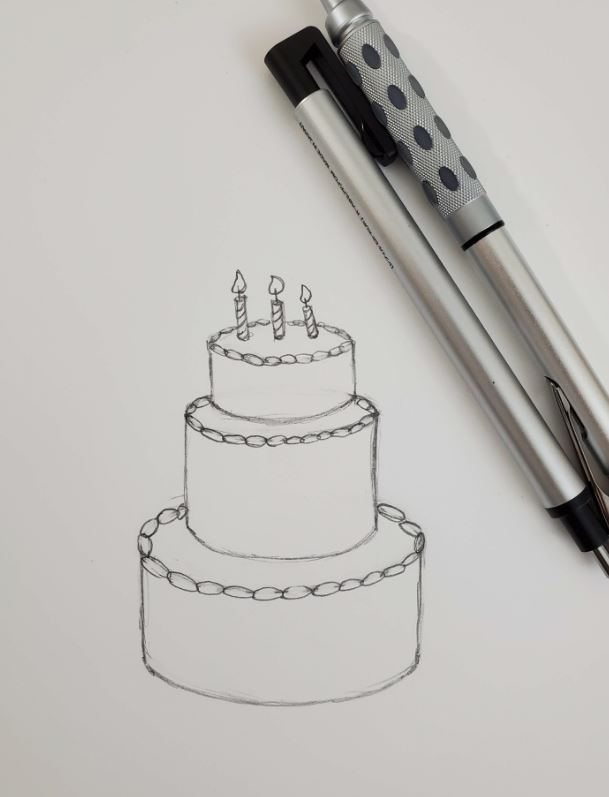
Next, add some frosting to the bottom edge of your cake.
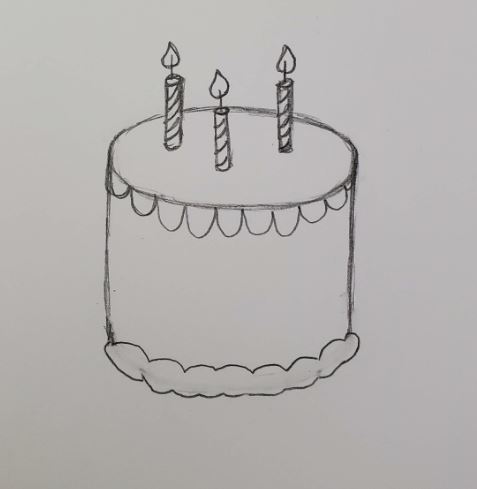
Fill in the remaining part of your cake drawing with some different designs and patterns.
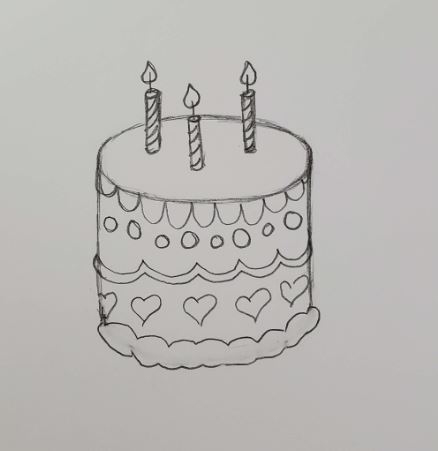
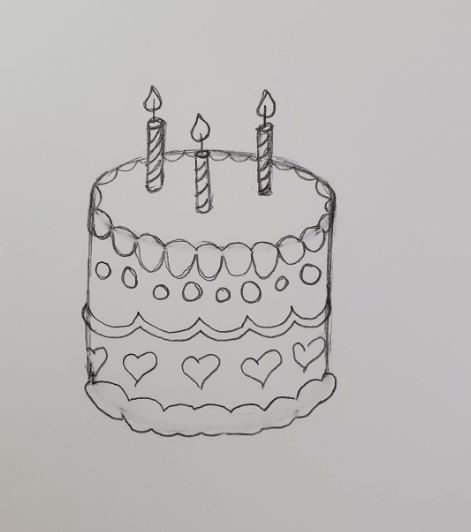
To make the top look more interesting, add in some frosting around the top edge as well.
Multi Layered Cake Drawing
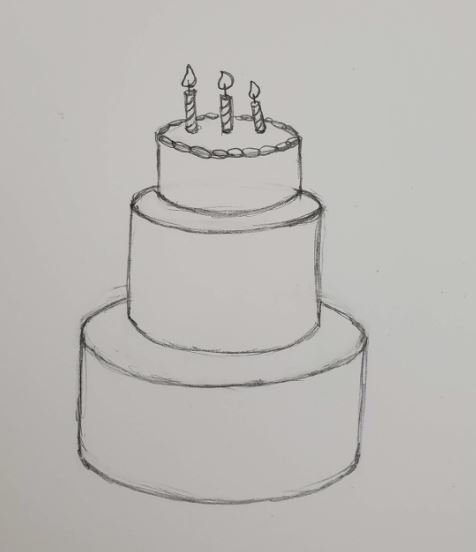
If you want to draw a multi layered cake, just repeat the cylinder drawing process until you get the number of tiers you want.
Start by drawing your cylinder for your first tier.
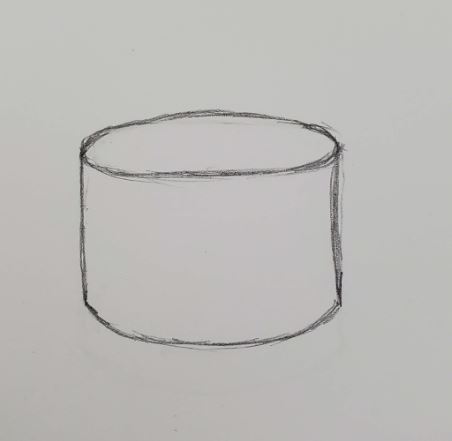
Draw your second tier on top of that by drawing both sides and the bottom. Leave a little bit of space between the bottom of your second tier and the edge of your first tier.
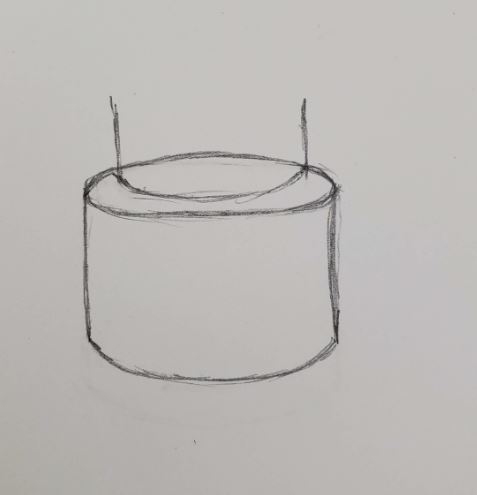
Next, draw the top of your second tier. When you do this, make sure you squish it the same amount as your first tier. If not, your cake drawing will not look right.
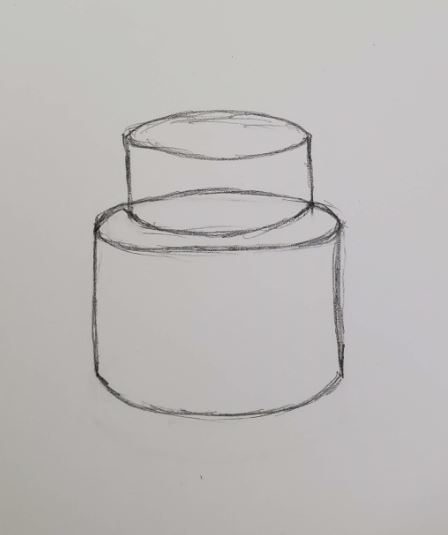
Make sure your cakes are bigger at the bottom and smaller as they move up.
You can add layers under an existing layer, or above an existing layer.
To add an additional tier to the bottom of your cake, start with the top of the cake. Again, make sure you have the same amount of squish to it.
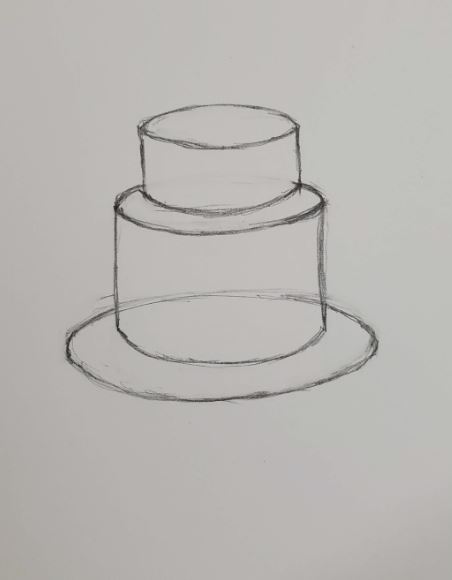
Then draw the sides and the bottom. The bottom of each tier should have the same curve to it.
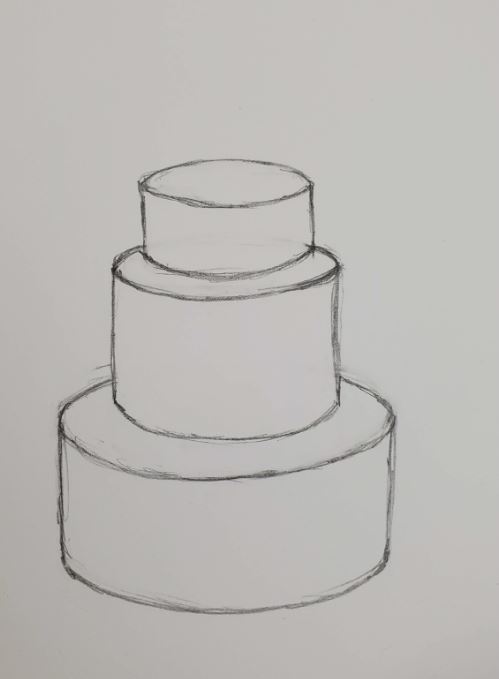
Add candles and start decorating your multi tiered cake.
Clean up your drawing as you go along, or wait until the end. I like doing it as I go. The Mono eraser works really well for this because it’s super small and can get into tight areas.
Add a bit of shading, and you’re all done.
We hope you enjoyed this lesson on how to draw a cake. Check out some of our other posts, and don’t forget to download your cylinder drawing guide.
Cake Drawing Related Posts
- How to Draw a Candle
- Learn to Draw a Present with Markers
- Step by Step Crown Drawing
- How to Draw Clouds

