Easy Penguin Drawing
This is an easy to follow step by step drawing lesson that is perfect for beginner artists. Today we are going to look at how to draw a penguin using a process that makes it really easy to do.
There are a ton of different ways to draw a penguin, and many different styles to make them in. I’m going to show you they way I like drawing penguins, and I’ll give you some ideas for variations.
You can learn more about penguins to help inspired you and give you additional ideas for your penguin drawings.
Like with anything, there is an endless number of supplies you could use for your drawings and works of art. Below is the list of art supplies I used for the penguin drawing in today’s lesson.
* Some of the links in this post may be affiliate links. This means I receive small commissions for purchases made through these links at no extra cost to you.
Art Supplies
- Paper
- Pencil
- Thin black outlining pen
- Bic Intensity Markers
- Black and White colored pencils
- White Gelly Roll pen
Now let’s look at how to draw a cartoon penguin step by step. As I mentioned earlier, there are many different ways to draw a penguin. I actually drew eight completely different cartoon penguins before deciding on which one to use for this art tutorial.
This one was the one that everyone liked best, so he’s being featured in today’s lesson.
How to Draw a Cartoon Penguin
Step 1: Start with Basic Shapes
The best way to draw anything is by breaking it down into basic shapes. We’ve talked about this drawing technique in several of the lessons here.
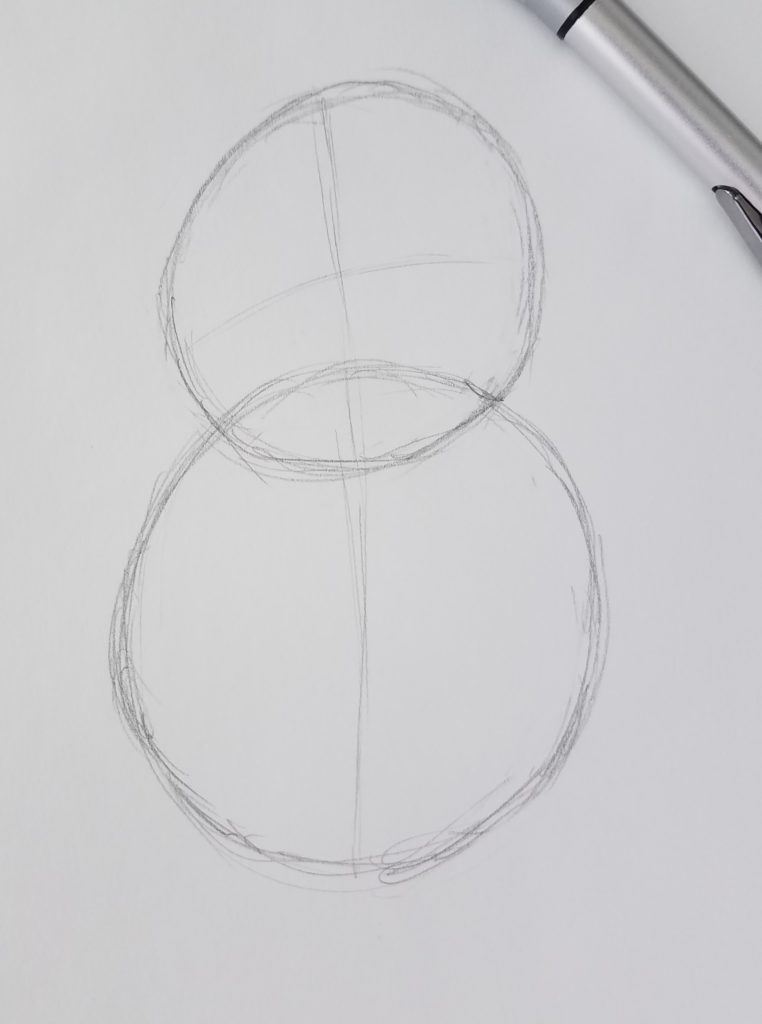
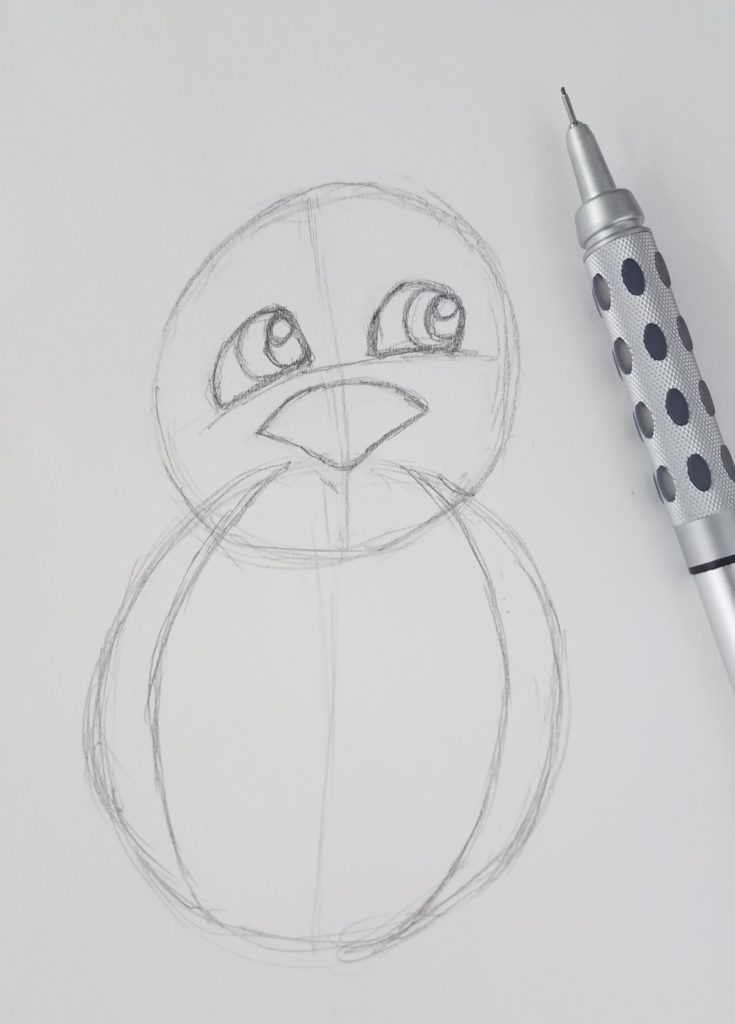
To draw a cartoon penguin, we begin by drawing two circles. The one on the bottom represents the body and should be slightly larger than the one on top, which will be the head.
Draw a vertical line down the center of both circles, and a horizontal line through the center of the head. These guidelines will help you with the placement of your other lines.
Step 2: Sketch in Details
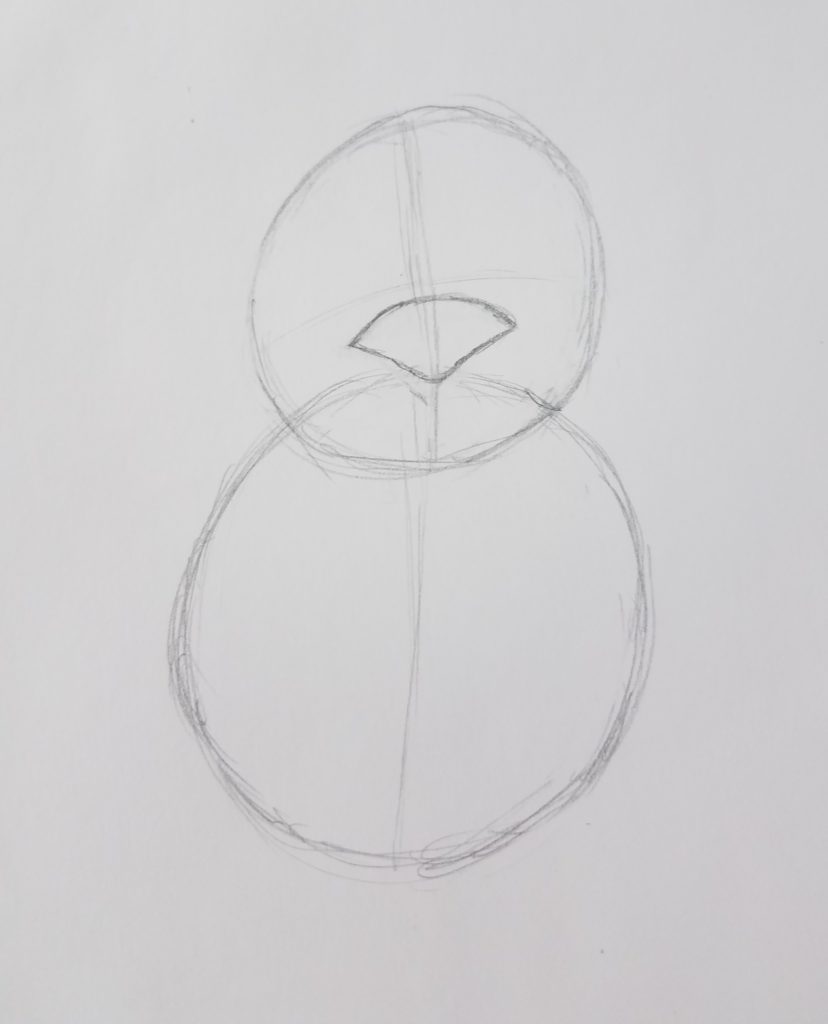
The next step is to add in the beak by drawing in a triangular shape. How you draw your penguin’s beak will slightly change the way he or she looks.
Draw your beak right below where you drew in the horizontal line on the head.
How to Draw Penguin Eyes
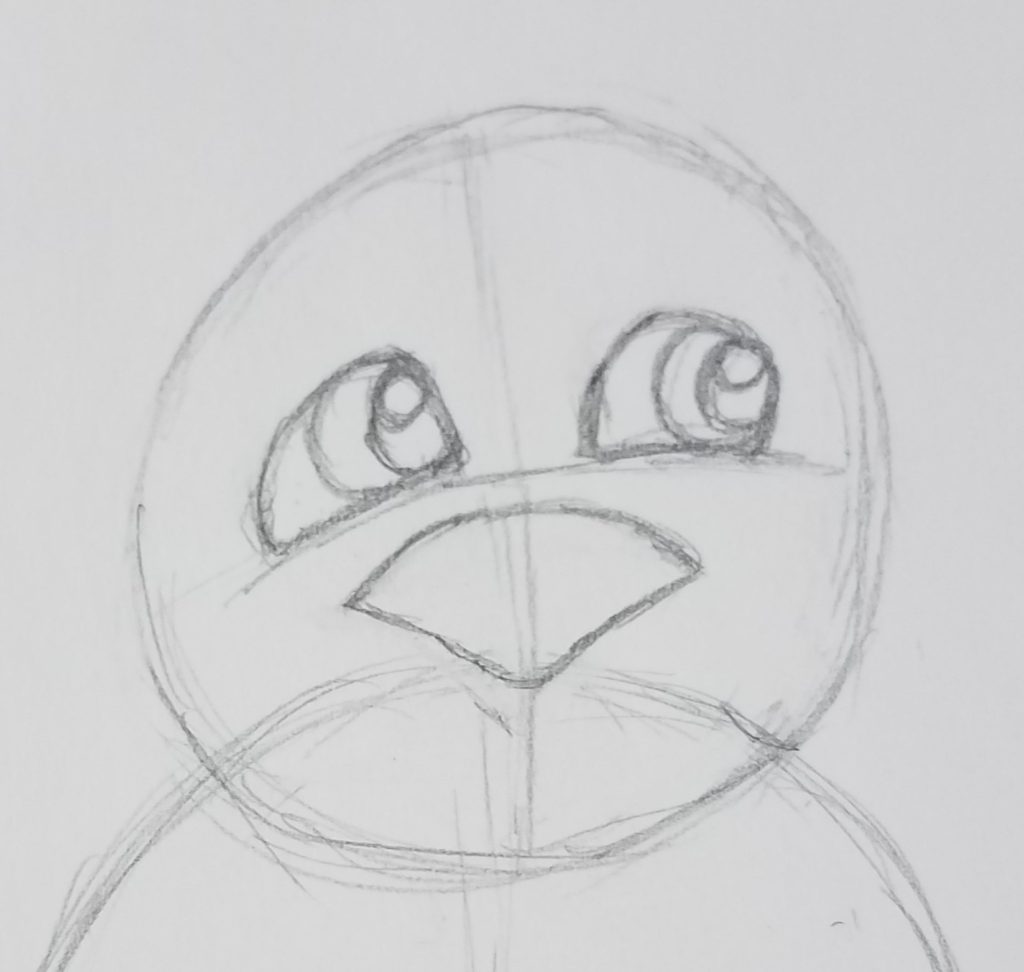
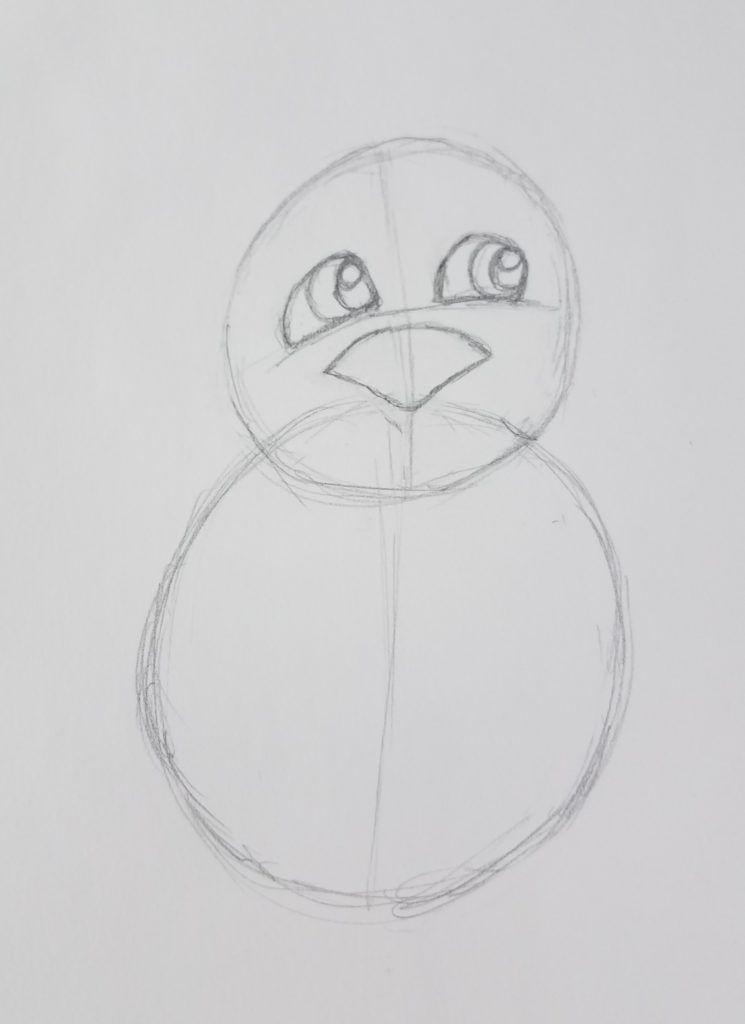
Next, draw the eyes right above the horizontal line on the head. Use your vertical guideline to space them evenly apart.
Get Your FREE Drawing Guide
How to Draw a Penguin Body
Now, draw two curved lines along the inside edges of the body. You want your lines to follow the contour of the circle, narrowing at the top and bottom.
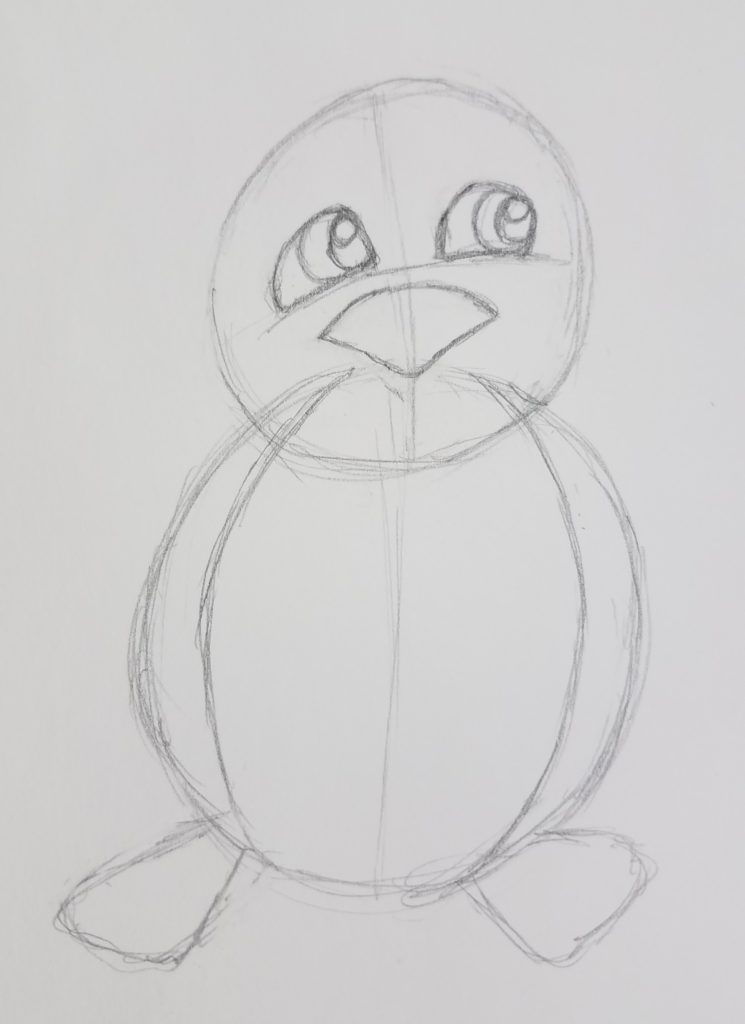
Next, rough in your penguin’s feet. When drawing your feet, make them narrower as they meet the body. We will be adding in more detail later on in the lesson.
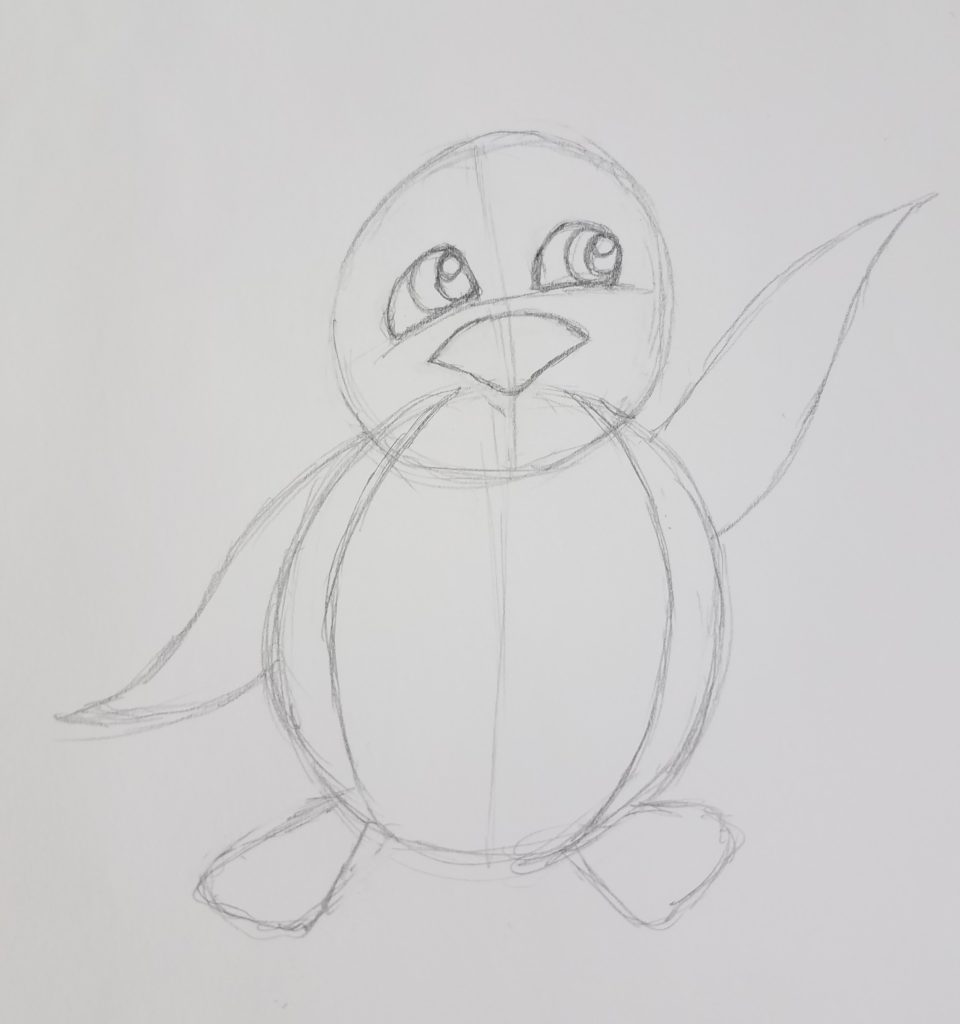
The next thing you’ll want to do is to rough in the shape for his flippers. Make sure to draw them wider where they meet the body, and narrower at the ends.
You can draw them in any position that you’d like.
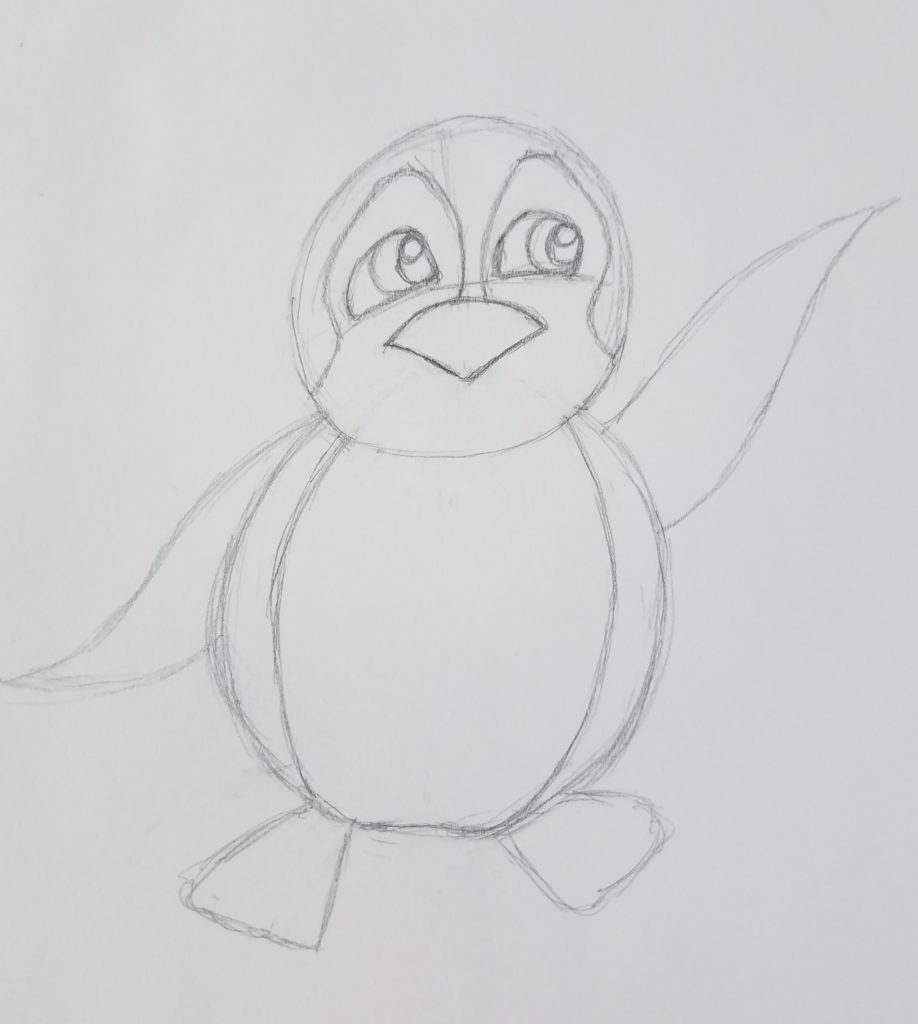
The next step is to draw in the little mask around his eyes. Start your lines from the beak, just next to your vertical guideline. Draw the line up, and around the eye. Do the same thing for the other side, making them symmetrical.
Symmetrical means they mirror each other. If you folded the paper in half, the halves would line up with each other.
How to Draw Penguin Feet
Now we can start to refine your cartoon penguin drawing and begin adding in all of the details. First we are going to draw in the feet. To do this, make three rounded U-shapes at the end that are all connected.
Optionally, you can leave the feet the way that they are.
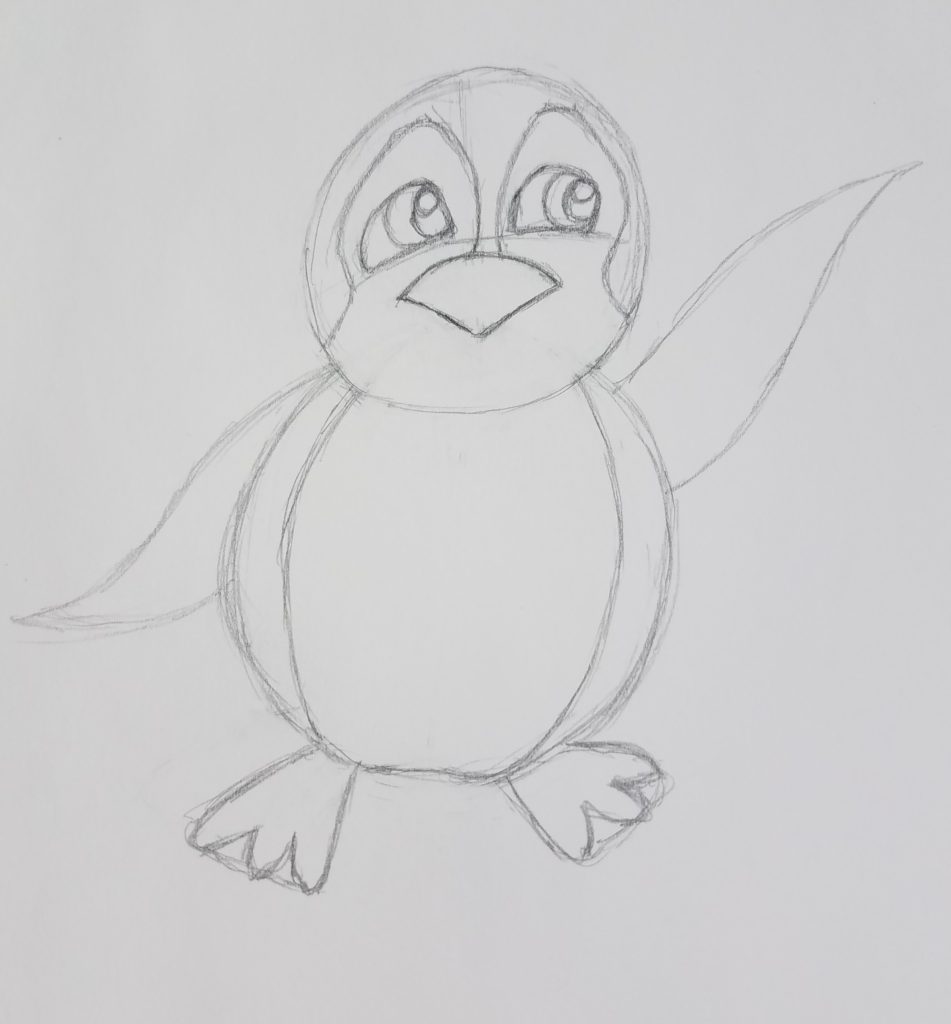
Next, add in some details to the flippers by drawing a line that goes from the tip back to the body. Curve your lines so they follow roughly the same contour as the shape of the flippers.
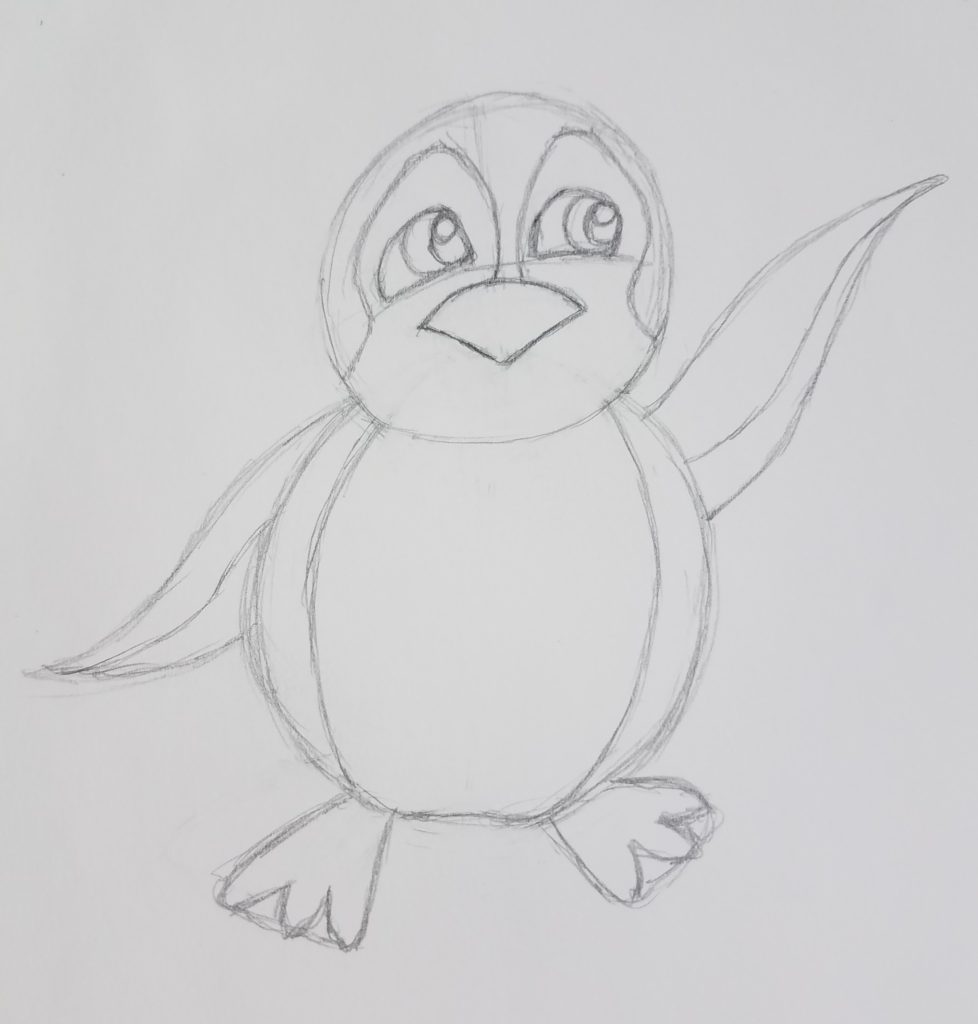
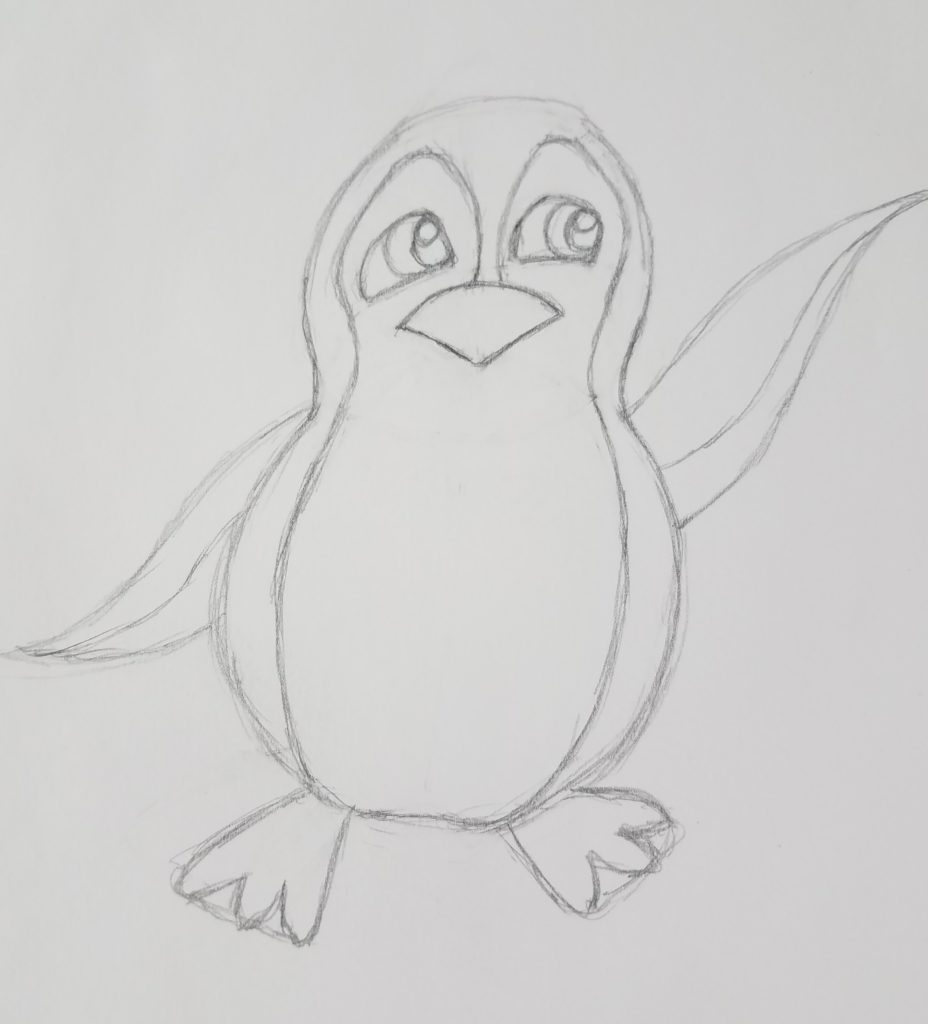
Now you want to go in and clean up the area where the body and the head meet. I decided I didn’t like the mask area on the head, so I connected the lines.
In this step I also erased the lines for the circles and rounded out where the two circles meet.
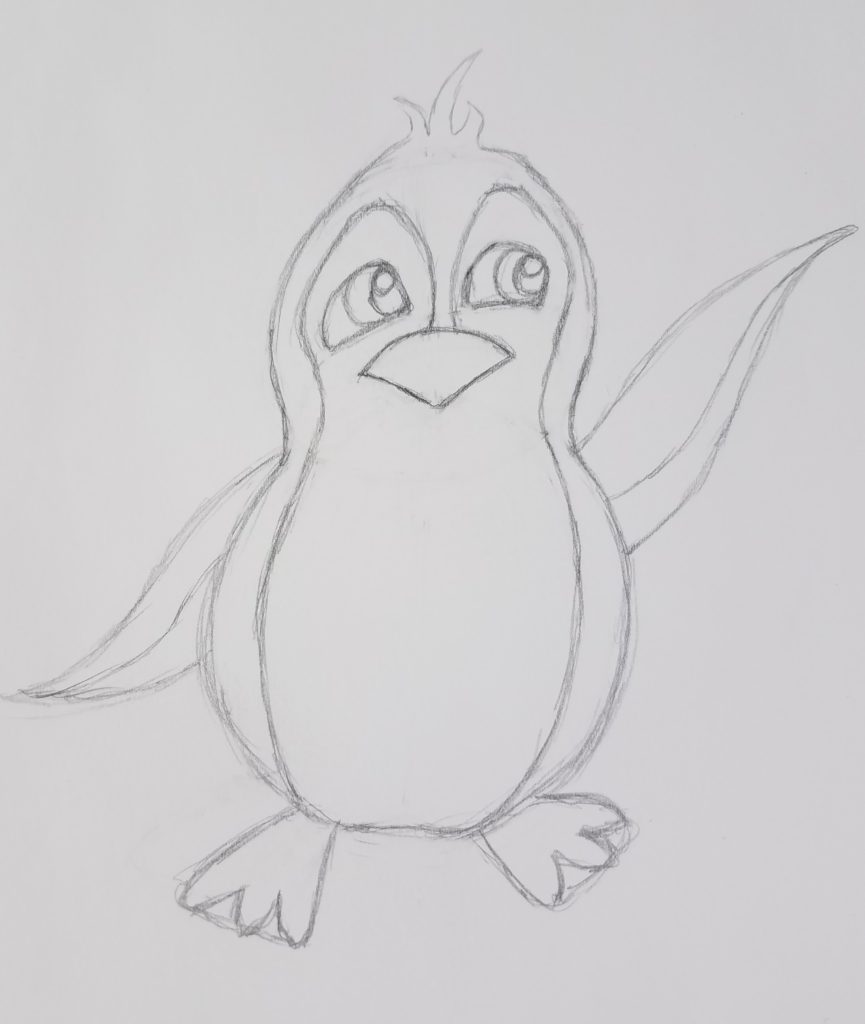
Draw in a few little pieces of hair on the top of his head. I like adding in three pieces of hair, making them various sizes and shapes.
Step 3: Add Extra Details (Like a Scarf)
Now it’s time to bundle the little guy up so he doesn’t get cold. Of course, you can skip this part of the drawing. But I think it makes him look extra adorable.
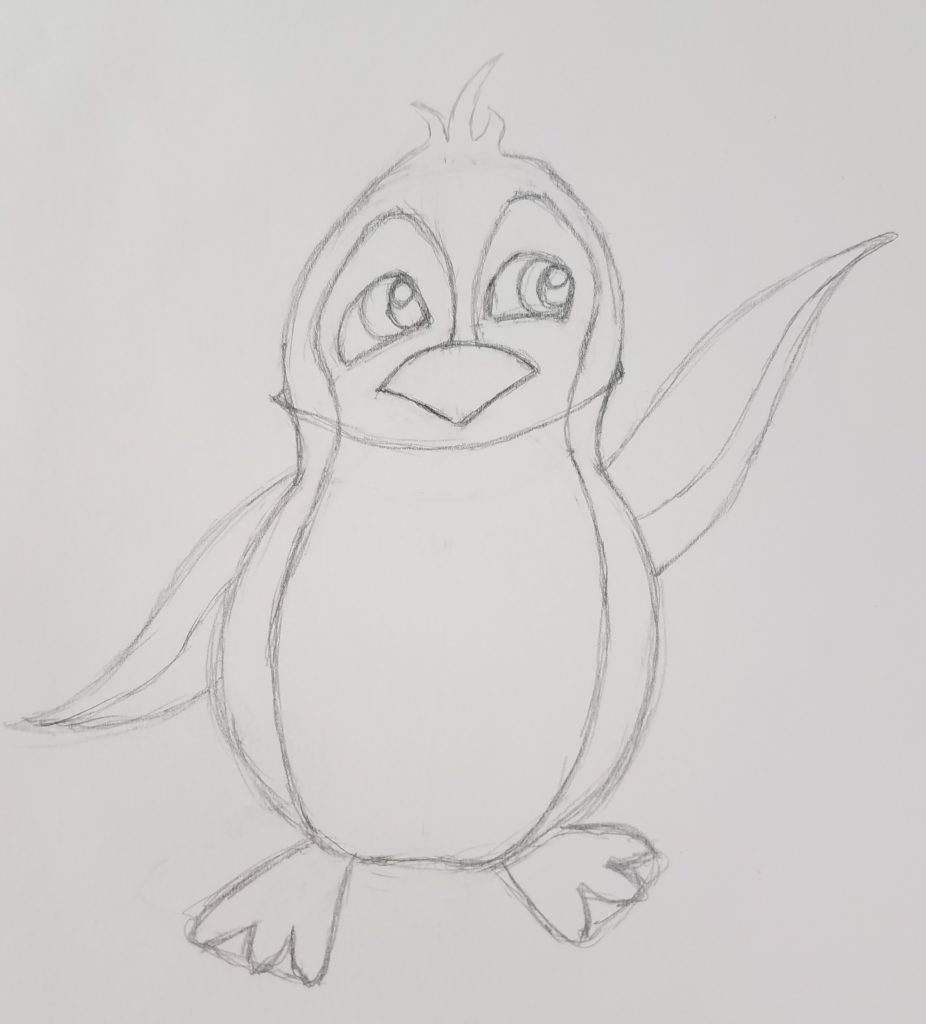
We’re going to begin my drawing a scarf on our penguin. Make sure to curve your line so it looks like it’s wrapping around his neck.
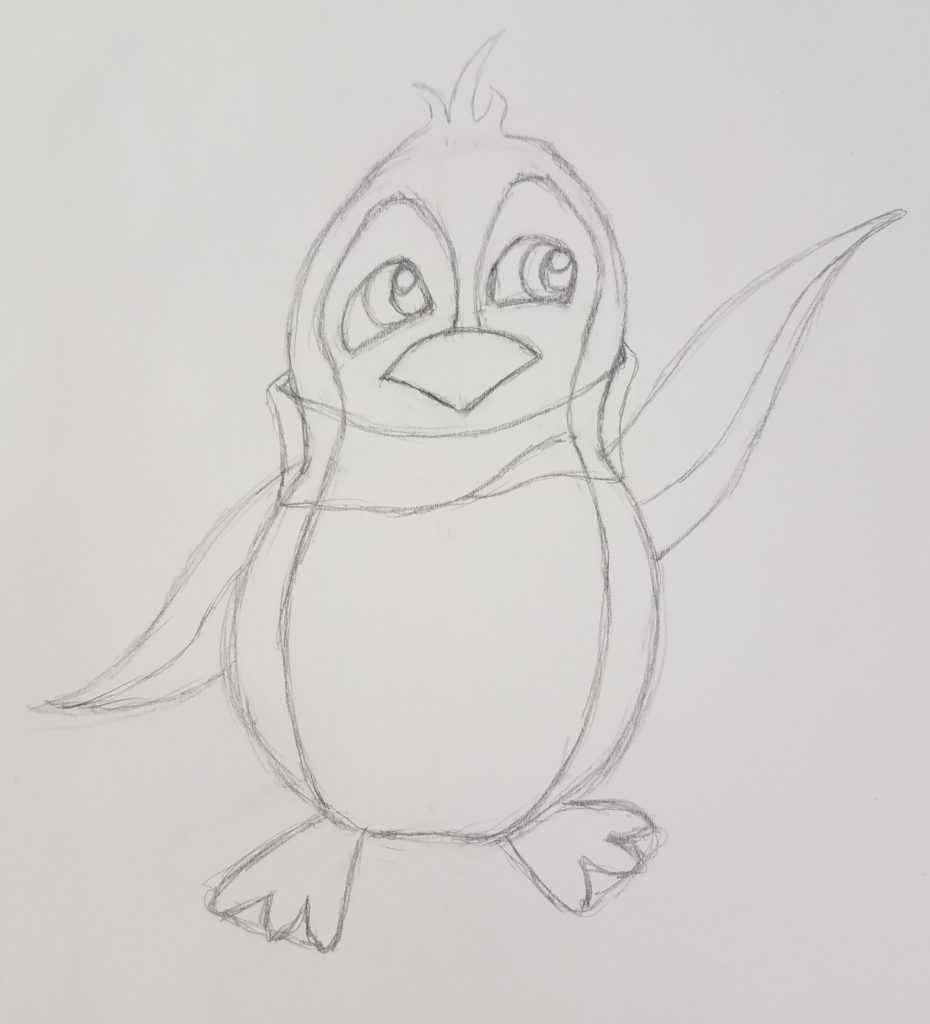
Continue drawing your penguin’s scarf by adding the lines on the sides and the bottom. Drawing in some folds will make the scarf look more interesting.
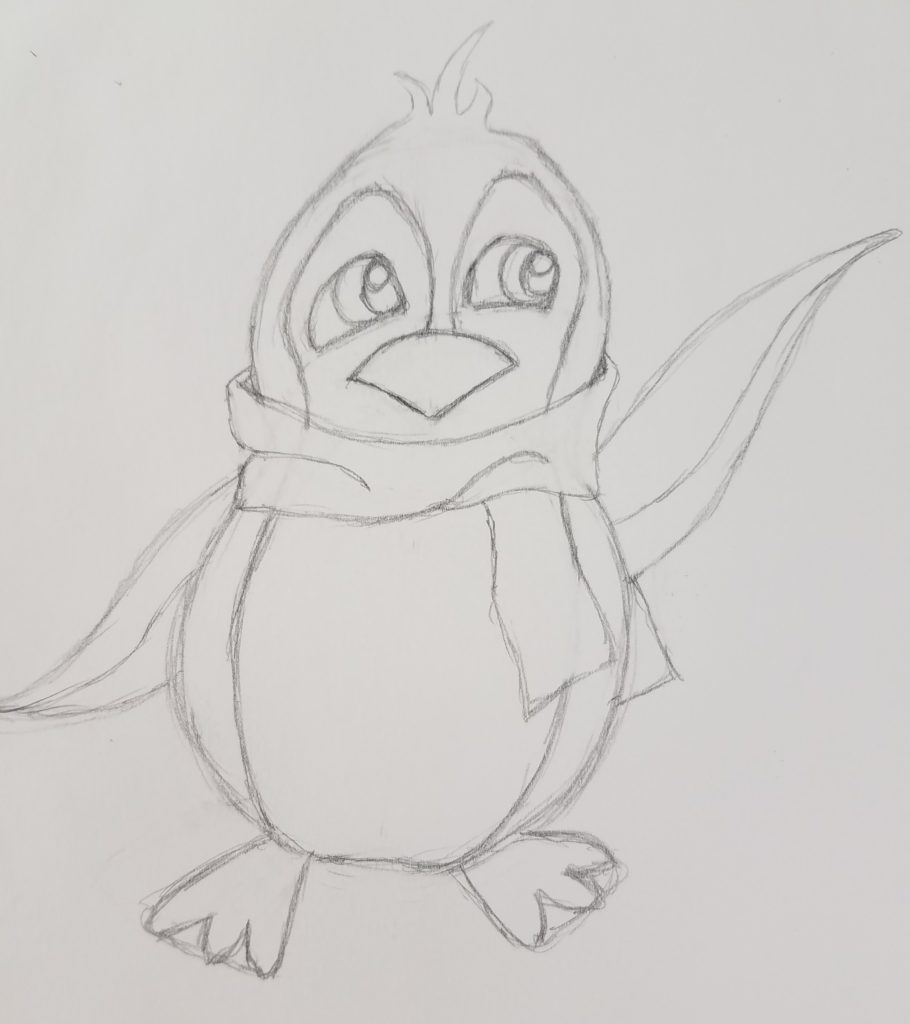
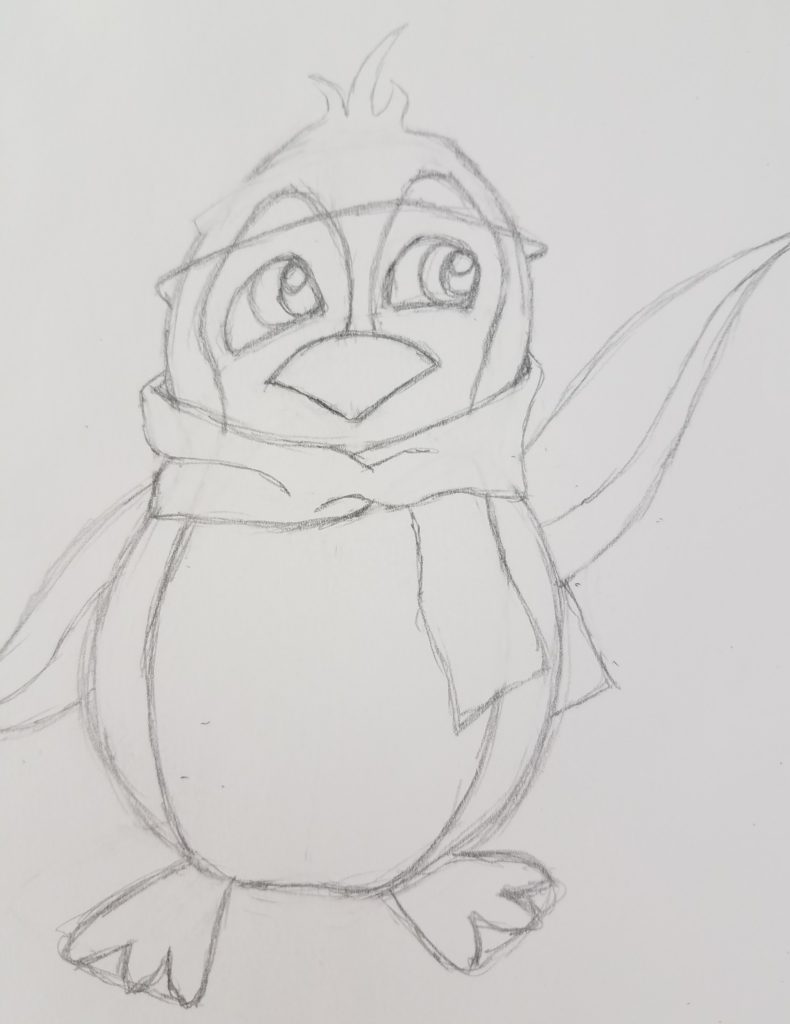
Finish drawing the scarf by adding in the ends. We have an entire post on Drawing a Scarf if you need some help with this.
How to Draw a Winter Hat
Now it’s time to cover up the little guy’s head. We’ll begin by drawing the bottom of the hat first. You can move the hat up or down on your penguin’s head by where you draw in this line.
Next, draw in the top part of the band of the hat. Add in a couple of extra lines to show come folds and uneven areas of the hat to make it look better. Or, not… the choice is yours.
What I’m showing you is a representation of my own personal style. Remember in How to Draw a Rose Bud when we talked about artistic freedom and developing your own style? These are the situations where that comes into play.
If you like how it looks with the extra lines and folds, then add them into your drawing. But if you don’t, leave them out.
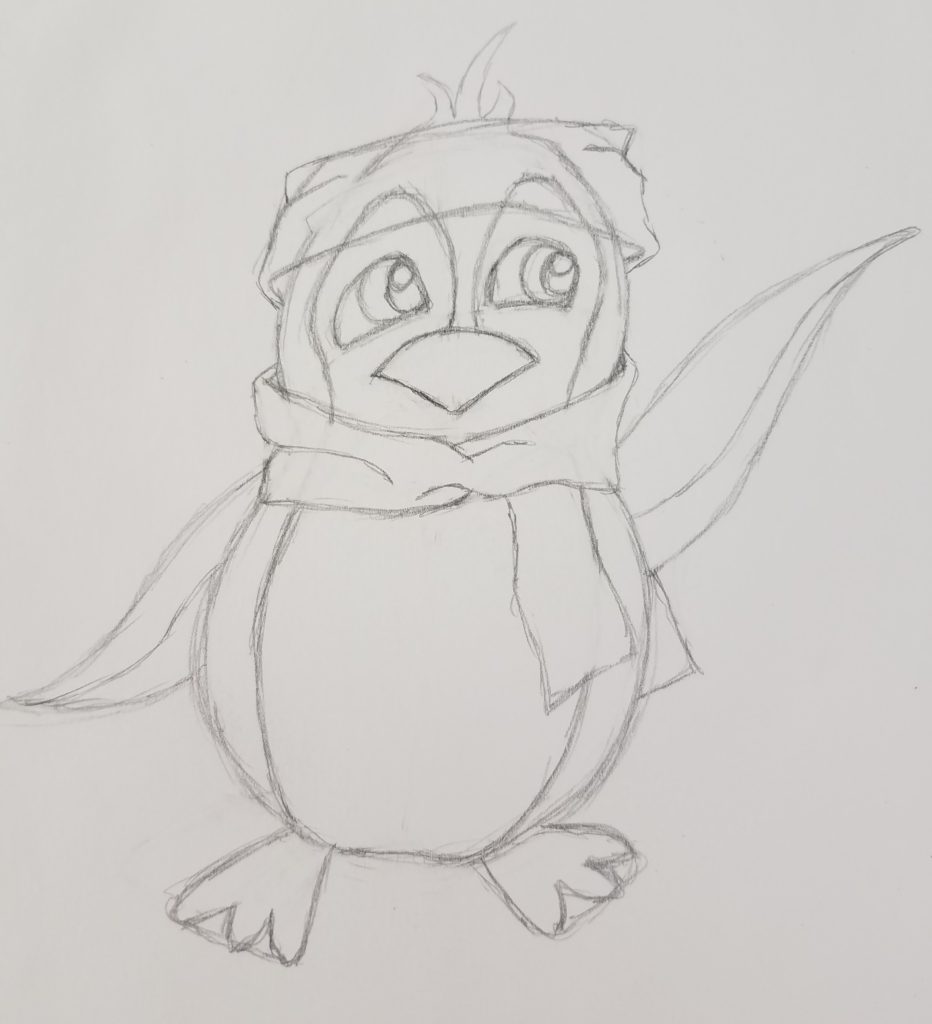
Continue working on the hat by drawing in the main section. I drew my hat tall enough to fit over the top of his strands of hair sticking up. You can make yours taller or shorter, depending on your personal preference.
Or give him a different style hat altogether.
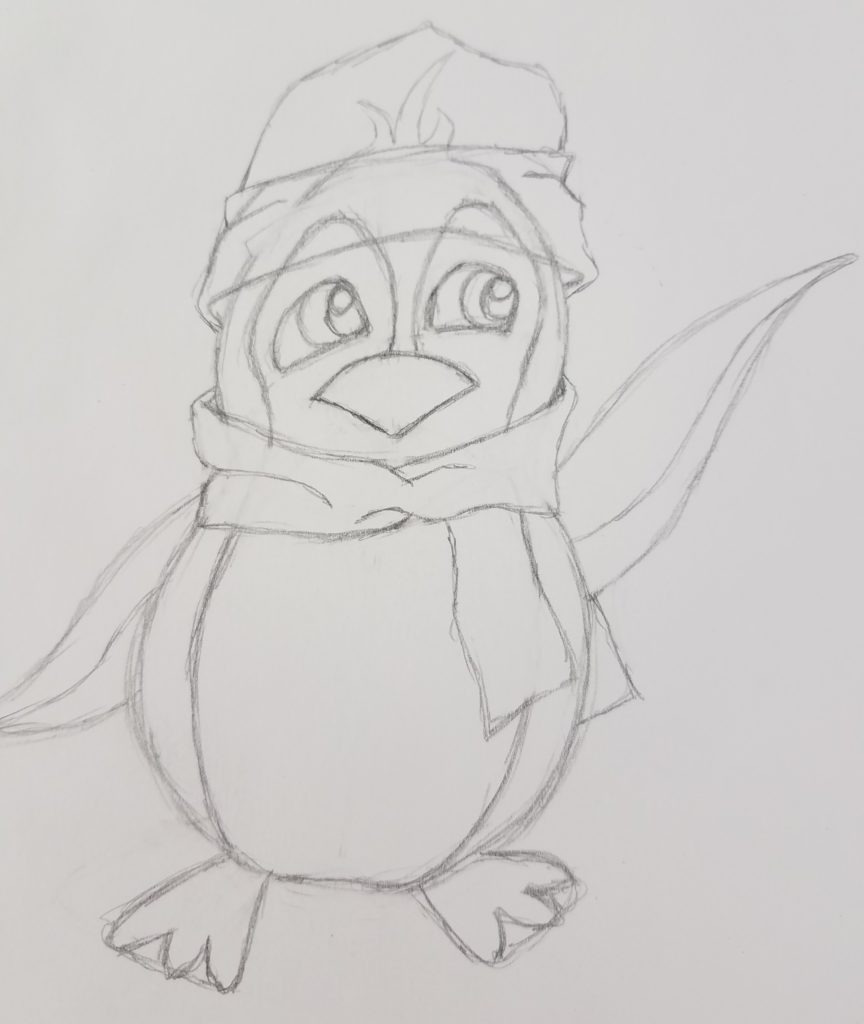
Finish drawing your hat by adding in the little puffy ball at the top. Not sure what this thing is called. A pom-pom maybe?
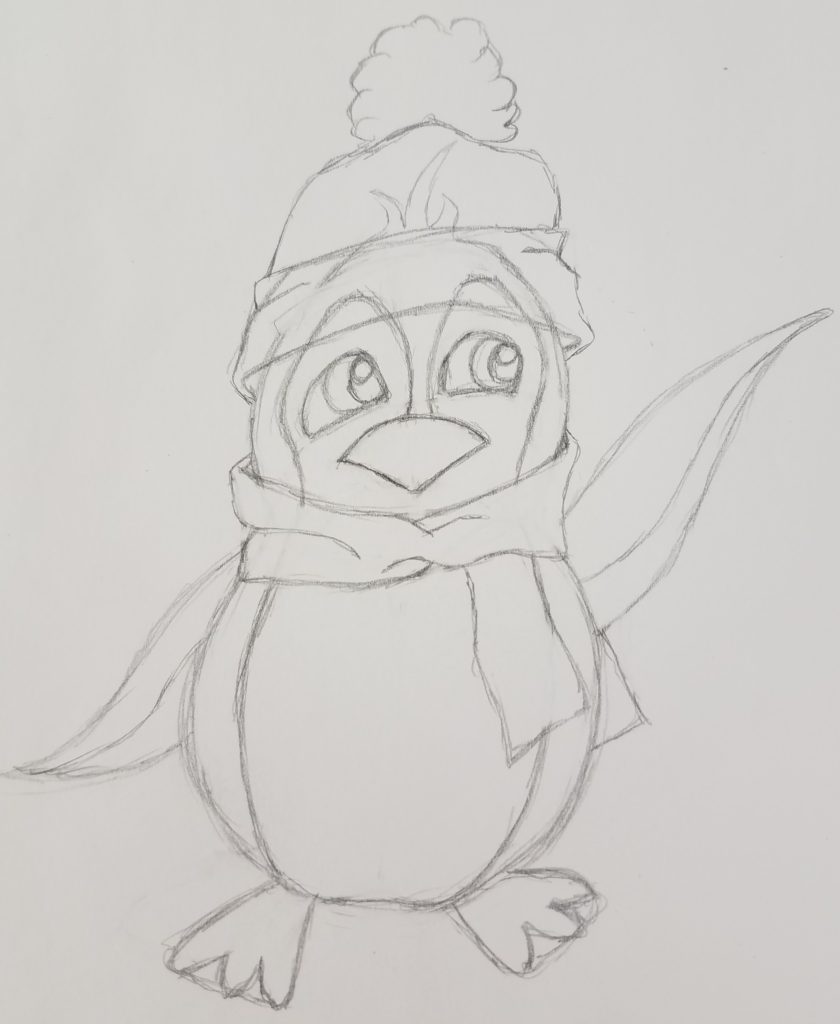
Clean up your lines and erase any extras that you no longer need. If there are any changes you want to add to your drawing, now is the time to do it.
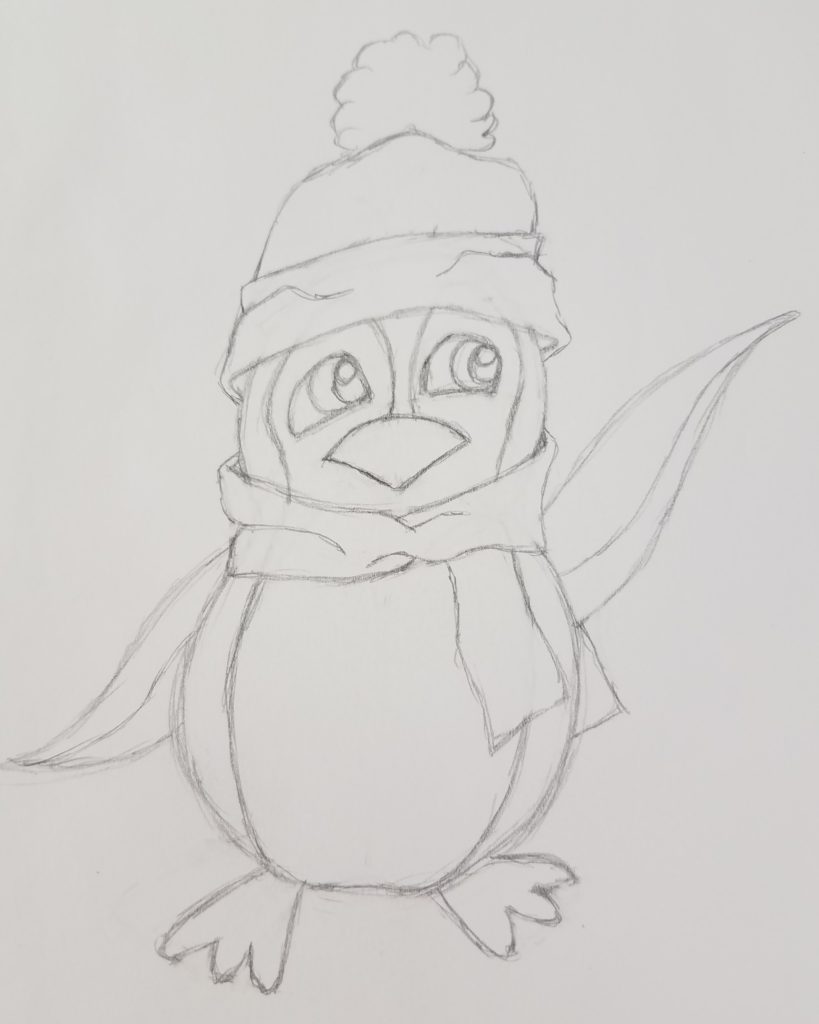
Penguin Outline
Now it’s time to finish up your drawing and turn it into a work of art. The next step is to outline your drawing with a thin black marker. You can make your lines as thick or thin as you like them. I typically prefer a thicker line on my drawings.
Again, this is part of your artistic style. Make your lines the way you like them.
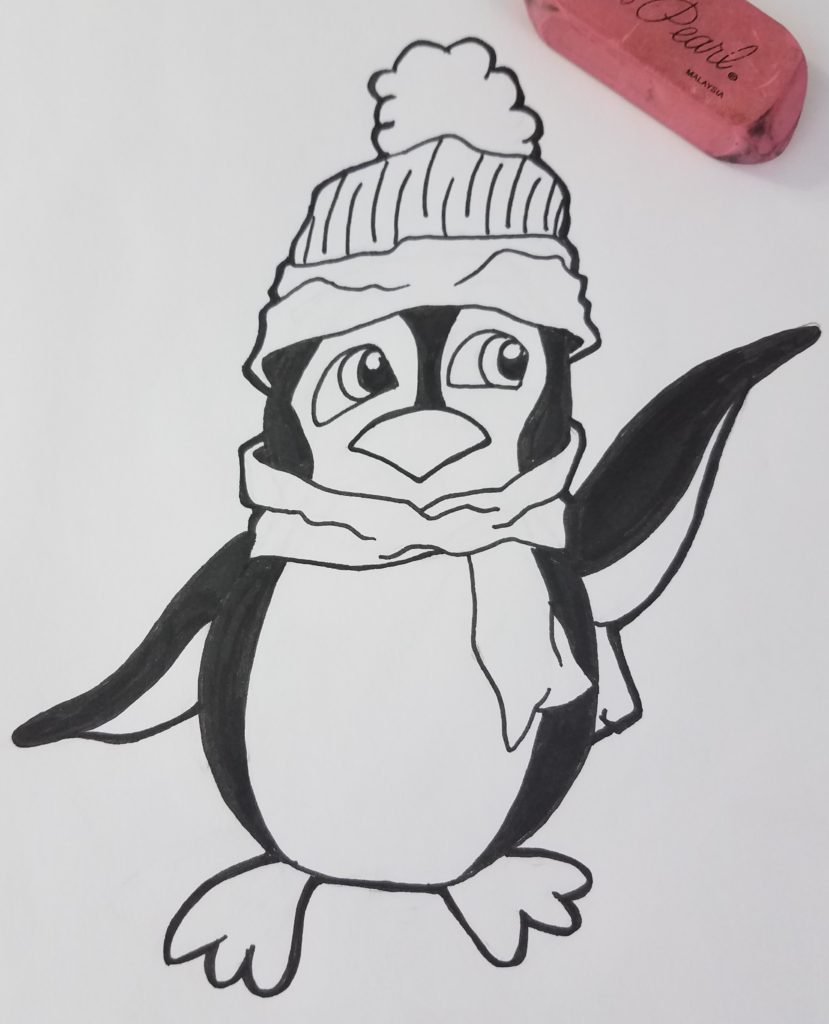
When I inked my penguin drawing, I traced over all of my pencil lines with a medium tip black pen. Then I used a brush tip to fill in any of the larger areas of black.
After that, I went back over all of the outside lines and made them thicker using the medium pen. When the ink was dry, I used a Pink Pearl eraser to get rid of all the pencil lines.
How to Draw a Cartoon Penguin with Markers
When adding color to your artwork you have a lot of different choices. My medium of choice is markers. I love how bright and colorful they are.
And, they’re easy to work with and inexpensive.
The markers I am using today, and that I prefer to use most of the time, are the Bic Intensity markers. If you want to know more about why these are the markers of my choice, read Bic Intensity Marker Review – Fine Point.
I began by adding color to his eyes using, Ocean View Blue and then adding Blue Skies Blue to the top part of his eyes to make them slightly darker.
His beak and feet were colored using Summer Melon and Peach Parfait.
And the greens used for his hat and scarf are, Margarita and Key Lime.
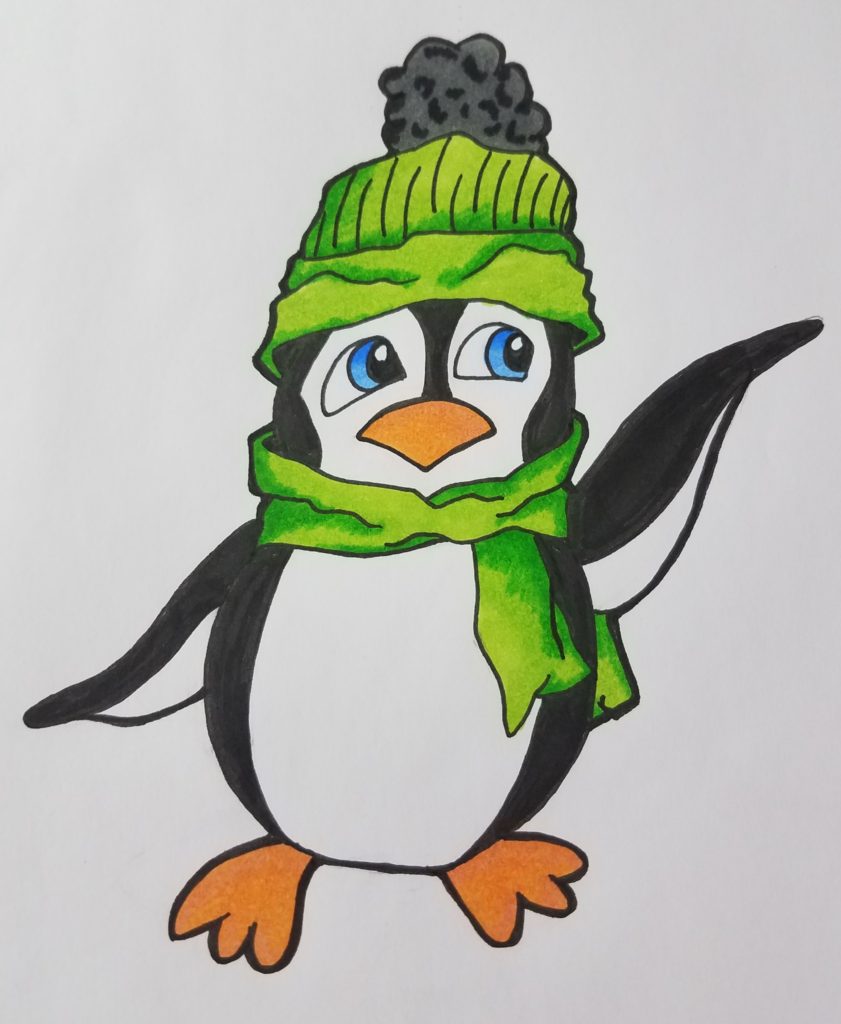
If you need some tips on using markers, you can head over to How to Blend Markers for Beginners.
The only thing left to do now is to add in a background for your penguin. I have to admit, I’m not very good at adding in backgrounds to my drawings. This wasn’t evident until I participated in an artist trading card swap that required every card to have a finished background.
You can read more about my experience with that ATC swap in Robot Drawing Challenge.
Easy Penguin Drawings
As I mentioned at the beginning of this post, I drew eight very different cartoon penguin drawings before settling on the one for this tutorial. Below are the drawings I came up with.
All were done on artist trading cards so they can be traded with other artists. I’m quite proud of myself for including backgrounds on my cards. It’s not much, but it’s proof that I’m growing as an artist.
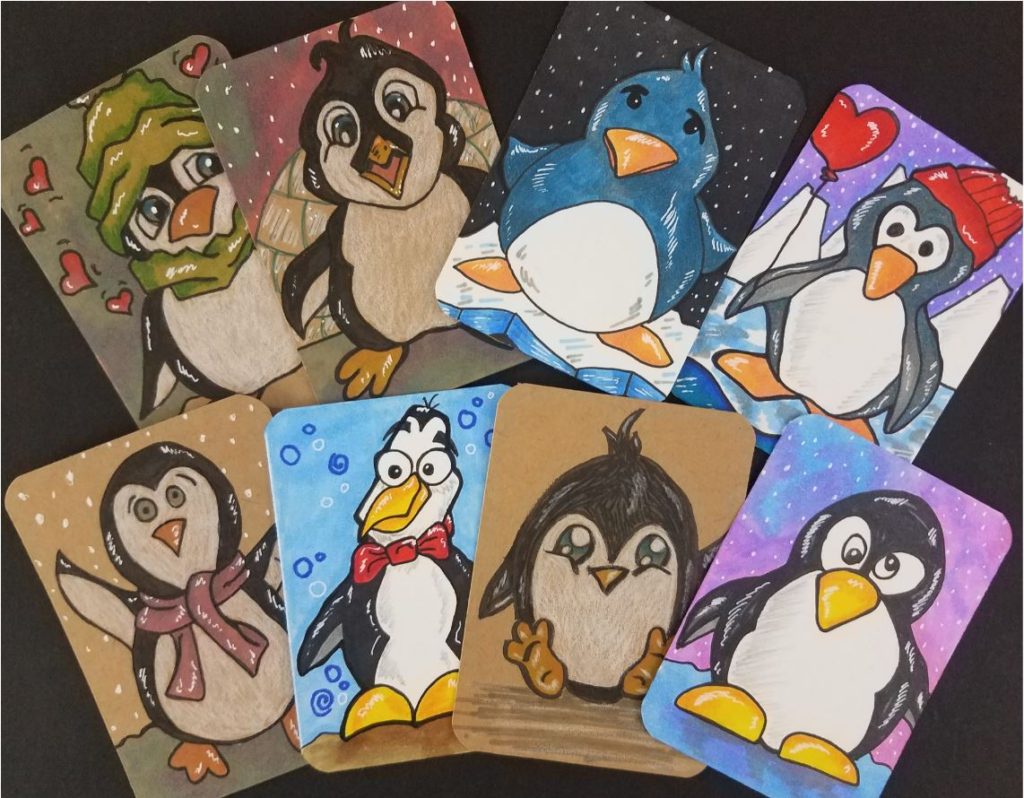
If you’re not part of the mail art movement, I strongly encourage you to get started today. Take a look at How to Make Artist Trading Cards (ATCs), and get involved making and trading cards with other artists from around the world. Keep working on your artwork, and you’ll continue to improve your skills and see results.
If you need some help download our FREE Guide to Better Art in 7 Days.
How to Draw a Cartoon Penguin (step by step) Conclusion
Now that you know how to draw a cartoon penguin, what’s the next step? Since art and drawing are learned skills, the next step is to practice. Draw as many different cartoon penguins as you can come up with.
Try drawing different shapes for the bodies and draw your eyes different. Experiment and have fun.


Pingback: 40 Easy Things To Draw For Beginners - Artistic Haven
Your the bees knees
Thanks Sherry! LOL