
Step by Step Stained Glass Window Drawing
Learning how to draw a stained glass window is so much fun. And it’s super easy. The technique in this tutorial can be applied to any object. But for today’s lesson we’ll be drawing a simple cross.
You can follow along step by step with the same simple cross. Or, you could draw it more complex, or a different object altogether. The choice is yours.
Let’s grab some art supplies and get started.
* Some of the links in this post may be affiliate links. This means I receive small commissions for purchases made through these links at no extra cost to you.
Art Supplies
- Thin black marker
- Paper or cardstock
- Markers
- Pencil
- Click Eraser, Pink Pearl Eraser
- White Gelly Roll pen
About Stained Glass Windows
The stained glass window dates back to ancient Rome where artists would assemble colored pieces of glass into window frames.
These beautiful works of art are most commonly known for their depiction of biblical stories seen in cathedrals throughout Europe.
Cut pieces of colored glass are held together with lead. The pieces are arranged to create brilliant works of art. The technique for creating stained glass has largely remained the same throughout history.
Stained Glass Sketch Practice
Doing this quick sketch exercise is really beneficial for developing your drawing skills and generating ideas.
Here’s how to do it…
- Get some paper and something to sketch with (pencil, pen, marker, etc.)
- Pull up some reference photos of stained glass windows
- Set a timer for three or five minutes
Then simply do as many quick sketches as you can before the timer goes off.
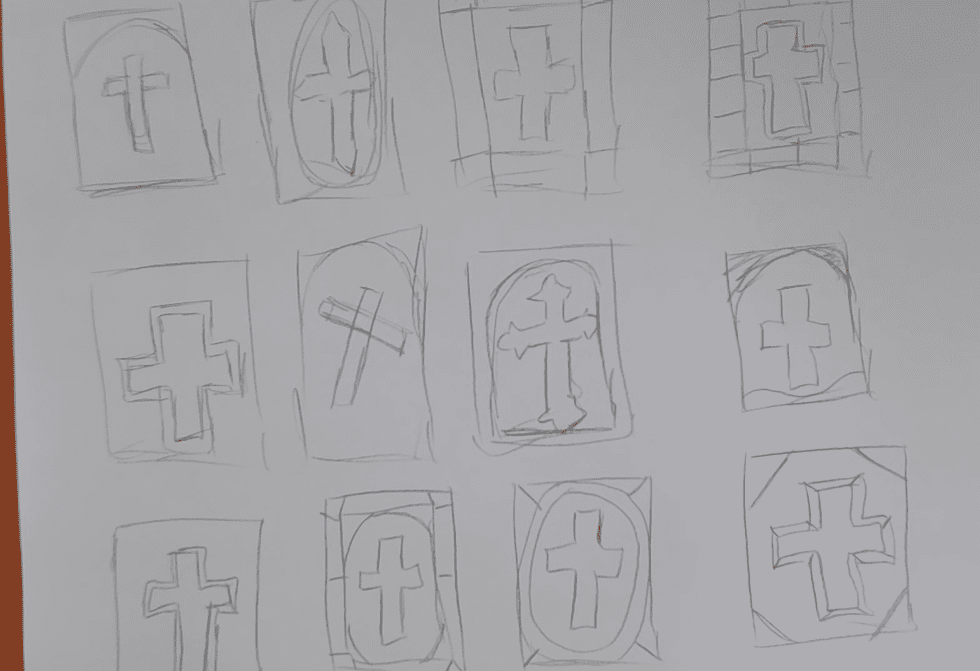
Another option would be to continue doing your sketches until you run out of room on your paper.
Either way is a good exercise to do. Just be sure to keep your lines loose and quick. Try to work through as many ideas as you can.
How to Draw Stained Glass Windows
In this step by step tutorial we’re going to draw a simple stained glass window with a cross as the focal point. This same process can be used for any object and for more complicated stained glass drawings.
This lesson is intentionally simplistic to give you a good starting point to build from.
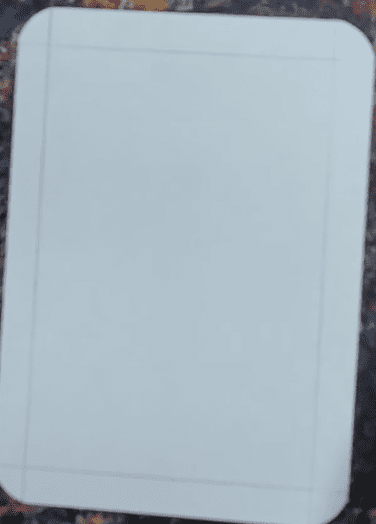
Step 1: Draw the Window Frame
We’re going to start by drawing the window frame. For the purposes of this tutorial I’m keeping it very simple. But you could make your frame more interesting if you’d like. See the sketch exercise examples for some ideas.
Begin by drawing evenly spaced straight lines to create a border around the outside edges of your paper. Use a ruler or a straight edge to keep your lines straight.
Step 2: Draw Object(s) Inside Window
Next, draw a simple cross inside the window area. You’ll probably want to have it as close to the center of the window as possible.
Use a ruler when drawing your cross to keep the lines straight. And be sure to keep the width evenly spaced as well.
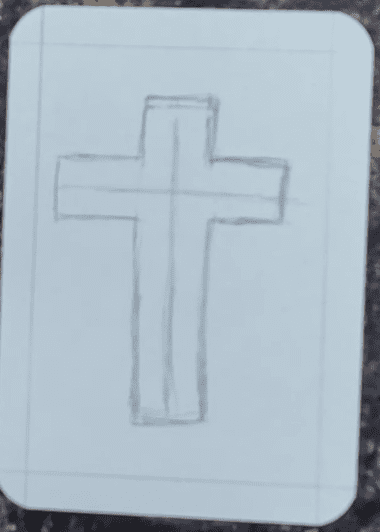
As an option, you could make your cross more detailed and complex. Feel free to draw your cross in your own style.
Step 3: Create Stained Glass Effect
Now we need to make our drawing look like a stained glass window. We do this by adding lines in the negative space of the window.
For this tutorial we will leave the cross a solid image and only break up the background area.
You can use a ruler or just draw your lines freehand. Choose an area to start and draw a straight line from the edge of your cross to the edge of your border.
Then draw another straight line from the cross again or from the first line you drew. Continue working your way through the background area until you have it divided into various sized pieces.
Avoid creating any type of pattern with your lines. You want the shapes to be uneven and random. You can draw as many or as few lines as you’d like.
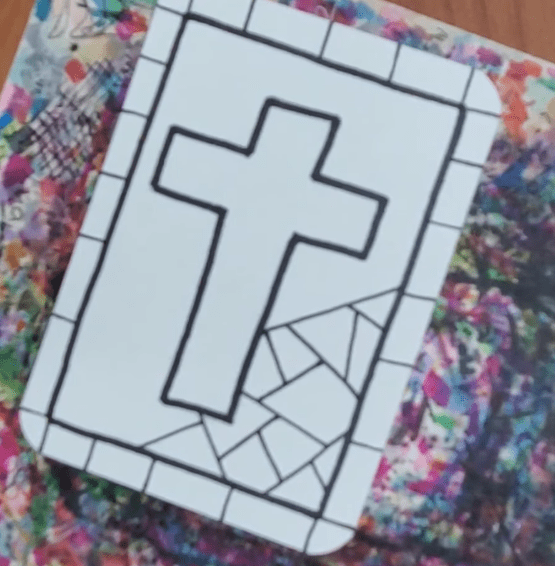
Finish the stained glass effect by adding straight lines to your border. You could also leave your border one solid shape or make it completely black as well. For the border, it looks better if you try to keep your lines evenly spaced, unlike with the background.
Stained Glass Outline
If you used a pencil to draw your stained glass window you’ll need to go over your lines with a black pen or marker. Or you might want to use both to get different line weights for emphasis.
For this example I used both a black marker and a thinner black pen.
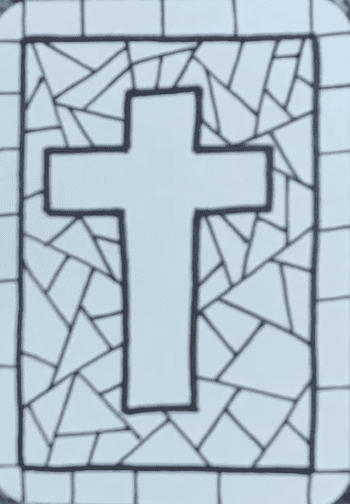
Go over all of your pencil lines before adding color. Then you can use an eraser to remove any extra pencil lines.
How to Draw Stained Glass Windows with Markers
First, if you want to be able to blend your colors together you need to use alcohol based markers. Bic, Sharpie, and Copic for example. As well as many others.
Second, you need to work while the colors are still wet or they won’t mix together. This isn’t a big deal. Just make sure you work on a section at a time.
Third, you need to use colors that are similar to each other if you want to create a smooth transition of color. If your markers are too different they will leave a harder edge.
When adding color to your stained glass window drawing you can blend your colors or fill in each section with a solid color.
In this example, solid colors were used. I used cool colors for the background and warm colors for the cross and border.
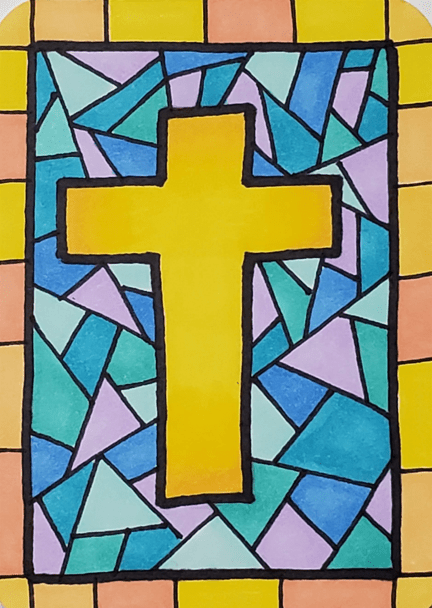
Simply choose a few different markers for both warm and cool colors and start filling in each section of your drawing.
A white Gelly Roll pen can be used to add highlights.
Final Thoughts and Next Steps
Now that you know how to draw a stained glass window, what’s the next step? If you want to improve your art and drawing skills you need to practice. The more you practice the better you will get.
Try doing a series of drawings and try something different with each one. You could try drawing your cross differently each time. Or choose different colors. This exercise also helps develop your creativity.
Grab your FREE Guide to Better Art in 7 Days

this is very amazing !!
Thank you! I’m glad you enjoyed it.