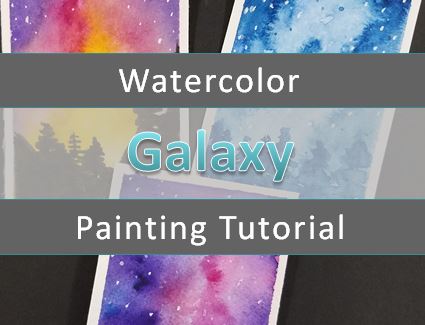
How to Paint a Galaxy for Beginners
Today we are going to learn how to paint a watercolor galaxy.
These are so much fun to make and are super easy. I’ve been making mine on artist trading cards and they go very quickly when I post them as being available for trade.
Never heard of artist trading cards (ATCs)? Learn how to get started with them at, How to Make Artist Trading Cards (ATCs). You’ll be so glad you did.
However, you can follow along with the lesson on any size paper you’d like to use. The process is exactly the same regardless of the size. Either way your galaxy will be beautiful.
Let’s begin by taking a look at the materials needed for this art lesson.
* Some of the links in this post may be affiliate links. This means I receive small commissions for purchases made through these links at no extra cost to you.
Art Supplies
- Prima Tropicals watercolor paints
- Paint brush
- Watercolor paper
- Blank ATC sheets (optional)
- White gouache
Making Blank Artist Trading Cards
The first thing I did was cut up a sheet of high quality watercolor paper into 2.5 x 3.5 inch sections. I used a paper trimmer to do this.
What I have learned about watercolor paper, is that the cheaper papers end up with loose fibers all over them. And the colors just aren’t as vibrant. Neither of which are desirable for these paintings.
After cutting up a sheet of paper, I now have a stack of blank cards to use.
Alternatively, you can purchase packs of blank watercolor artist trading cards. Which I have used and they are great for this type of painting.
Get Your FREE Artist Trading Cards Guide
Prepping For Your Watercolor Galaxy
The next thing you need to do is tape down your paper to a firm surface. I use a piece of thin board I had laying around the house.
You can use any type of tape you want. I have rolls of regular masking tape, so this is what I used.
If you are making ATCs, you can tape several blank cards to your board. If you don’t have a board, you can tape them right to the table.
Before taping down your paper, stick the tape to your pant leg or other material to pick up loose fibers. The tape will still stick, but will be less likely to tear your paper when it’s removed.

Wet On Wet Watercolor Technique
For this galaxy painting we will be using the wet on wet watercolor technique. This will allow the colors to bleed together.
Wet on wet means the paint is applied to wet paper or wet paint. This technique gives your colors softer edges.
How to Paint a Watercolor Galaxy
Let’s get started with the watercolor galaxy painting. You will need two cups of clean water for this technique. One to clean out your brush, and one to add water to your paper.
Or you can use a water brush, like I do, and you’ll always have clean water.
Begin by applying clean water over the entire surface of your paper. If you are using a large piece of paper you’ll need to work on a section at a time so your water doesn’t dry up before you add your paint to it.
Prima Tropicals Watercolor Set
I’m using the Prima tropicals set of watercolors for the paintings in this lesson. The colors included with this set are perfect for this type of painting. But you can use whatever paints you want to use.
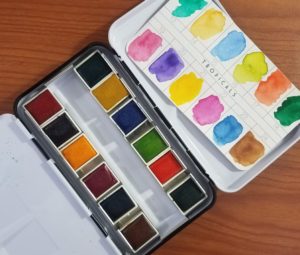
You can read our review at, Prima Tropicals Watercolor Review.
Watercolor Galaxy Colors
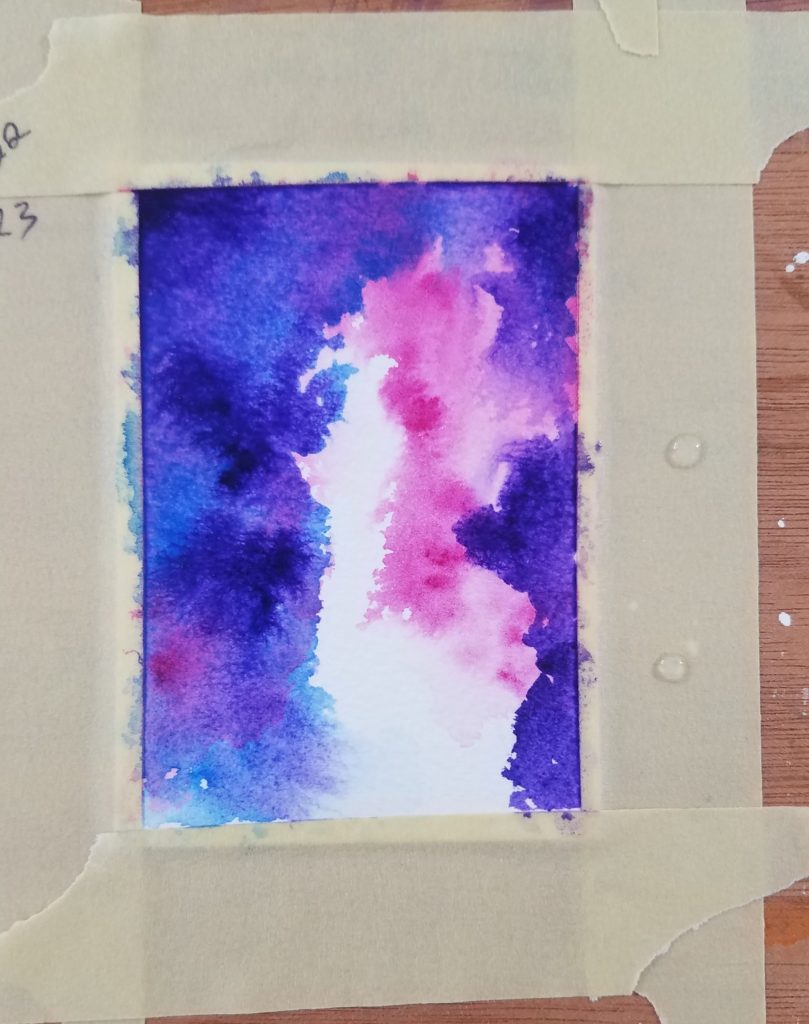
Begin by adding #22 -Sunset, to the top part of your sky. You’ll want to apply the color unevenly to your paper. The water that you brushed onto your paper will help with this.
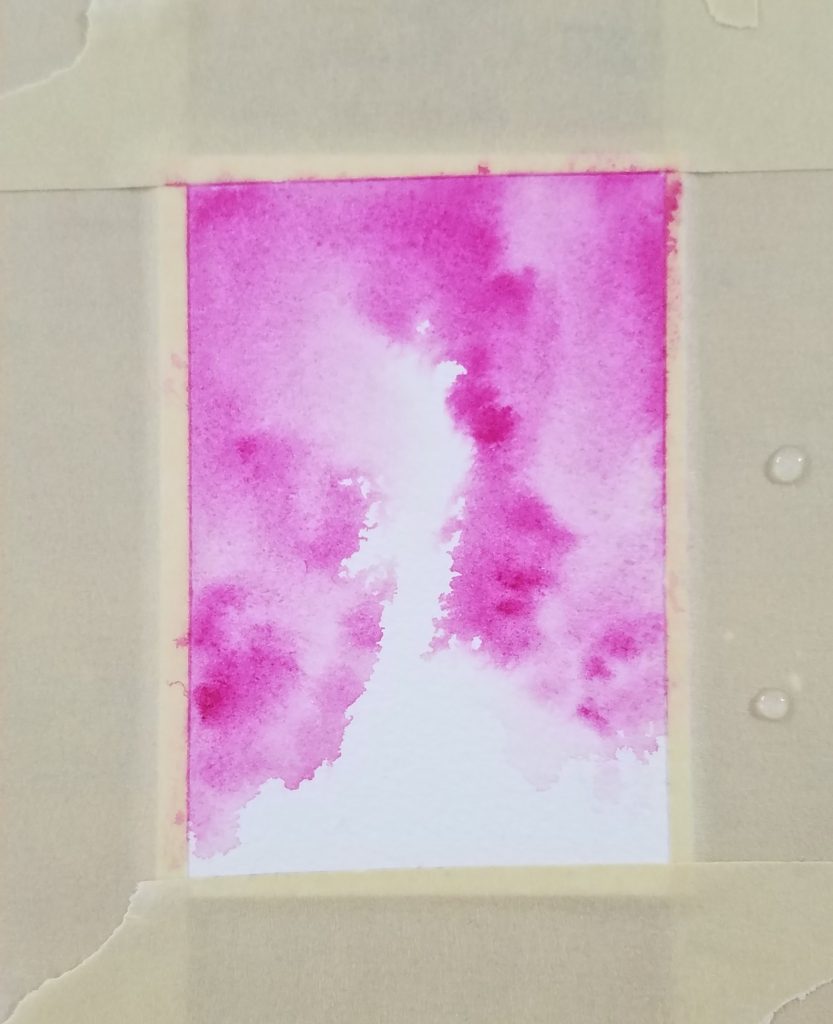
The wet on wet technique is really fun because you can play around with the paint to see how it reacts when it hits the water. Don’t be afraid to experiment with it a little bit.
Next, add in some #23 – Ocean blue. Let the colors mix in together in different areas of your painting. You want to have areas that are lighter and areas that are a little darker.
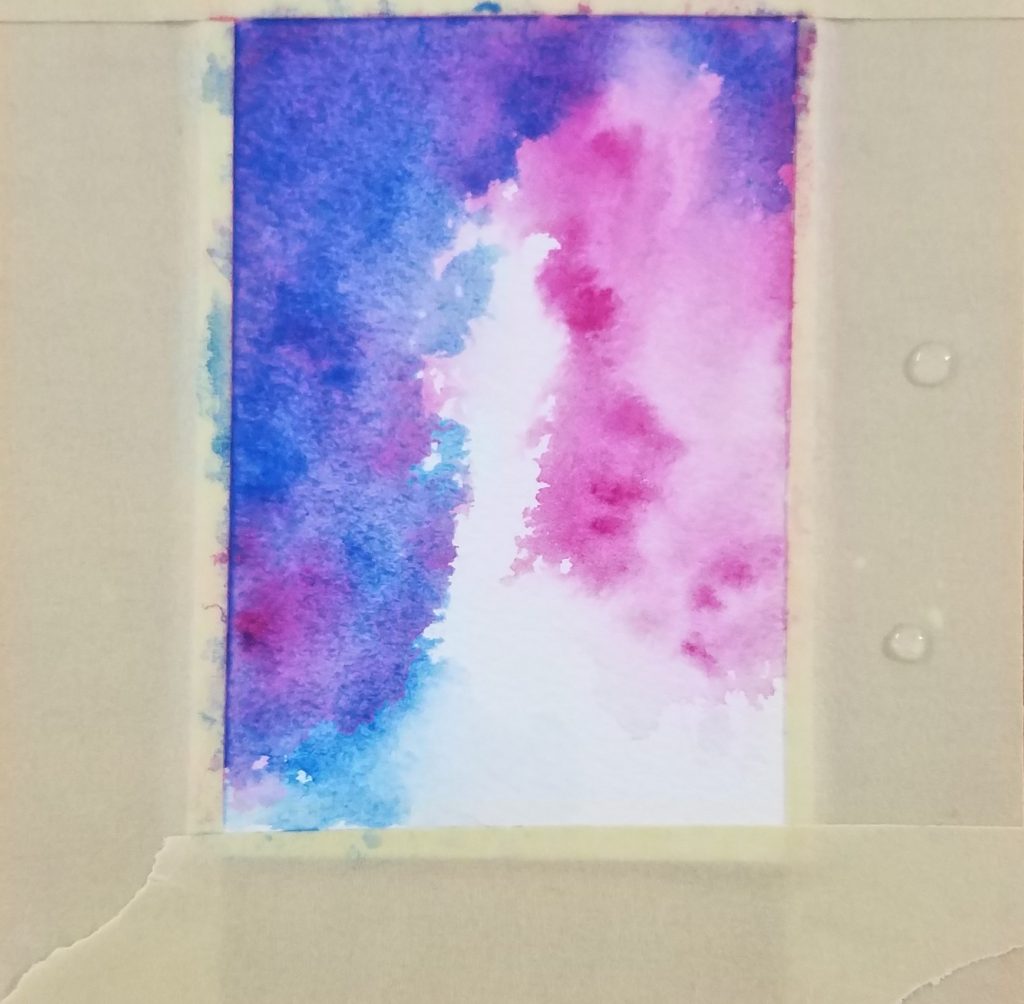
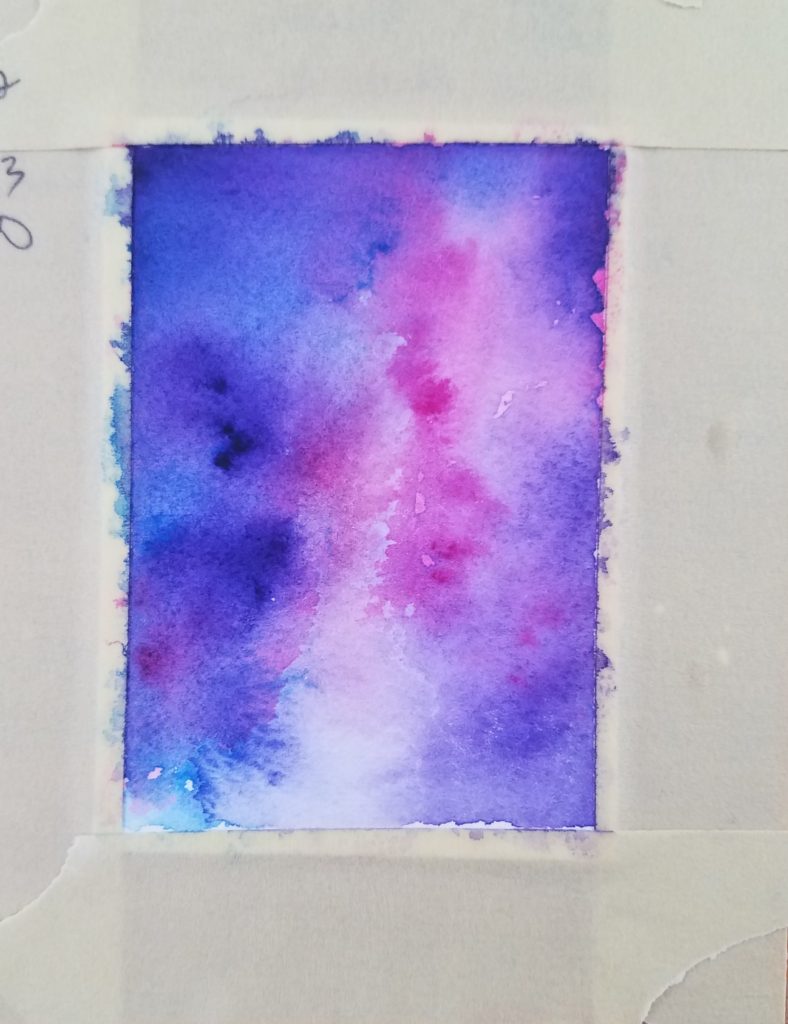
Now add in some #20 – Reef to some of the areas. If you get any hard edges, you can go back in with some clean water on your brush and soften them up. This happens when your water starts to dry up, but can be easily fixed.
You can also use clean water and your brush to lighten an area. Just add a little water to it and dab it with a dry paper towel.
Layering Watercolors
If you want your painting to be darker you can add additional layers of paint after the first layer is dry. Just add more clean water, and more paint. Continue working on your painting until you are happy with how it looks.
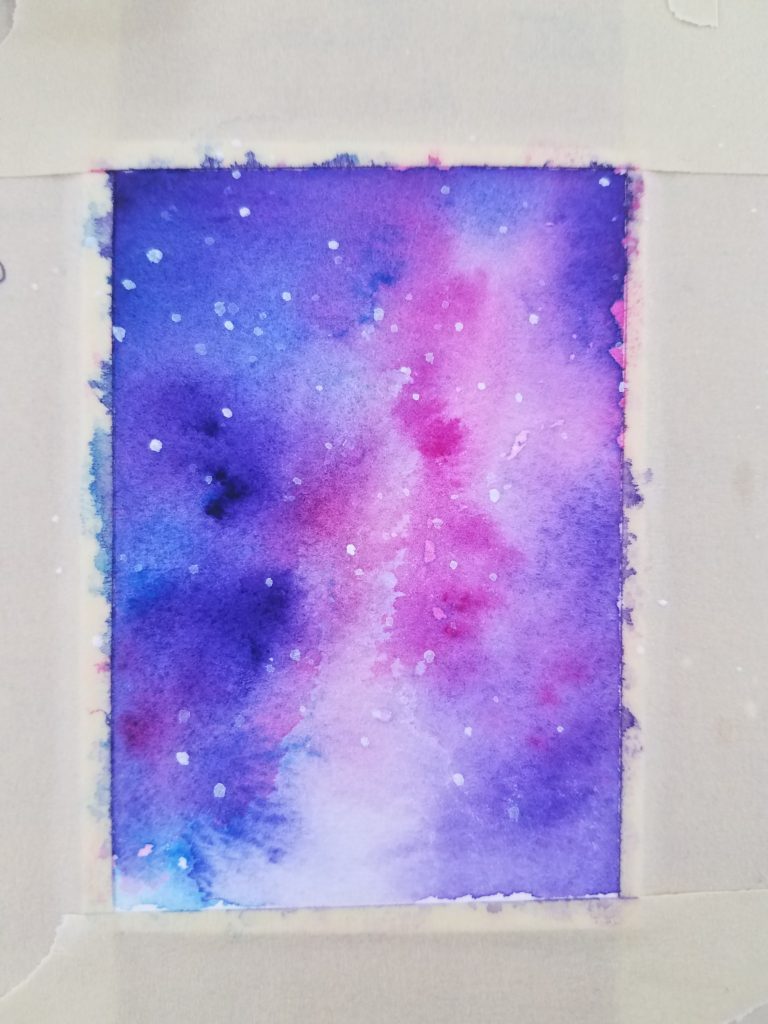
Watercolor Galaxy Stars
White gouache was used to splatter some stars on the background. Just add a little water to your paint, load some on your brush, and tap the brush against your finger to splatter it onto your background. Make sure your background is mostly dry before adding your stars.
Painting Mountains and Trees
After your background has completely dried, you can start painting your foreground. There are a lot of options for what you can add to your galaxy. You can also leave it as is.
I decided to paint some mountains in my foreground. Trees are a nice option as well. You can use darker paints for this, or use a pen and draw them in.
I used #24 – Tiki and #20 – Reef for my mountains. And then added some lighter areas on top using the white gouache again.
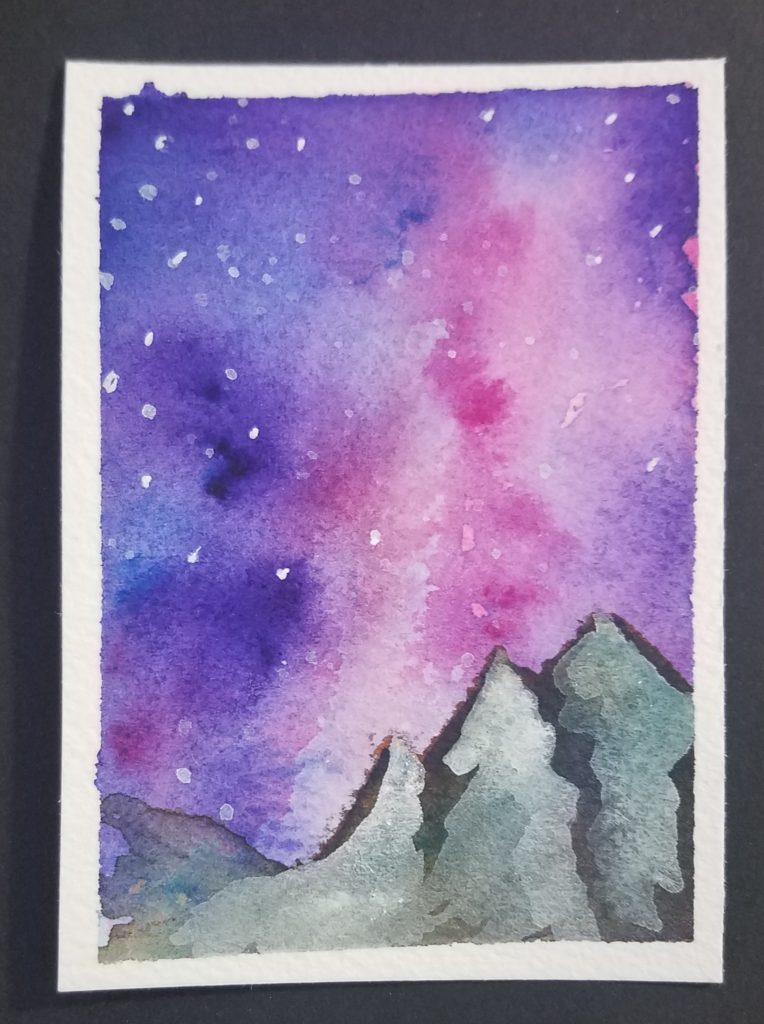
After your painting is completely dry you can carefully remove the tape from it. Sign your work and trade your ATC, if you chose to do your painting on a card.
If you enjoy this type of painting and want to experiment with something different, take a look at Easy Coffee Painting for the Absolute Beginner.
Watercolor Galaxy Tutorial for Beginners
I hope you enjoyed learning how to paint a galaxy with watercolors. If you haven’t tried the Prima Tropicals, you can click on the link below to purchase your own set. Take care and have a good day.
