Octopus Drawing Tutorial
We’ll show you how to lay out some basic shapes to use as guides for your octopus drawing, making things really easy.
You’ll also learn how to add an outline and some color using markers. So let’s grab some supplies and start having some fun learning how to draw an octopus.
* Some of the links in this post may be affiliate links. This means I receive small commissions for purchases made through these links at no extra cost to you.
Art Supplies
Octopus Sketch
Doing some quick sketching is a great way to warm up, as well as to work through some rough ideas for your octopus drawings.
This should only take you a few minutes to complete, but the benefits are huge. Just set a timer for three or five minutes. And then do as many quick octopus sketches as you can before the timer goes off.
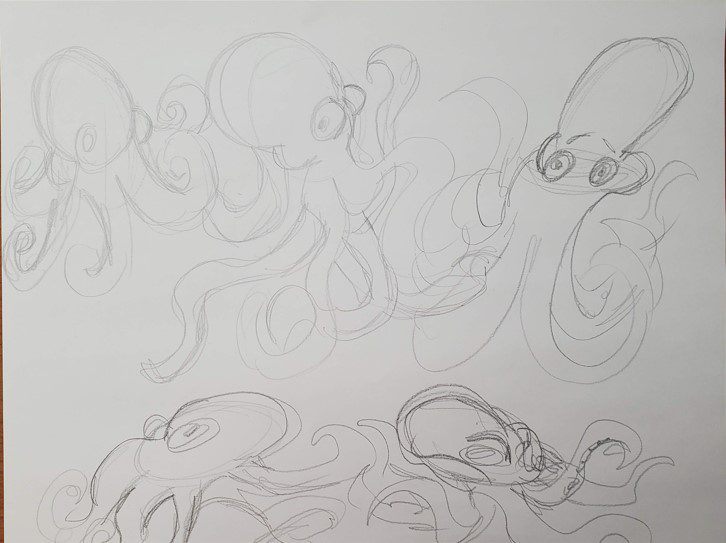
Keep your sketches quick and loose. And don’t worry too much about details. You want to learn how an octopus is shaped and get the basic idea of what they look like.
You could also sketch until your paper is filled. This is how I usually do my quick sketches. But don’t spend too much time on them if you do it this way. It should still only take you about five minutes to finish.
How to Draw an Octopus Step by Step
Learning how to draw an octopus is much easier if you break things down into basic shapes first. This helps reduce the level of intimidation for a more complex subject. And it helps you get past that blank page syndrome we’re all too familiar with.
Another benefit to roughing out some basic shapes first is that you can see right away what your final drawing is going to look like. This way, you can make any adjustments needed before putting a bunch of work and time into your drawing.
There’s nothing worse than getting to the end of your drawing when it’s just about finished and wishing you would have moved it over just a bit.
Step 1: Basic Shapes
Begin by drawing a fairly large oval for the head of your octopus. And then add in some curving lines for the tentacles. I wasn’t able to fit all eight in my drawing but I decided it’s because they are hidden behind his body.
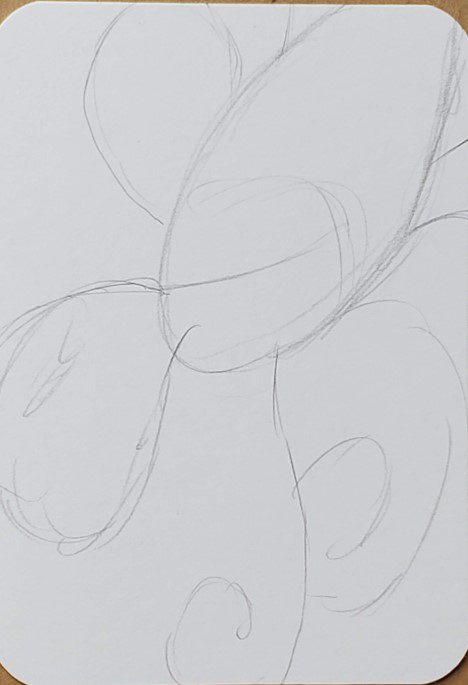
Don’t be afraid to take some artistic liberties with your drawings. If we were to cram all eight tentacles in the drawing it would be too crowded and wouldn’t look as good.
Step 2: Add Details
Now start working on adding in some details for the head. Using a reference photo will help with all of the details for your drawing.
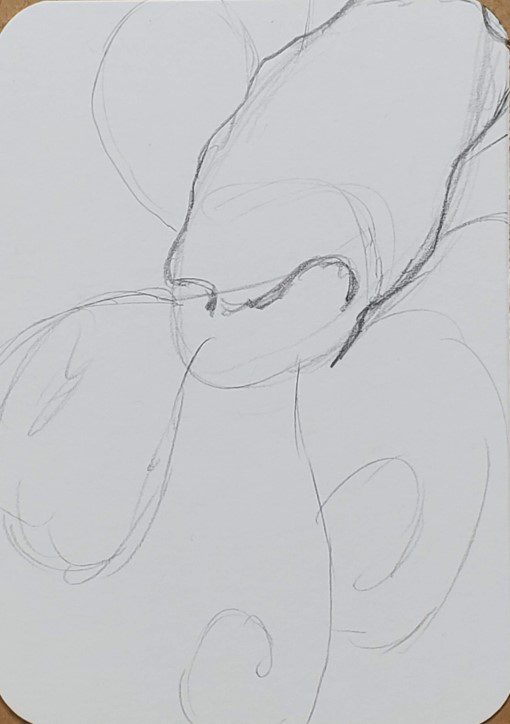
Also draw where the eyes will go. This can be done with some curved lines.
Next draw the eyes, and start drawing out where the tentacles will connect to the body.
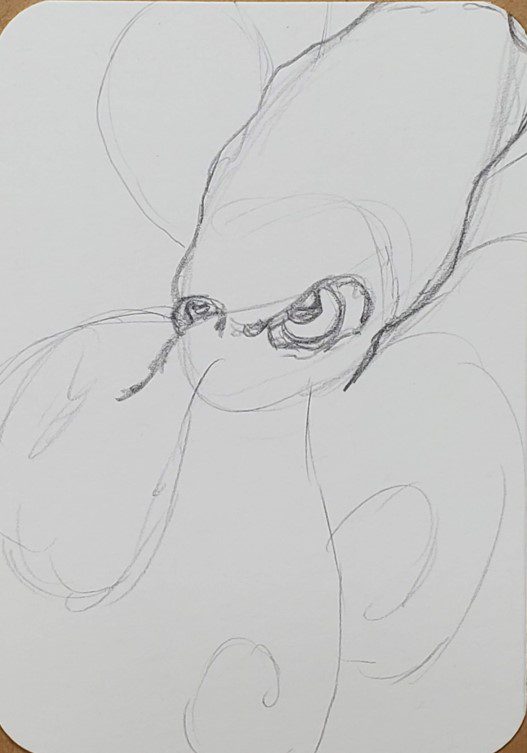
Then start adding in some details for the tentacles. Avoid pointed edges. Your lines should curve and not look sharp.
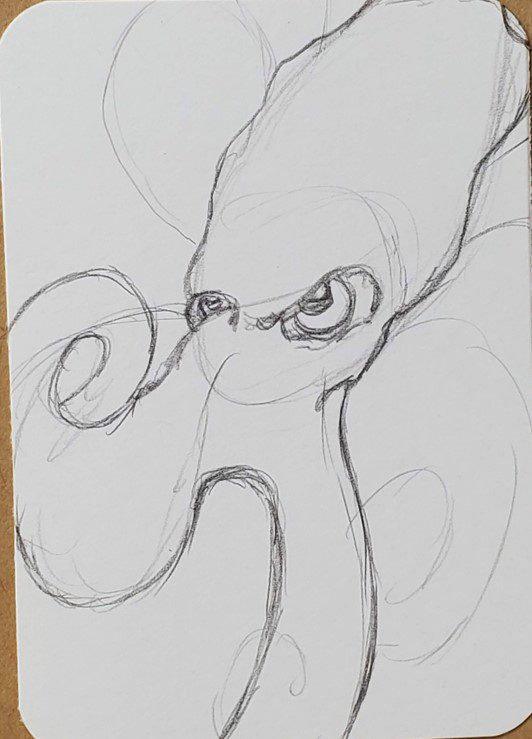
You can start adding in some suction cups to your tentacles as well. Or you can do them all after your drawing is filled in with tentacles.
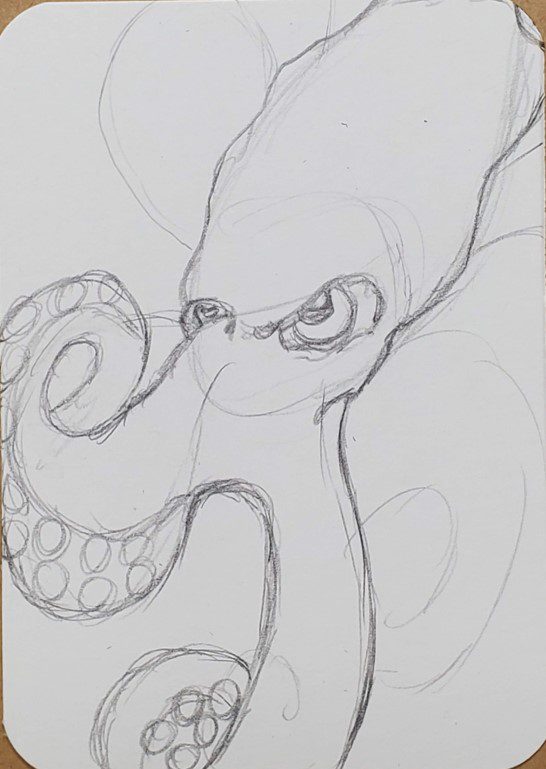
Continue drawing the rest of the tentacles and adding in any suction cups you want to include.
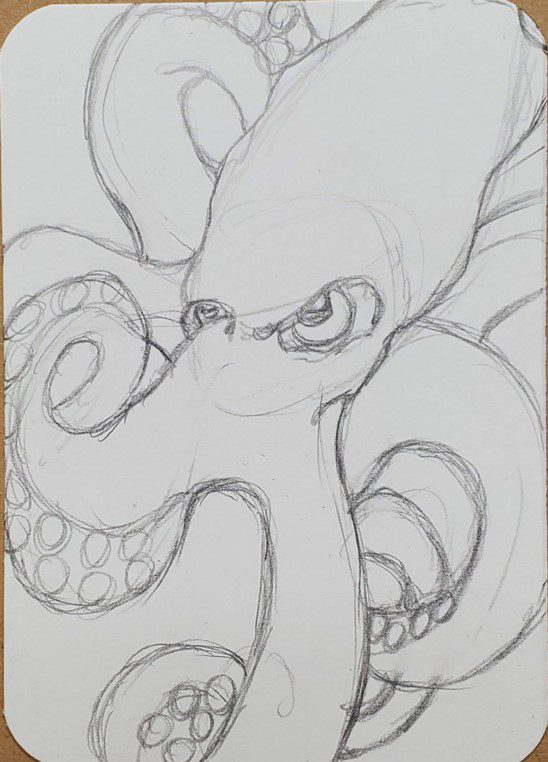
Octopus Outline
Step 3: Outline
Making an octopus outline is really easy to do. Simply trace over the pencil lines you want to keep with a black pen or marker. You can use thin lines, thick lines, or a combination of the two.
Do whatever looks right to you and fits with your artistic style. If you’re not sure what your style is, don’t worry. It will develop over time with practice and repetition.
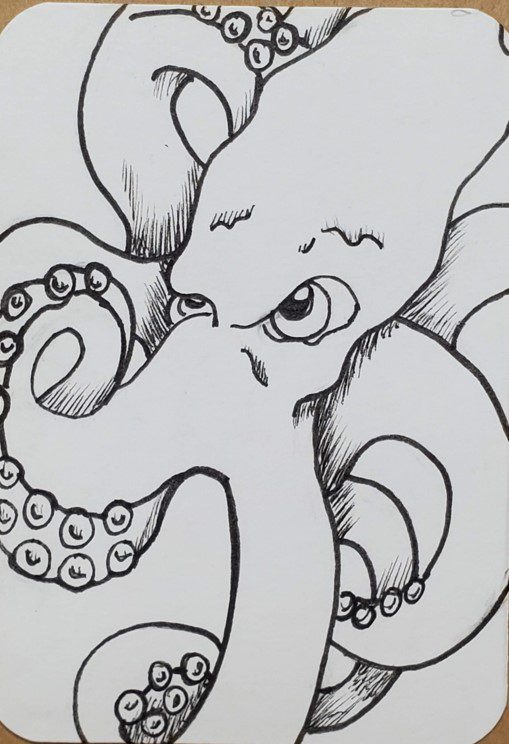
You could also try using a different color for your outline or use a different method entirely. This is a great opportunity to experiment and try new things. Making Your drawings on artist trading cards is a great way to save time.
Learn more about them in our Beginner’s Guide to ATCs.
After you’ve finished your octopus outline you can use a thin black pen to add in some shading. And then use an eraser to clean up your drawing and remove any pencil lines.
How to Draw an Octopus with Markers
Step 4: Add Color
Learning how to draw an octopus with markers is really easy. and there’s only a few things to keep in mind when using them for your artwork.
First, if you want to be able to blend your colors together you need to use alcohol based markers. Bic, Sharpie, and Copic for example. As well as many others.
Second, you need to work while the colors are still wet or they won’t mix together. This isn’t a big deal. Just make sure you work on a section at a time.
Third, you need to use colors that are similar to each other if you want to create a smooth transition of color. If your markers are too different they will leave a harder edge.
When adding color to your octopus whether it’s with markers or another medium, you’ll want to choose colors that work well together.
What you don’t want to do is fill in your entire octopus drawing with one solid color. This will make it appear flat and boring.
There are a lot of different options for colors to use on your octopus. And since we’re creating art, you can really do whatever you want anyway. That’s the great thing about making art.
If you’re going to make it green, for example, you can use a light green and a medium green. Or you could use green and gray. And there’s a million different options in addition to these colors.
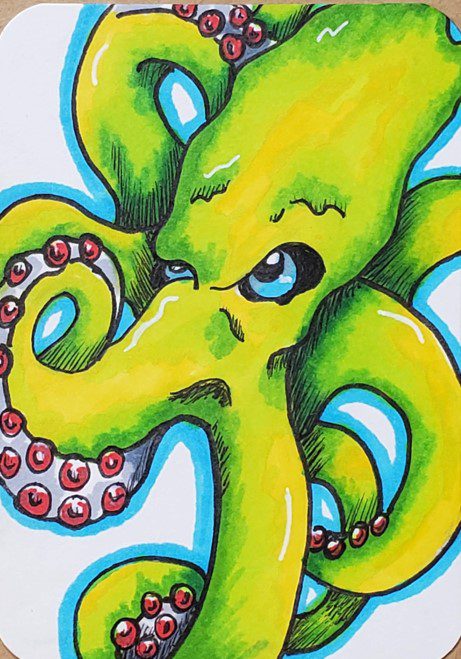
And of course, you can use a different medium to color your octopus if you want. But you’ll still want to use a few different colors.
A white Gelly Roll pen works very well for adding in some white highlights. And you can add some other colors for the background. Or you can draw some underwater objects in your background.
Final Thoughts and Next Steps
Now that you’ve learned how to draw an octopus, what’s the next step? That’s an easy answer. Practice, practice, practice.
The more you practice the better you will get. Try challenging yourself to come up with as many drawings as possible in the next week. Work small and have fun. Your creative time should feel relaxing and enjoyable.
Grab your FREE Guide to Better Art in 7 Days
More Easy Art Tutorials
- Learn to Draw 3D Dice
- How to Draw a Peacock
- Cubism Portrait Art Tutorial
- Learn to Draw an Easy House
- Easy Butterfly Drawings

