Graffiti Art Drawing
In this graffiti tutorial you’ll learn how to draw graffiti art. I originally did this lesson with my 8th grade students. I was having some difficulty keeping them engaged, so I wanted to come up with something that would keep their attention. This lesson did the trick.
And, it’s the perfect graffiti for beginners tutorial.
When I started this art lesson, I knew very little about graffiti. So I started doing some research and discovered a very interested documentary series (Graffiti Verite) about the subject and became intrigued. The more I learned about this art form, the more inspired I became.
The more I practiced, the more I loved doing this type of artwork. I hope you enjoy it as much as I do!
If you’re not entirely impressed with graffiti art, I challenge you to open your mind and give it a try. You may be surprised.
In this graffiti tutorial you’ll learn how to do graffiti on paper for beginners (step by step). Once you have the basics down, you’ll be able to create your own unique graffiti artwork.
Graffiti Art Lesson
I began by showing the video to my students. I created a handout that went along with the video that was filled out and turned in after the documentary was finished.
The next step was for them to decide on a word they were going to use. I wanted them to use a word instead of their names for a couple of reasons. For starters I didn’t want to get any complaints from the school or any of the parents about students learning to “tag”.
Integrating Language Arts
I also wanted to integrate language arts into the lesson. To do this, students chose a word that has meaning to them. They also wrote a short paragraph on why their word was meaningful to them.
For my example I used the word dream. The importance of this word for me is because without dreams we don’t have anything. While creating my sample for the lesson, I fell in love with this type of art.
Graffiti Art that Gets Noticed
There are many challenges involved in creating graffiti artwork. The purpose of creating graffiti art is to get noticed. So now you have to decide how to get noticed. What will be in the background? What colors will be used? How will you make the letters stand out?
Do I want the letters to stand out? Which letter style will I use for your graffiti drawing? There is a lot to consider when drawing graffiti art. But there is a lot to be gained in advancing your drawing skills.
So if you’re ready to learn how to do graffiti on paper for beginners, let’s grab some art supplies and get started.
* Some of the links in this post may be affiliate links. This means I receive small commissions for purchases made through these links at no extra cost to you.
Art Supplies
- Graffiti Verite’ 4 DVD
- Sketchbook or drawing paper
- Red Col-Erase pencil
- Pink Pearl Eraser
- Black outlining pen
- Bic Fine Point Markers
- Colored Pencils
- Graffiti alphabet sheets
- Free workbook
These are the supplies I used for this tutorial. There are many acceptable supplies you can use. It’s really just a personal preference. As you develop your own style, you’ll find which art supplies you prefer to use.
How to Draw Graffiti
Before you get started on the actual drawing, there are a few things you need to think about.
- What word or name will you be drawing
- How will the letters “flow” on the page
- Where is the center point of your word or name
- What style of letters you will use
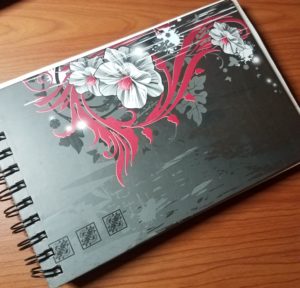
For this graffiti art tutorial I’ll be using the word dream. I typically do my graffiti style art in a hard cover sketchbook. I have some cheaper ones for practice drawings and some nicer ones for my finished drawings. This is the one I’ll be using today. I picked it up in a Barnes and Noble bookstore on their clearance shelf.
If you’re going to use markers, make sure the paper has a smoother tooth. They seem to take markers better than the rougher papers.
Prevent Bleed Through
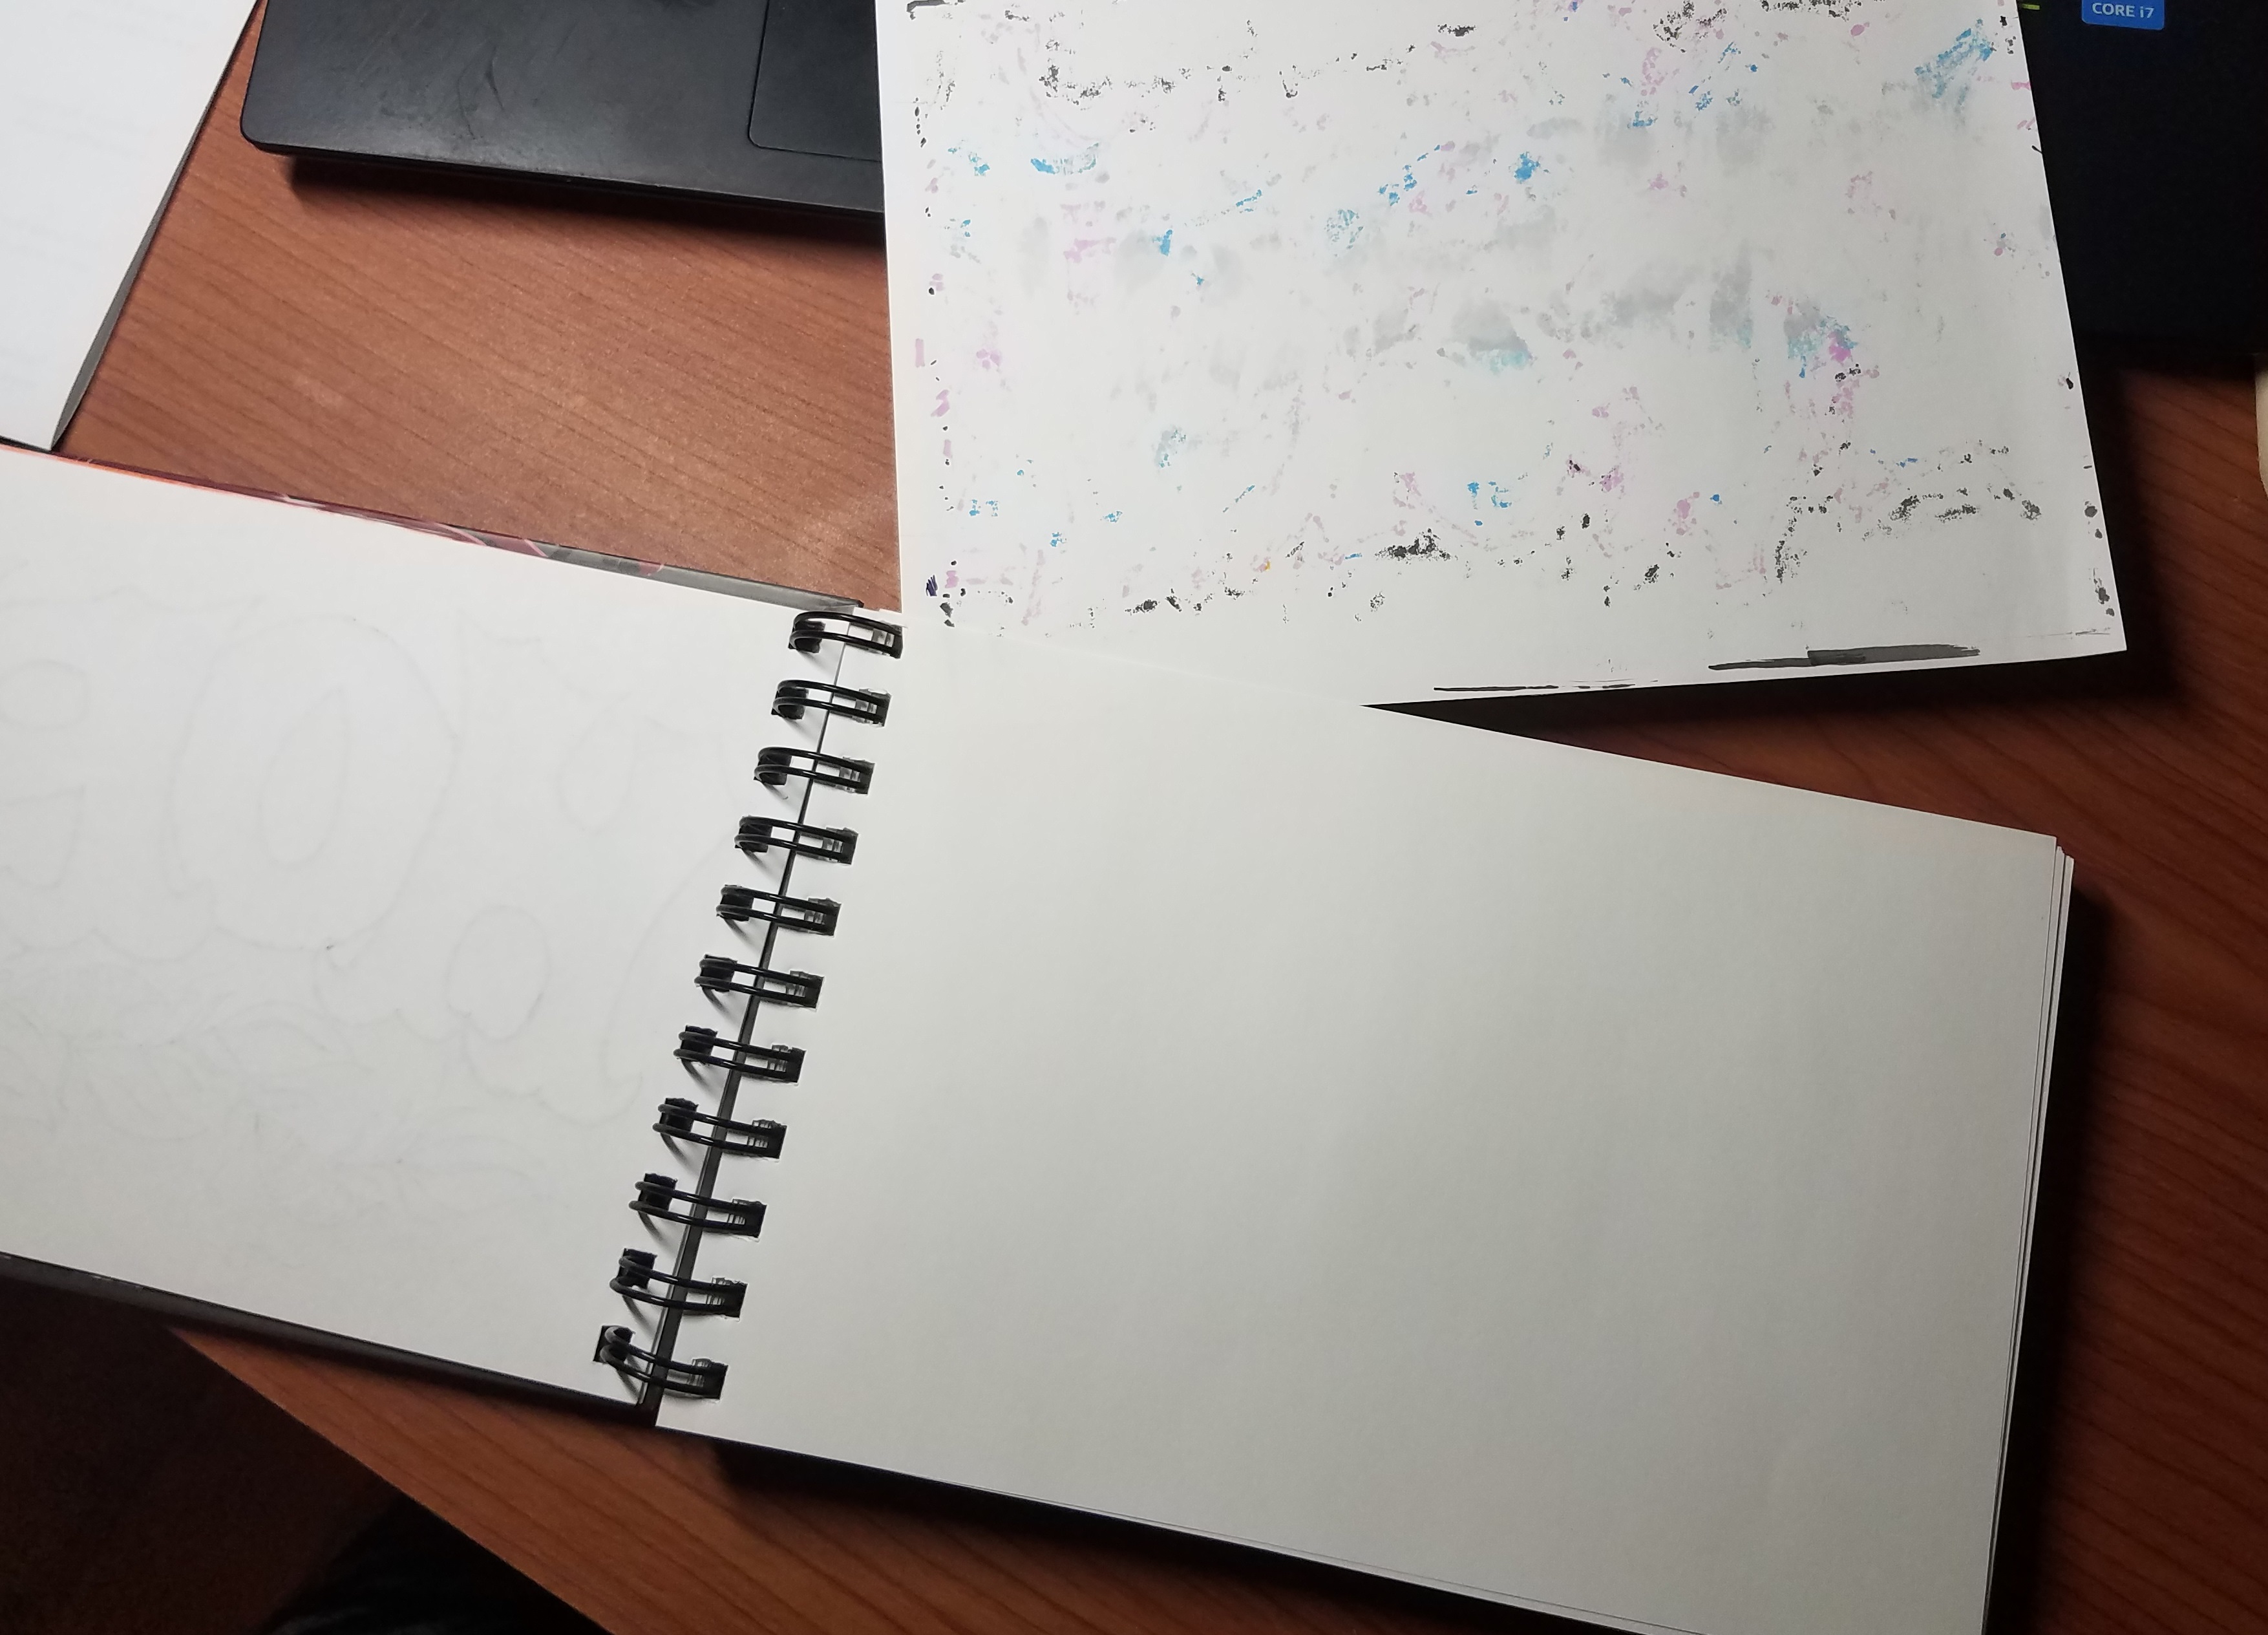
In all of my sketchbooks I keep a piece of scrap paper between the page I’m drawing on and the one that is directly behind it. This prevents any of the markers from bleeding through onto the next piece of drawing paper. This extra piece of paper stays in the sketchbook and simply gets moved to a new location after each drawing.
Graffiti Drawing Layout
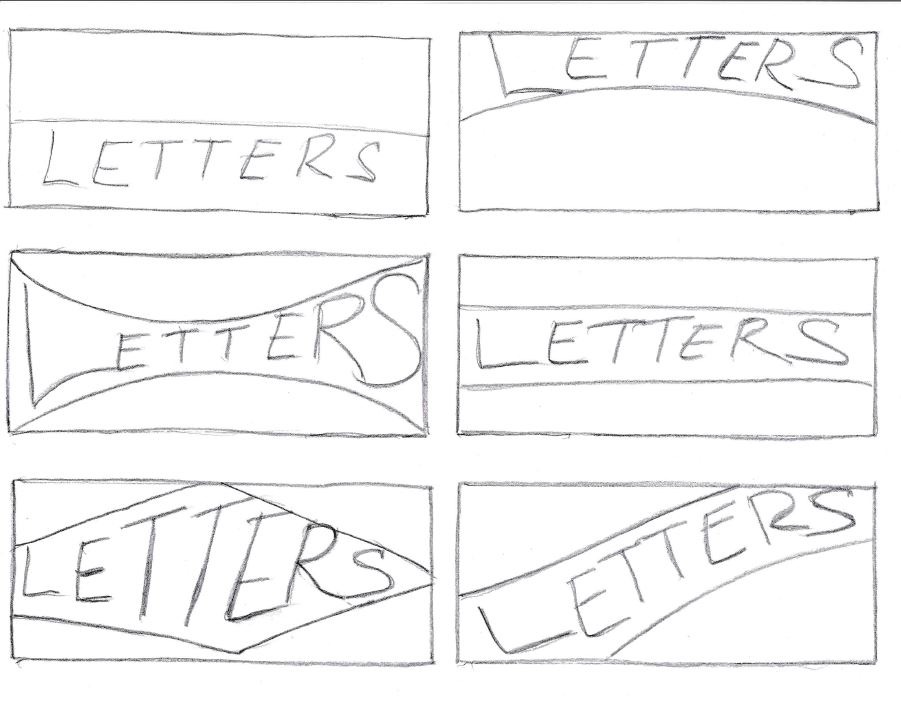
When learning how to do graffiti on paper for beginners, you first need to decide how you want the letters to flow on the page. Will they be tight against the bottom of the page? Do you want them to curve in at the center or maybe curve out? Should they go diagonally across the page?
There are several options. Many more than what I’ve shown here.
Graffiti Drawing Guidelines
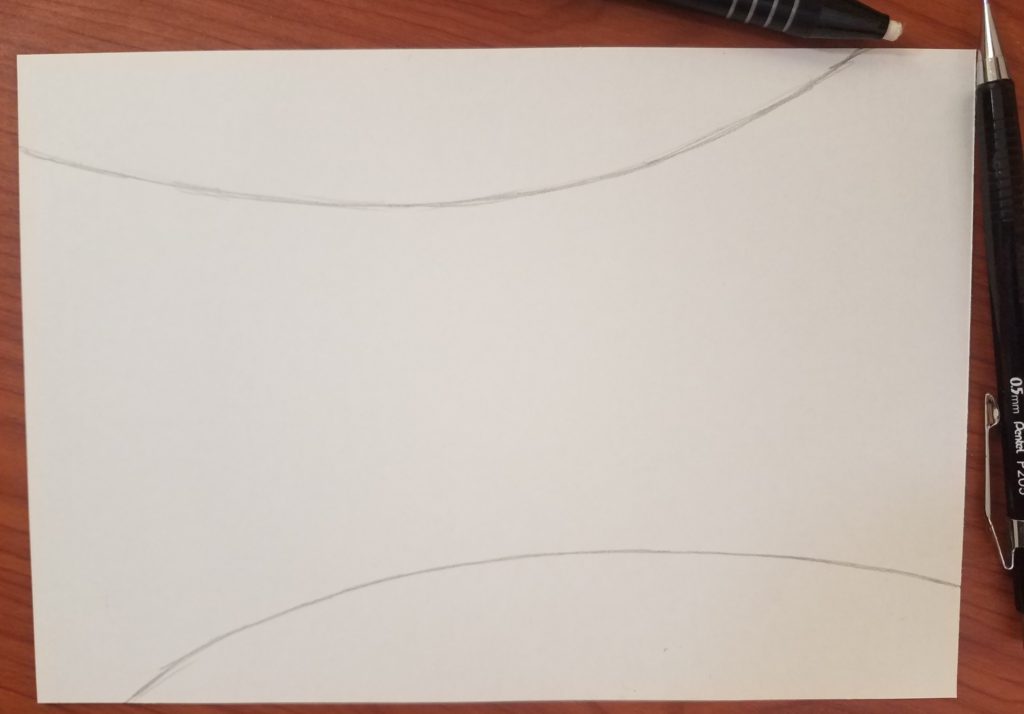
I’ve decided on a diagonal flow for my letters. Lightly draw in some guidelines where your letters will need to go. I’ll usually use a red Col-Erase pencil because it doesn’t smudge like a regular pencil will. However, today I’m using a regular pencil so it’s easier for you to see.
When drawing out your letters, you want to make sure you fill as much of your paper as possible.
For this reason you’ll need to know where the middle of your word is. For the word “dream”, the letter E is the middle. If your name or word has an even number of letters, your middle point will be between two letters.
The next step is to divide your drawing area up into enough sections for each letter. Since the word dream has five letters, there are five section on the page. This will be your guideline for your letters. It will give you a rough estimate of how big, or small, each letter needs to be to fit on your paper.
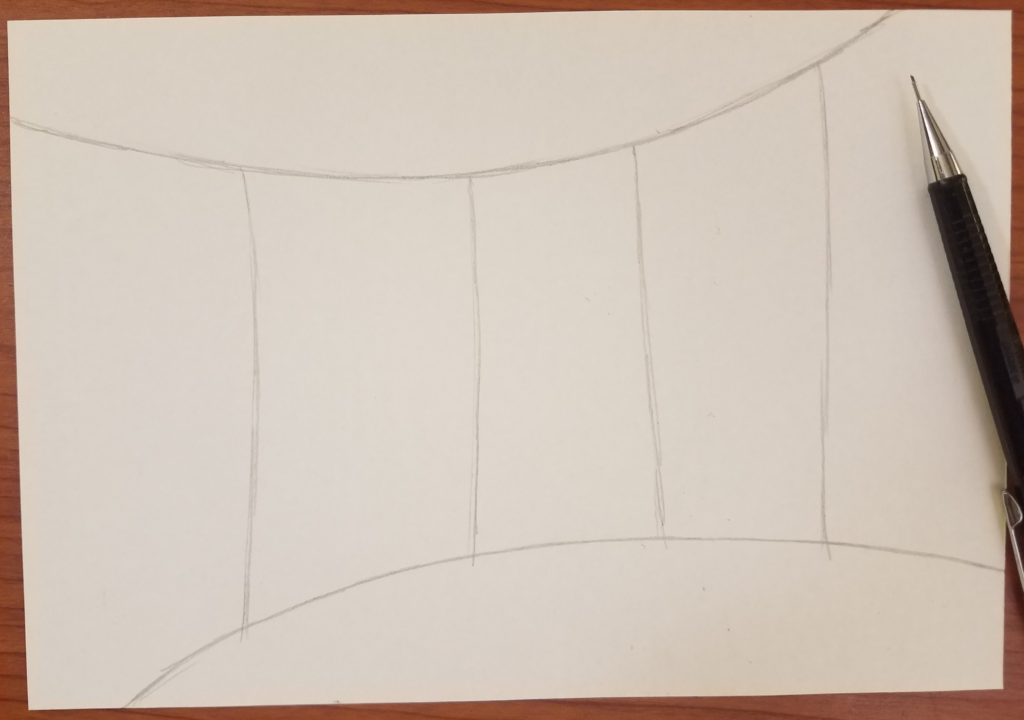
Drawing Graffiti Letters
I usually begin with the middle letter, which is the letter E. The first thing I do is draw my letter E in the center of the page. When doing this, I try to stretch my letter to the top and bottom of the guidelines I drew in for how I want my letters to flow.
Don’t worry too much about your letter going outside of it’s section. You want your letters to overlap each other so this will be OK.
For more help on designing individual letters check out our post on How to Draw Stylized Letters.
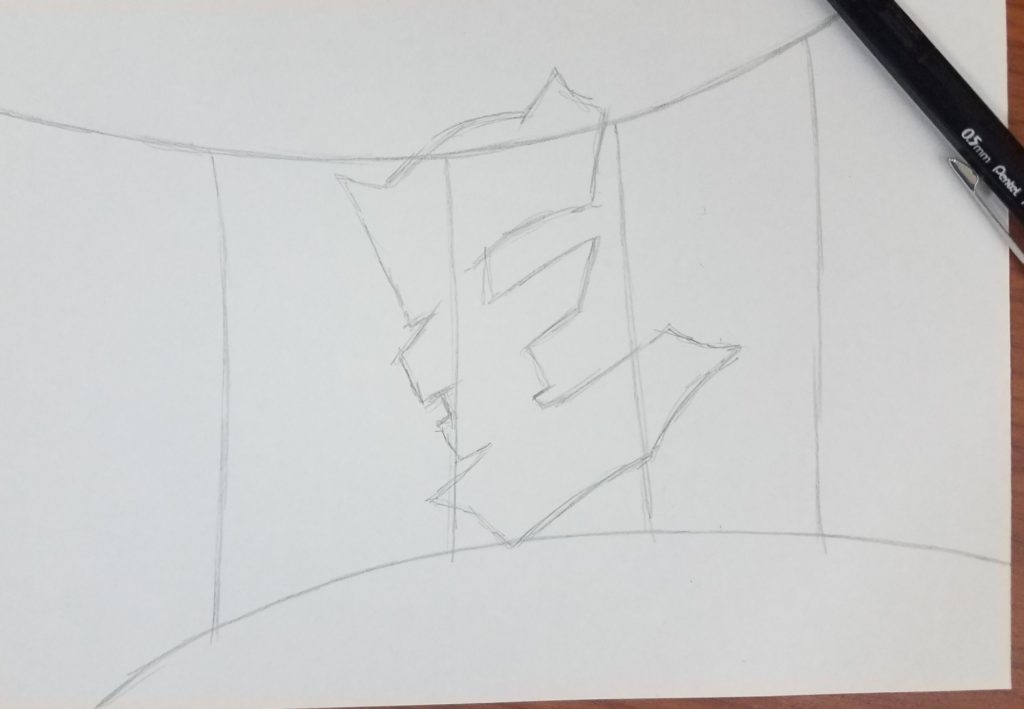
Move onto the next letter. At this point, you can work on the next letter to the right or the left. It’s really a personal preference. I drew the letter A next.
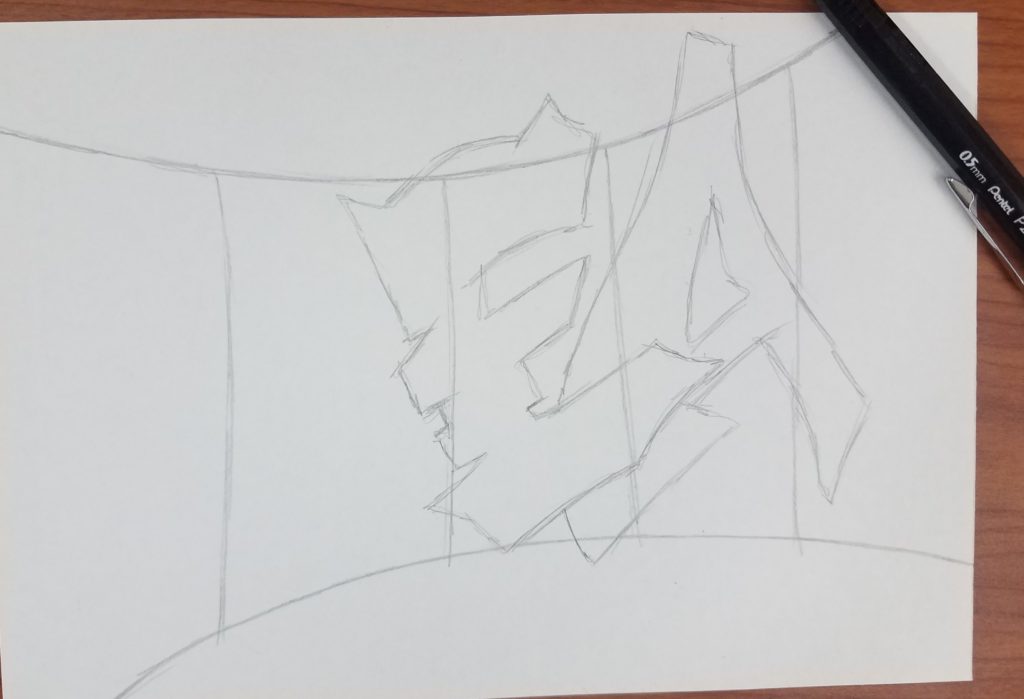
Overlapping Graffiti Letters
As you’re drawing out your word you’ll need to decide how your letters will overlap one another. This is partially personal preference, and partially determined by the letters themselves.
If you cover up the key parts of a letter, it will make it difficult to tell what letter it is, and therefore, make it harder to read your word.
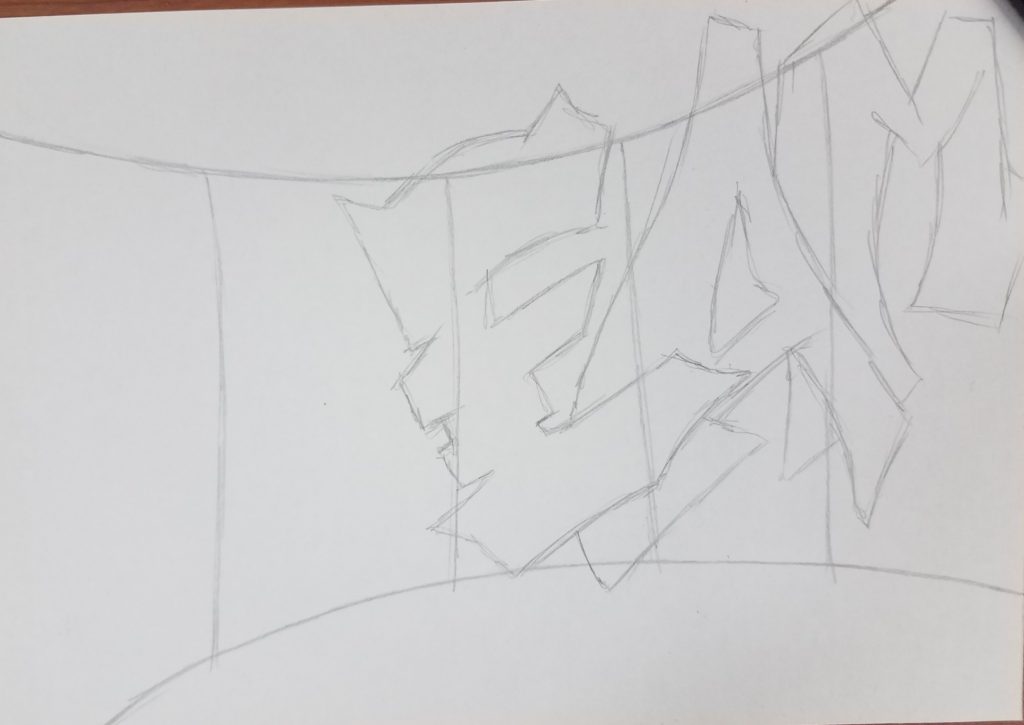
Continue working your way through each letter of your word. The order in which I’m drawing my letters is my own personal preference. The overall look of your drawing will vary depending on how you draw out your letters.
How you overlap them, the size variation, and the shape of your letters will help create your own personal style to your artwork.
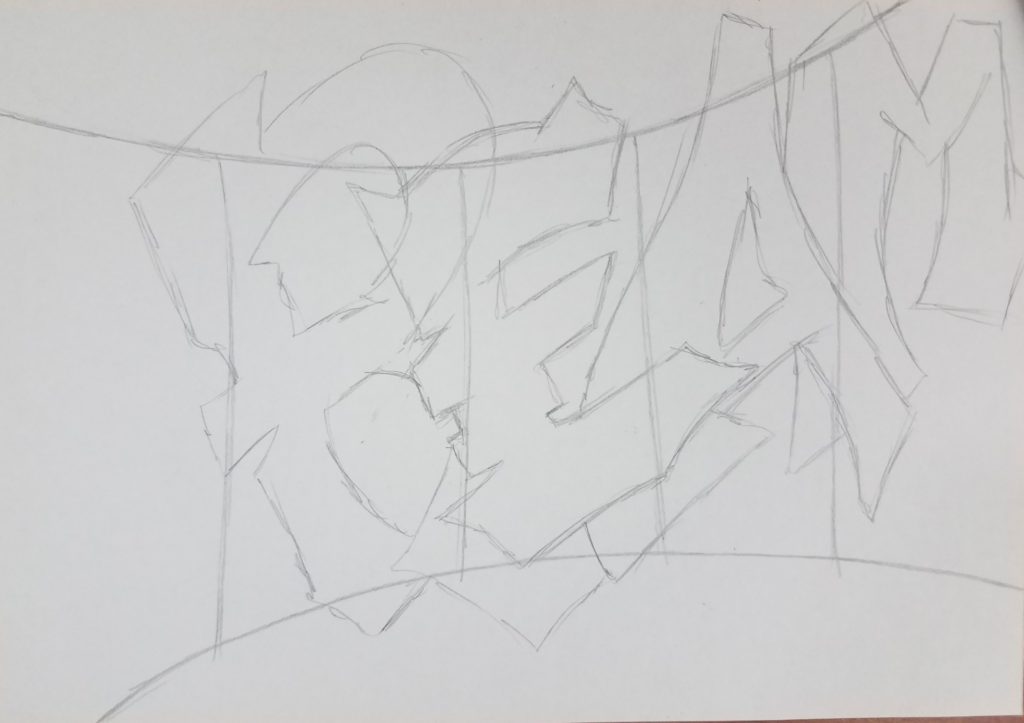
Finish Your drawing by adding in the letter D. The biggest struggle I have at this point is deciding how I will overlap the D and R because of the way they both have the upper loop in the letter.
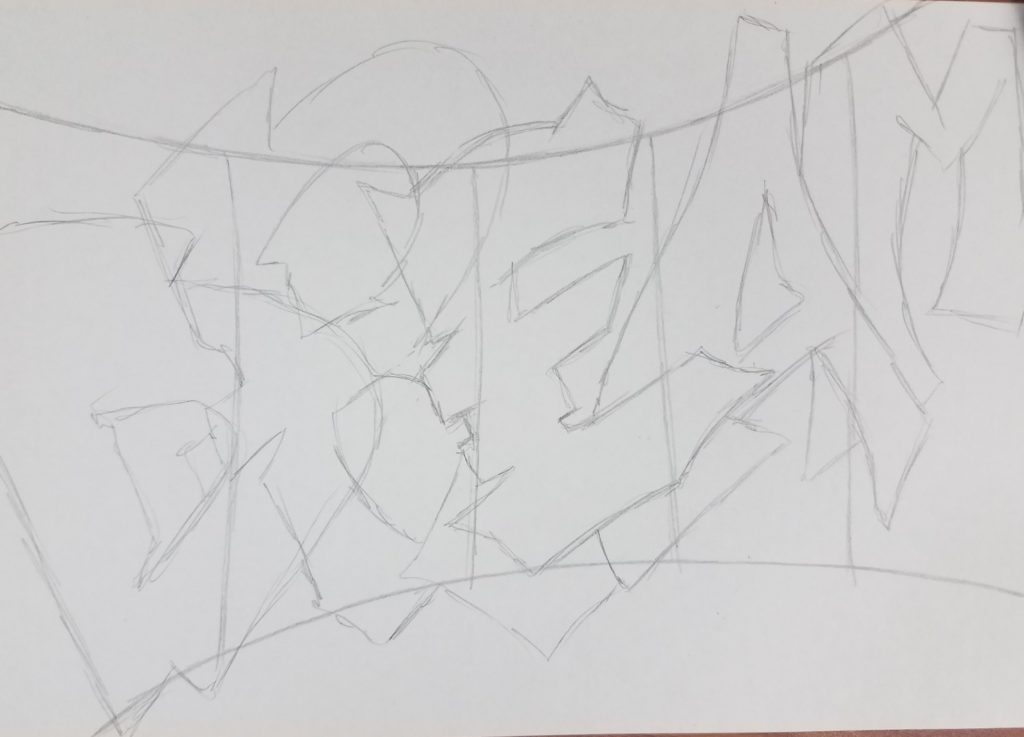
Clean Up Your Graffiti Drawing
After giving it some thought, I decided to let the R overlap the E, and the D to overlap the R. If you are satisfied with how your letters look, it’s time to clean your drawing up a bit.
Erase any lines that don’t need to be there, and darken up any lines that need to stand out a little more.
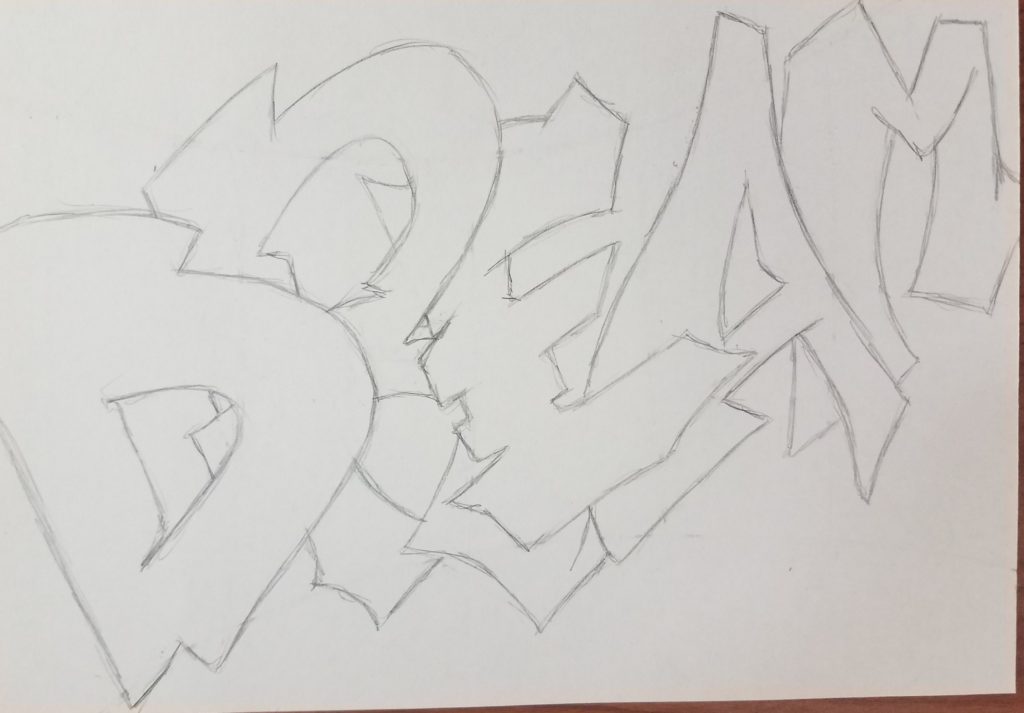
Graffiti Outline
After cleaning up your rough drawing, it’s time to go in with a black marker and start working on your finished work of art. When all of your letters have been outlined, use a pink pearl eraser to get rid of your pencil lines.
It’s a good idea to give the marker a couple of minutes to dry before using the eraser to avoid smudging the ink.
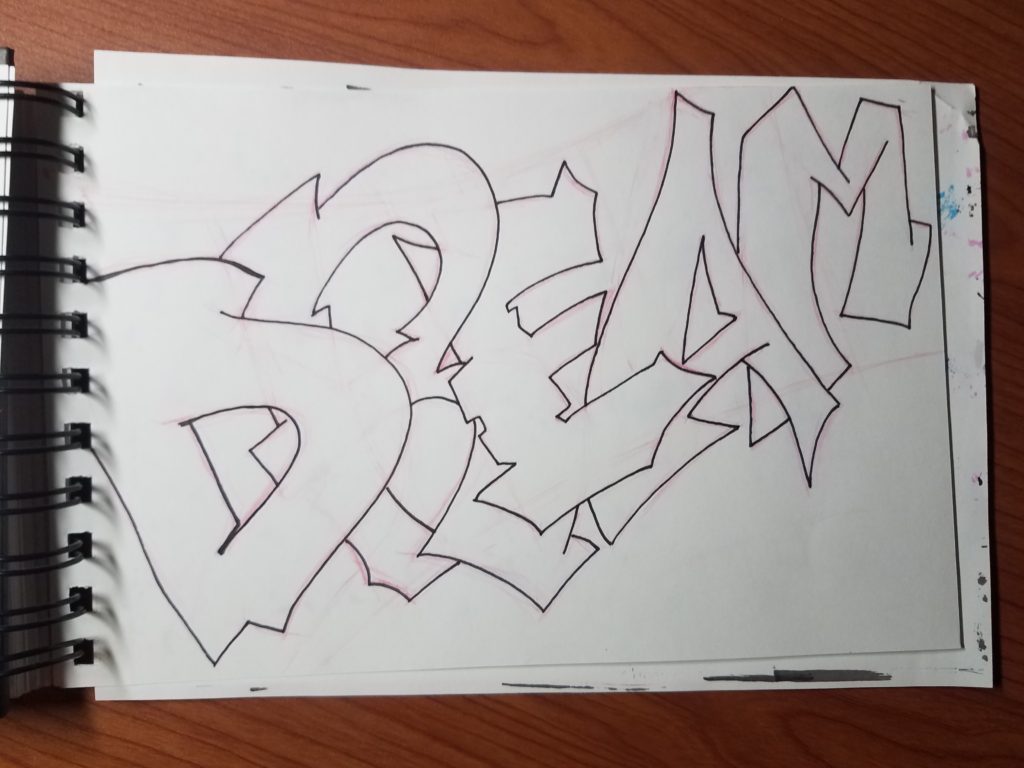
After you have your word outlined, go back in and thicken up your lines a bit. How thick you make them is, once again, a personal preference. You can make them all the same thickness, or vary the thickness some. It’s up to you.
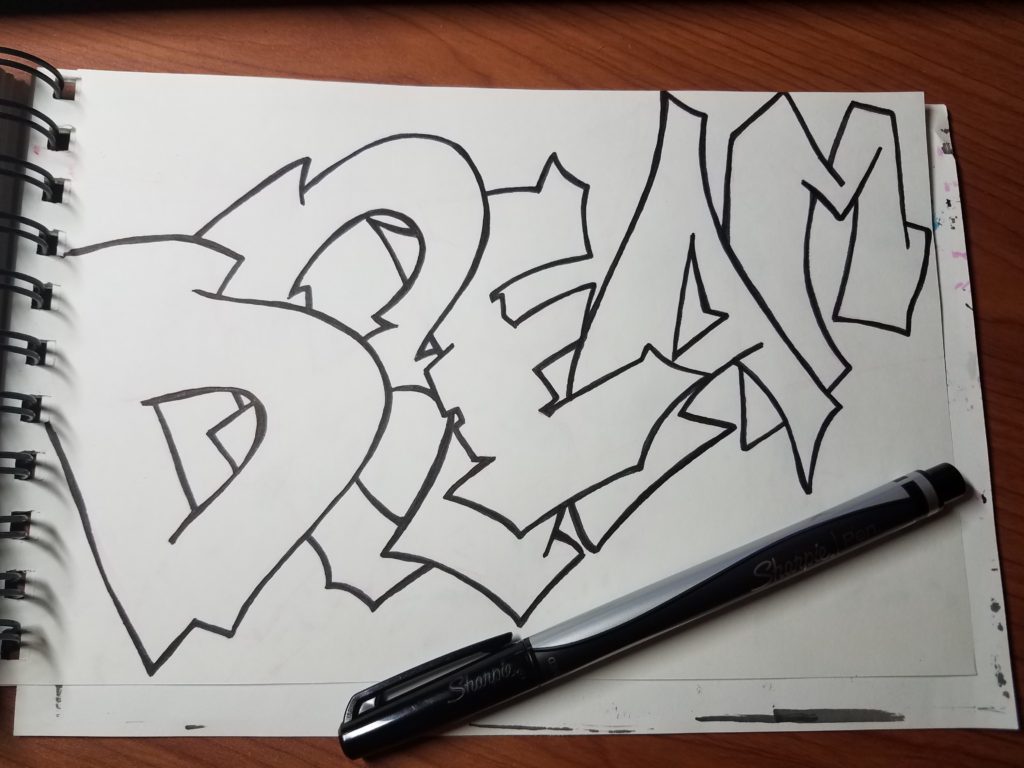
How to Draw Graffiti Letters Step by Step with Markers
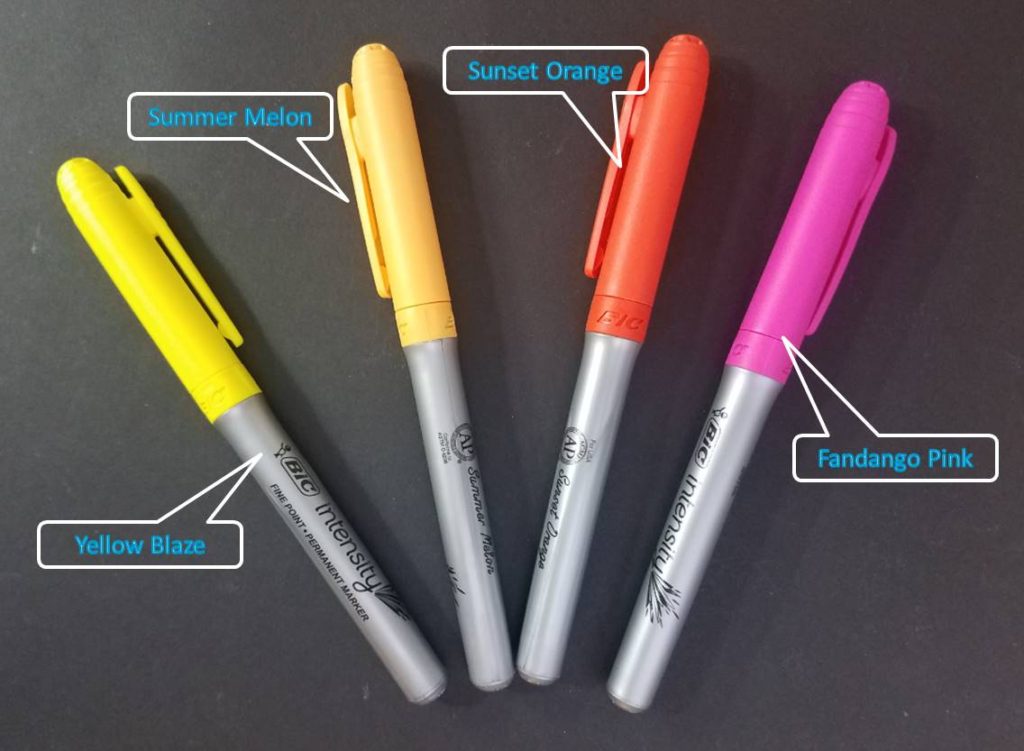
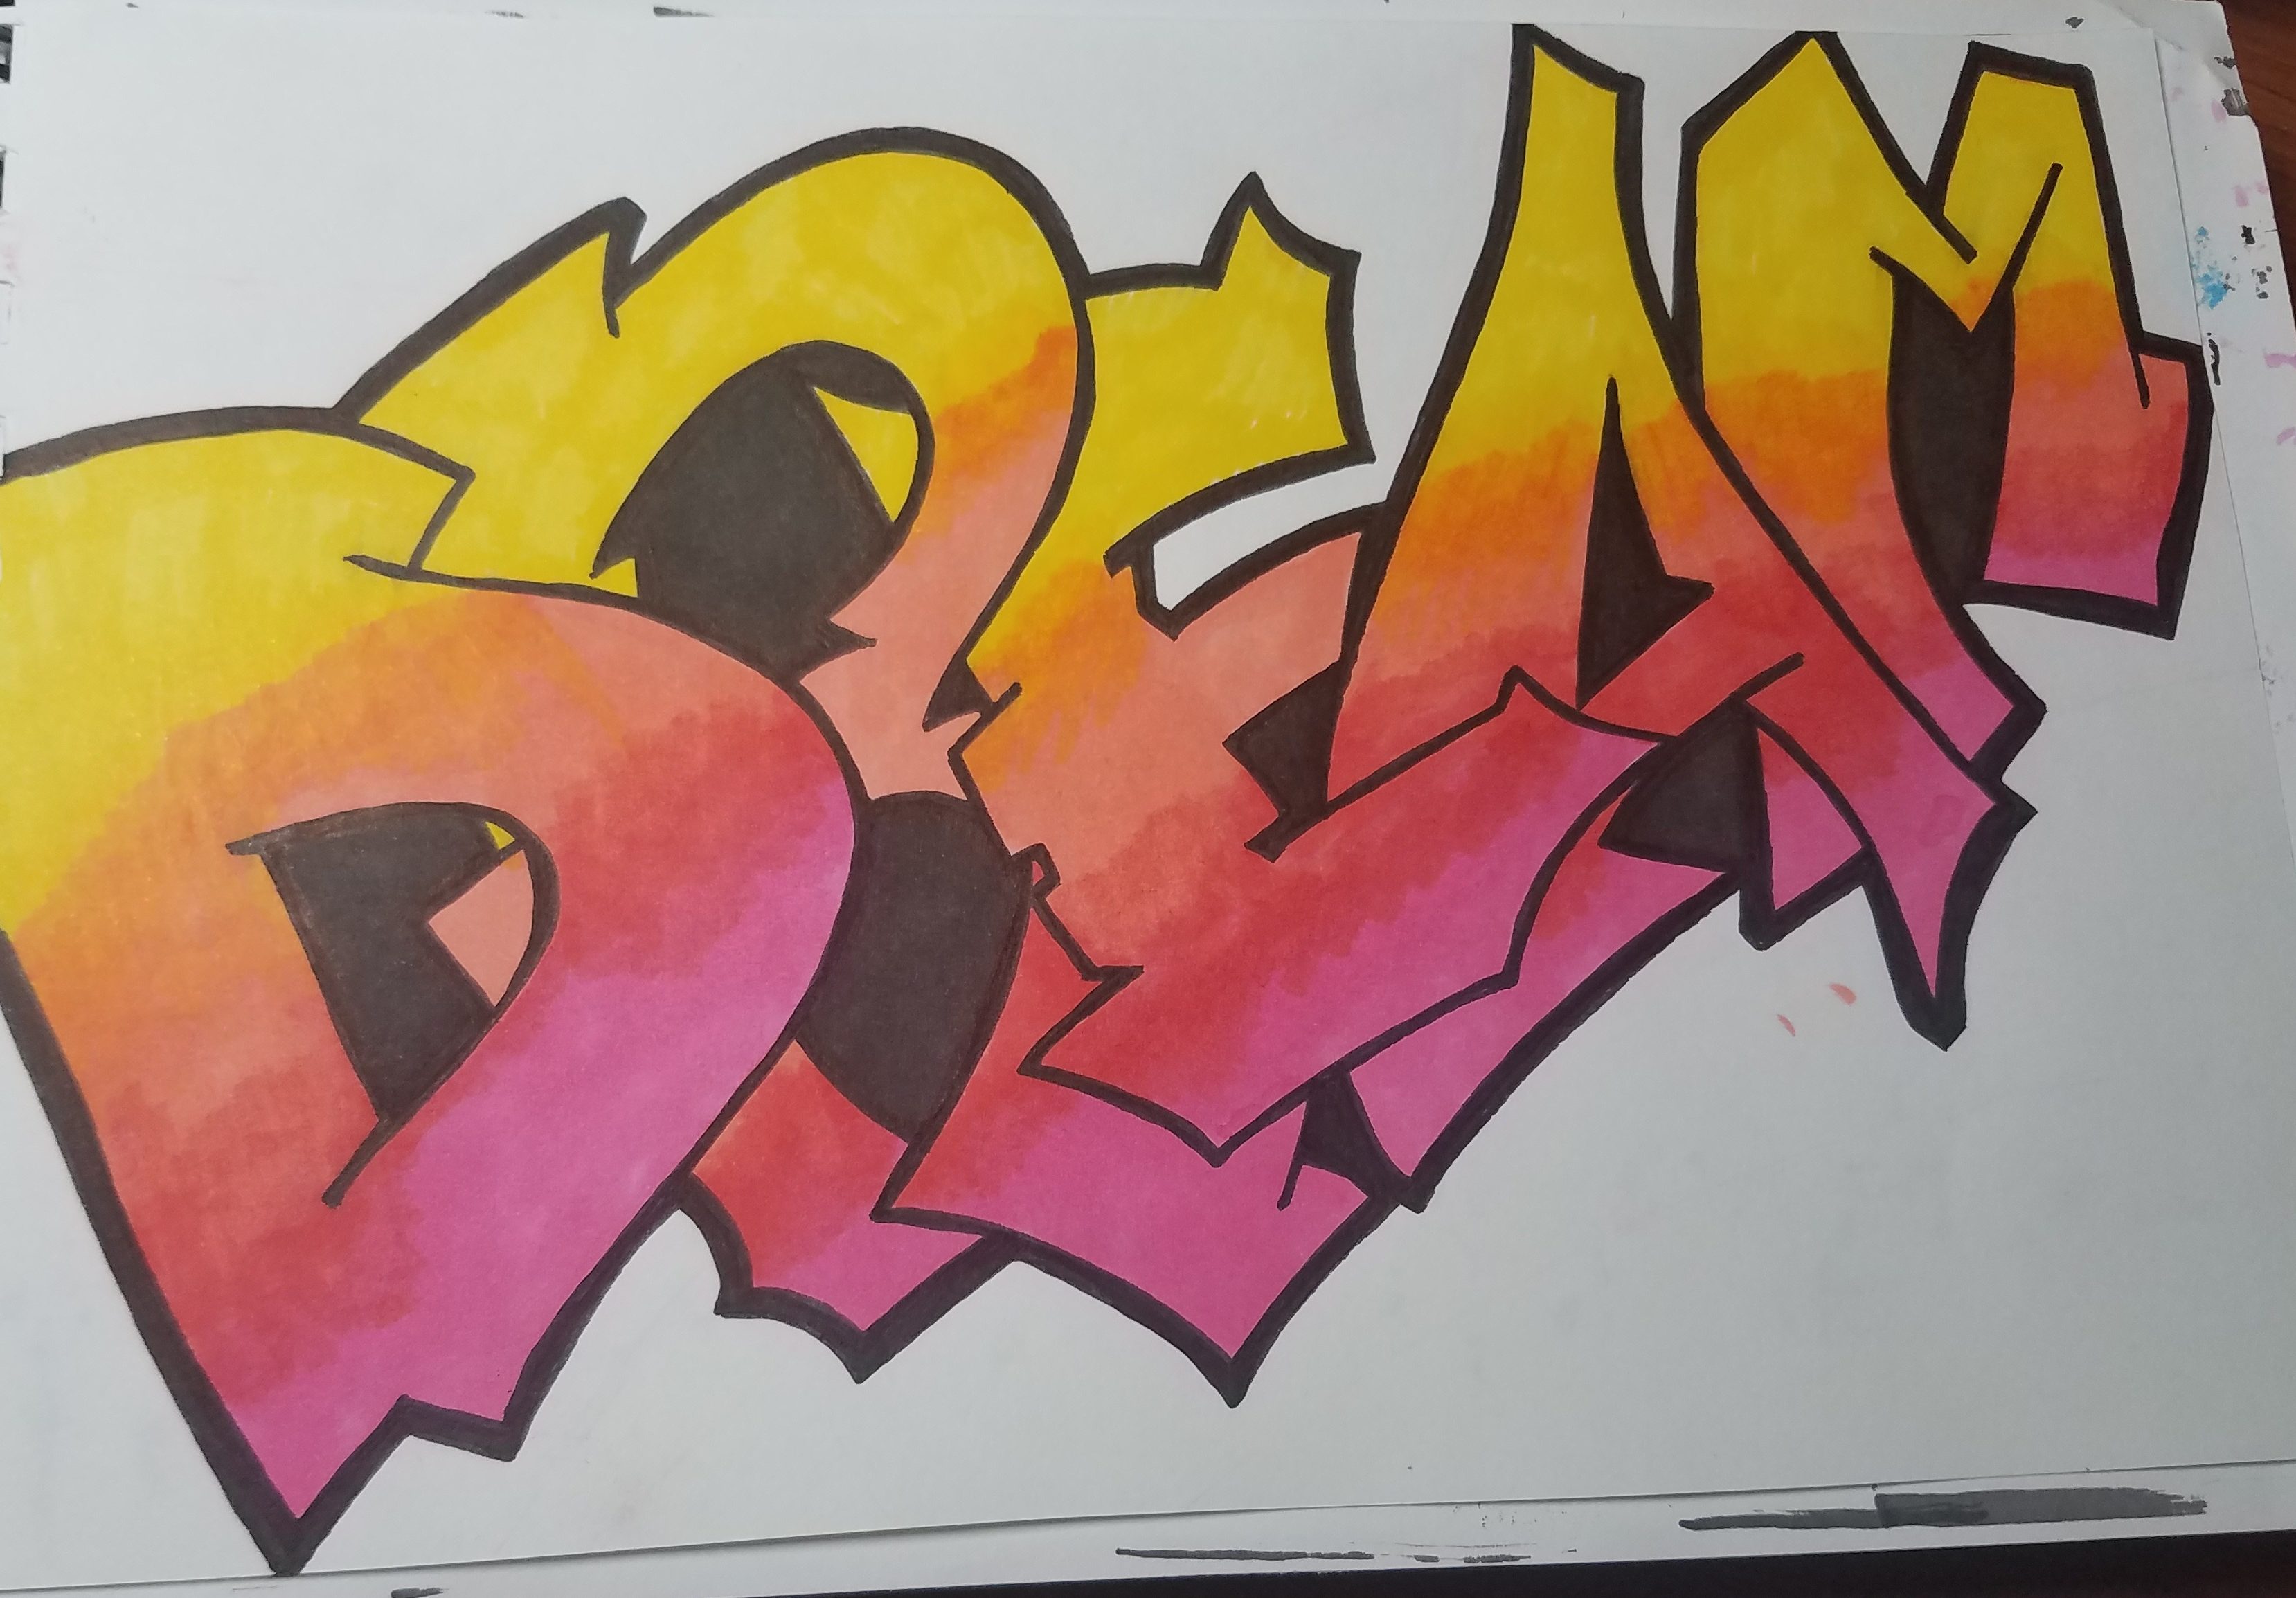
Now it’s time to add some color to your graffiti drawing. This is where the fun really begins. And the challenges. Let’s see how to draw graffiti letters step by step using markers.
I went with warm colors for my graffiti letters.
You can use any color scheme you want to use. It’s best if you have at least a basic understanding of color theory. You want to pick colors that work together in your graffiti art.
Below is the marker set I used for creating this drawing. Because this graffiti letters tutorial focuses on graffiti for beginners, I don’t recommend purchasing expensive markers as that can really add up.
For this graffiti letters tutorial, four markers were used (yellow blaze, summer melon, sunset orange, fandango pink). And they were used in that order. These are all included in the Bic Intensity 24 pack.
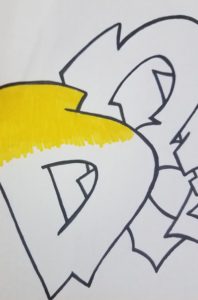
Begin adding the blaze yellow at the top of your letter. Work on one letter at a time because you want the markers to stay “wet” while you’re working on it or they won’t blend together.
Blending Markers
Next, add the summer melon. Be sure to overlap your colors. Use the yellow where the two colors meet and blend them together.
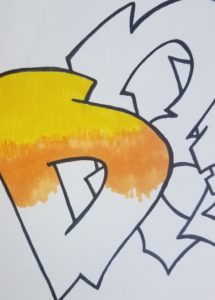
Now add in the sunset orange. Again, go back in with the previous color (summer melon) and blend the colors together where they meet.
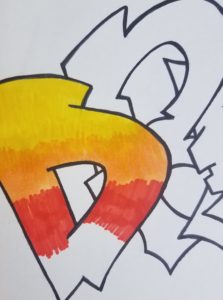
Finally, add in some fandango pink. Don’t forget to blend the colors together using the sunset orange.
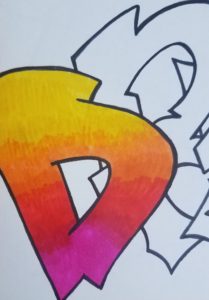
There are so many options when choosing how to finish your letters. Which colors you use and how you add color is entirely up to you. However, I would suggest using some kind of color theme when you are just starting out.
The more you practice, the better you will get.
After doing a few of these you’ll notice the decision making will start getting easier as well. You’ll start to know your next move sooner and become more confident in what you are doing.
If you need help blending markers check out our post called How to Blend Markers for Beginners.
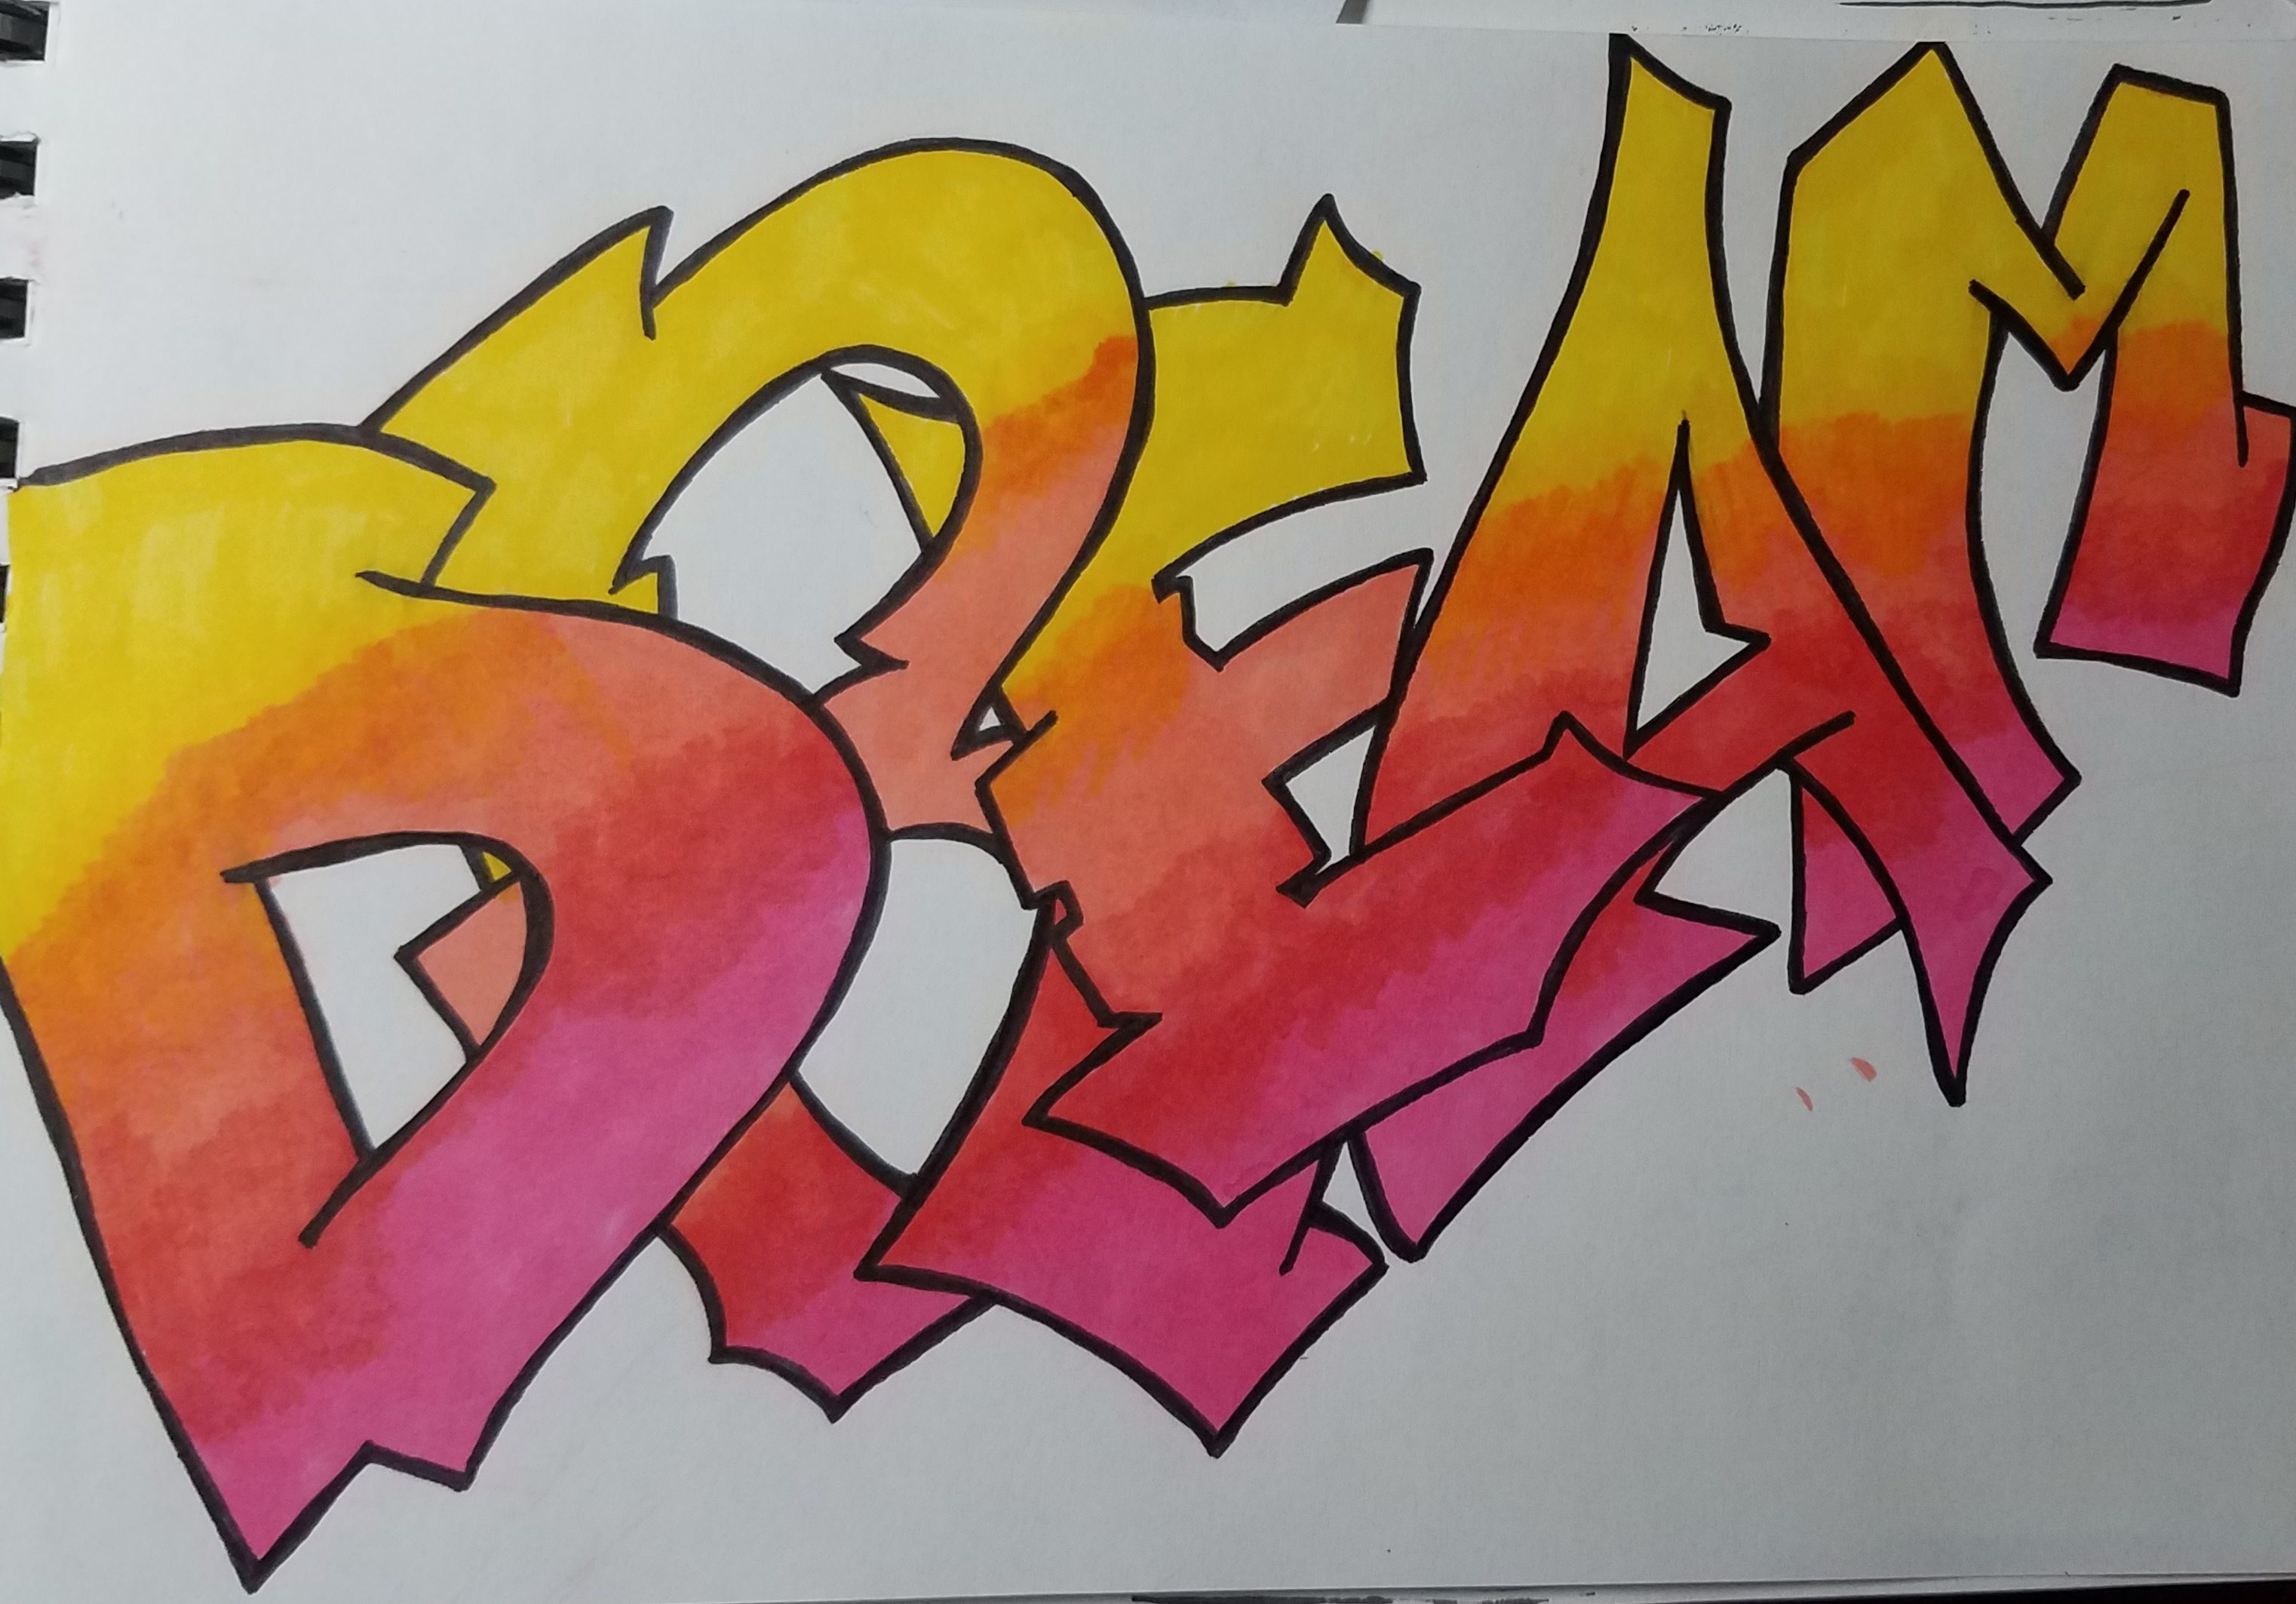
The next thing I did was go in with my black pen and thicken up the outline around the edges of the letters. I left the lines where the letters overlap the way they were. I’ll add a shadow to these areas later on.
Drawing a Graffiti Background
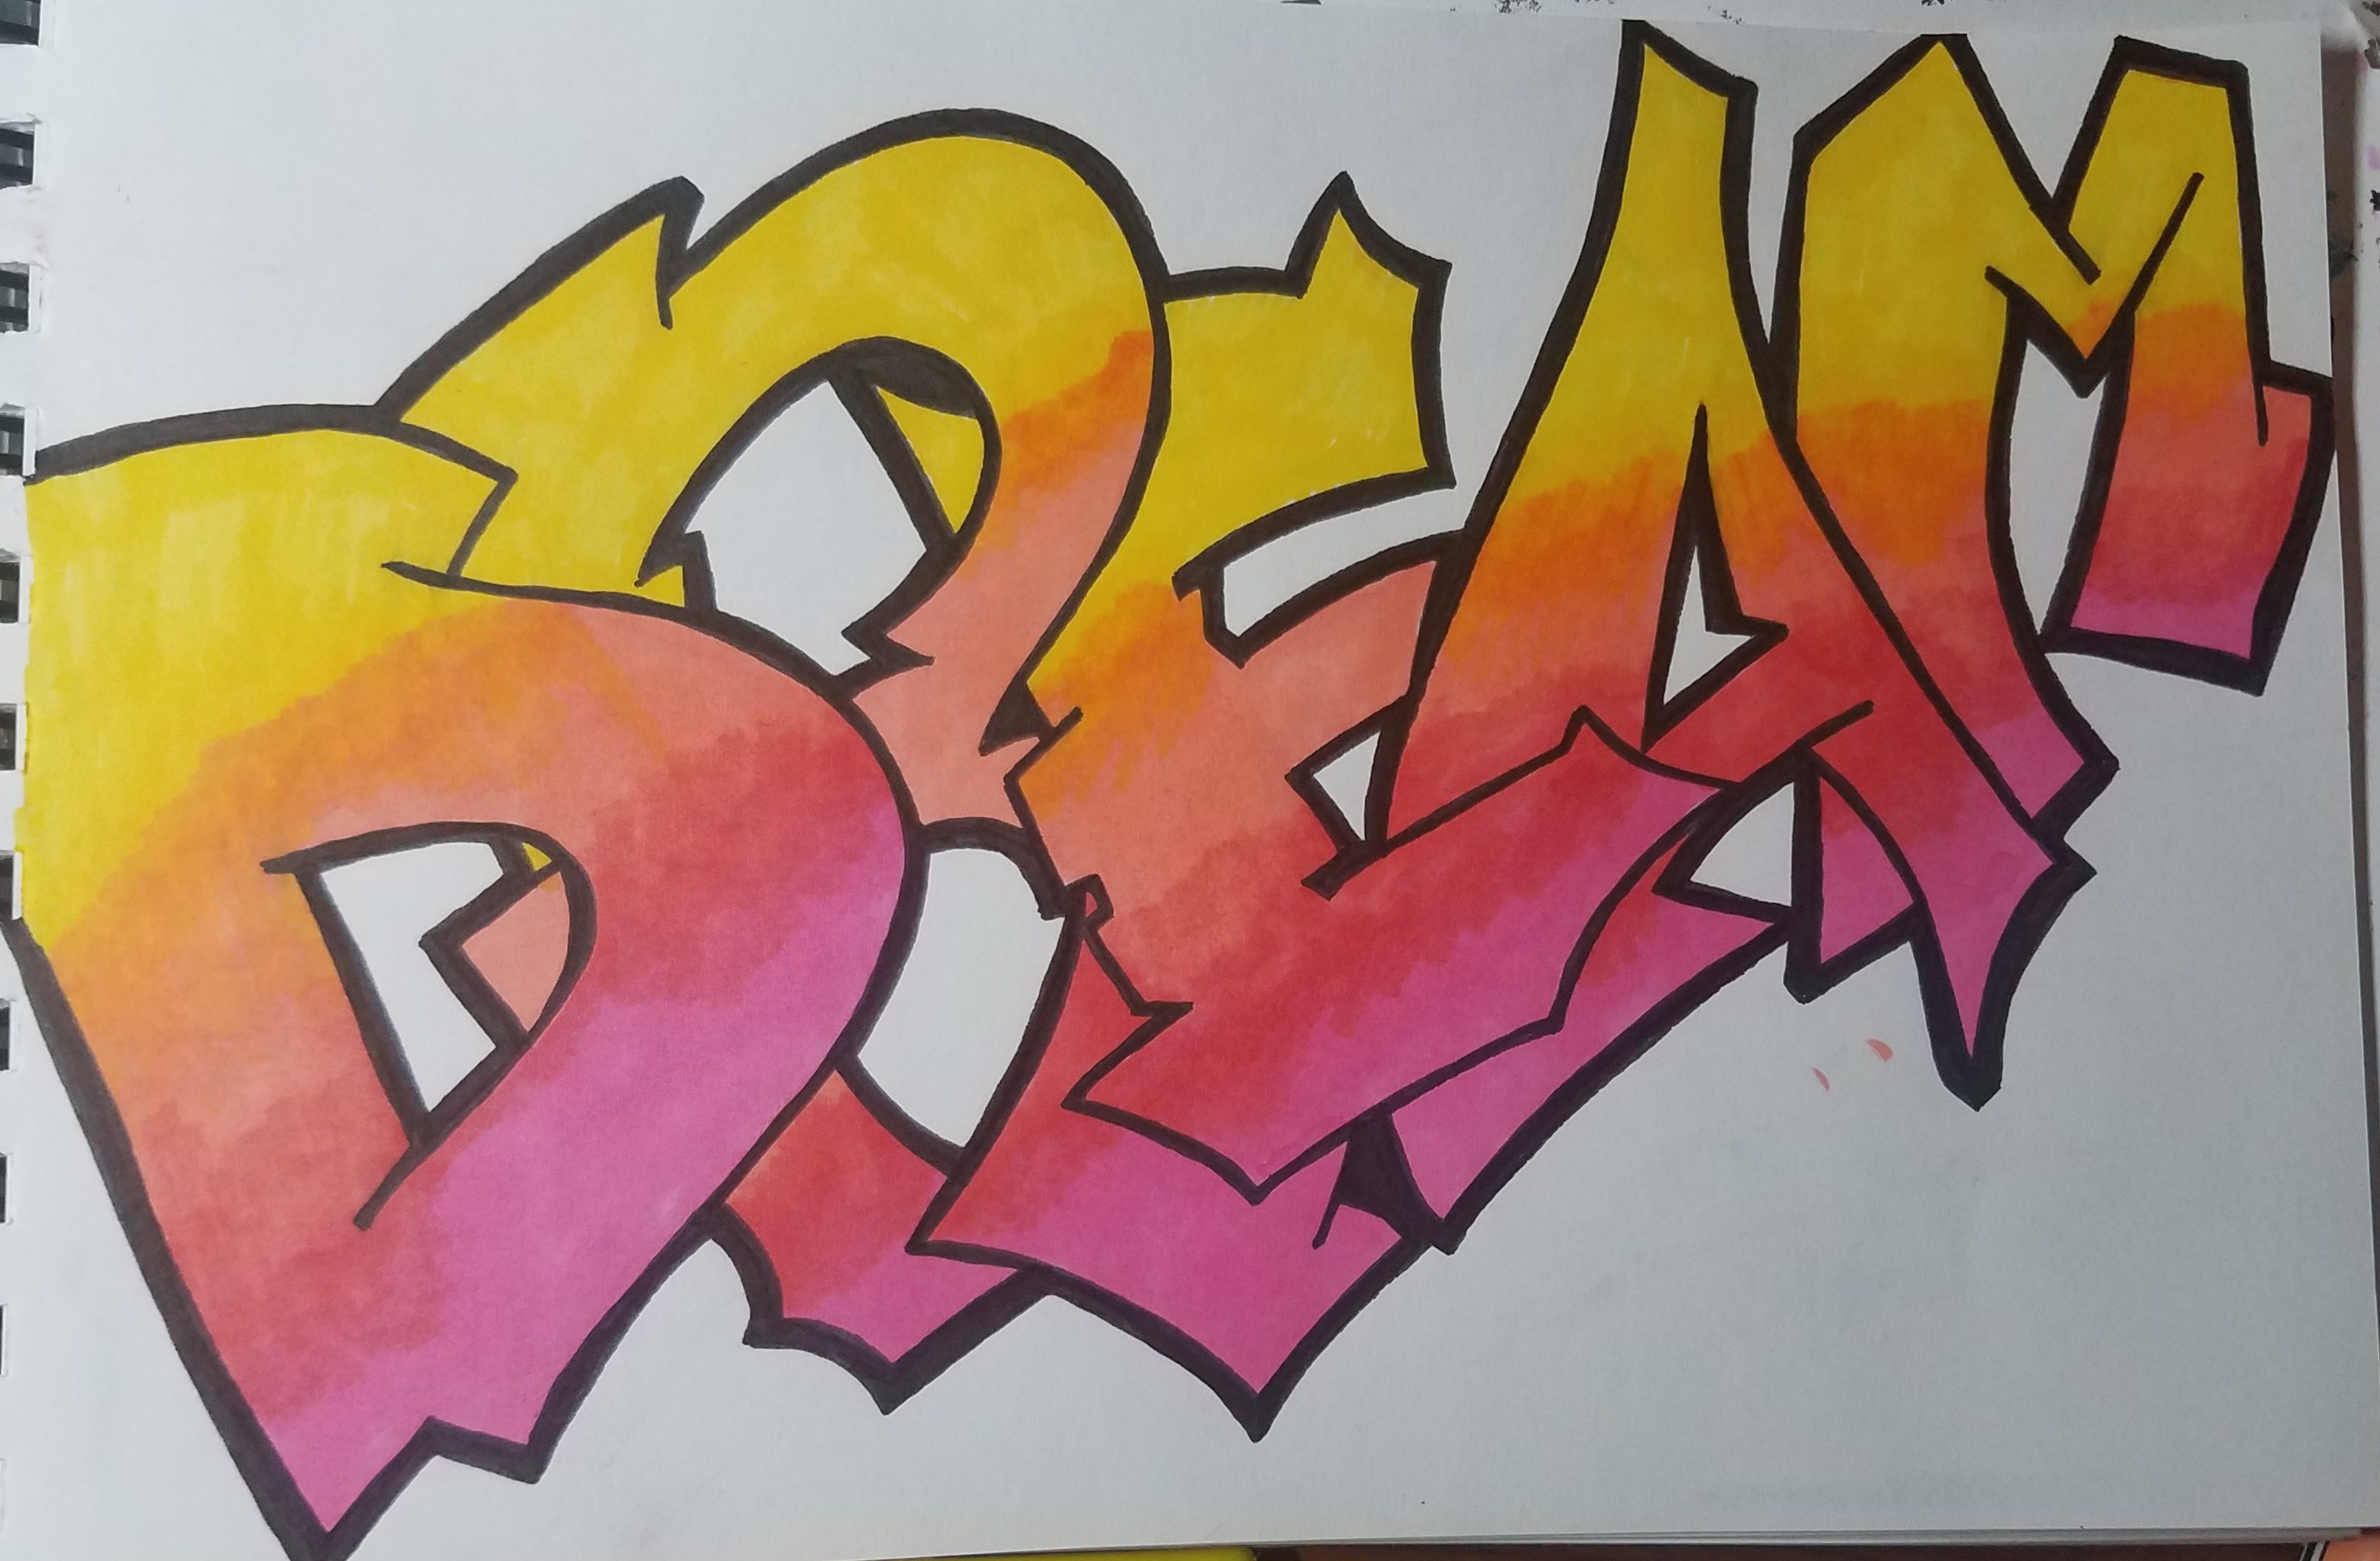
After giving it some thought, I decided to go back in with black and fill in the enclosed areas of my letters. I wasn’t sure if I wanted to use black or purple for the insides. I went with the black.
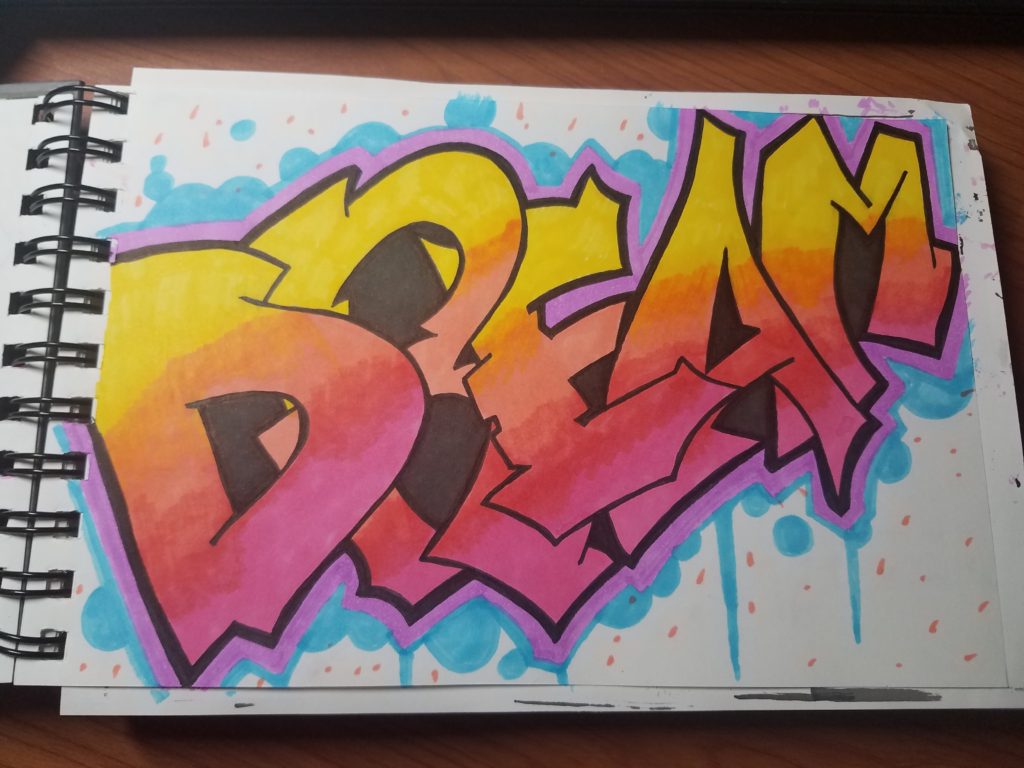
For the background cool colors were used. Because this is a graffiti lesson for beginners, I kept the background pretty simple. There are an endless number of options for the background. From very simple to extremely complex.
Have some fun with it and be creative. The more you practice, the more creative you will be. Brick walls make really good backgrounds for graffiti art. Take a look at our post on drawing brick walls for a full step by step tutorial.
Add Shadows and Highlights to Your Graffiti Drawing
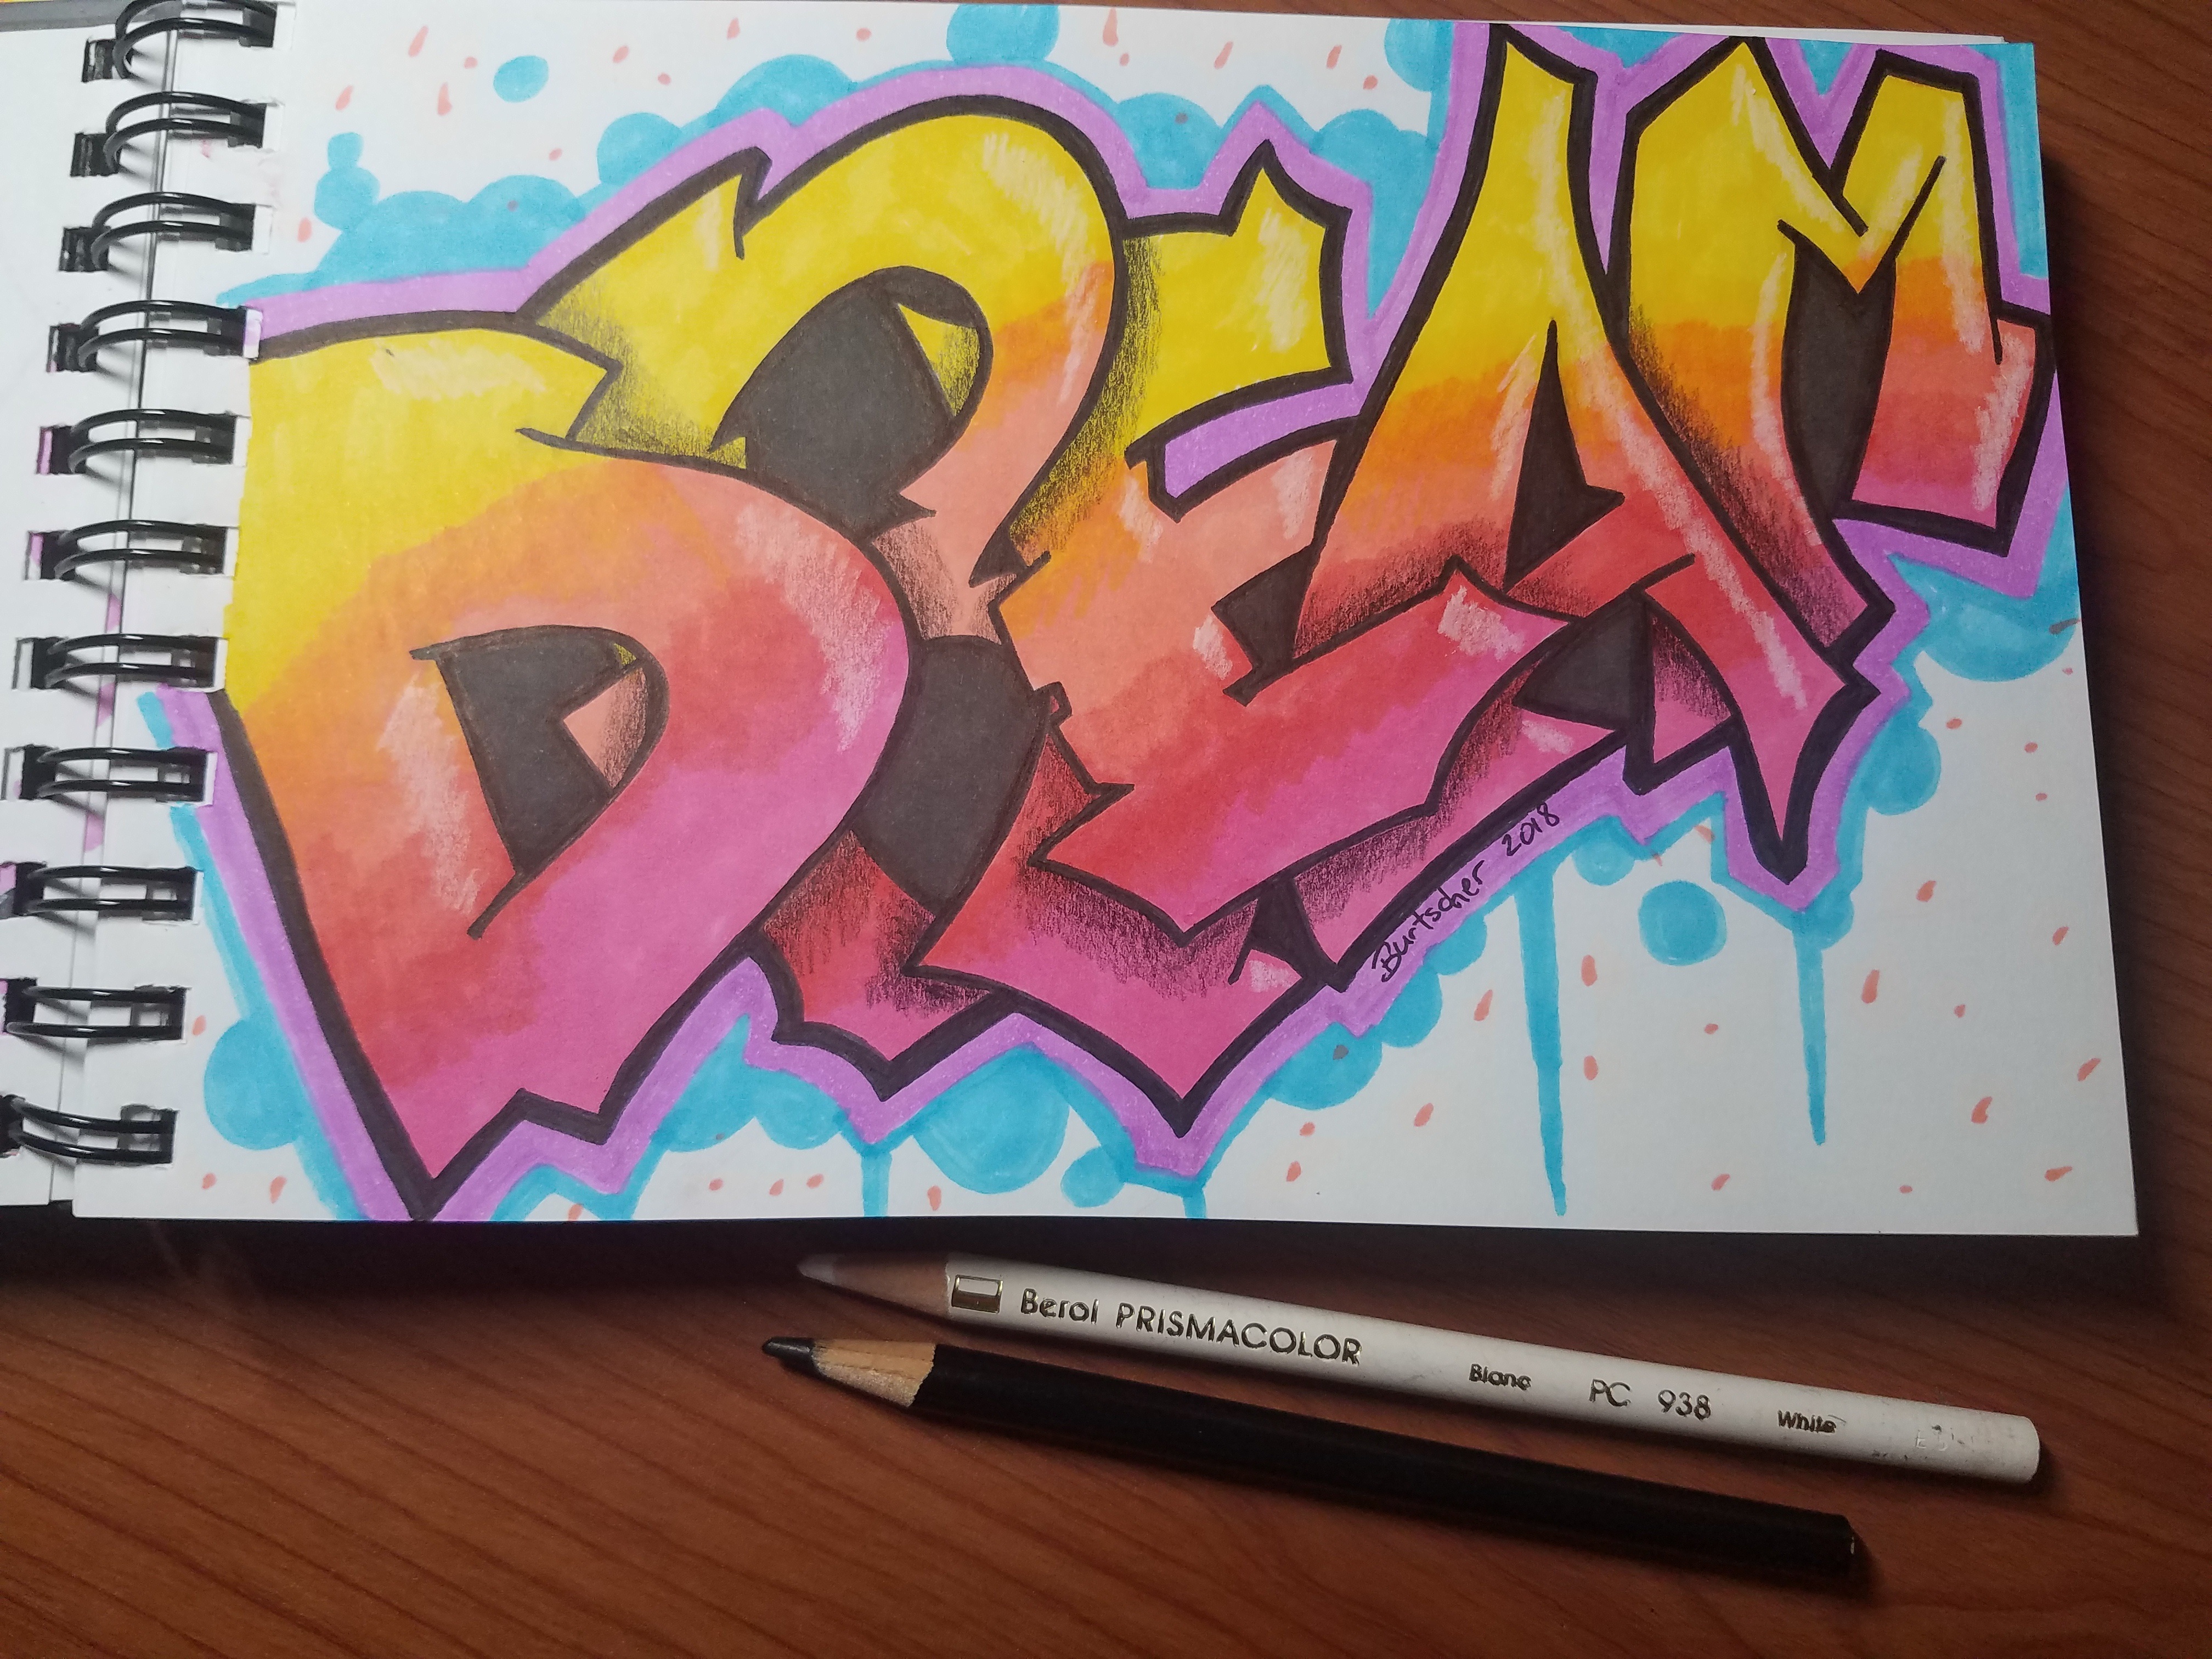
The final step is to add some shadows and highlights. Again, lots of choices here. You can use black and white colored pencils for this. The colored pencils lay on top of the marker nicely and shows up well.
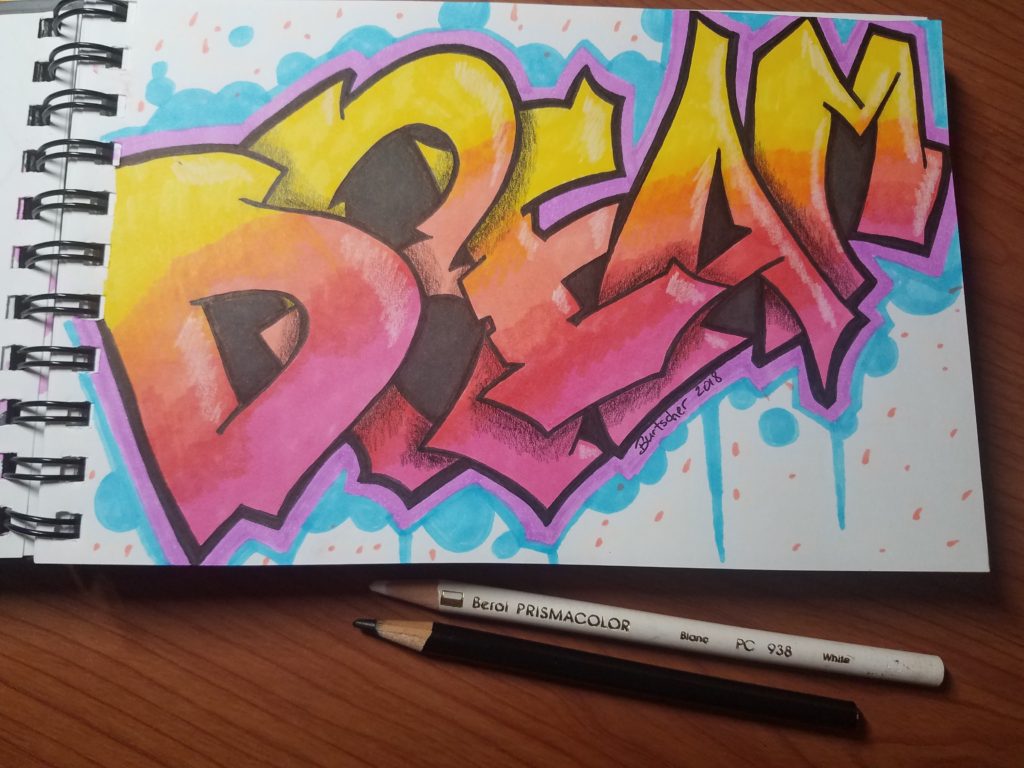
Below is what my final drawing looks like. I added some little specks in the white areas to break it up a bit… and because I dropped one of the markers on my page which left a couple of dots.
Happy accidents, as Bob Ross always said. It turned out ok, but I should have made the inside of the letters purple instead of black, or added more black around the edges.
How to Draw Graffiti Letters for Beginners
I hope you enjoyed learning how to draw graffiti letters step by step. There will be more many more graffiti lessons coming up in the near future.
Take a look around the site and you’ll find several graffiti letters tutorials that focus on drawing individual letters in various styles. They’re great graffiti for beginners tutorials.
Get your free graffiti guide below
If you do a quick search on Google for “graffiti blackbook”, you’ll find some really cool graffiti drawings that I’m sure will inspire you. Happy drawing and don’t forget to practice!


Good morning,
I can’t quite see the link for the downloadable guide, are you able to repost it in your reply please? Thank you for your great instructions above!
Cheers!
I’m so glad you like the tutorial. Here’s the link to the guide.
https://artbyro.com/wp-content/uploads/Graffiti-Quick-Start-Guide-2023.pdf
yes
I want to learn more about graffiti art
Look around the site. We have several graffiti tutorials
This is an amazing guide!! I honestly still need a load of help in order to really up my game with my art skills. I am hoping and asking if you could personally help me with graffiti and we’ll if you know anyone who can draw real life drawings then that would most definitely be a huge help! Love the guide and I want to learn more. Nice job👍🏾✌🏾
I’m glad you enjoyed the tutorial. Good luck with your artistic journey.