How to Draw Shapes in One Point Perspective
Learning to draw in one point perspective is much easier than people think. With a little practice, you’ll be able to draw any shape or object in 3D. This one point perspective shapes art tutorial will teach you how to do just that.
Drawing in perspective is really fun, as well as rewarding. But it also takes a lot of practice to get good at it and to improve your 3D drawing skills.
One point perspective is a type of linear perspective that uses only one vanishing point. This is the point where all lines converge. This type of drawing was popular during the Renaissance.
Last week we learned some One Point Perspective Basics to get you started. Then a few days after that, we practiced drawing more boxes. This lesson will take those concepts a step further by looking at more complex shapes.
So let’s go ahead and get started by looking at the supplies we’ll be using today.
* Some of the links in this post may be affiliate links. This means I receive small commissions for purchases made through these links at no extra cost to you.
Art Supplies
Pencil
1pt Guide (download at bottom of post)
How to Draw 3D Shapes Using One Point Perspective
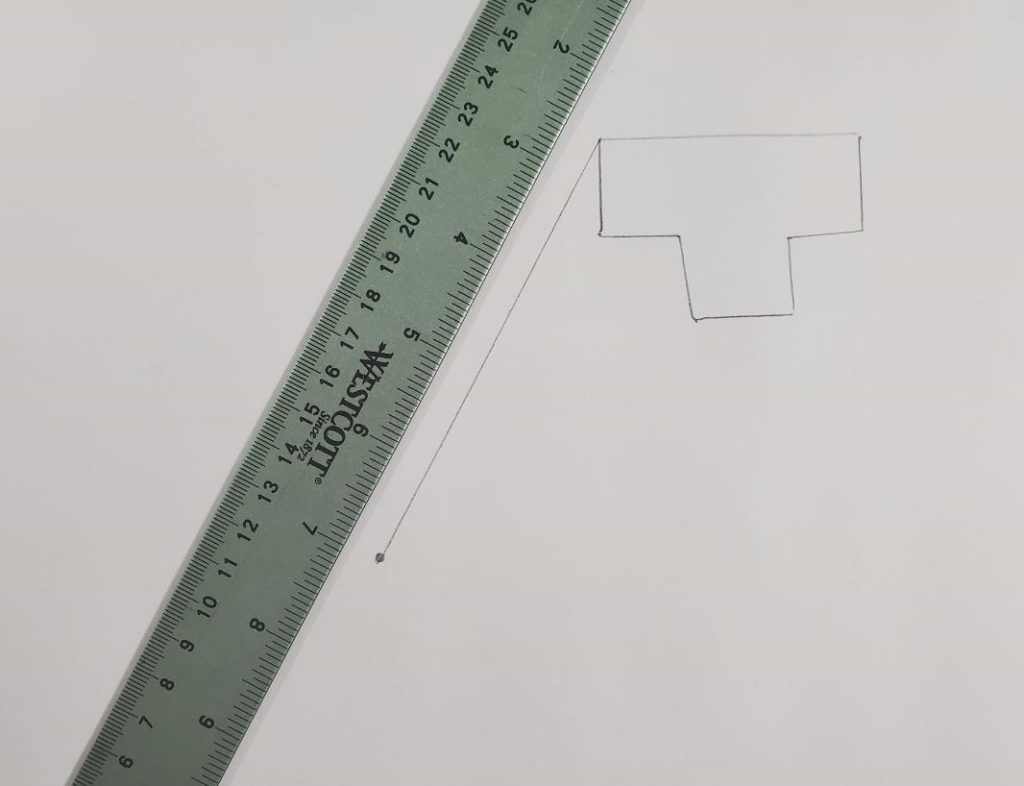
For today’s lesson we are going to be drawing several different three dimensional shapes using one point perspective. This means your drawing will have one vanishing point. So, the first thing you need to do is draw that vanishing point on our paper.
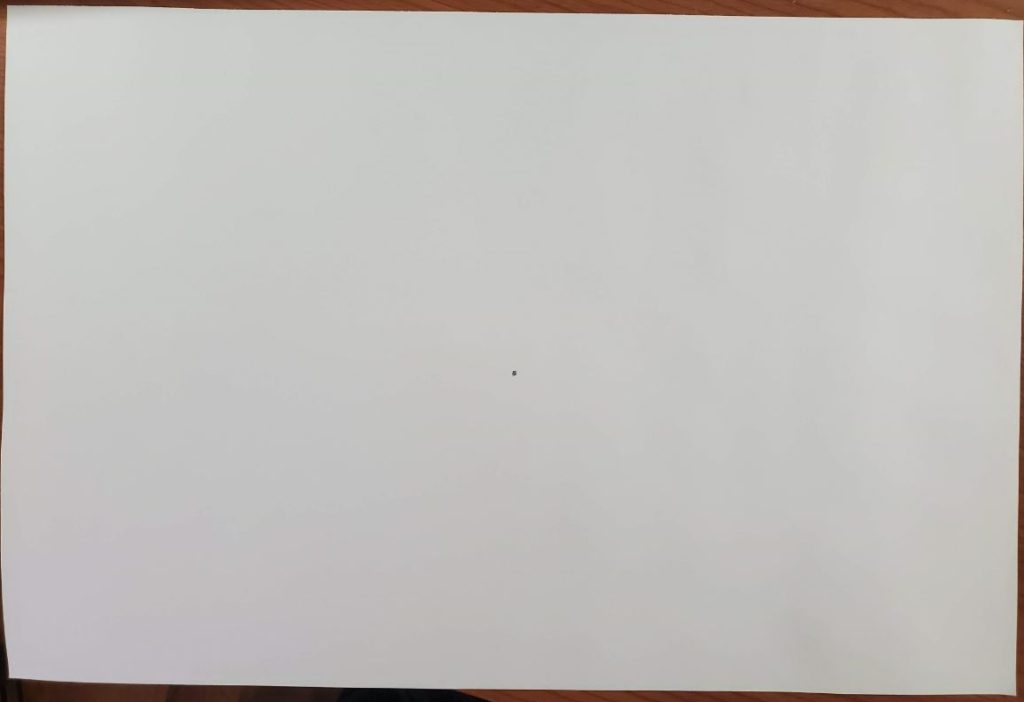
For this lesson, it’s probably best to draw it somewhere near the center of your paper. However it’s not important to draw it in the exact center.
For this lesson, I’ll be using templates cut from cardstock.
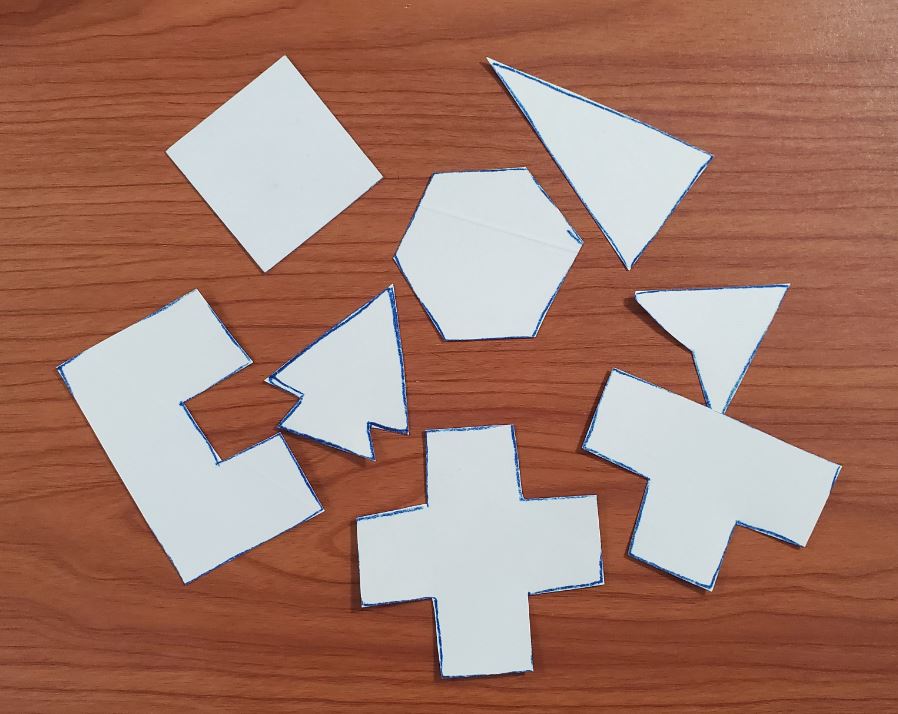
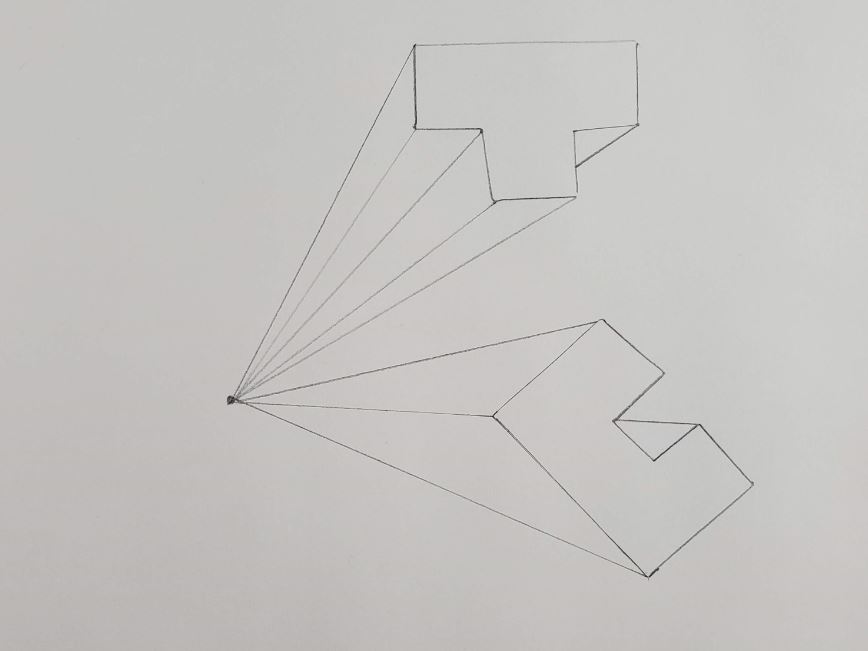
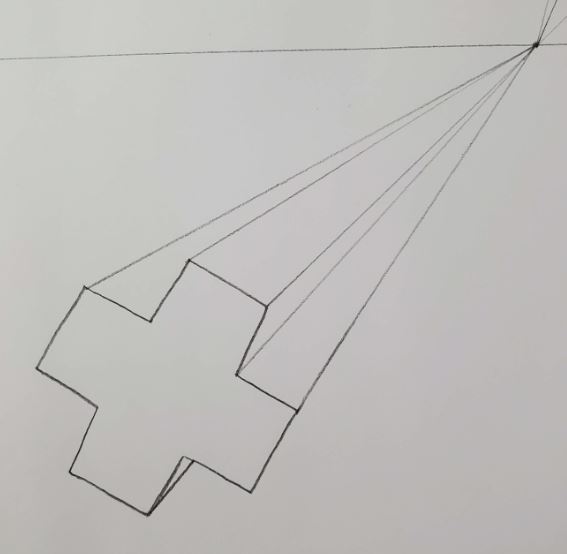
Next, draw your first shape somewhere towards the edge of your paper. I have found that it works much better to use templates, and trace the shapes. But you could also draw them freehand.
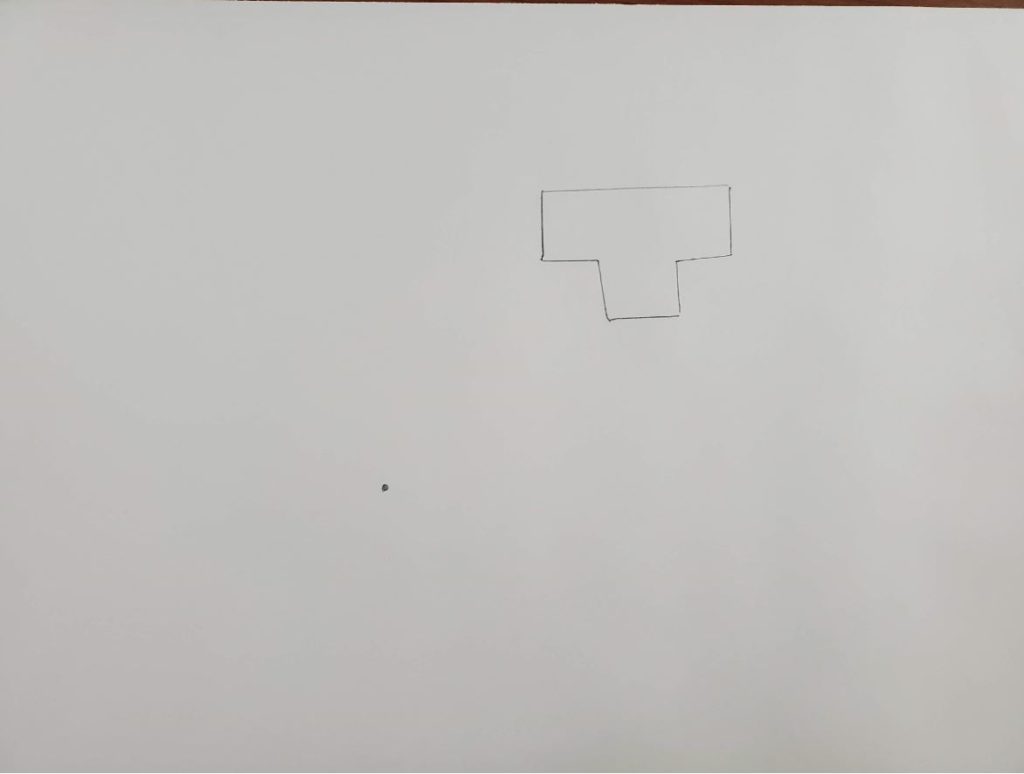
Using a ruler, draw a line from one of the corners of your shape to the vanishing point.
Move onto the next corner and do the same thing.
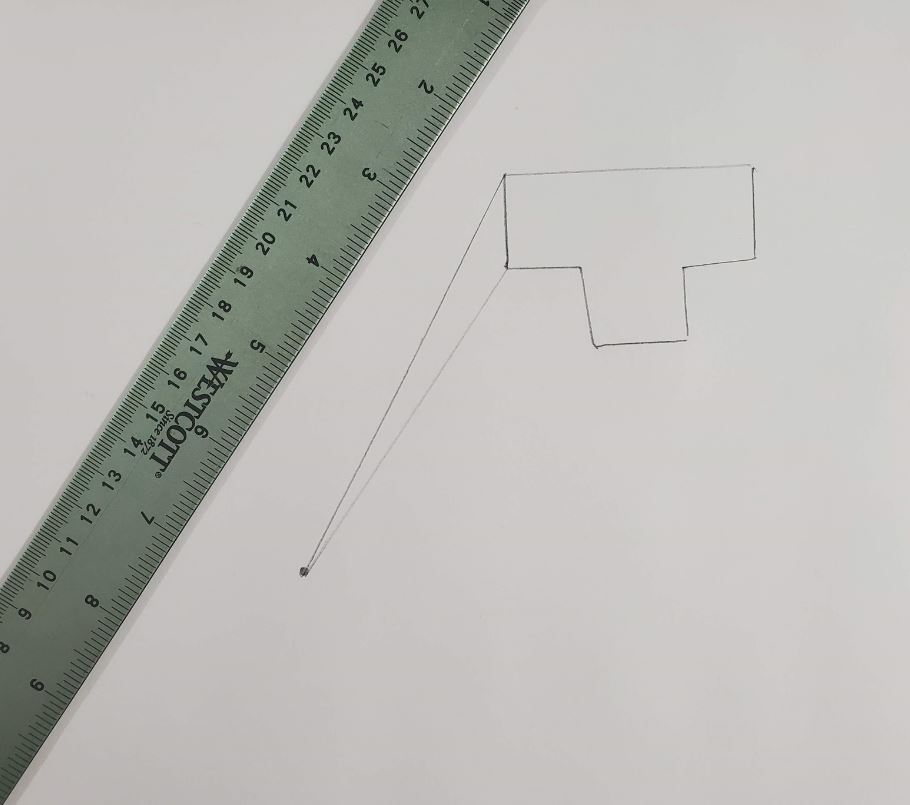
Continue working your way through each of the corners of your first shape.
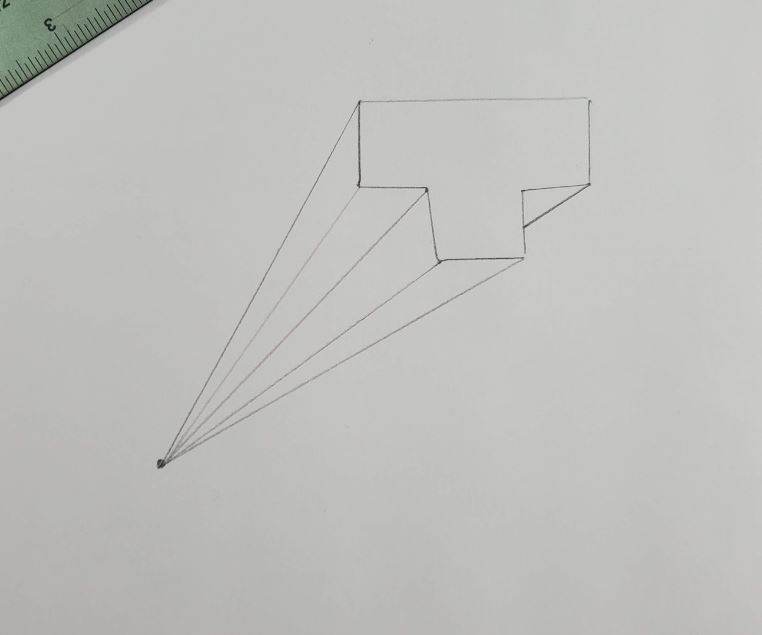
You should never have lines going through the face of your shape.
Now trace your next shape somewhere along the edge of your paper.
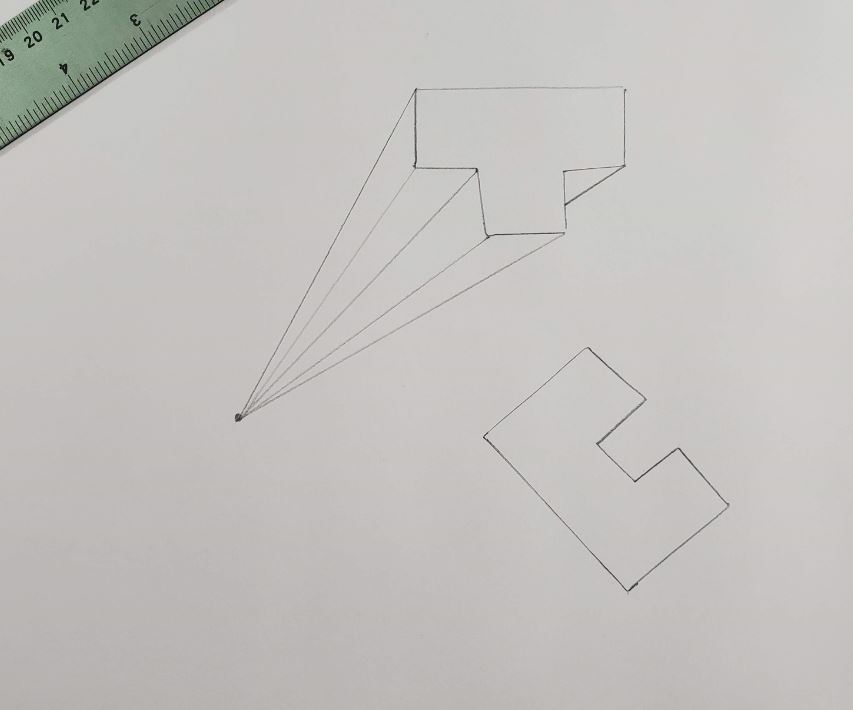
Follow the same process for this shape as you did with the last one.
Continue filling up your paper one shape at a time. For the best practice, use a variety of different shapes.
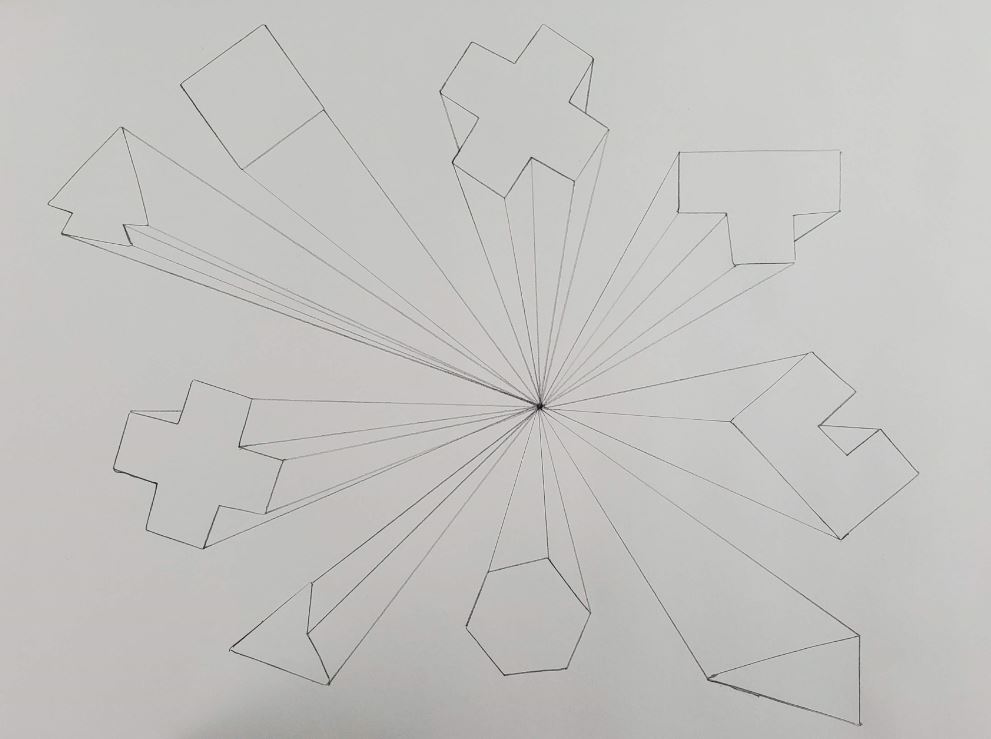
You’ll also want to turn your shapes so the angle is more interesting if possible.
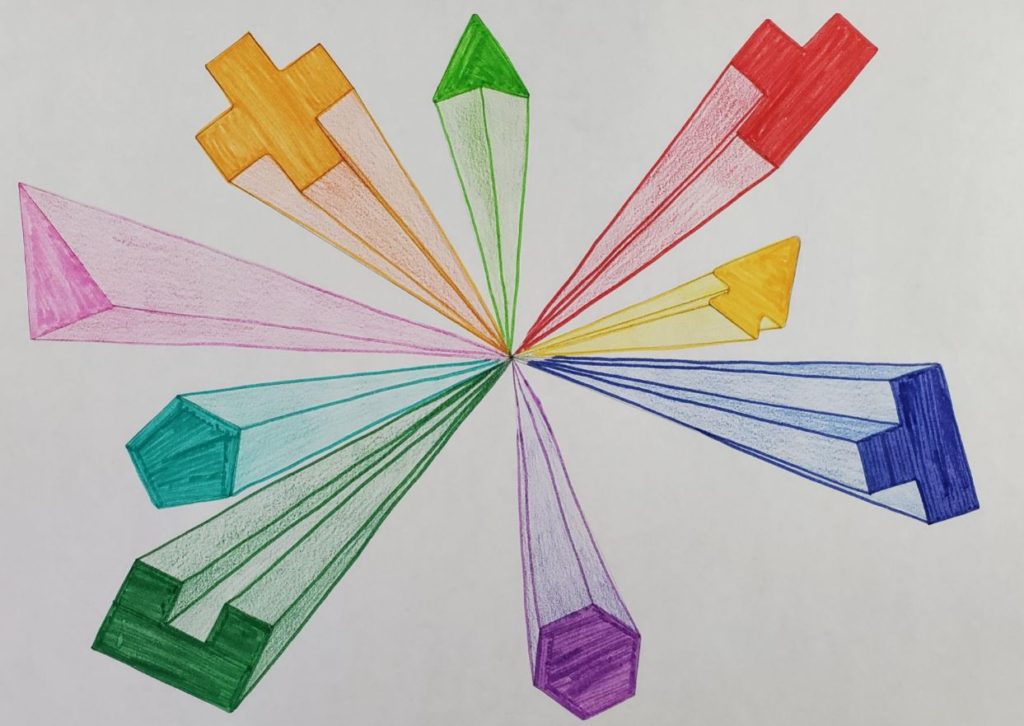
Color Your 3D Shapes Drawing
Now we want to add some color to our one point perspective shapes. To do this, trace over all of your lines with a marker.
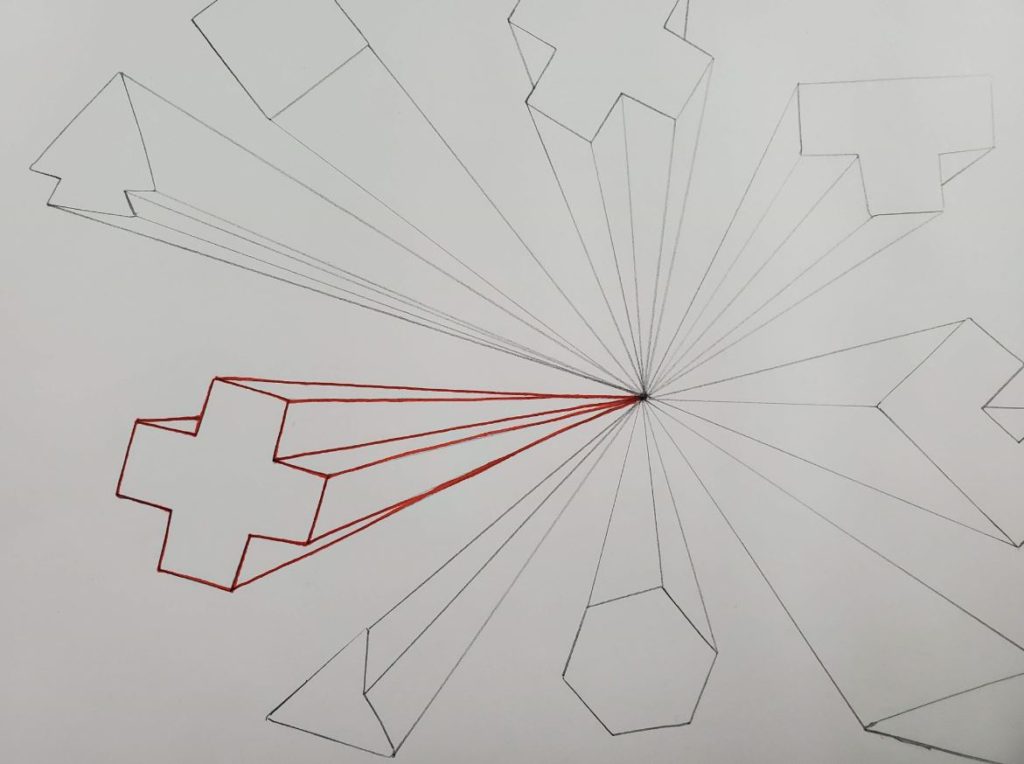
You can use a color scheme, as discussed in Understanding Color Theory for Artists. Or you can use the same color for the outline and the inside of your shapes.
Use colored pencils to fill in the shapes. In this example, the actual shape was colored in with marker to help it stand out from all of the other lines.
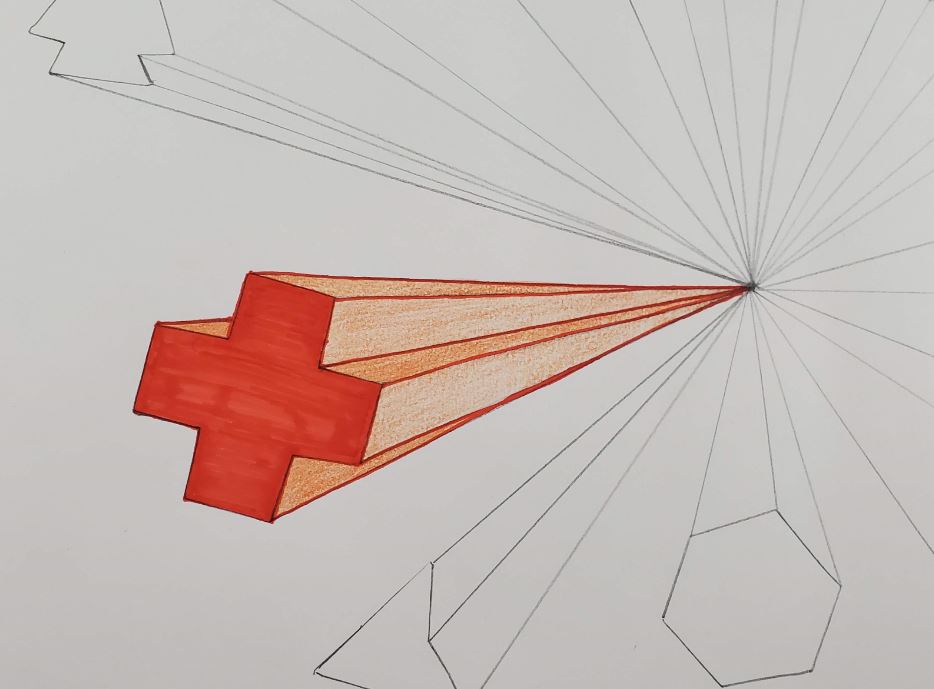
Work your way through each shape, outlining and filling in the face of the shape with marker. Finish your drawing by adding in the colored pencil.
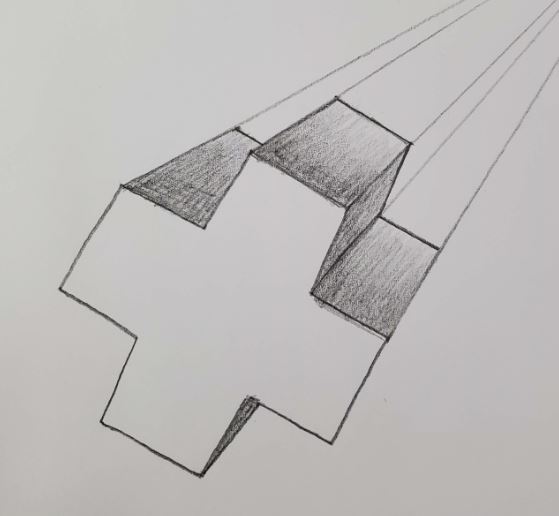
Drawing Shorter One Point Perspective Shapes
So what if you don’t want your shapes to go all the way to the vanishing point. Let’s look at how to make your shapes shorter. Begin your drawing the exact same way as you would if your shape is going all the way to the vanishing point.
But keep in mind you’ll be erasing some of the extra lines, so draw lightly.
To make the shape shorter, you’ll need to decide how much depth you want your shape to have. Then draw a line that is parallel with one of the lines in your original shape.
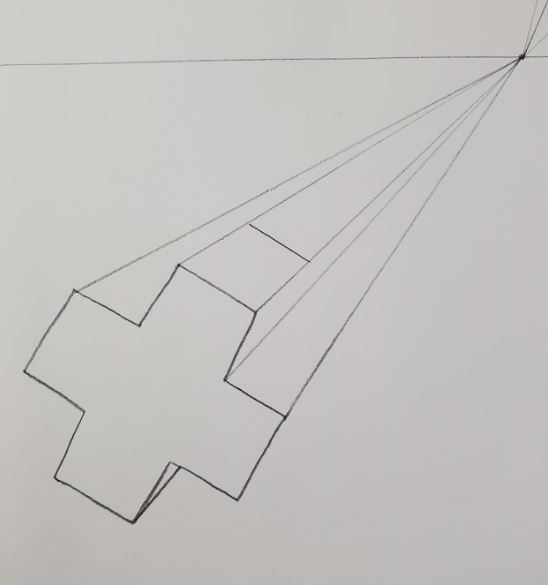
Work from that line to draw all of your additional lines. Keep them all parallel with your original shape.
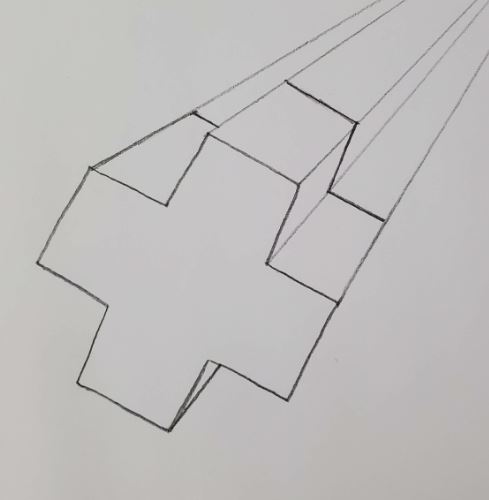
Add some shading to further create an illusion of depth. Notice how the shading is darker closer to the viewer, and it fades out as it gets further away.
How to Shade 3D Shapes
This is called atmospheric perspective and help create the illusion of depth. There are other ways to shade your shapes as well. This is just one way to finish your 3D shapes.
To shade your 3D shape make the edges that art furthest away from your light source darker than the edges closet to your light source.
So for this example our light source is coming from the center of the paper.
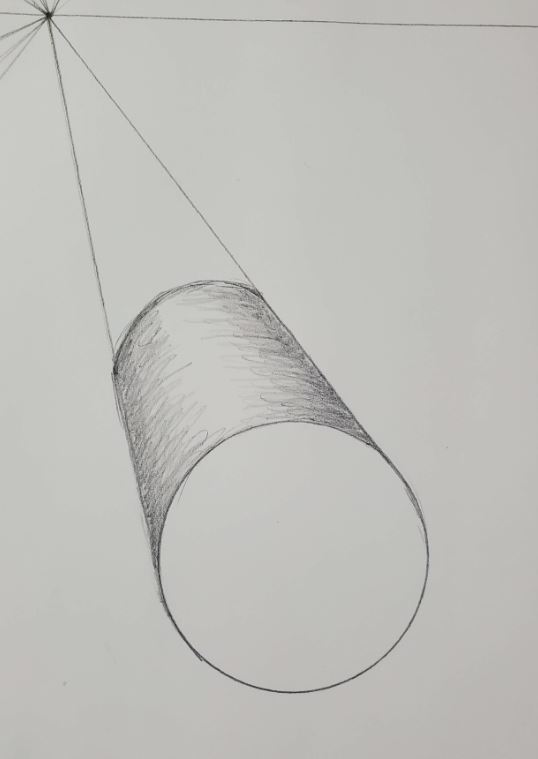
One Point Perspective Circle
It can be a bit tricky to draw a shape in 3D if it doesn’t have sharp corners. However, the process is really the same. You begin by drawing the front of your shape, then draw your lines from the furthest edges to the vanishing point.
So if you draw a one point perspective circle, this is how it would look.
You would use a similar approach when drawing organic shapes in 3D using one point perspective.
What’s the Difference Between Geometric and Organic Shapes
Geometric shapes (circles, squares, rectangles, etc) are uniform and don’t normally appear in nature. Organic shapes are not uniform and are associated with things in nature, such as plants and animals.
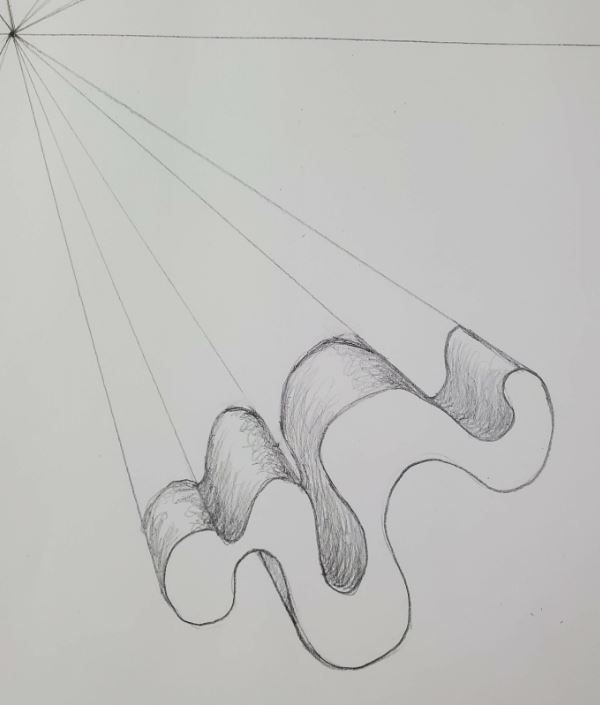
One Point Perspective Organic Shapes
When drawing organic shapes in 3D using one point perspective, you’ll use the same process as with geometric shapes. Begin by drawing the frontal plane shape. Then draw line from your edges to the vanishing point.
One Point Perspective Shapes Art Tutorial
That’s it for our lesson on one point perspective shapes. Practice making different shapes and see what you can come up with. You can try all types of geometric and organic shapes.
Try drawing some shapes with holes cut out of them or try combining different shapes together. There’s no limitation to what you can draw once you understand the process for drawing shapes using one point perspective.
And don’t forget to download your free lesson plan summary and template sheet.

I loveee it 💖💖
I’m glad you enjoyed the lesson.