Art Project – Value Painting Spooky Sky
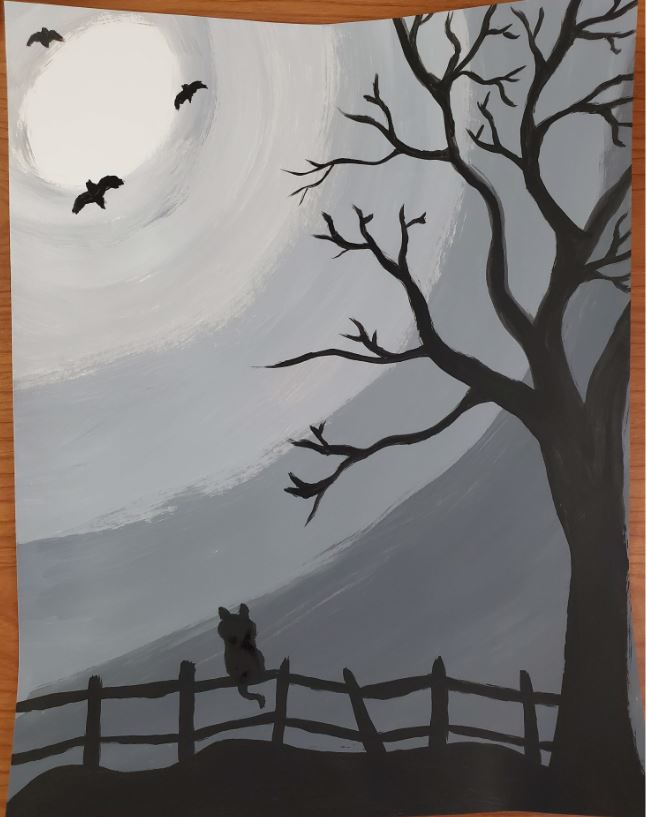
Halloween is such a fun time of year. Spooky sky value paintings are super fun and easy to create. And it’s a great way to learn how to paint value and color mixing. This painting can be done with black and white paint. Or, you can add a color and do a monochromatic painting using only one hue.
There are a lot of options for variation with this project, which is always good. And it’s important to understand color theory, and the elements of art. Let’s get started with the spooky sky value painting lesson.
* Some of the links in this post may be affiliate links. This means I receive small commissions for purchases made through these links at no extra cost to you.
Art Supplies
Color Theory and Creating Value
For our Halloween value sky painting, we’ll be using one color to create a monochromatic work of art. White and black will be used to create tints and shades, respectively.
Any color can be used for the painting. I’ll be using only black and white, because grayscale feels more spooky to me than a different color would.
Begin by choosing one color for your value painting. And then set up your one color along with black and white on a paint pallet. Or just black and white if you’re working with grayscale.
Value Painting Sky – Tints
The first thing you need to do before starting to paint is to decide where you want your moon to go. This area of the paper will be left white.
Begin by mixing your first value of your color. To do this, use mostly white, with a small bit of color mixed in.
I’m using black as my color, but any other color will work for this.
Apply your paint in a circle, around where your moon will be. Remember to leave your moon completely white.
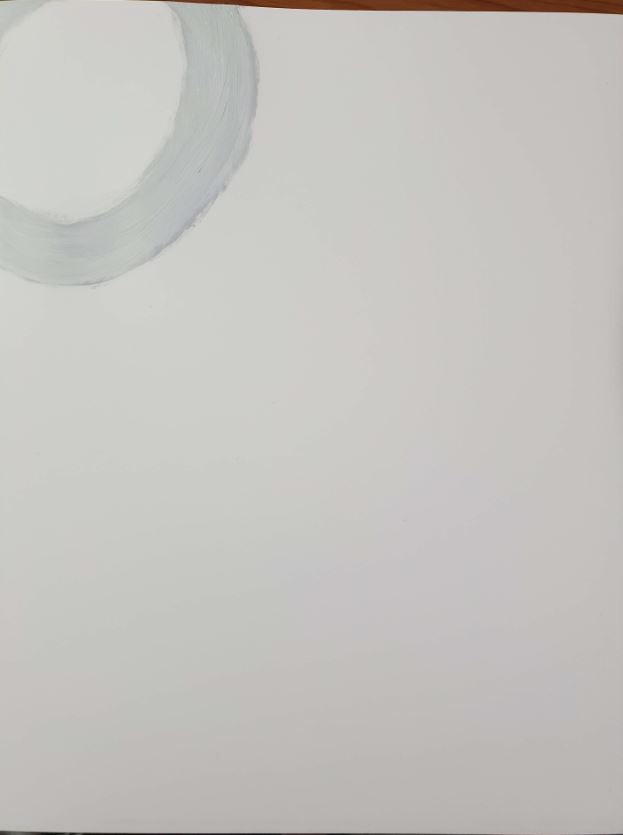
Add a bit more color to your mixture to create a slightly darker value of your color.
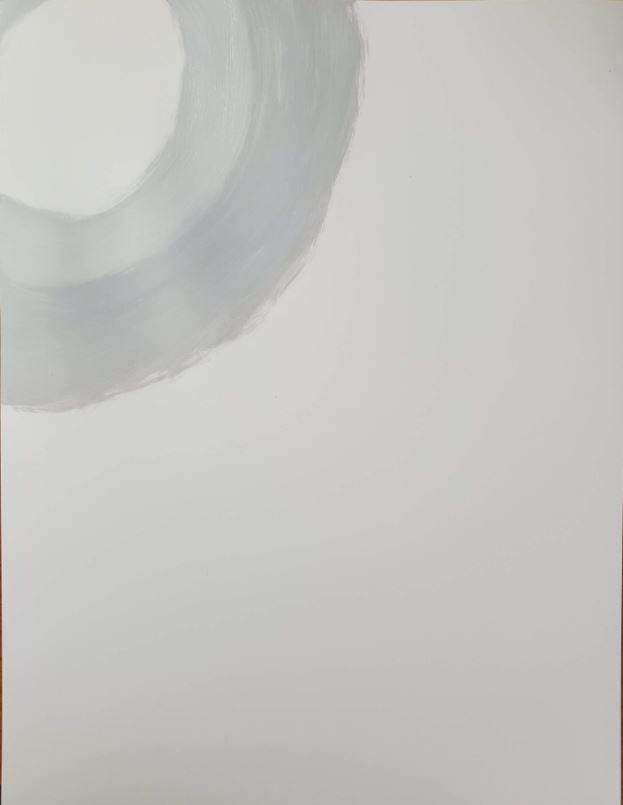
Since the moon is bright, and the light from the moon will glow, our values need to get darker as we get further away.
Add a little more color to your paint mixture, and add another ring to your sky.
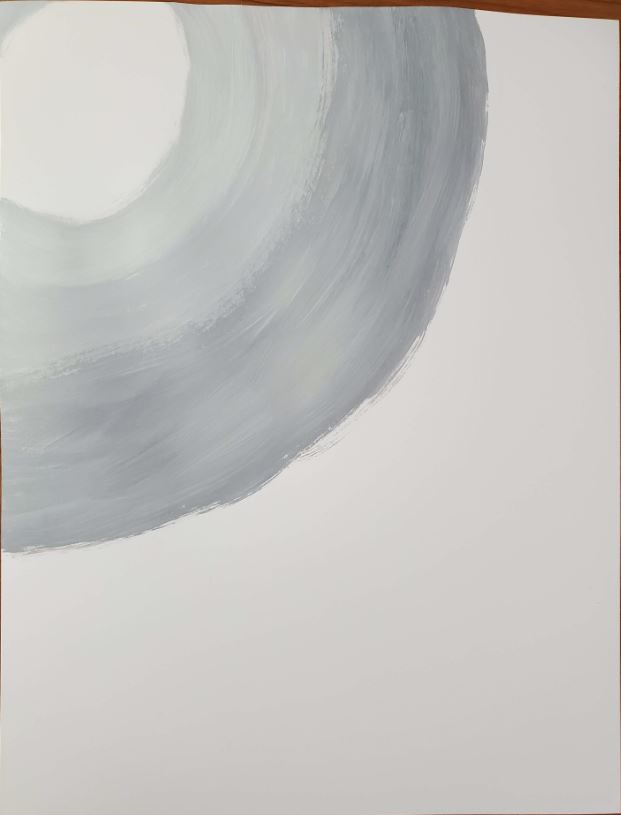
If you’re doing your Halloween sky with just black and white, you can keep adding black to your paint mixture.
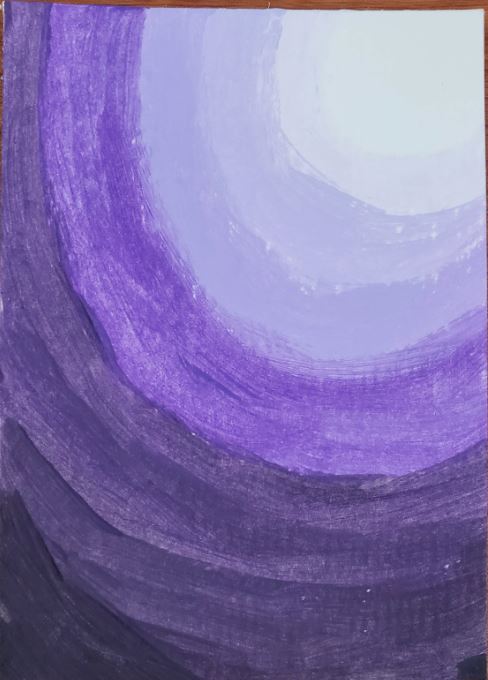
However, if your using a color, such as blue, add the next ring using the pure color with nothing mixed into the paint. Here’s an example of what the sky value painting looks like using purple.
Value Painting Sky – Shades
We create shades of color by adding black to the paint. This is a good time to start with some fresh paint anyway.
If you’re only using black and white to make grays, you can start over with some fresh black and add white to that.
Or if you still have enough paint left from your lighter values, you can continue adding black to that.
If you’re using a different color, start adding in small amounts of black.
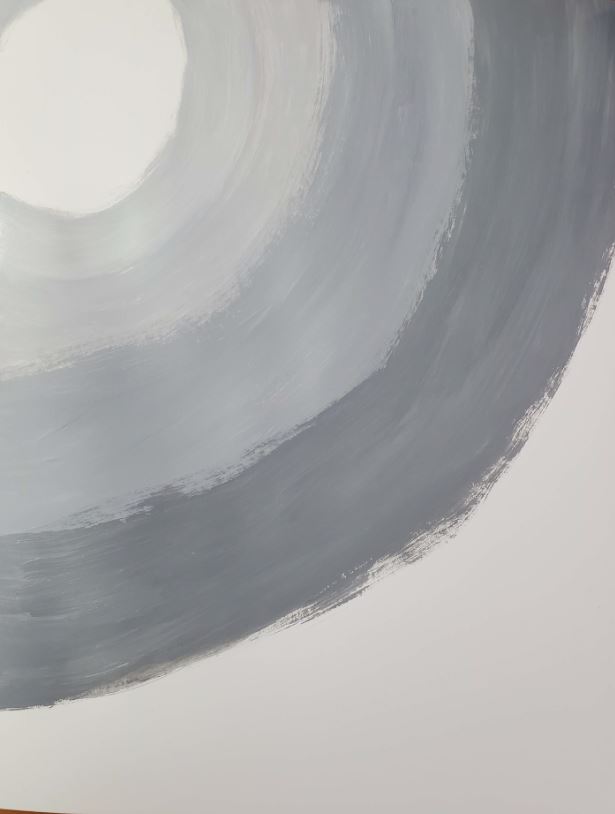
Continue doing this until you have covered all of your paper, except for the moon.
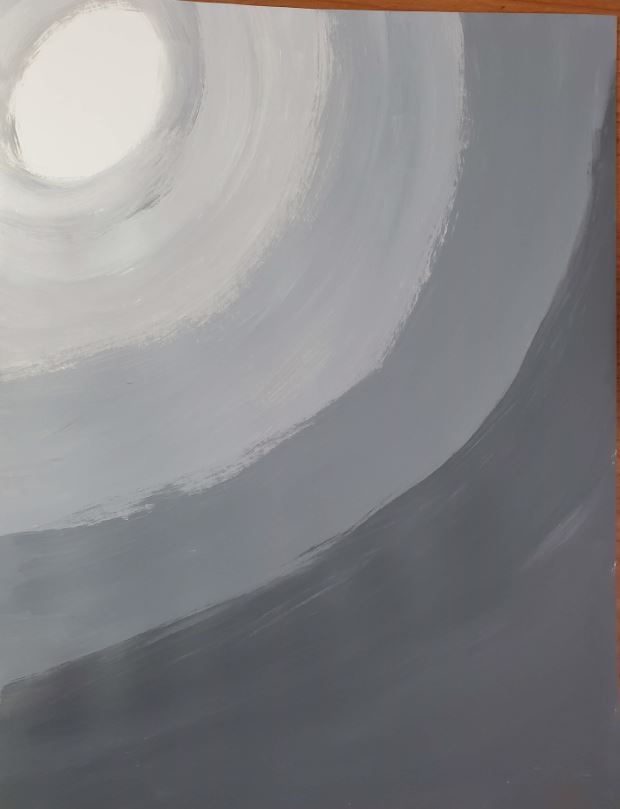
If you want, you can use pure black for your last section. Or you can use a dark value that isn’t all the way black.
Drawing a Halloween Scene
Don’t start this step until your sky painting has dried. By the time I got to the last section of my values, the rest of the painting was dry. So it shouldn’t take too long for your painting to dry.
Begin your Halloween scene by painting a tree. You can paint your tree anyway you’d like, but spooky is more fun.
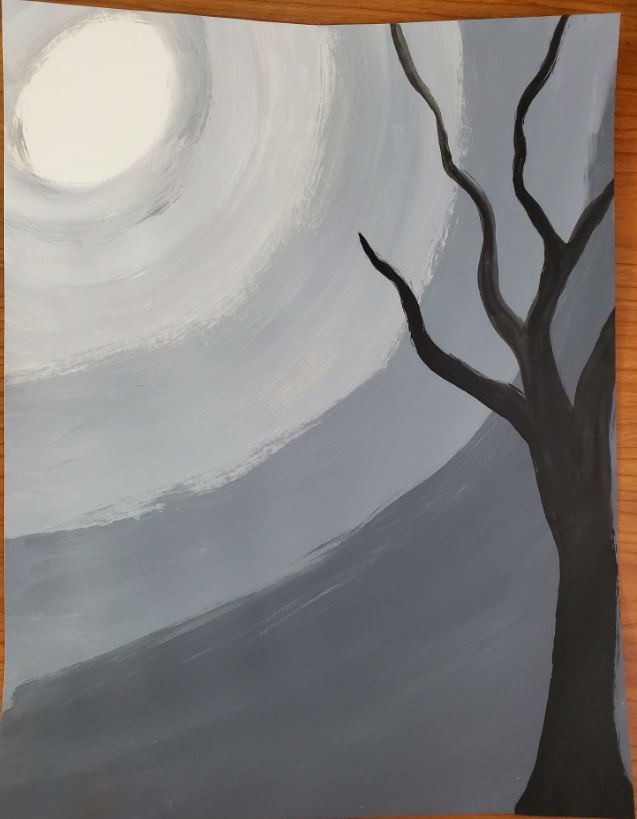
Use pure black paint for all of your Halloween scene.
When painting your tree, be sure to make the trunk wider at the bottom. And your branches should come to a point at the ends, and be wider where they start.
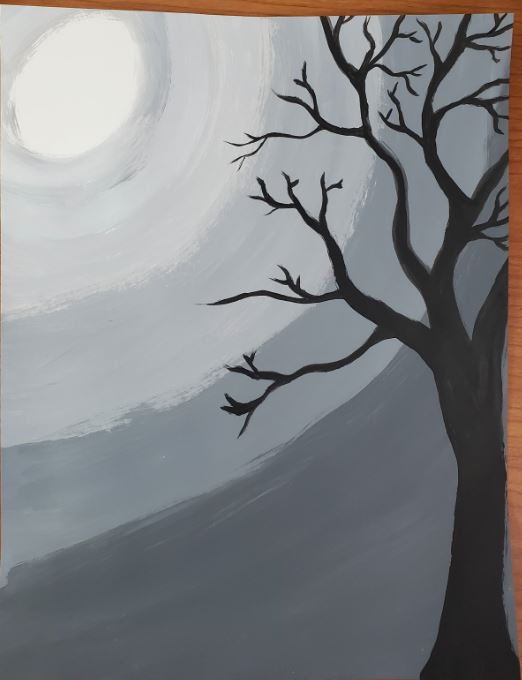
Keep adding in more branches for your tree until you like how it looks.
Draw the ground at the bottom of your paper. You can make hills, or lumpy ground. Or you can make it more flat.
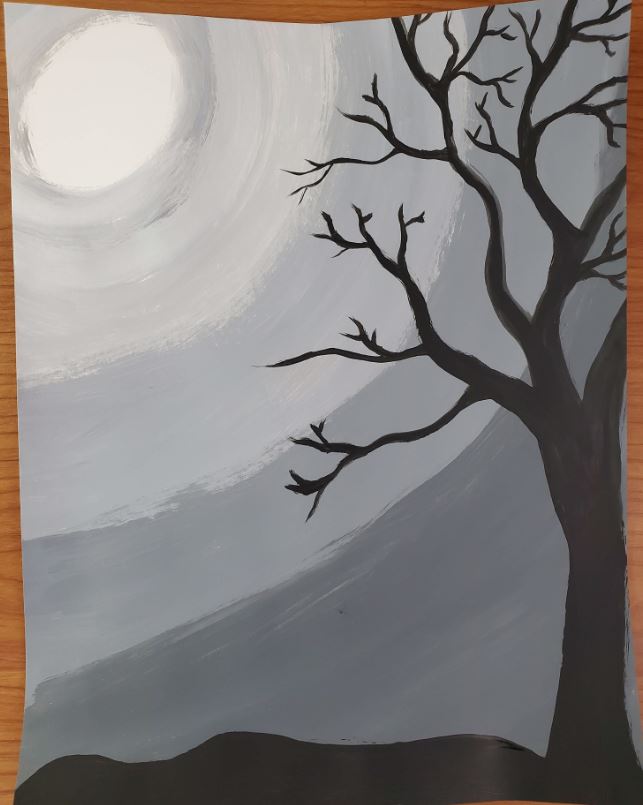
Painting a Fence
Now we are going to add a fence to our painting.
Begin by painting the fence posts. Keep these roughly the same height, and evenly spaced apart.
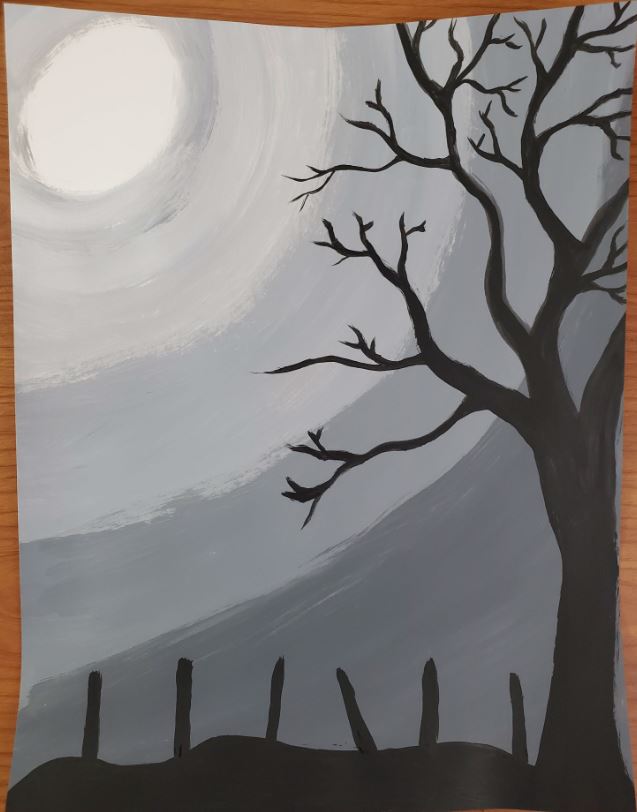
You can make some of them leaning to make the fence look old, which adds to the spookiness of the painting.
Next paint two lines connecting each fence post. Make sure they are about the same distance from the top of the posts. And the same distance from the ground as you work across your painting.
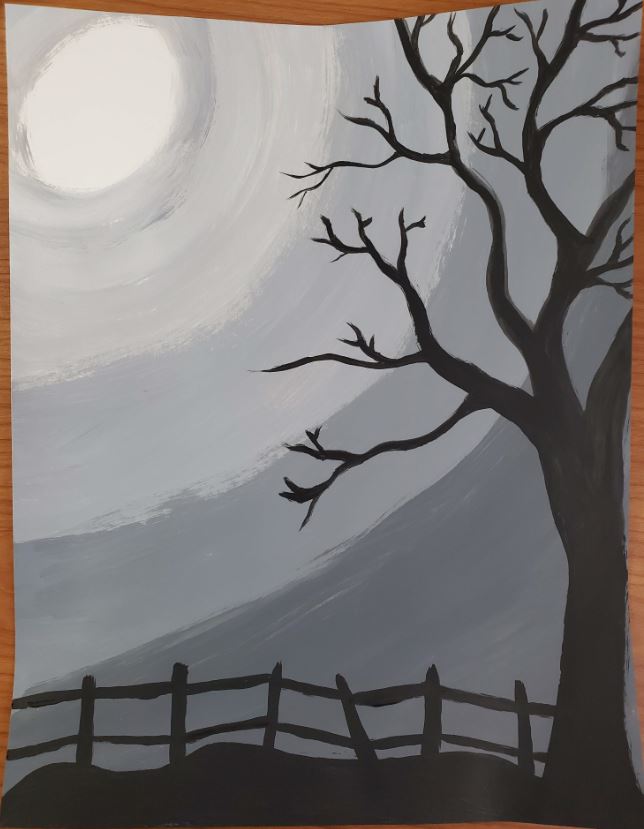
Now you can add any extra critters you may want to include in your painting. A cat, owl, and bats are good options.
Tips for Successful Value Sky Paintings
Try to keep your areas of value round, and not just curved. You want them to look like reflections from the moon.
Don’t rush when mixing your paint. Smooth transitions of value will look better. Take your time and make sure your values are right.
Be sure your tree is wider at the bottom, and the branches get smaller at the ends.
Halloween Sky Value Painting Art Tutorial
These paintings look great when finished, and there’s enough room for variation to make these fun do make several of them. It’s a fun way to learn value and color mixing. And reinforce the importance of understanding the elements of art.
You could also try doing these with markers of colored pencils. Oil pastels would work really well too. Try some different ideas and let us know how they turned out. Maybe do a 7 day art challenge.
FREE Art Challenge Guide
Related Value Painting Posts
- Color Theory Explained
- Elements of Art
- Spooky Tree Drawings Tutorial
- Color Value Scale Painting
- How to Draw a Night Sky with Markers

