How to Draw a Parrot (Easy & Fun)
Learning how to draw a parrot is easy and fun. We’ll show you step by step how to draw, outline, and color your parrot drawing with markers.
Drawing and art are both skills that anyone can learn. If you enjoy creating art, you should absolutely pursue doing more of it.
The more you practice the better you will get. And the more you enjoy it, the more you’ll look forward to it.
Let’s get our supplies and have some fun learning how to draw a parrot step by step.
* Some of the links in this post may be affiliate links. This means I receive small commissions for purchases made through these links at no extra cost to you.
Art Supplies
- Thin black marker
- Paper or cardstock
- Markers
- Pencil
- Click Eraser, Pink Pearl Eraser
- White Gelly Roll pen
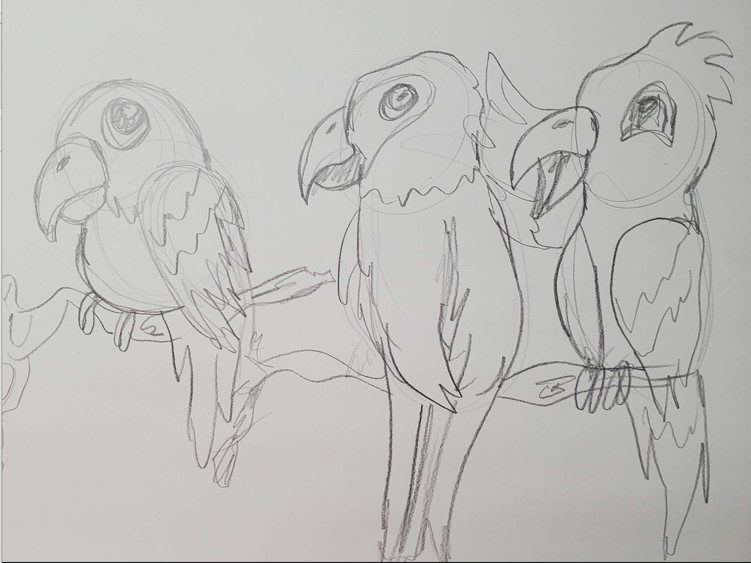
Parrot Sketch Practice
Doing a parrot sketch practice exercise is easy and quick. But the benefits are huge.
Not only will you warm up your drawing muscles, but you’ll also understand more about what a parrot really looks like.
Here’s how to do a parrot sketch practice session.
- Get some paper and something to sketch with (pencil, pen, marker, etc)
- Pull up some reference photos of parrots
- Set a timer for three or five minutes
Then quickly sketch out as many parrots as you can before you run out of time.
Another option is to sketch until your paper is filled and you don’t have any more room to sketch.
Regardless of the method you choose, keep your drawings loose and quick. Focus on the shapes, proportions, and sizes of the parrots.
Don’t worry too much about specific details. This sketch exercise should only take a few minutes to complete.
For more information about the benefits of warming up check out Warm Up Exercises for Artists.
How to Draw a Parrot Step by Step
Learning how to draw a parrot is easy and fun. We’ll take things step by step starting with some simple shapes.
By breaking things down into basic shapes we can overcome the complexity of more difficult objects. And it helps get past that dreaded blank page staring at us.
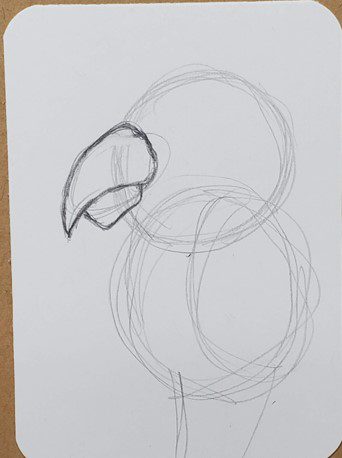
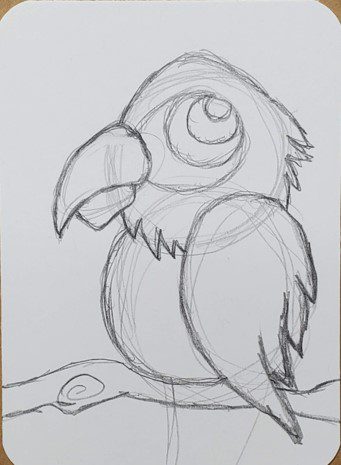
Step 1: Basic Shapes
Let’s start by drawing a circle for the head. And a slightly larger circle for the body. Then draw an oval for the beak, and another one for the wing. You can also rough out where the tail will go.
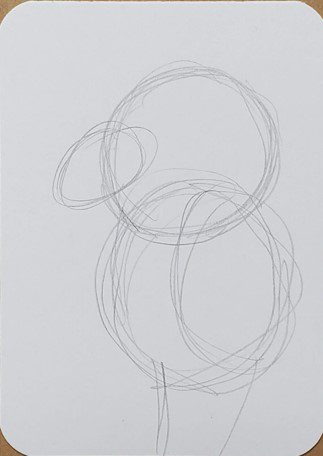
By drawing our parrot with shapes we can get an idea of what our final drawing will look like. And this allows you to make some changes before you have too much time invested in your drawing.
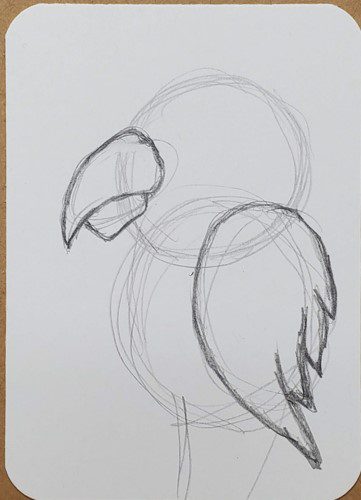
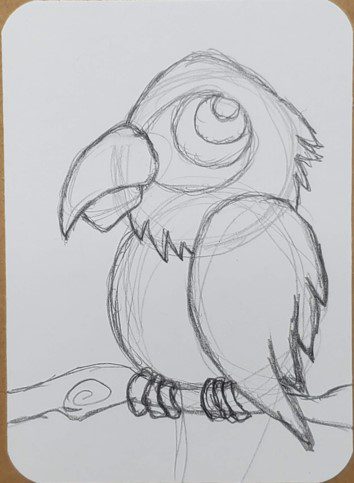
Step 2: Add Details
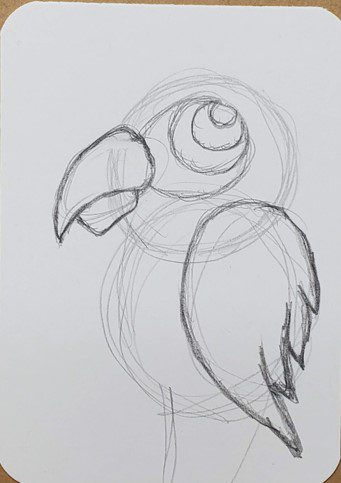
Now we need to start drawing the details of our parrot. Let’s begin with the beak by drawing the top section.
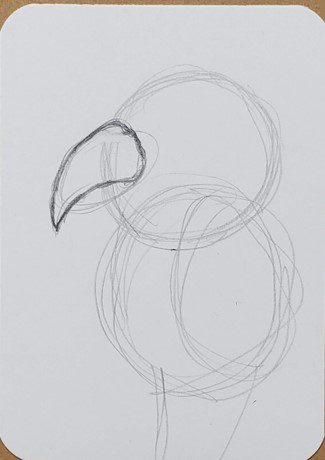
Then draw the lower section of the beak. Notice how the lower part of the beak is much smaller.
We’ll draw the wing next since it covers parts of the parrot’s body. You can make the wing as simple or as detailed as you want. I chose to add some different lengths for the feathers.
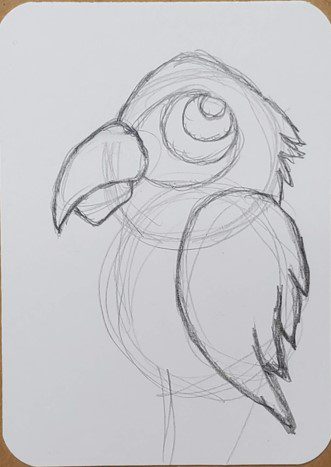
Now let’s work on the eye. Start by drawing a circular shape that connects to the beak. This is the white area parrots often have around their eyes.
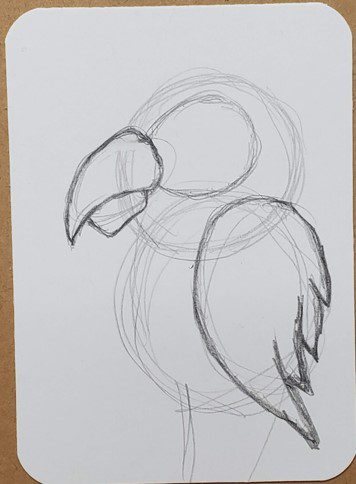
Then draw a circle for the shape of the eyeball somewhere inside of that area. How, and where, you draw the eye can change how your parrot drawing will look.
For this example the eye was made larger than normal. You can make your eye big, or make it smaller. Each way will result in a bit of a different look.
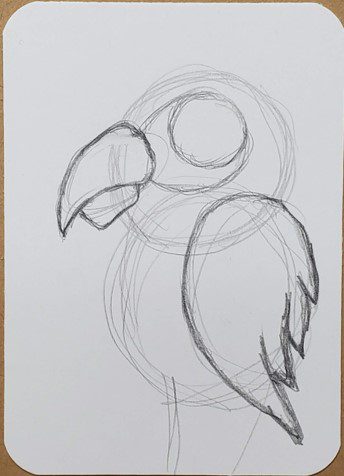
Finish up the eye by drawing the pupil and a circle for the highlight.
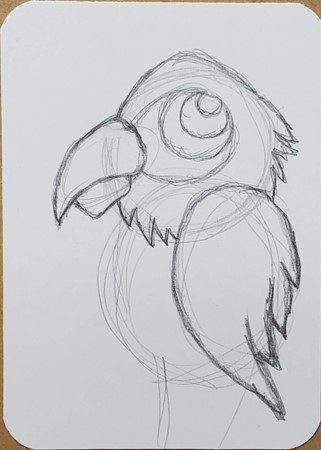
Now let’s draw the top of the head. You can add some texture for the feathers. Or, you can make your line smooth.
For the area where the head and the body come together, you can add some feathers there. Or you can leave that area open.
Next, draw the belly of your parrot.
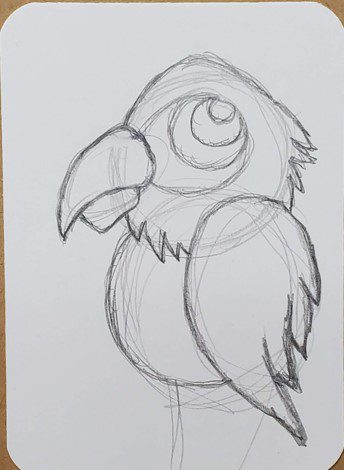
And then give him a tree branch to sit on.
Draw the toes wrapping around the branch. You can make two or three for each foot. Either way is fine. Just do what looks good to you.
Finish up your parrot drawing by adding a tail.
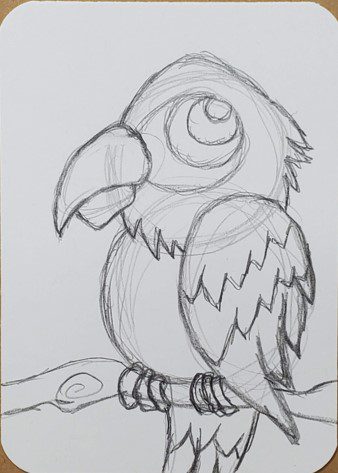
You can add some extra sections of feather to the tail and wing, or leave them off.
Parrot Outline
Making a parrot outline is really easy. Simply trace over the pencil lines you want to keep with a black pen or marker.

Your outline can be thin, thick, or a combination of line weights. Or you could try using a color other than black.
How you choose to do your parrot outline will depend on your own artistic style. Just do whatever you think looks good.
Or experiment and try something new and different from what you usually do. Don’t be afraid to mess up. Just have fun.
If you’re not sure what your artistic style is, don’t worry. It will develop over time with practice and repetition.
And will most likely change over time as well.
How to Draw a Parrot with Markers
Learning how to draw a parrot with markers is easier than you might think. And there’s really only a few things you need to keep in mind when using markers for your artwork.
First, if you want to be able to blend your colors together you need to use alcohol based markers. Bic, Sharpie, and Copic for example. As well as many others.
Second, you need to work while the colors are still wet or they won’t mix together. This isn’t a big deal. Just make sure you work on a section at a time.
Third, you need to use colors that are similar to each other if you want to create a smooth transition of color. If your markers are too different they will leave a harder edge.
When drawing your parrot with markers, you’ll probably want to avoid harsh edges from your colors. But, this would be perfectly acceptable if that’s the look you’re going for.
For each section of color on this parrot drawing, at least two markers were used. Where there is blue, light and medium blue were used.
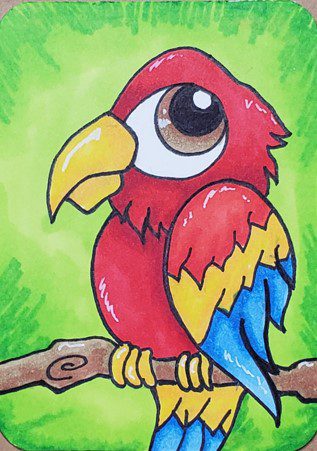
For the areas that are yellow, two markers were also used. One was a bright yellow, and the other was yellow-orange.
A white Gelly Roll pen was used to add some highlights.
For more information on using markers check out, A Beginner’s Guide to Markers.
Final Thoughts and Next Steps
Now that you know how to draw a parrot, what’s the next step? If you want to get better at drawing and art, you need to practice as often as possible.
This doesn’t mean you need to spend hours a day creating art. But working on it for a few minutes each day will give you better results than doing it occasionally.
Try to schedule your creative time into your daily routine. And make sure you’re keeping things relaxing and enjoyable. Creating art should be fun.
If you want to get really good at drawing parrots try doing a series of drawings and see what you can come up with. Not only will your art and drawing skills improve, but your creativity will as well.
Grab your FREE Guide to Better Art in 7 Days
