How to Draw a 3D Pencil (Step by Step)
Art and drawing are skills that anyone can learn. And the more you practice the better you will get.
Keep your creative time as enjoyable and relaxing as possible. The more you enjoy it, the more you’ll look forward to it.
Let’s gather up our supplies and get ready to have some fun learning how to draw a pencil.
* Some of the links in this post may be affiliate links. This means I receive small commissions for purchases made through these links at no extra cost to you.
Art Supplies
Pencil Sketch Practice
Doing a pencil sketch practice session is a great way to get warmed up, as well as work through some rough ideas for your pencil drawings.
Here’s how it’s done…
- Get some paper and something to sketch with (pencil, pen, marker, etc)
- Pull up some reference photos of pencils
- Set a timer for three or five minutes
Then simply do as many quick sketches of pencils as you can before you run out of time.
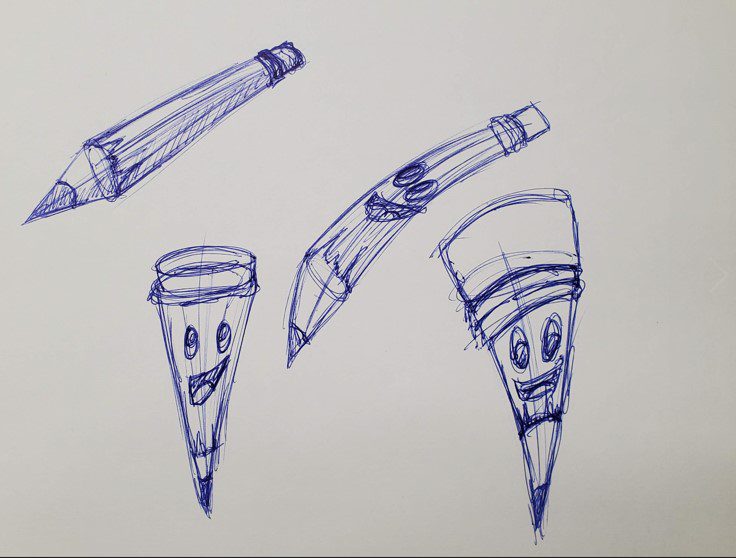
Another option is to do as many sketches of pencils as you can before you run out of room on your paper.
Either way is fine. Just be sure to keep your sketches quick and loose. Get your ideas onto the paper as quickly as possible.
Step by Step 3D Pencil Drawing
Learning how to draw a 3D pencil is really easy. Especially if you break things down into simple shapes and steps.
For our pencil drawing we’re going to be making it look 3D by drawing it using perspective. But we’ll be doing this freehand.
The first step is to lay out some basic shapes and guidelines. This will help with size and placement of our drawing.
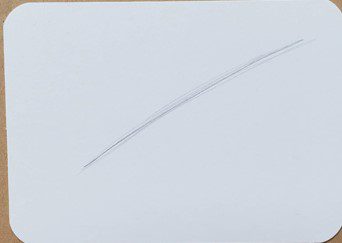
Begin by drawing a line to indicate where you want your pencil to be located on your paper. Make the line roughly the length you want your drawing to be.
Then draw a foreshortened circle where the handle of your pencil and the point meet. A pencil is really just a cylinder that comes to a point.
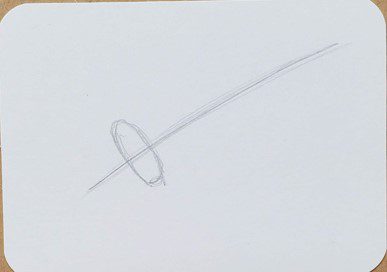
Take a look at How to Draw a Cylinder for more help if you need it.
The next step is to draw the sides of the pencil.
Because we are drawing our pencil in 3D, we want the pencil to get smaller as it moves away from us.
Start at the foreshortened circle and draw two lines that go to the end of your guideline, bringing them closer together as you get to the end.
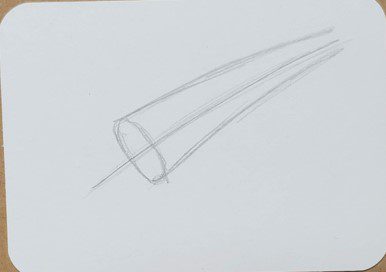
Now draw a curved line at the end of the pencil. This will be the top of the eraser.
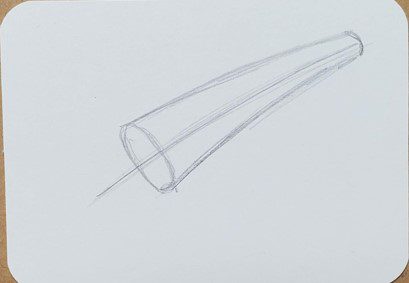
Next, draw the tip of the pencil by making a triangle shape at the end.
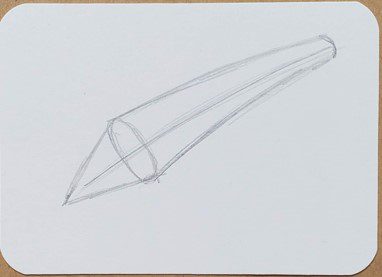
Then draw a curved line for where the lead will end.
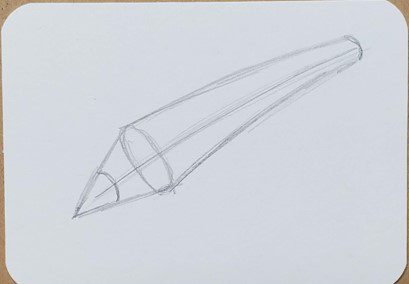
Draw another curved line at the opposite end for the bottom of the eraser.
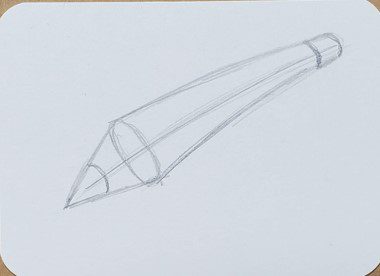
And then add a series of curved lines for the metal band that hold the eraser in place. Make this part of the pencil slightly larger than the pencil and the eraser.
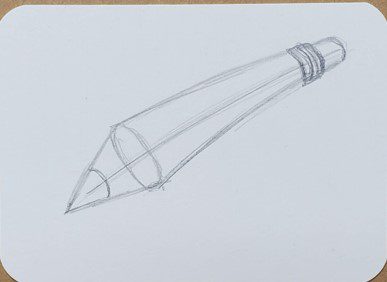
To finish your drawing of a pencil add in any extra details. You can draw the edges rougher where the handle meets the point. And add some lines for the edges of the pencil as well.
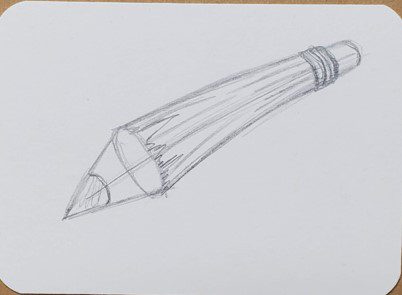
Pencil Outline
Making a pencil outline is really easy. All you have to do is trace over your pencil lines with a black pen or marker.
You could also try using a color other than black. Maybe try using brown, orange, or any other color you want to use.
You can make your lines thick, thin, or a variation of thicknesses. Just do your pencil outline however best fits your style.
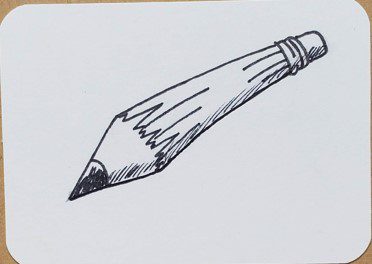
If you’re not sure what your artistic style is, you need to practice more.
Your style will develop over time with practice and repetition. Have fun and try new things.
When you’re finished with your pencil outline, use an eraser to clean up your drawing and remove any pencil lines.
How to Draw 3D Pencil with Markers
Learning how to draw a 3D pencil with markers is probably easier than you think. There’s really only a few things that you need to keep in mind when using markers for your artwork.
First, if you want to be able to blend your colors together you need to use alcohol based markers. Bic, Sharpie, and Copic for example. As well as many others.
Second, you need to work while the colors are still wet or they won’t mix together. This isn’t a big deal. Just make sure you work on a section at a time.
Third, you need to use colors that are similar to each other if you want to create a smooth transition of color. If your markers are too different they will leave a harder edge.
For more help check out our Beginner’s Guide to Markers.
When drawing your pencils you’ll want to avoid hard edges of color, unless that’s the look you’re going for.
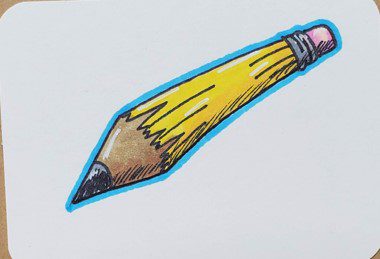
For this example, two different markers were used for each section of color.
A white Gelly Roll pen can be used for highlights.
To finish your pencil drawing you can add a halo of color around it, like in this example.
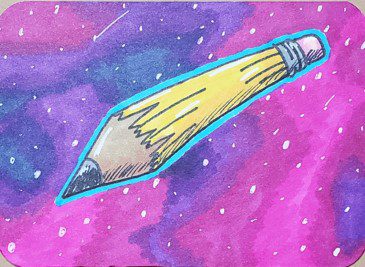
Or you can add an entire background. Check out our tutorial on How to Draw a Galaxy with Markers for a step by step on how this background was done.
Final Thoughts and Next Steps
Now that you know how to draw a 3D pencil, what’s the next step? If you want to improve your art and drawing skills you need to practice.
The more you practice the better you will get. Practicing every day is best, even if it’s only for a few minutes. Don’t feel like you have to spend every spare minute working on your art to get better.
It’s not practical for most people to spend hours a day, or week, on their creative time. Just relax, have fun, and try to make it part of your daily routine.
If you want to get good at drawing pencils, challenge yourself to do a series of them. See how many different ideas you can come up with in a week. Your creativity will improve along with your art skills.
Grab your FREE Guide to Better Art in 7 Days

